Morning light warms the sill and you notice a tiny sprout pushing through dark soil. Have you ever wanted a small, steady green corner that lifts gray days? You’re in the right place.
Here, we offer calm, friendly steps to start simple projects that fit your home and schedule. Think a sunny windowsill herb pot, a tray of microgreens in three weeks, or a mossy kokedama you can finish in an afternoon.
We focus on clear tips about steady light, gentle watering, and choosing the right pot so your plants feel at ease. You’ll find quick wins and longer tasks—like sowing seeds for spring—so progress stays satisfying.
By the end, you’ll have easy ways to bring scent, color, and life into small spaces. We help you avoid common mistakes and build confidence, one cozy project at a time.
Key Takeaways
- Start small: a sunny shelf or compact grow-light nook works well.
- Steady light and a gentle watering rhythm beat outside weather.
- Microgreens and regrowing veggies give fast rewards.
- Choose containers and soil to cut mess and save time.
- Mix quick projects with seed-starting for seasonal momentum.
Set the scene for winter: light, warmth, and simple tools that make projects a joy
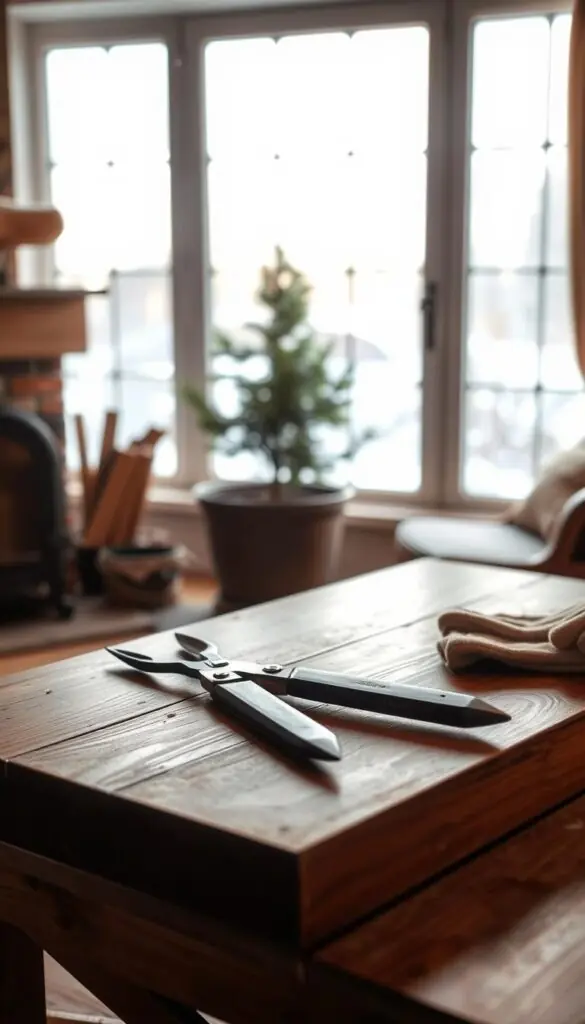
Find a sunlit spot and the rest falls into place. A single sunny windowsill or a repurposed shelf can become a calming corner in your home. Soft light and a gentle routine help plants feel steady through short days.
Choose your spaces
Pick a bright window, a cozy alcove, or a shelf near a west or south window. If natural light is limited, add a small LED grow light mounted 2 to 4 inches above foliage.
Gather the basics
- Containers: a few container sizes with drainage to keep soil airy.
- Potting mix: light, breathable soil made for houseplants.
- Tools: a gentle watering can, pruning snips, labels, and a moisture tool or your finger to check about two inches down.
- Sturdiness: make sure shelves are stable; a storage unit can become a multi-tier plant stand.
"The ritual matters: a warm mug, the soft hum of a grow light, and a quick soil check."
| Spot | Best for | Tip |
|---|---|---|
| Sunny window | Herbs, succulents | Rotate pots weekly for even light |
| Cozy alcove | Trailing houseplants | Cluster by water needs |
| Shelf with light | Seed trays, young plants | Mount a grow light 2–4 inches above foliage |
Grow microgreens on your kitchen table for color and crunch in days
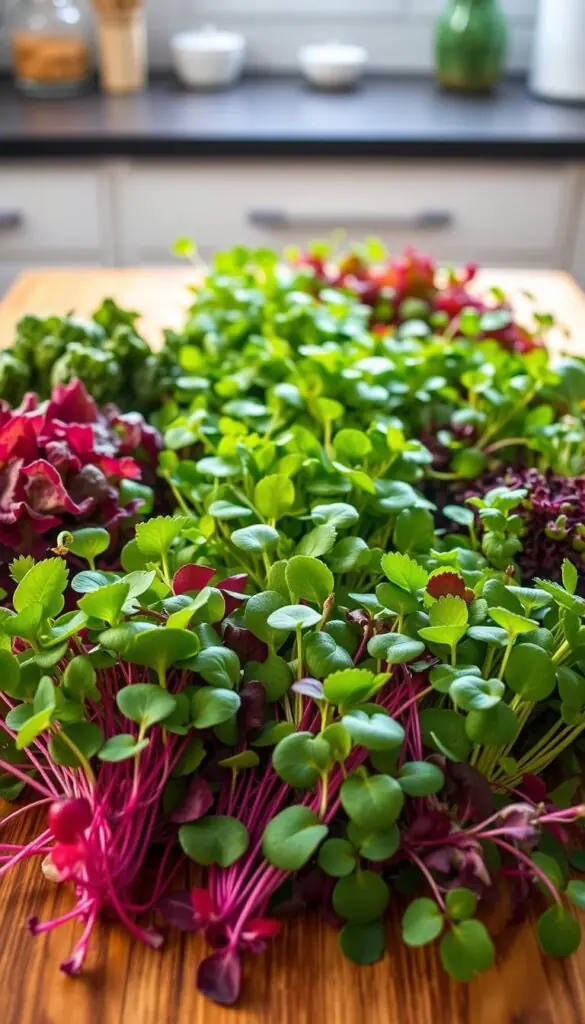
Bright, crisp microgreens can turn your kitchen table into a tiny, nutritious patch in just days. This is a simple, budget-friendly way to add fresh food and color to your home.
What you’ll need: a shallow container, fine potting or seed mix, a mist bottle, and a small grow light or a very bright window. Use radish, broccoli, or sunflower seeds for fast, tasty results.
- Line a shallow container with potting mix so the soil is evenly damp but not soggy.
- Sow seed thickly, press gently, and mist well to ensure good contact.
- Keep a light two to four inches above the trays—steady light matters more than outdoor weather.
- Mist twice daily at first, then water from the side or bottom so stems stay upright.
- Sprouts appear in a few days; harvest with scissors at 1–3 weeks when true leaves form.
"You’ll see bright green seedlings and taste fresh peppery notes right on your cutting board."
Rotate trays for even color. If space is tight, stack trays on a small rack under the light. Re-sow after harvest by composting old roots and adding fresh mix.
Start an indoor herb garden that scents your kitchen
Start with two favorites and watch a tiny green corner fill your kitchen with scent.
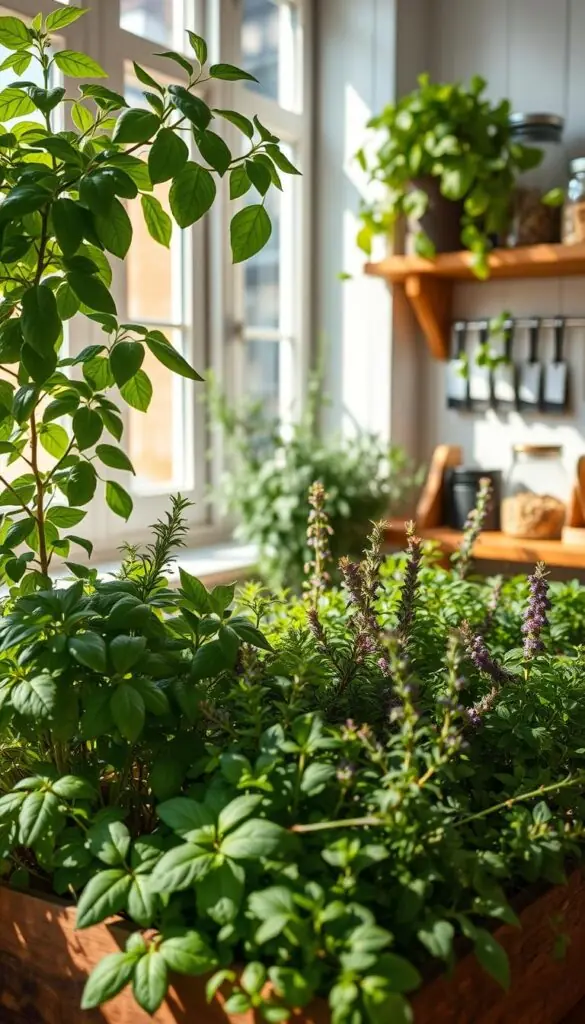
Many herbs do wonderfully on a sunny windowsill. Choose basil, parsley, cilantro, thyme, chives, or mint to begin.
Best herbs indoors
- Basil: sweet and clove-like; trim often above a leaf pair to encourage bushy growth.
- Parsley and chives: steady producers for fresh food all winter.
- Cilantro, thyme, mint: add citrusy or bright notes—harvest cilantro often for best flavor.
Light and water
Set pots on a bright south-facing window or use a small grow light. Rotate pots weekly for even growth.
Use a light potting mix in containers with drainage. Check the soil with your finger and water only when the top one to two inches feel dry.
"You’ll notice a gentle green scent when you brush leaves — that tells you the plants are thriving."
Terrarium or succulent fairy garden for a touch of whimsy
With a few simple layers and a small container, you can craft a charming succulent scene in an afternoon. This is a playful way to bring sparkle and soft texture into a small corner of your home.
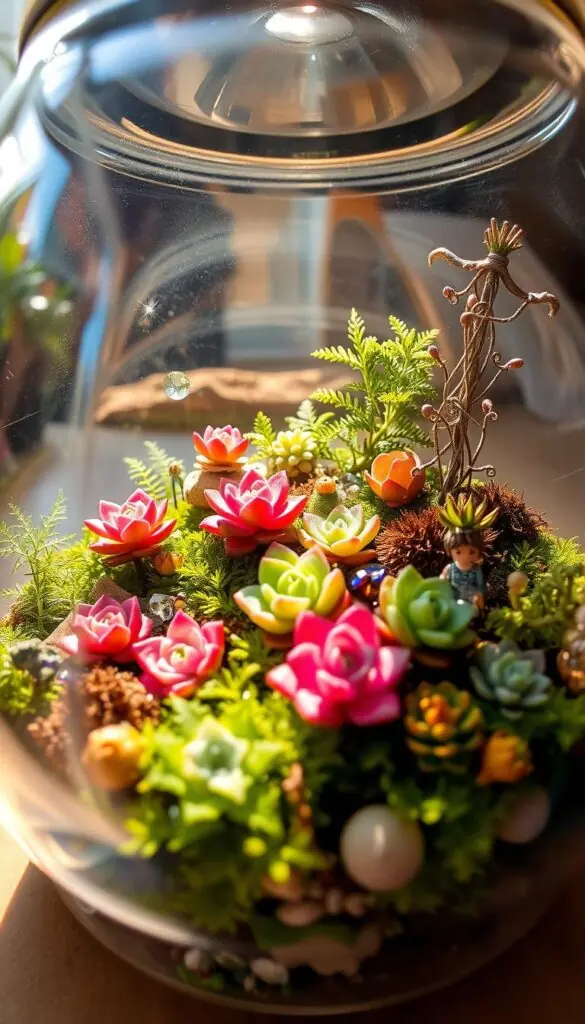
- Start with one inch of pebbles for drainage, then a thin sprinkle of activated charcoal to keep things fresh.
- Add two to three inches of light potting soil and arrange plants by sizes and variety so each has room to grow.
- Tuck sheet moss over bare soil to soften edges, then place tiny cottages, benches, or a bit of glittering sand to set the scene.
Choose a glass container or a shallow bowl with character; even a broken pot becomes a magical multi-level container with the right accessories.
Care and finishing touches
Water sparingly — a light sip every few weeks for succulents, or a gentle mist for closed terrariums — so roots never sit in soggy soil.
Place your mini garden in bright, indirect light. Too much sun through glass can overheat delicate plants.
"A tiny lantern or a winding pebble path goes a long way in creating a story."
Build a succulent wall or simple living wall to brighten gray days
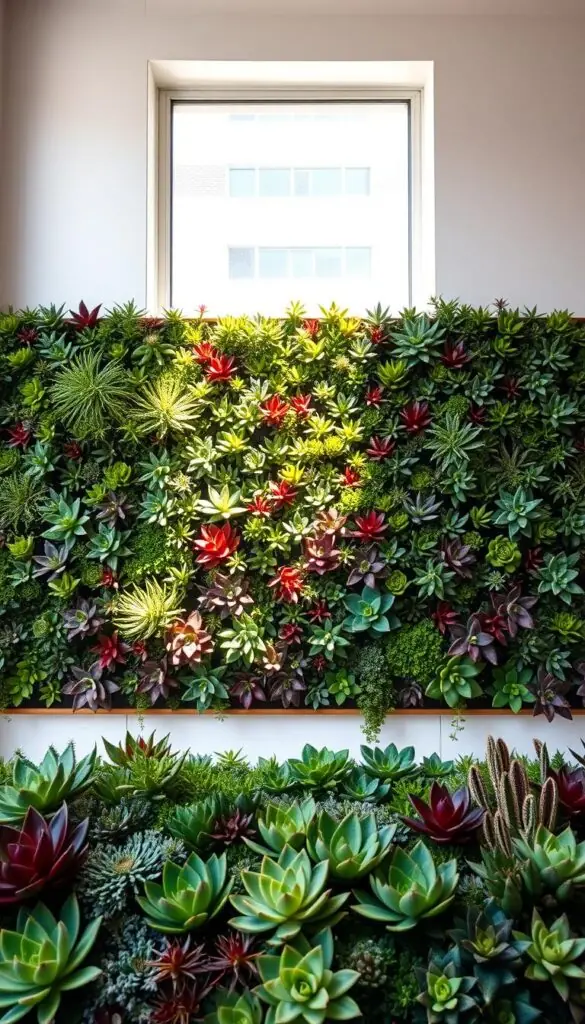
A simple vertical display can lift a room without taking precious floor space. Choose a ready pocket planter, a shallow frame lined with mesh and soil, or repurpose a sturdy shelf and mount a slim grow light above it.
Plan the frame and light
Pick a structure that fits your wall and weight limits. Line frames with landscape fabric or use containers so soil stays put.
Mount a slim LED grow light a few inches above foliage to even out winter light and keep color vibrant.
Plant choices and simple care
- For a sculpted look, use echeveria, haworthia, and sedum — their plump rosettes create a geometric texture.
- For softness, add trailing pothos or philodendron varieties that spill glossy vines down the face of the display.
- Use a gritty succulent soil or a chunky aroid mix for vining roots so drainage is excellent in vertical containers.
- Water lightly with a squeeze bottle at root zones and let the frame drain fully before rehanging to protect your home walls.
"Secure anchors and hardware carefully; safety makes care easier later."
Group plants by similar care so you don't overwater any section. If space is tight, a single shelf of pots is a beautiful, simple way to lift plants to eye level.
Miniature moss garden or kokedama for calm, green texture
Soft, velvety moss and a small pot can turn a shelf into a quiet, green pause in your day. This is an easy, soothing way to add lush texture without taking much space.
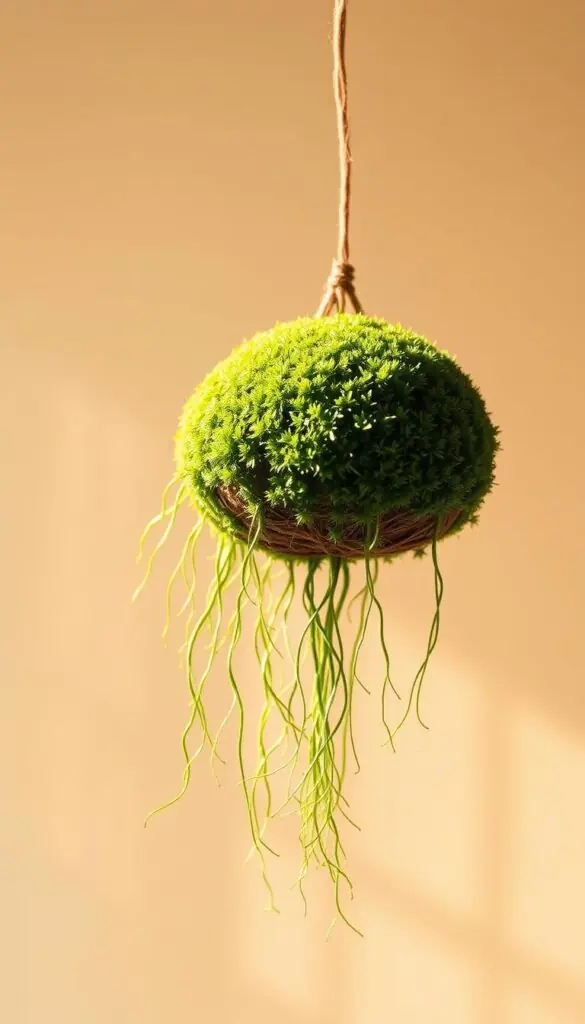
Materials: ceramic dish, pebbles, landscape fabric, potting mix, sheet moss, and twine. Keep a small scoop and your hands ready—this is a tactile, slow craft.
Simple steps and care
- For a moss dish, line a ceramic container with one inch of pebbles, add a circle of landscape fabric, then top with one to two inches of moist soil.
- Press sheets of moss over the surface and tuck edges. A light mist brings out rich color and keeps the texture lush.
- To make a kokedama, pack damp soil around a small plant’s roots, wrap with sheet moss, and tie snugly with twine until firm.
- Hang your kokedama by a bright, indirect window or rest it on a shallow container of decorative stones for a striking accent.
Water by soaking the moss ball for a few minutes, then let it drip dry. You’ll notice the weight change—heavy when full, light when it needs a drink.
"Work by hand and enjoy the tactile process—cool moss, soft soil, and gentle twine turns an afternoon into a calming ritual."
Pick compact plants like fern, pothos, or peperomia. A trio in varied sizes and a single shelf makes a soothing vignette that respects your small space.
Germinate seeds now to jump-start spring
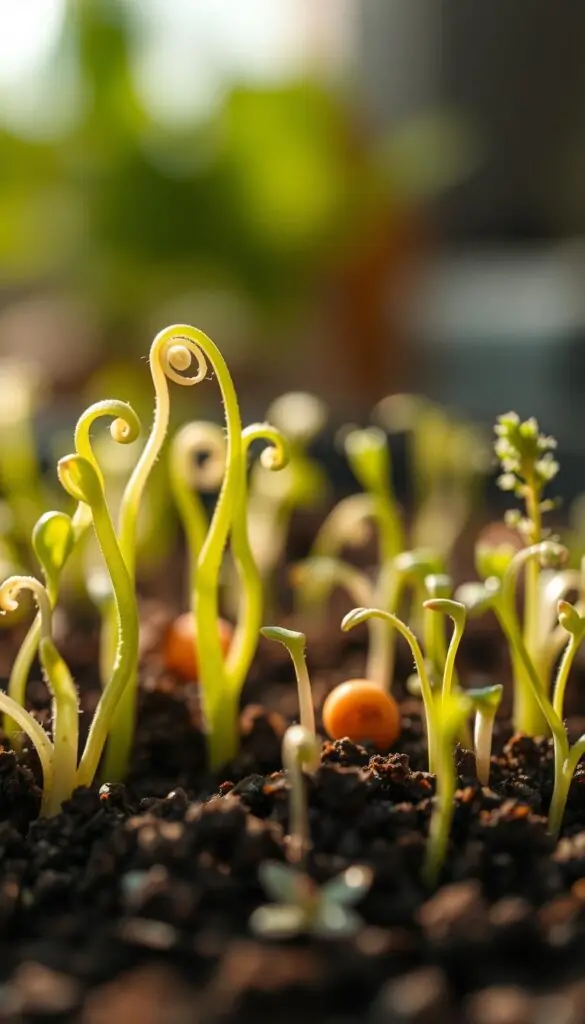
Germinating seeds indoors gives you a head start and a steady sense of progress. Gather seed trays, markers, a heat mat if your room is cool, and a fine seed-starting mix.
Setup and timing
Set trays with pre-moistened potting or seed-starting soil so the mix is evenly damp before you sow.
Label each cell clearly and count back weeks from your last frost date to decide when to start warm-season seed. In colder zones, begin earlier so transplants are ready in time.
Light and moisture
- Sow seed at the depth shown on the packet—many need just a dusting of soil.
- Place trays on a heat mat to speed germination by a few days if needed.
- Provide bright window light or a small grow light set a few inches above seedlings and raise it as they grow.
- Bottom-water by filling the tray beneath until the surface darkens, then drain; this helps prevent damping off.
Brush seedlings gently with your hand each day to strengthen stems before transplant time. Tuck a tray of microgreens or lettuce nearby for a quick harvest while you wait the weeks for larger plants.
"Keep notes on what sprouts fastest and which varieties want a bit more light—those small details pay off next season."
🌿 Related Reading
Regrow veggies from kitchen scraps for fast wins
A few simple jars and scraps can yield tasty greens that brighten meals in days. Place trimmed bases on a sunny sill and watch roots and leaves reappear.
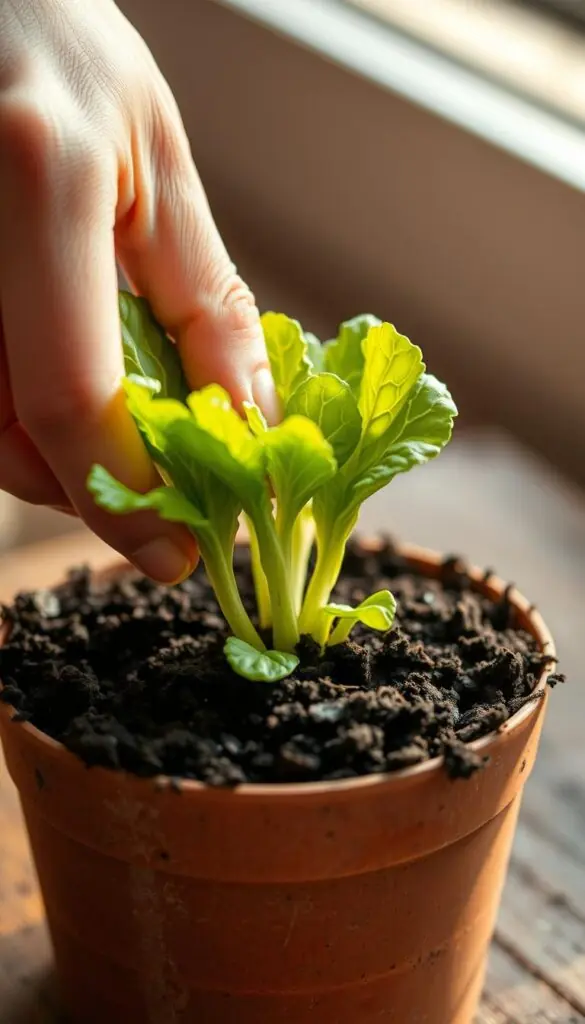
- Place lettuce stumps in a shallow container so water just touches the base; new leaves appear in days and you can harvest in a couple of weeks.
- Set green onion bottoms in a glass and change the water every day or two; snip fresh tops as needed for instant flavor.
- Root basil cuttings by stripping lower leaves and standing stems in clean water; pot into soil once roots are about an inch long for a fuller plant.
Keep jars near bright light, refresh water often, and rinse bases to avoid slimy stems. Add a tray of microgreens for faster food while you wait weeks for larger regrowth. Start seeds at the same time if you want more volume.
"Clear water and steady light make regrowth simple and satisfying."
| Scrap | Method | Time to Harvest |
|---|---|---|
| Lettuce | Shallow container, water touching base | Leaves in days, harvest in 1–2 weeks |
| Green onions | Glass of water, change water every 1–2 days | Cuttable tops in about a week |
| Basil | Stem cuttings in water, then pot into soil | Roots in days; fuller plant in weeks |
indoor garden projects that refresh your whole home
Create a small refuge at home by pairing a comfy seat with a few well-placed plants and gentle lamp light. A warm throw, a small side table, and layered houseplants in matching pots make a calm corner you’ll visit again and again.
Create an indoor retreat
Place a chair near a window or lamp and group plants by height. Use matching pots to pull the look together. Add a small flowering kalanchoe for cheerful flowers beside lush foliage.
Revive the bathroom
Choose humidity-loving varieties like alocasia, calathea, monstera, and pothos. Steam helps leaves stay glossy through winter. Put a saucer beneath each pot to protect surfaces.
Revise your work space
Pick compact houseplants such as peperomia, ZZ, or a small philodendron for desks and shelves. Mount a slim LED light under a shelf to lift low-light corners into a living wall without heavy hardware.
- Group by water and light needs for easy care.
- Keep a jar of microgreens or an herb pot near the kitchen window for quick food and fresh scent.
- Make a short routine of dusting leaves and checking soil to keep things thriving.
| Spot | Best picks | Care tip |
|---|---|---|
| Cozy chair corner | Mix of heights, kalanchoe | Rotate pots monthly for even light |
| Steamy bathroom | Alocasia, calathea, monstera, pothos | Bright, indirect light and regular misting |
| Desk or shelf | Peperomia, ZZ, small philodendron | Slim LED light and grouped care |
"A little routine gardening—dusting leaves, checking soil, turning pots—becomes a relaxing daily pause."
Learn to propagate plants: make more from what you already grow
With a few snips and a clean glass, you can turn one healthy stem into several thriving houseplants.
Propagation is a practical, comforting skill that saves money and fills your home with new life. You’ll see clear signs of success: white roots forming, tiny leaves unfurling, and a fuller pot after a few weeks.
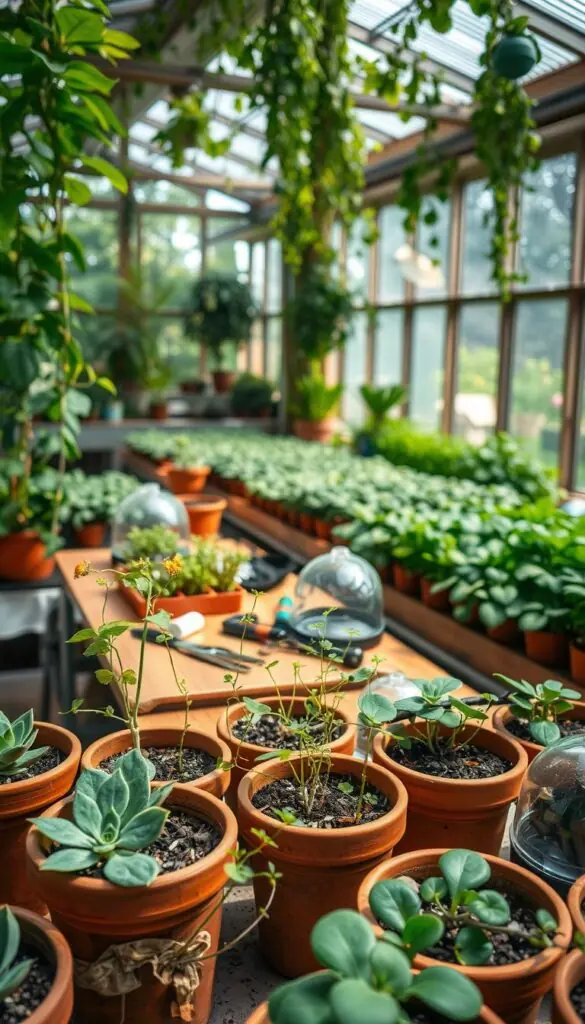
Simple starts: pothos, basil, and spider plant
Take 4–6 inch cuttings of pothos, basil, or spider plant. Snip just below a node and remove lower leaves so none sit in water.
- Place stems in a clean glass and refresh the water every few days. Watch for roots to reach one to two inches before potting.
- Pot rooted cuttings into a small container with a light soil mix. Keep soil evenly moist while they settle in.
- Try different ways: water rooting for pothos, stem cuttings in soil for coleus, or division for snake plant.
Give cuttings time. Some root in a week; others take a couple of weeks depending on warmth and light. Keep them in bright, indirect light and out of harsh sun.
"Pearly roots and a fresh leaf are small milestones that tell you you're on the right path."
| Method | Best for | Sign of success |
|---|---|---|
| Water rooting | Pothos, basil | White roots 1–2 inches |
| Soil cuttings | Coleus, some herbs | New leaf growth and firm stem |
| Division | Spider plant, snake plant | Separate crowns with healthy roots |
Label each container with the date and variety so you can track progress. If you’re also starting seeds, compare their timelines to stagger potting and save time.
Make homemade bird feeders and enjoy winter wildlife from your window
Watching wild birds from a warm room is an easy, cheerful way to connect with nature all winter.
Use simple materials you already have to make feeders that bring color and song to your yard. A milk carton or a plastic bottle becomes a reliable feeder with a few cuts and a dowel for a perch.
Quick ideas you can make by hand:
- Cut a milk carton, add a dowel, and fill with seed suited to local food preferences.
- Bake a seed wreath in a bundt pan for a festive, cold‑proof feeder that hangs well outdoors.
- Smear peanut butter on pinecones and roll in seed — a kid‑friendly, low‑mess option.
Hang feeders where you can watch from your home window. Place them near shrubs or small plants so birds have cover and a quick escape route.
Keep feeders clean. Rinse and dry with warm water every week or two. Sweep shells and spilled seed beneath feeders every few days to discourage pests.
"Refilling becomes a gentle routine; people of all ages love tending a feeder and watching visits across gray days."
| Feeder type | Best for | Care tip |
|---|---|---|
| Milk carton | Mixed seed | Rinse weekly; protect from wind |
| Bundt seed wreath | Finches, sparrows | Hang in cold air; replace if mold appears |
| Pinecone and peanut butter | Tits, nuthatches | Make fresh; avoid salted peanuts |
Position feeders away from busy doors and reflective glass to prevent collisions. Refill on a schedule—birds learn the way and will return in short order. Pair a window feeder with a warm mug and a blanket for simple, slow nature watching.
Plan your spring garden with a mug of cocoa in hand
Spread catalogs, warm your hands on a mug, and treat planning as a small, calm ritual. This is a gentle time to review last year and pick a few new seeds to try.
Review, map, and set timing
Flip through notes and circle the varieties that thrived. Write one or two lessons about what failed so you know what to change.
Count back weeks from your last frost date to schedule seed starts. Jot days to maturity beside each entry so you see when harvests arrive.
Match sun, space, and supplies
Map beds and pots by light. Place fast, cool crops like lettuce and microgreens near your brightest window or under a small lamp.
Make sure your plan lists soil and potting supplies so you don’t lose momentum to a last-minute store run.
"A bit of quiet planning now makes planting day feel easy."
- Set aside focused time with catalogs and notes; highlight new varieties to try.
- Stagger sowing so you harvest across weeks and don’t get overwhelmed.
- Note local weather patterns and plan a backup for late frosts—delay by a week or use a row cover if needed.
- Keep food goals in mind: pick seeds that match what you cook most, like basil for sauces or lettuce for salads.
- Slip microgreens into your plan for steady greens while spring unfolds.
| Task | Why it helps | Quick tip |
|---|---|---|
| Circle favorites | Keeps your garden evolving with intent | Try one new variety each season |
| Count back weeks | Gets seedlings ready at transplant time | Label trays with start dates |
| Map light and space | Matches plants to their best spots | Group similar needs near the brightest window |
| List supplies | Avoids last-minute runs | Buy soil and potting mix early |
Conclusion
A few simple acts—checking soil, snipping a stem, moving a pot—grow quiet joy through winter.
You’ve got a gentle roadmap to keep your indoor garden growing one small step at a time. Tiny daily habits add color and calm to your life.
From crisp microgreens to fragrant herbs and tiny moss bowls, these plants bring bright moments and soft texture to your home. Choose one or two projects to start and build at your own pace.
Keep tools close and routines simple. Share cuttings with people you love and trade tips—growing together feels good. As days lengthen, your indoor gardening momentum will carry into spring.
Celebrate each new leaf; those small wins stitch fresh life and flowers into ordinary days. We’re cheering you on.
🌿 Related Reading
FAQ
What supplies do I need to start small winter projects at home?
You’ll want a mix of simple tools: a gentle watering can, potting mix or seed-starting mix, containers in varied sizes, shallow trays for microgreens, a mist bottle, labels, and a small grow light or sunny window. Add pebbles, activated charcoal, and landscape fabric if you’re making terrariums or kokedama. These basics keep setup easy and affordable.
Where should I place plants when daylight is limited?
Choose your sunniest spots first — a south- or west-facing kitchen window is ideal. If windows are scarce, use a compact LED grow light on a shelf or mounted above pots. Keep lights two to four inches above seedlings or microgreens and adjust as plants grow. Warmth from radiators and good air circulation also help.
How do I grow microgreens on my kitchen table?
Use shallow trays with fine potting or seed mix, sow seeds thickly (radish, broccoli, sunflower are great), mist to keep the surface evenly moist, and provide steady light. Most microgreens are ready in one to three weeks. Harvest by cutting above the soil line when leaves are fully formed.
Which herbs grow best indoors and how often should I water them?
Basil, parsley, cilantro, thyme, chives, and mint do very well. Place them in a sunny window or under a grow light. Water when the top one to two inches of soil feel dry — usually every few days, depending on pot size and air temperature. Avoid waterlogged soil; good drainage is key.
What’s the easiest way to start a succulent or fairy garden?
Pick a shallow container with drainage or layer pebbles for non-draining vessels. Use a well-draining succulent mix, add decorative moss and tiny accessories, and group plants by water needs. Give bright light and water sparingly — let soil dry between waterings to prevent rot.
How do I build a simple succulent wall or living wall indoors?
Plan a sturdy frame or pocket planter that fits your wall space, choose low-water succulents or trailing plants like pothos for softer texture, and install mounted LED grow lights if natural light is weak. Use lightweight potting mix and ensure the structure allows occasional watering without damaging the wall.
What materials are needed for a miniature moss garden or kokedama?
Gather a ceramic dish, pebbles for drainage, landscape fabric if desired, potting mix, sheet moss, and twine for binding kokedama. Keep moss gardens in humid spots or mist regularly; kokedama enjoy bright, indirect light and occasional soaking to rehydrate the ball.
When should I start seeds indoors to get a head start on spring?
Check your last frost date and count back the recommended weeks for each crop. Use seed trays, a heat mat for warmth in cooler homes, and a seed-starting mix. Start earlier in cold zones and provide steady, gentle light once seedlings emerge to prevent legginess.
How can I regrow vegetables from kitchen scraps?
Try easy regrows like lettuce from roots, green onions from the white base, and basil cuttings in water. Place scraps in shallow water or a small pot with potting mix, give bright light, and they’ll produce fresh leaves in days to weeks depending on the variety and conditions.
How do I create a cozy plant corner that refreshes my whole home?
Cluster plants of varying heights in matching pots near a chair with a warm throw to make an indoor retreat. Add humidity-loving plants like alocasia or calathea in bathrooms and compact plants on desks to boost mood. Layer textures and keep a consistent watering and light plan.
What are simple propagation methods to multiply my houseplants?
Try pothos or philodendron stem cuttings in water, basil cuttings rooted in a jar, or spider plant pups potted directly in soil. Use clean scissors, healthy parent plants, and bright, indirect light. Transplant water-rooted cuttings to potting mix once roots are a few inches long.
Can I attract birds from my window during winter?
Yes — make homemade feeders with suet, seed, or orange halves and hang them outside a window to enjoy wildlife. Offer fresh water in a heated or shallow dish and choose native seeds to support local species. Place feeders where you can watch without startling birds.
How should I plan my spring garden while cold weather lingers?
Sit down with a mug of cocoa, review last year’s successes and challenges, pick new varieties you’re excited about, and map beds or containers by sun and space. Start seeds indoors on a schedule, and label trays so transplanting is smooth when the time comes.