Imagine the soft crunch underfoot as you step out a cool morning, the scent of thyme brushing your ankles. Do you see a clear way from your home to a cozy seating nook or the shed? Small choices can shape how you move and feel in your outdoor space.
Before you pick materials, take a slow walk around your yard. Notice where you and others naturally walk. Those worn tracks tell you the best routes to make permanent.
Think about grade, light, and drainage. Make main routes durable for snow clearing and everyday use; secondary routes can be mulch or bark. Use simple tools — a string line, tape, hand tamper, and wheelbarrow — to sketch and test widths.
We’ll help you choose options that balance beauty and ease. Expect tips on spacing stepping stones, edging to hold materials, and seasonal timing so your project feels doable and steady year-round.
Key Takeaways
- Follow natural movement in your yard to locate new routes.
- Plan main routes for durability; reserve softer fills for secondary walks.
- Use basic tools and a simple sketch to visualize curves and widths.
- Mind drainage and consistent riser heights for safety in all seasons.
- Pick edging early to keep loose materials tidy and neat.
Start Here: Simple Ways to Plan a Garden Path That Fits Your Yard
Watch where feet and wheels travel on a normal day — that tells you where a way belongs. Walk each likely route and note the spots you already step. This keeps your design true to how the space is used.
Map your purpose: direct route vs. leisurely stroll
Decide function first. A straight walkway gives a formal, efficient line to the front door. A gentle curve invites lingering near scented plantings.
Placement tips: front door, side yard, shed, and seating areas
Use landscape flags and a string to mark routes from the home to driveway, gate, shed, and bench. Look after rain to spot poor drainage. Avoid dead-ends and tight corners that pinch movement.
Scale that feels right: comfortable widths and wheelbarrow clearance
Make the main approach wide enough for two abreast (about 48–60"). Utility routes should fit a wheelbarrow or mower (36" recommended). Check grade — meanders suit slopes; add short steps where needed.
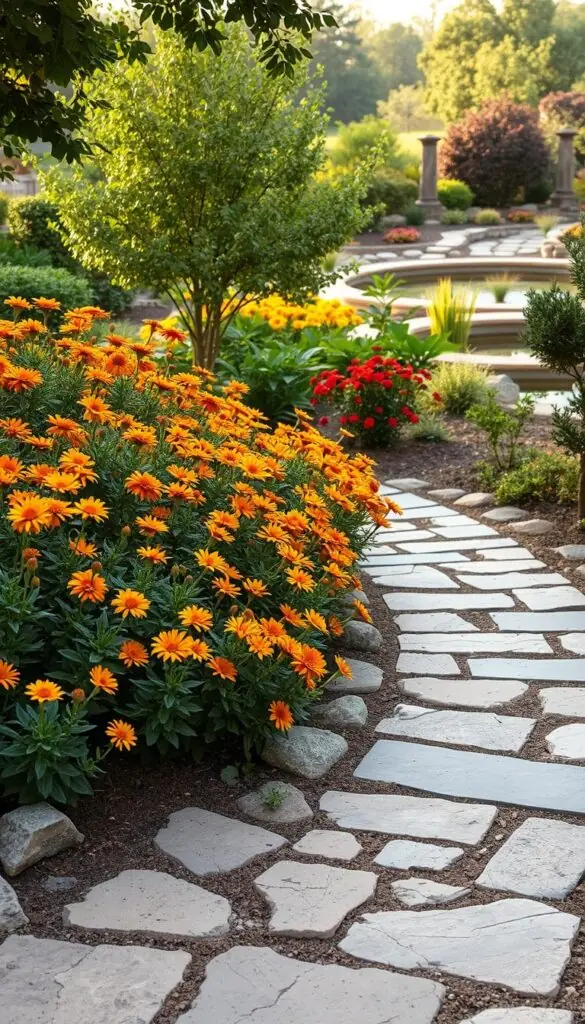
Quick tools and seasonal checks: bring string, flags, a tape, and test snow-clearing lines. Imagine lavender brushing your leg or the crunch underfoot to choose materials that match the mood.
| Use | Durability | Best place |
|---|---|---|
| Stone | High | Main walkway, snowy zones |
| Gravel | Medium | Informal routes, curves |
| Mulch | Low | Light-use beds and short connectors |
Garden Path Materials at a Glance: Looks, Costs, and DIY Ease
Think about who will walk your walkway and how often — that helps narrow good material choices fast.
Quick guide: pick durable materials for main routes and softer fills for low-use spurs. Below are plain-language pros, cons, DIY notes, and tools to expect.
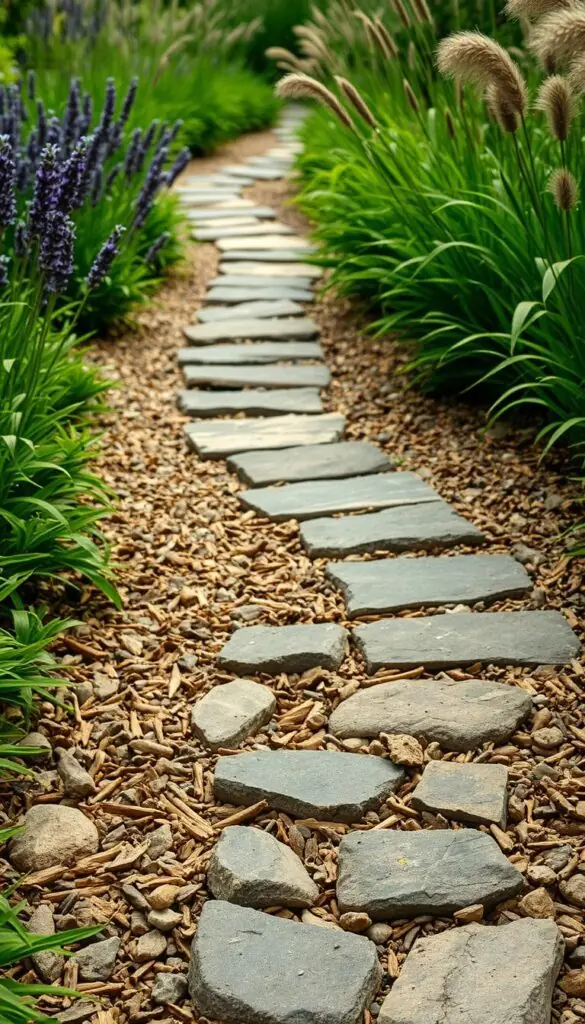
Materials, pros, and tools
- Gravel: Budget-friendly, great drainage, eco-friendly. Needs a compacted base and edging. Tools: plate compactor, rake, edging stakes.
- Flagstone: Timeless look and low upkeep. Use thick slabs (bluestone/sandstone) to avoid wobbles. Tools: mallet, level, edging.
- Brick & pavers: Classic, tidy patterns. Require a solid base; unmortared units can heave in frost. Tools: plate compactor, sand, broom.
- Concrete: Durable and low-maintenance for heavy use. Add texture for traction and expansion joints in freeze zones.
- Mulch/wood chips: Soft underfoot and easy to install. Expect yearly topping; cost ≈ $17–$68 per cubic yard. Best for light-use spurs.
- Wood rounds/timbers: Rustic charm; choose rot-resistant species and ensure drainage to avoid pooling.
Cost, climate, and care
Stone and brick cost more up front but last. Gravel keeps costs low and drains well. Mulch is cheapest initially but needs annual refresh.
In cold regions, avoid loose, unmortared pavers without proper base to limit frost heave. In wet spots, pick permeable or sloped surfaces to reduce slipperiness and pooling.
Maintenance note: concrete and flagstone need little; gravel needs occasional raking; mulch needs topping each season. Mix materials to balance budget with style.
Gravel Path Ideas for a Natural, Budget-Friendly Walkway
Gravel invites a soft crunch and simple upkeep, making it a go-to option for many homeowners. It’s permeable, eco-friendly, and fits varied styles from casual to tidy.
Pea gravel vs. crushed stone: pea gravel is rounded and smooth underfoot with a gentle crunch. Crushed stone is angular and locks together for stability on slopes. Pick based on the feel you want and how the route will be used.
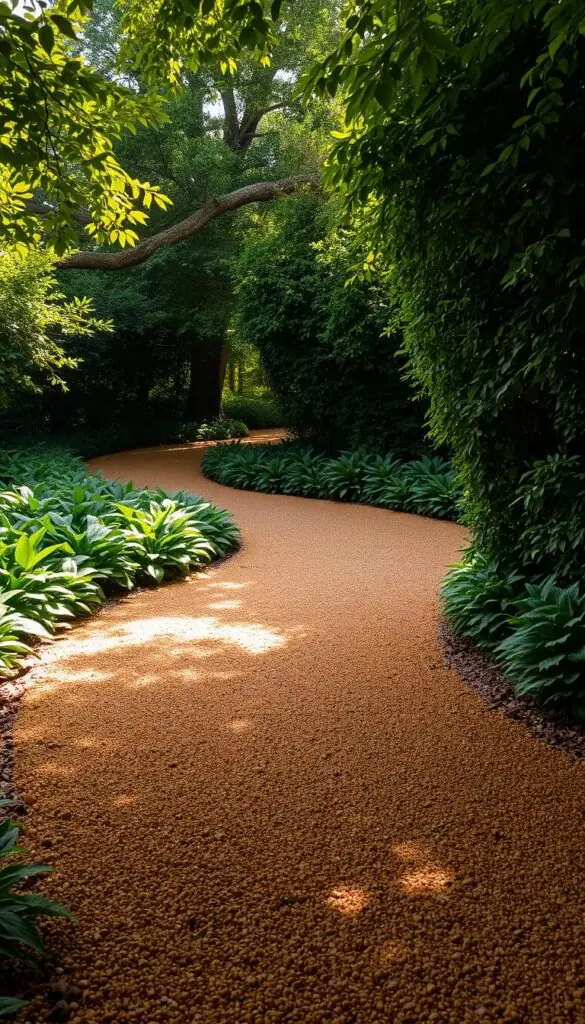
How to install: step-by-step
- Outline the route with stakes and string, then excavate 4–6 inches.
- Lay landscape fabric to block weeds while allowing drainage.
- Add 2–3 inches of compactible base rock, then compact with a hand tamper or plate compactor.
- Top with 2–3 inches of your chosen gravel and compact lightly.
- Install sturdy edging—steel, aluminum, brick, or stone—to keep the fill contained.
Seasonal care and tips
Rake to smooth footprints and top up thin spots each spring. Use a plastic shovel or broom for light snow; avoid digging blades into the surface. For wheel-friendly stretches, add compacted decomposed granite or paver tracks where carts travel.
| Feature | Pea Gravel | Crushed Stone |
|---|---|---|
| Texture | Rounded, soft underfoot | Angular, locks for stability |
| Sound | Gentle, pleasant crunch | Louder, crisp crunch |
| Best use | Light walkways, decorative pathway | Slopes, high-traffic walkway |
| Edging need | Essential to stop migration | Recommended for neat edges |
Finish with plants like low sedges or creeping thyme to soften edges without spilling onto the surface. Small choices make big differences in how your route looks and feels.
Classic Flagstone and Stone Path Designs with Organic Charm
Flagstone offers an instant, lived-in look that feels both sturdy and welcoming. Pick a layout that fits how you move: loose-laid slabs for a relaxed route, wide stepping stones set in grass for a cottage feel, or a tight-fit patio for seating and furniture.
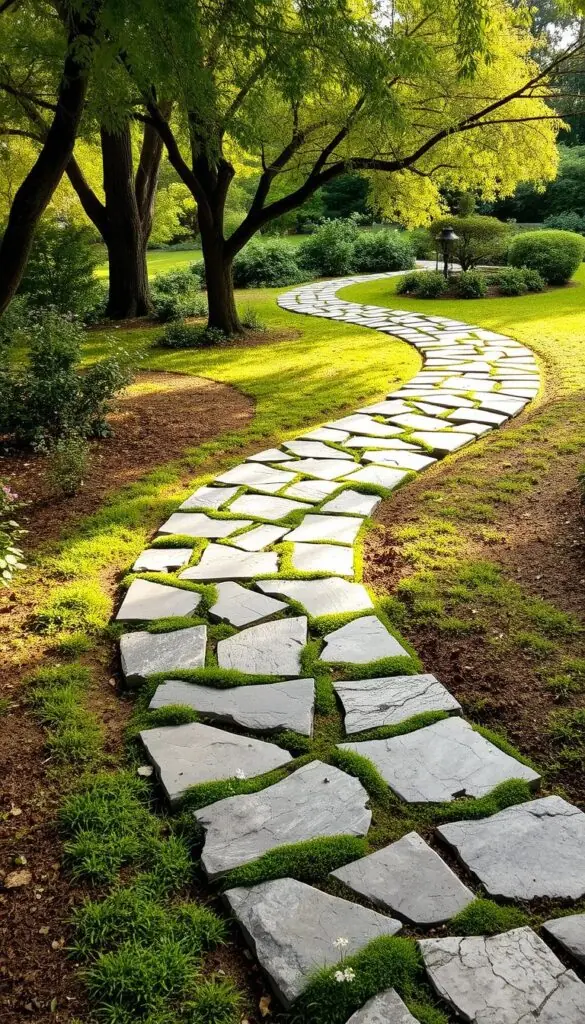
Layout choices and tools
Space stones about 18–24 inches center-to-center for a natural stride. Use a masonry chisel, long level, and rubber mallet to set pieces. Bed thick flagstone on compacted base with stone dust or sand for stability.
Planting between joints
Soften joints with living green. Creeping thyme (Zones 5–9) offers scent and a sun-loving cover. Corsican mint (Zones 6–9) is low and minty. Sedges add soft texture in part shade.
- Pick lighter stone in hot climates to reduce heat underfoot; darker stone holds warmth at sunset.
- Keep stones flush with surrounding grass so mowers pass cleanly; edge with steel or a spade to stop encroachment.
- For a smooth, patio-like surface, fit stones tightly and sweep polymeric sand into joints to limit weeds.
| Build | Material | Best use |
|---|---|---|
| Loose-laid | Bluestone, sandstone | Casual strolls, organic look |
| Stepping stones | Individual flagstones | Grass crossings, cottage style |
| Tight-fit patio | Cut flagstone, sand-set | Dining, furniture-ready surface |
Brick Walkways for Timeless Structure and Curb Appeal
A brick walkway can anchor your entry with steady lines and timeless color. Bricks suit formal and relaxed yards alike and pair well with stone or concrete accents.
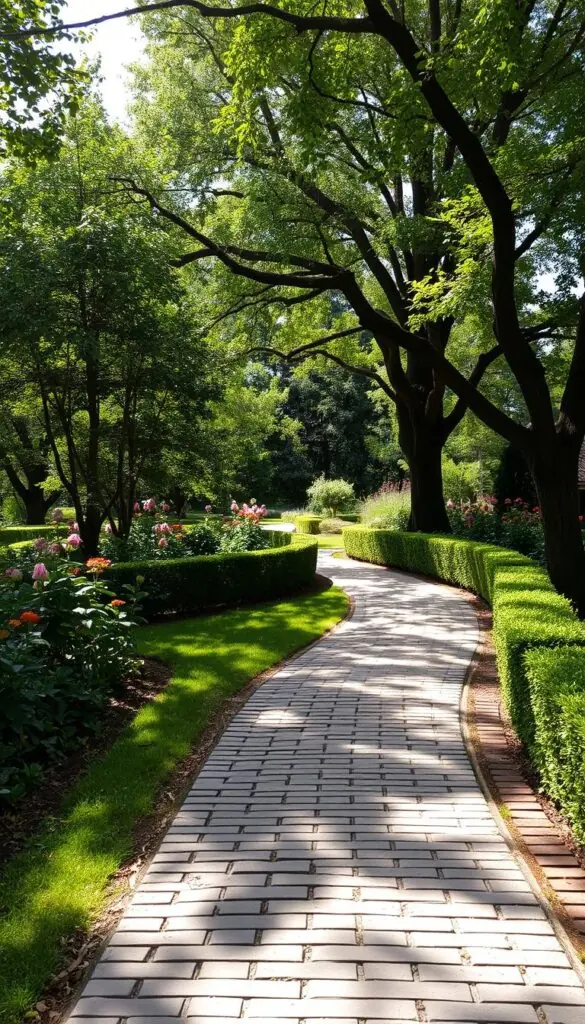
Pattern choices and edges that define the route
Pick a pattern that fits your home. Herringbone adds strength and visual motion. Running bond reads calm and classic. Basketweave brings cottage charm.
Use crisp borders—a soldier or sailor course—to hold curves and give the route a finished look. A brick ribbon along gravel keeps stones contained and creates a neat contrast.
Base prep, frost, and small starts
Build a solid base: excavate, compact base rock, screed bedding sand, then set bricks tightly. Edge restraints help the walkway hold its shape during freeze–thaw cycles.
In cold climates, dry-laid bricks can heave with frost. Consider mortared sections or expect spring touch-ups on high-traffic stretches. For a winter-friendly entry, pair bricks with a small concrete landing at the stoop.
Maintenance and safety
Bricks can be slippery when wet and may grow moss in shady spots.
- Sweep leaves and debris often to reduce slickness.
- Scrub moss with a stiff brush or mild cleaner where it crops up.
- Brush polymeric sand into joints and mist to lock bricks and cut weeds.
| Feature | Benefit | Tip |
|---|---|---|
| Herringbone | High interlock and strength | Great for drive-adjacent or busy walkways |
| Running bond | Classic, calm look | Easy to lay and expand later |
| Basketweave | Cottage, textured look | Works well in shorter runs and patios |
| Brick ribbon | Defines edges, contains gravel | Use along curves for a neat finish |
Start small with a brick landing or a short turn in the yard to learn the technique before committing to a long walkway. You’ll gain confidence and see how color and pattern shape the look of your home.
Stepping Stones in Grass for a Soft, Cottage-Style Look
Set a row of low, flat slabs through the turf and enjoy the simple rhythm of stepping from stone to stone.
You can lay stepping stones across the grass so the tops sit flush for easy mowing and safe walking. Map a gentle route with a garden hose, then test-walk to find natural spacing.
Installation basics:
- Dig a shallow hole just deep enough to seat each stone so it won't wobble or strike the mower blade.
- Tamp soil, add a little sand to level, then settle the slab. Use a rubber mallet and level to fine-tune.
- In damp spots, add a thin bed of pea gravel under the slab for drainage before setting the stone.
Space stones about 18–24 inches center-to-center so each stride feels natural. Choose slightly textured faces for traction on dewy mornings and cooler toes on sunrise walks.
Edge the route with a half-moon edger a few times each season so grass doesn’t swallow your line. For a cottage vibe, tuck creeping thyme or small sedge plugs between stones for scent and soft color.
| Task | Tip | Why it helps |
|---|---|---|
| Spacing | 18–24 inches c-c | Comfortable stride and safe stepping |
| Base | Sand or pea gravel under slab | Levels stone and improves drainage |
| Edging | Half-moon edger seasonally | Keeps grass from encroaching |
| Planting | Creeping thyme or sedges | Adds fragrance and soft texture |
Mulch and Wood Chip Paths for a Warm, Natural Look
A soft mulch route feels warm underfoot and ties beds and borders together. This choice gives a woodsy, relaxed look that blends with planting beds and shady edges.
Best uses: Reserve chips and bark for light- to moderate-use runs to a backyard seating nook, compost area, or between beds. They work well as secondary routes that feel natural and forgiving.
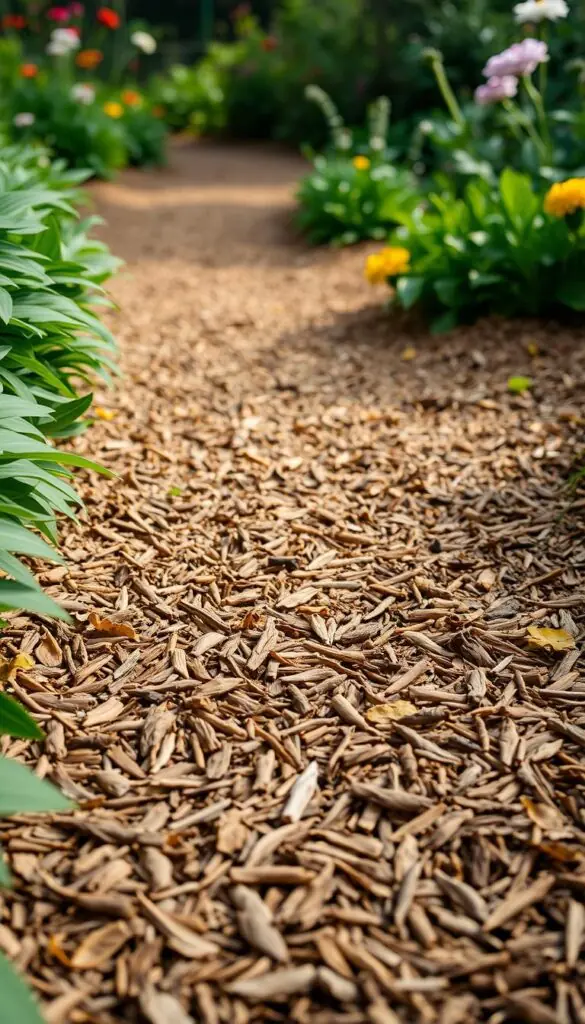
Quick pros, cons, and costs
Mulch is budget-friendly — about $17–$68 per cubic yard — and easy to spread with a wheelbarrow, rake, and a free afternoon.
Wood chips and cypress bark smell great and look warm, but they need yearly refreshes. Rubber mulch costs more but lasts longer and resists washouts.
DIY steps and seasonal care
- Lay weed fabric on heavy-weed spots, then spread 3–4 inches of chips.
- Edge with steel, logs, or brick to keep chips in place and lift the overall look.
- Renew the top inch each spring; leaf-blow in fall so surfaces dry quickly after rain.
On slopes, rake across the route to form small ridges or add shallow steps for safety. For firmer footing, mix chips with stepping stones where carts or wheelbarrows travel.
Modern Grid Pathways with Square Pavers and Pebbles
Square pavers set in a field of gray pebbles make a bold, minimalist statement for any outdoor space.
Create the grid: lay out a measured grid and mark rows with string. Excavate 4–6 inches, add a compacted base, then screed a thin bedding layer so each paver sits dead-flat.
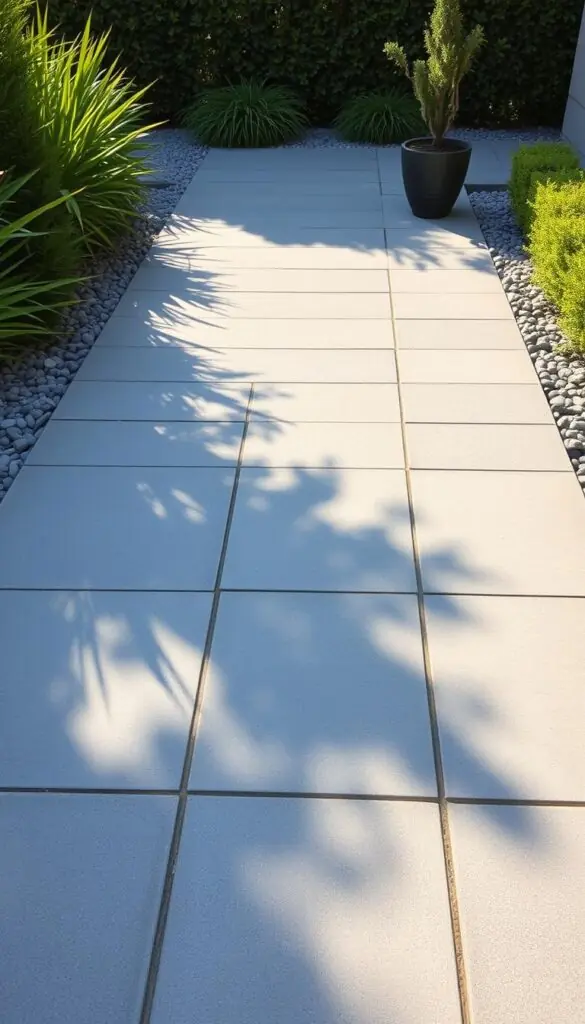
Set thick, durable flagstones or large pavers in evenly spaced rows. Use a spacer or wood jig to keep joint spacing consistent. A level keeps the surface true for dining chairs and foot traffic.
- Compact base rock, lay sand bed, place pavers, then sweep pebbles into joints.
- Run a plate compactor across the field to lock units and reduce future settlement.
- Add a subtle border course to contain the gravel and sharpen the look.
Zoning and plant choices
Use the grid to define a dining pad and a separate fire pit corner. Place larger pavers under table legs and denser pebble infill where chairs move.
- Tools: spacer, level, plate compactor, broom.
- Low-water planting: succulents and ornamental grasses soften edges and save water.
- Night tip: recessed lights along the grid add glow without glare.
| Element | Why it matters | Quick tip |
|---|---|---|
| Pavers | Stable, level surface | Use thick units under seating area |
| Pebbles / gravel | Contrast and drainage | Compact after edging to prevent shifting |
| Border course | Contains infill | Frame with a single-material band |
Mix-and-Match Pathways that Boost Visual Interest
Small changes in surface material can turn a simple way into a lively design moment. Use combos to mark transitions, save budget, and add texture without fuss.
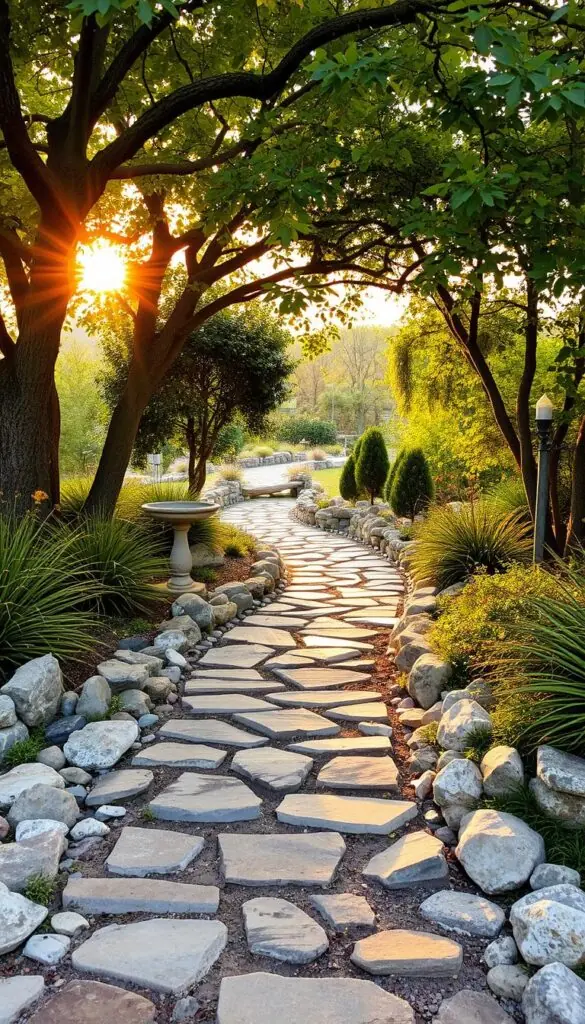
Try simple pairs first: set a flagstone landing at a gate or turn, then run relaxed gravel between those solid “islands.” The contrast makes each area read as intentional and adds visual interest.
Quick ideas and build tips
- Edge curved runs with a brick ribbon to sharpen lines and keep loose fill tidy.
- Use compacted fines under gravel sections and a screeded bed under stone to avoid lippage.
- Limit your palette to two or three materials so the design feels cohesive, not busy.
- Dry-lay sample squares to test a checkerboard pattern with pavers and planting before you commit.
Checkerboard planting works well with hardy groundcovers. Fill gaps with creeping thyme, Corsican mint, Scottish moss, or chamomile for scent and color that tolerates light traffic.
| Combination | Best use | Base prep | Benefit |
|---|---|---|---|
| Flagstone + Gravel | Landings, gates | Screeded sand under stone; compacted fines under gravel | Budget-friendly texture contrast |
| Bricks ribbon + Gravel | Curves, edges | Compacted base with edge restraint | Keeps gravel contained and crisp lines |
| Checkerboard pavers + Planting | Patio to lawn transitions | Level sand bed; root-friendly soil in joints | Scented, low lawn traffic zones |
| Stepping stones + Bark | Soft spurs and connectors | Shallow well with drainage gravel | Warm look, gentle underfoot |
Repeat a single stone type in borders and steps to tie the whole route together. That small repetition helps your eye read each transition as part of one thoughtful design.
Circular and Meandering Path Ideas to Shape Your Space
Circles and gentle meanders help frame views and create purposeful stops.
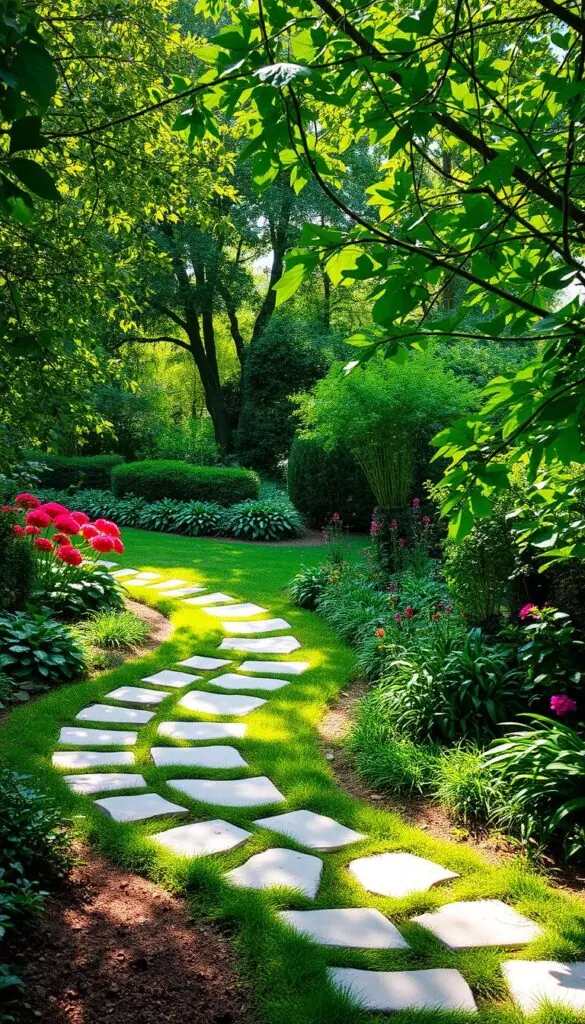
Use soft curves to slow movement and make a small garden feel larger. A meandering line reveals one view at a time. That gives the design a relaxed, inviting look.
Create a loop around a focal feature — a bench under a tree, a stone urn, or a fire bowl. Loops avoid dead ends and encourage strolls.
- On slopes, choose a zigzag or gentle turns instead of a straight drop to improve footing.
- Plant fragrant runners like lavender or sweet alyssum on the inner arc so scent greets you.
- Tuck a large stone or landing at turns to offer a natural pause.
| Curve Type | Best Use | Quick Tip |
|---|---|---|
| Wide gentle curve | Small spaces, reveal views | Keep wheelbarrow clearance |
| Circular loop | Frame a bench or fire pit | Center a focal stone or urn |
| Meandering slope run | Safe descent on grades | Use short stepping rises |
For a woodland look, set a stone path with wider grass joints and stepping stones. Add low arc lights along the outer curve to guide evening walks without glare.
Front Door Garden Path Ideas to Guide Guests with Style
A well-sized entry makes every guest feel invited before they reach your door. Start with a clear idea: enough width for two people, surfaces that handle weather, and a few fragrant plants to greet visitors.
Width, surface, and traction
Size the walkway so two people can walk side-by-side comfortably (48–60 inches is ideal). Wider feels welcoming and fits a stroller or arms full of groceries.
Choose durable, textured materials like pavers or lightly brushed concrete. These are easier to shovel and give good traction in rain or snow. Avoid slick bricks unless they have a textured finish.
Lighting, planting, and edging
Add low, angled path lights and a warm porch sconce so steps read clearly at night. Keep glare low for comfort.
Plant low, fragrant shrubs—lavender, rosemary, or clipped boxwood—along the route to add scent without crowding the space.
Finish with crisp edging to keep loose fill off beds and lawn and to present a neat, framed look.
- Create a small covered landing at the door for packages and pauses.
- Stagger square pavers with gravel joints if space is tight to soften the look.
- Keep snow tools handy and use plant-safe ice melt to protect edges.
| Feature | Recommendation | Benefit |
|---|---|---|
| Width | 48–60 inches | Two abreast, stroller access |
| Surface | Textured pavers or brushed concrete | Traction, easy snow clearing |
| Planting | Lavender, rosemary, boxwood | Fragrance, low maintenance |
| Lighting | Low-angle path lights + porch sconce | Clear, welcoming steps at night |
Backyard Pathways that Connect Vegetable Beds and Seating Areas
Make your backyard lanes so hauling compost feels effortless and even pleasant. Build routes that work as hard as you do and still invite a slow sit with a cup of coffee.
Widths and turning radii: lay main runs at least 30–36 inches wide so a wheelbarrow and a helper pass easily. Keep turning radii gentle — a 48–60 inch arc lets you pivot without catching a corner.
Surface options: top main lanes with compacted gravel or pavers for firm footing. Use mulch between vegetable beds to suppress weeds and hold moisture. Add a pair of large pavers at gateways as clean-step landings.
- Edge runs with steel or timber to keep mulch contained after heavy rain.
- Plant marigolds and chives along borders to add color and pest control.
- Place a small bench or café set near beds as a seating area and planning spot.
| Element | Recommendation | Why it helps |
|---|---|---|
| Width | 30–36 in | Wheelbarrow clearance |
| Turning radius | 48–60 in arc | Easy pivoting |
| Surfaces | Gravel/pavers + mulch | Firm lanes, budget beds |
Maintenance and timing: in spring refresh mulch, re-level settled stones, and check irrigation so overspray doesn’t erode edges. Keep a half-moon edger and stiff broom in the shed for quick weekly tidy-ups.
Garden Path Safety, Drainage, and Seasonal Smarts
A well-built route keeps you steady on rainy days and icy nights. Safety, good drainage, and small winter habits keep your outdoor walks usable year-round.
Grade and steps on slopes
On slopes, favor a gentle grade or a meandering route rather than a straight drop. When you need steps, make risers uniform at 4–8 inches high.
Give each tread at least 12 inches of depth. Add small landings every 8–12 steps so people can pause safely.
Drainage and frost considerations
Build on a compacted base that sheds water. Gravel is a good permeable fill where runoff is an issue.
In frost zones, expect some movement in dry-laid units. For high-traffic areas, consider concrete to reduce spring re-leveling.
Edging and lighting
Use metal, plastic, brick, or stone edging to hold loose fill and make snow clearing neater. Add low, shielded lights so walkways read clearly at night.
Install a railing on steep runs and use textured finishes for traction. Sweep algae or moss with a stiff brush before it gets slick.
| Issue | Spec / Fix | Why it helps |
|---|---|---|
| Steps | 4–8" riser, ≥12" tread, landings | Consistent stride and safe rests |
| Drainage | Compacted base, gravel or French drain | Prevents pooling and washouts |
| Frost | Expect heave; use concrete in busy spots | Less spring maintenance |
| Lighting & edging | Low shielded lights, edge restraint | Visibility and tidy materials |
Quick winter care: use a plastic shovel on gravel and plant-safe ice melt on concrete. After storms, walk the route to spot settled units and top up promptly. A safe route is a beautiful route; simple care keeps your design reliable.
Conclusion
Start with one short run and watch the rest of your outdoor space fall into place.
Pick a small stretch for your first garden path and you’ll see how repetition of materials and plants ties the whole place together. Use stepping stones or compacted stones to test spacing before you set anything permanently.
Keep the look simple. Mix two materials at most and repeat them where sightlines meet. That creates quiet patterns that feel intentional, not busy.
Plan seasonally: layout in winter, build in spring, enjoy in summer, tidy in fall. A clear walkway to the door or a cozy backyard loop invites company and daily use.
If you’re unsure, dry-lay a few pieces or mark a hose line, then walk it and adjust. Your garden path doesn’t need to be perfect to make outside living feel kinder and easier.
FAQ
How do I choose the right route—direct or meandering—for my outdoor walkway?
Think about use first. Choose a straight line for practical trips like to the shed or front door; pick a curved route to create a relaxed, discovery-filled stroll that highlights plantings, seating, or focal points.
What width should a path be so it feels comfortable and functional?
Aim for at least 3 feet for a single person and 5 feet for two people to pass comfortably. Increase width to 6–8 feet where you expect wheelbarrows, outdoor furniture, or frequent two-way traffic.
Which materials work best for a low-cost, natural-looking route?
Pea gravel or crushed stone gives a soft, budget-friendly surface. Mulch and wood chips offer a warm, informal look for less-used sections. All three are quick to install and easy to refresh.
When should I pick flagstone or larger stone slabs?
Choose flagstone for a durable, organic look near patios, seating, or high-traffic zones. Loose-laid slabs suit rustic spots; tight-fit patterns create a patio-like surface that handles foot traffic well.
Are brick walkways practical for modern homes?
Yes. Brick adds structure and curb appeal. Patterns like herringbone resist movement and look classic. Expect some maintenance to remove moss and address frost heave in cold climates.
How do I install a stable gravel or pea gravel route?
Prep a compacted base with proper edging. Lay a geotextile fabric to reduce weeds, add a compacted crushed-stone base, then top with pea gravel and compact lightly. Edging keeps material contained.
What seasonal care do gravel and mulch surfaces need?
Rake to even the surface, add fresh material yearly or as needed, and clear snow by shoveling (avoid metal blades on loose surfaces). Mulch may break down and need topping more often than gravel.
Can stepping stones work in grass without a paved base?
Yes—stepping stones set directly into turf create a cottage feel. Dig shallow pads, level stones, and backfill with soil or sand so stones sit flush for stability and mowing access.
How do I combine materials for visual interest and function?
Mix flagstone with gravel for contrast, use brick to edge curves, or set square pavers in groundcover for a modern grid. Pair materials by color and texture to tie the look together while using each where it performs best.
What lighting and edging should I add for safety?
Low path lights, step-mounted LEDs, or solar stake lights increase visibility. Install rigid edging—steel, stone, or brick—to hold materials and create a clear walking line that reduces tripping hazards.
How do I design a route that’s easy to wheelbarrow or move supplies along?
Keep a consistent, firm surface such as compacted crushed stone, concrete pavers, or a sealed brick path at least 4–6 feet wide where you’ll wheel heavy loads. Smooth transitions and minimal grade changes help.
What drainage solutions prevent puddles and frost damage?
Grade the route to shed water, add a permeable base like crushed stone, and use drainage channels or French drains where water collects. In cold areas, choose materials and bases that resist frost heave.
Are mulch or wood-chip routes sustainable for vegetable-bed areas?
Yes—mulch keeps weeds down and adds organic matter as it breaks down, making it suitable between beds. Refresh annually and avoid using treated wood chips near edible plantings to reduce contamination risk.
How do I incorporate fragrant or low-growing plants alongside a walkway?
Use creeping thyme, Corsican mint, or low sedges between stones or at edges to soften lines and add scent underfoot. Pick low-maintenance species and space them to avoid overtaking the walking surface.
What are modern grid pathways and where do they work best?
Grid pathways pair square pavers set into gravel or pebbles for clean lines and visual contrast. They work well in contemporary yards, near dining or fire-pit zones, and where you want defined yet permeable surfacing.