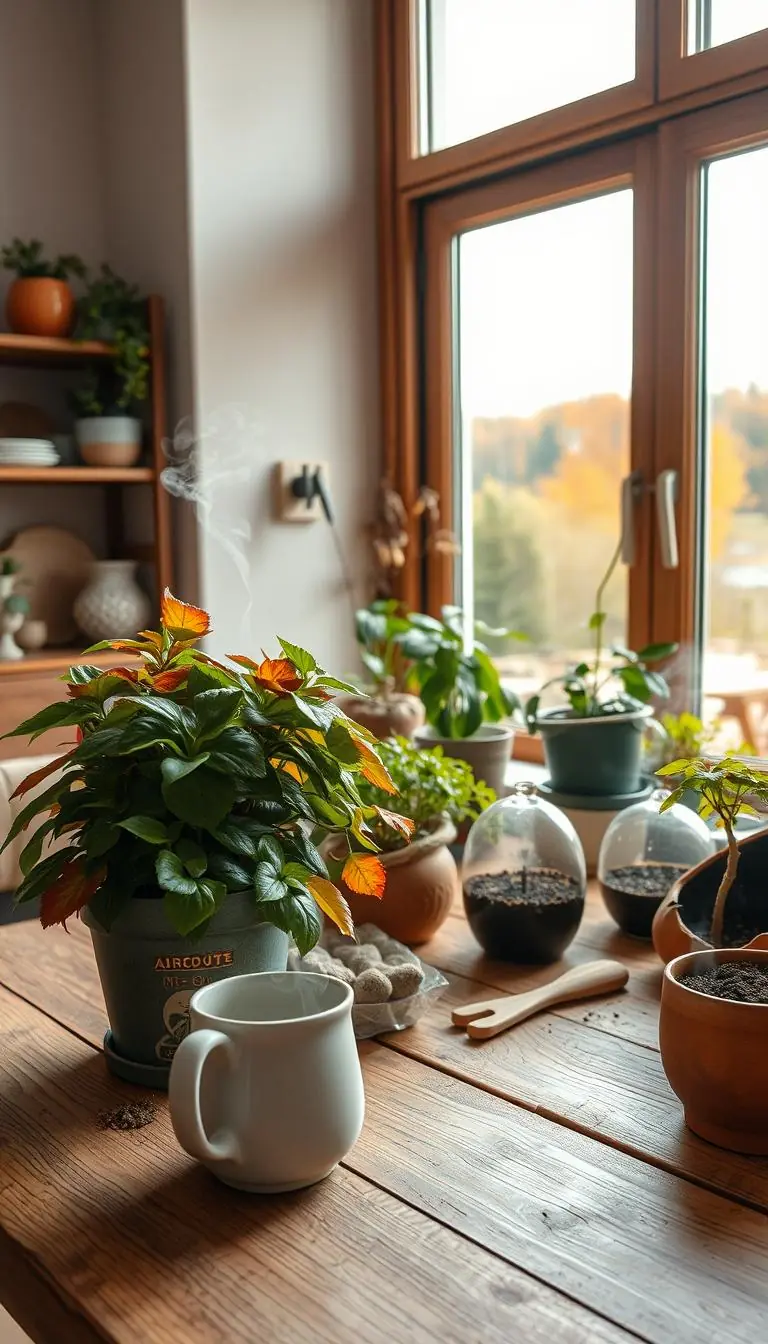
Warm soil on your hands, a sunlit sill, and the soft rustle of a leafy friend — that small, quiet moment sets the scene.
You might notice roots circling at drainage holes, soil that dries too fast, or slow growth outside winter dormancy. These signs tell you it’s time to act.
We’ll walk you through a gentle, step-by-step method that protects tender roots and keeps your space neat.
Expect simple gear: gloves, a small spade, a watering can with a soft head, and a clean container with good drainage. Spring is usually best for fresh soil or a modest size up; summer works with steady care, and winter calls for extra warmth and care if needed.
You’ll learn when fresh potting mix is enough and when to move up in size — usually no more than two inches for tabletop pots and four inches for floor planters. The goal is healthy growth, tidy saucers, and easy watering from day one.
Key Takeaways
- Look for circling roots, quick drying, or salt crust as signs to act.
- Spring is ideal; summer is acceptable; winter needs extra gentleness.
- Use gloves, a spade, watering can, and a container with drainage.
- Limit size increases to 2" for tabletop, 4" for floor to avoid overwatering.
- Fresh, crumbly mix signals good air, moisture, and nutrients.
- Pair a neat pot and saucer to keep your space beautiful and functional.
Know When and Why to Repot Houseplants
A quick check of root growth, soil texture, and how the pot feels will tell you if it's time for a fresh start.
Clear signs it’s time
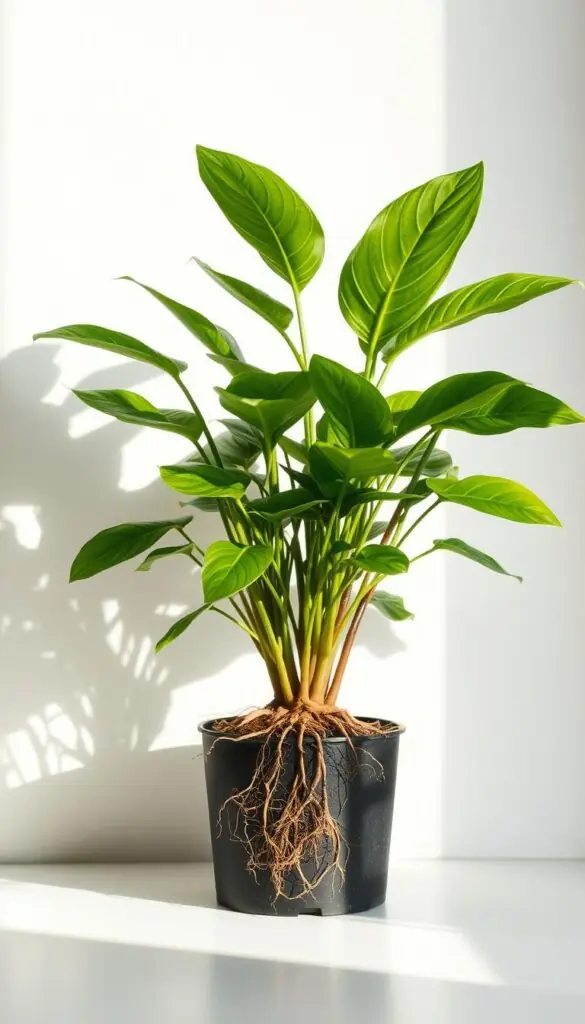
Look for roots poking through drainage holes, a plant lifting at the rim, or tight, circling roots when you tip the container.
If water runs straight to the hole or the top mix feels compacted and crusty, the root zone may be crowded and the soil exhausted.
Other cues: slow new growth outside winter, a top-heavy vine falling over, or white mineral buildup on the pot rim.
Best time to repot: seasons explained
Spring is ideal — do it before active growth for quick recovery.
Summer works if you give extra shade and steady care. In winter, only change the container when necessary and keep the plant warm and bright afterwards.
Tools and materials checklist
Gather a clean pot with drainage holes, quality potting soil or a tailored mix, gloves, a small spade, and a watering can with a gentle pour.
- Choose a new container about 1–2 inches wider for most tabletop sizes.
- For decorative cache pots, set a plastic nursery pot with holes inside the outer container.
- Match material to habit: plastic retains moisture; unglazed terra cotta suits succulents and cacti.
Tip: Keep a tidy workspace, note the date when you last changed the soil, and feel the pot weight before and after watering to track how much mix remains around the roots.
Step-by-Step Guide to repotting plants Without Damaging Roots
Start by setting up a tidy workspace so your hands and the soil stay clean and calm. Lay a tarp or garbage bag down. Clean your new pot and, for terracotta, soak it overnight so it won't steal moisture from the mix.
Prep the pot and hole
Place a small square of mesh or landscape fabric over the drainage hole. Add a thin layer of fresh potting soil to the bottom so the root ball sits on soft mix.
Remove and loosen the root ball
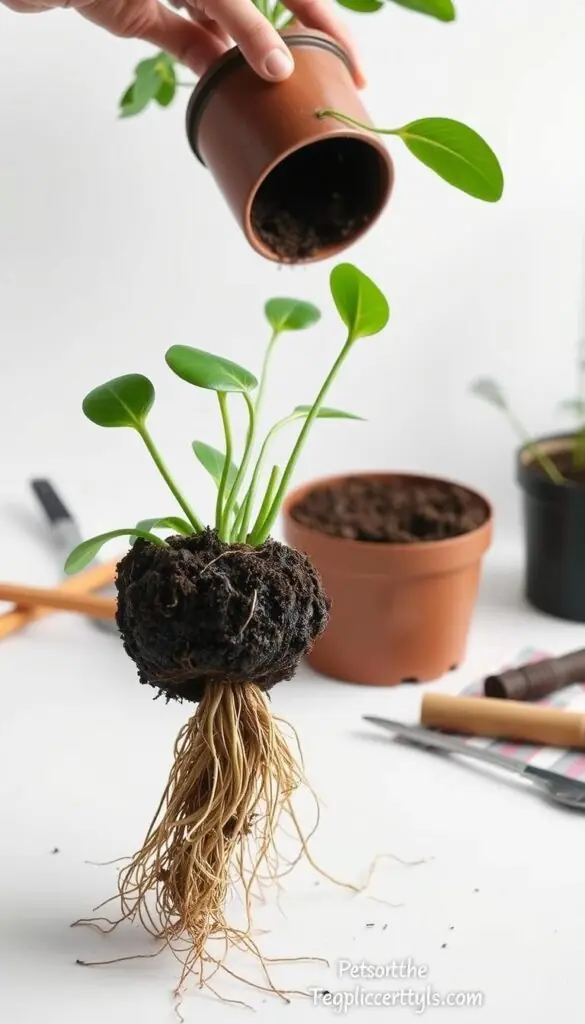
Tip the current pot on its side. Support the stem base and ease the root ball free with a small spade or butter knife. For a plastic nursery pot, a gentle squeeze helps release it.
Cradle the root mass and tease out tight coils. Massage gently so thick roots stay intact while the outer web relaxes into the new mix.
Inspect, prune, and set planting height
Trim any black or mushy rot with clean shears. Shake away about one-third of old mix if the root ball is compacted. If you keep the same size pot, you may prune roots up to a third from the bottom.
Set the stem base about 1/4–1/2 inch below the rim. Backfill with fresh potting soil, keeping the soil around the roots light and crumbly.
Settle, water, and rest
Tap the pot to settle soil without packing it. Use a slow, even pour of water until it runs from the bottom. Let the pot drain fully so the mix feels evenly moist and smells fresh and earthy.
Place the plant in bright, indirect light. Give it a day or two of gentler light to reduce shock before moving to its long-term spot.
Tools to have:
- Clean pot with drainage holes and a saucer
- Mesh or fabric for the hole
- Small spade, clean shears, tarp
Aftercare, Seasonal Tips, and Common Mistakes to Avoid
Fresh mix changes the moisture game. New potting soil usually holds more water, so your watering rhythm will feel different for a few weeks. Make sure to check the top inch with your finger and lift the plant pot to feel its weight before you add water.
Watering rhythms post-move
- In the first weeks, water less often; cool, slightly damp soil means wait.
- Succulents and cacti want to dry almost completely; ZZ and snake plants do, too.
- Spider plant, pothos, and philodendron prefer the top couple of inches to dry.
- Ferns like just the surface to dry — keep humidity up for them.
Give bright, indirect light and gentle airflow so roots recover without stress. Avoid hot drafts or direct noon sun for a day or two. For humidity lovers, group pots, use a pebble tray, or run a small humidifier.
Top mistakes to avoid
- Avoid oversized pots that hold too much moisture; match size to root mass.
- Never use a container without drainage holes — make sure water can leave the bottom.
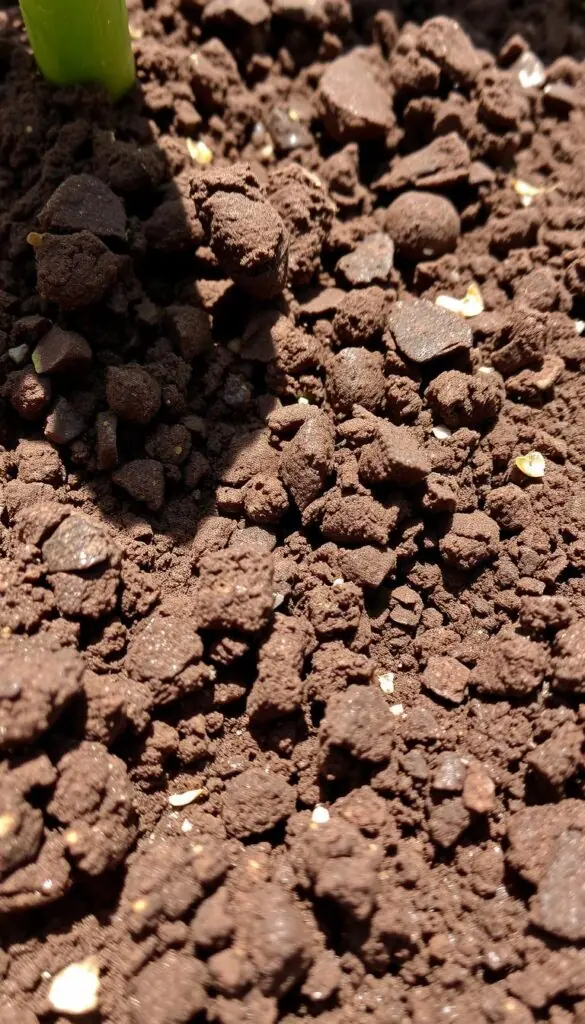
- Don’t pack soil tight; airy mix helps root growth and prevents rot.
- Hold off on fertilizer for a few weeks; new mix has nutrients and feeding too soon can burn roots.
Beauty meets function
Choose coordinated pots with matching saucers for tidy style. Add a discreet grow light in dim corners and compost old mix in a small, odor-managed bin to reuse organic matter. Check in after a few weeks: look for firm leaves, new growth, and steady moisture patterns, then adjust watering and light as needed.
Conclusion
End on a simple note: when the pot, soil, and routine align, your greenery settles in with ease.
You now have a clear, repeatable step — choose the right container, remove plant gently, set planting height, fill with fresh mix, tap to settle, and water from the top to the bottom. This keeps the roots cozy and the soil around them airy.
Use a plastic nursery insert inside a decorative pot for neat watering and a saucer to catch drips. Let the plant rest in bright, calm light for a day or two to recover.
With each step you’ll gain confidence. Notice textures, colors, and a bit of new growth. Trust the process — beauty and function grow together, one pot at a time.
FAQ
How do I know it's time to repot my houseplant?
Look for roots circling the pot, water running straight through, slowed growth, or soil that dries out very quickly. If roots poke from drainage holes or the plant becomes top-heavy, it’s a clear sign to move to a slightly larger container.
When is the best time to refresh the soil and move a plant to a new pot?
Spring is ideal because plants are entering active growth. Summer can work for fast-recovering types. Avoid major moves in winter when growth slows; dormant roots tolerate change poorly and are more prone to stress.
What basic tools and supplies should I have on hand?
Gather a clean pot with drainage holes, fresh potting mix suited to the species, a small spade or trowel, gloves, scissors or pruning shears, and a watering can. For clay pots, pre-soaking helps prevent them from drawing moisture away from roots.
How do I remove a plant without damaging the roots?
Water lightly a few hours beforehand so soil holds together. Support the stem base, loosen the pot edges, and gently slide the root ball out. For stubborn pots, tap the rim or run a knife around the inside edge to free the soil.
Should I loosen or trim the root ball before placing it in a new pot?
Lightly tease out circling roots to encourage outward growth, but avoid aggressive tearing. Trim only clearly dead or rotted roots. For very rootbound specimens, you can prune up to one-third to stimulate fresh branching.
How much bigger should the new pot be?
Choose a pot 1–2 inches wider for tabletop plants. Oversized containers hold excess moisture and slow drying, which can lead to rot. Ensure the new container has drainage holes and consider a decorative cache pot for appearance.
What’s the correct planting height when backfilling with fresh soil?
Set the root ball so the base of the stems sits about 1/4–1/2 inch below the rim. Backfill with fresh potting mix around the root mass, keeping the soil light and not firmly compacted to allow air flow and water penetration.
How should I water immediately after potting?
Water slowly and thoroughly until water runs from the drainage holes. Let excess drain away. This settles soil around roots without compacting it. Check moisture by feeling the soil or lifting the pot to learn its weight when wet versus dry.
Where should I place the newly potted plant to reduce shock?
Keep it in bright, indirect light and away from direct sun for a few days. A brief period of slightly lower light helps reduce transplant shock. Maintain stable indoor temperatures and moderate humidity to aid recovery.
How often should I water after repotting?
Follow a feel-and-weight approach: water when the top inch of soil is dry for many houseplants. Succulents and cacti need much less frequent watering and a well-draining mix. Adjust by season—less in winter, more in active growth periods.
Can I fertilize right after moving a plant to fresh soil?
Avoid fertilizing immediately. Fresh potting mixes often contain slow-release nutrients. Wait 4–6 weeks so roots settle and any minor transplant stress fades before resuming a regular, gentle feeding schedule.
What common mistakes should I avoid when repotting?
Don’t use a pot without drainage, avoid oversized containers, and don’t pack soil too tightly. Don’t repot during dormancy unless necessary, and don’t fertilize too soon. These missteps increase rot risk and hinder root recovery.
How do care needs differ for succulents and cacti compared with tropical vines?
Succulents and cacti require gritty, fast-draining mixes and infrequent watering. Tropical vines like pothos and philodendron prefer peat-based mixes that hold some moisture and benefit from more regular watering and humidity.
How can I help a newly potted plant look tidy and still functional?
Use a saucer to catch excess water, choose a cache pot that hides the nursery container but allows airflow, and add a top layer of decorative pebbles sparingly. Small grow lights help if natural light is limited.