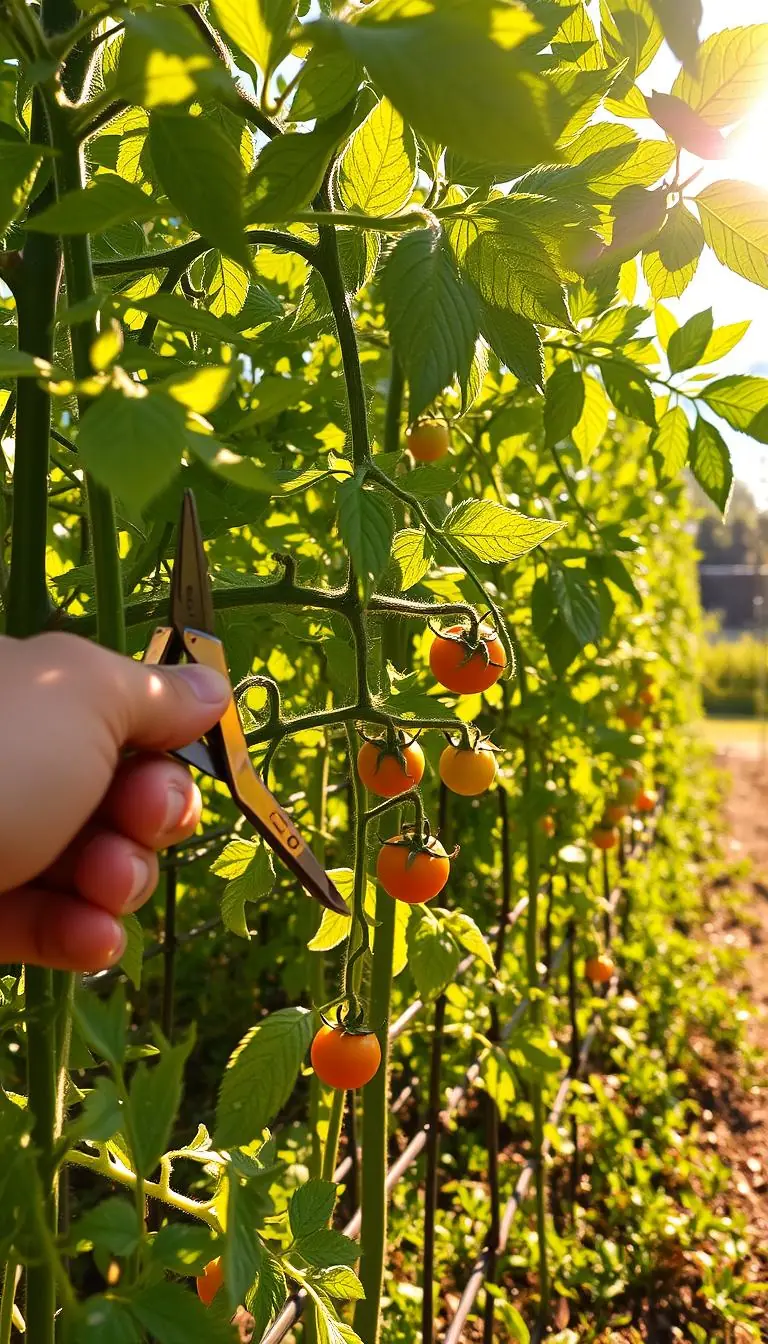
You step outside and inhale that warm, earthy scent—dark, crumbly soil that promises growth. Have you noticed dry patches or dreamed of a lush bed outside your kitchen window? This friendly guide shows you how to get started with a simple, reliable process that turns everyday food and yard bits into rich, usable compost.
You’ll learn clear steps: collect kitchen scraps, layer with dry browns, keep the pile as damp as a wrung-out sponge, and let microorganisms do the work. Use basic tools you likely already own—gloves, a digging fork, an aerator, hose, screener, and planters—to keep turning a few minutes, not hours.
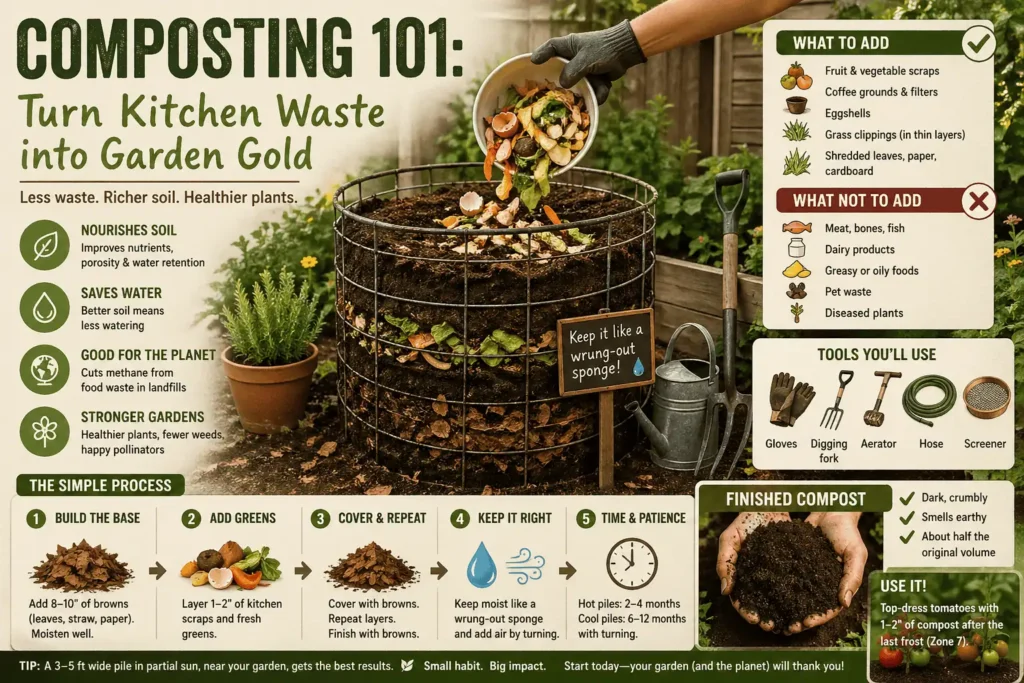
Set a 3–5 foot wide structure near your garden in partial sun and out of drying winds. In warm, active piles the process can finish in 2–4 months; finished compost will be about half the original height and smell pleasantly earthy. Add 1–2 inches of screened compost around tomatoes in Zone 7 after the last frost to boost nutrients and water retention. Skip meat, dairy, bones, and diseased plants to avoid pests.
You’ll finish feeling calm and confident—less trash, richer soil, and easier plant care that makes your outdoor space more beautiful and resilient.
Key Takeaways
- Turn everyday food scraps into dark, fluffy compost to feed pots and beds.
- Keep the pile like a wrung-out sponge and use simple tools for quick turns.
- Place a 3–5 ft structure near your garden in partial sun for best results.
- Avoid meat, dairy, bones, and diseased plants to prevent critters and smells.
- Finished compost improves sandy and heavy soil—add thin layers around plants.
- Active piles reach high temperatures and often finish in a few months with regular turning.
Why Compost Now: Benefits, Climate Impact, and What to Expect
Bring your food scraps back to the garden and watch soil, plants, and water use improve.
Do it for healthier soil. Adding finished compost boosts nutrients, improves porosity, and helps roots grow deep. Your beds hold moisture better, need less watering, and show fewer weeds.
Start any season. Spring and summer piles heat quickly; fall gives you plenty of dry browns from leaves. In cold zones, slow piles may rest through winter and finish by late spring.
Real timelines by climate: a hot, managed pile in Zone 8 can finish in 8–12 weeks, while a cool, hands-off pile may take up to a year.
Keep food out of landfills and you cut planet-heating emissions. Roughly a quarter of household trash is yard and food waste, and diverting it makes a measurable difference.
- Practical uses: top-dress perennials, refresh raised beds, and boost container planters with a few inches of finished compost.
- Protect pollinator areas and reduce erosion by improving soil structure.
- Avoid animals: never add meat, bones, dairy, or oily foods.
| Season/Zone | Typical Timing | Practical Tip |
|---|---|---|
| Warm (Zone 7–9) | 8–12 weeks for hot piles | Turn weekly for faster results |
| Cool (Zone 4–6) | 4–12 months, slower in winter | Layer and insulate in fall |
| Year-round small systems | Varies—months to a year | Use bins or worm systems for tidy production |
Set Up Your Composting Space: Bins, Location, and Tools
Pick a sunny-but-sheltered corner close to your beds so turning a forkful is never a chore. A good spot gets partial sun, stays out of drying winds, and sits within a short walk of where you’ll use finished material.
Size matters. Aim for a 3–5 foot wide pile or bin so it heats evenly and still lets air and water reach the center. Too small won’t warm; too large blocks airflow.
Bin styles that fit your space
- Wire ring — cut fence length = diameter × 3.14; clip into a cylinder and unclip to peel away when you turn the pile.
- 55-gallon barrel — drill 1/2-inch holes in six to nine rows; fill about 3/4 full and roll every few days. Use only barrels that never held toxins.
- Portable wood-and-wire cube — unlatches for easy moving and turning; good for neat side-yard setups.
- Three-chamber bin — run an assembly line: bin 1 (3–5 weeks), bin 2 (4–7 weeks), bin 3 to finish.
Apartment-friendly options
In a small space, use a worm bin in a ventilated 5-gallon tote; red wigglers break down kitchen scraps fast. Or try Bokashi: a sealed bucket and inoculated bran ferment food scraps before burying.
Tools & simple add-ons
- Gloves, digging fork, aerator, flat shovel, and a screener.
- Hose or watering can to keep the pile like a wrung-out sponge.
- Make the area welcoming: a paver path, a couple of planters, a hose hook, and a tidy tool rack or small deck box.
| Product | Best for | Notes |
|---|---|---|
| Wire fencing ring | Low-cost yards | Easy to build and open to turn |
| 55-gallon tumbler | Fast mix | Drill 1/2" holes; roll regularly |
| Three-chamber bin | Batch processing | Good for steady output |
| Worm bin / Bokashi | Apartments | Small footprint, minimal odor |
Step-by-Step composting: Build a Healthy Pile from Kitchen and Yard Waste
Start with a breathable brown base and add moist greens in thin, repeatable layers. This simple method keeps air moving and helps microbes heat the center quickly.
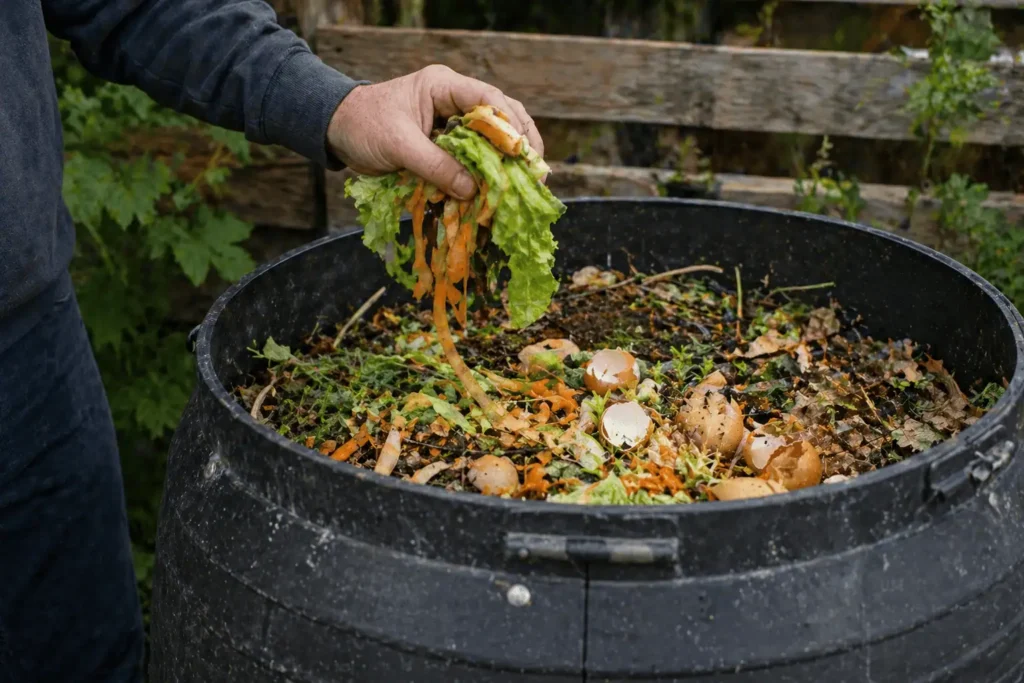
What to add (and skip)
Begin with 8–10 inches of shredded leaves, straw, or torn paper to form a dry, airy layer. Moisten it to a wrung-out sponge feel.
Add 1–2 inches of greens—coffee grounds, vegetable peels, and fresh trimmings—then cover with more browns. If you need a nitrogen boost, sprinkle a handful of high-nitrogen lawn fertilizer (no herbicide) or a 2-inch layer of aged manure.
Do not add meat, bones, dairy products, greasy foods, pet waste, or diseased plants. These invite animals and odors.
Layering that works
Keep a simple ratio: about 3–4 parts browns to 1 part greens. Finish each build with browns to deter flies and control smell.
Chop materials small—run leaves through a mower, break twigs, and cut long peels. Smaller pieces compost faster and help the pile reach high temperatures.
Moisture, oxygen, size, and heat
Moisten each layer as you go. Think “wrung-out sponge”—wet enough for microbes but not soggy. Turn or aerate to add oxygen when the pile feels dense.
A 3–5 foot wide pile holds heat best; active piles commonly reach 130–160°F. In cool weather, a breathable cover keeps warmth without trapping excess water.
Common mistakes to avoid
- Avoid thick mats of grass clippings—they smother airflow. Mix thin layers with browns and fluff as you add.
- Skip lime unless you must adjust severe acidity; too much can drive off nitrogen.
- Beware hay or manure with herbicide carryover—it can harm plants later.
- Never add cooked oily foods or pet feces; they cause smells and pests.
| Step | Action | Why it matters |
|---|---|---|
| Base | 8–10" shredded leaves or paper | Provides carbon and airflow |
| Feed | 1–2" greens like coffee, veggie scraps | Supplies nitrogen for microbes |
| Finish | Cover with browns, moisten | Controls odor and balance moisture |
Maintain, Troubleshoot, and Time Your Compost: From Pile to Finished Soil
Check your pile weekly; small adjustments now save time and keep pests away later.
Turning routine: Start by turning every 7–10 days to heat things fast. If the core stays warm and smells neutral, you can move to once or twice a month. Fork the pile, or roll a barrel a few turns, until the center warms to 130–160°F. If the center cools, aerate to reintroduce oxygen and speed activity.
Seasonal timing: In summer a well-managed heap often finishes in 8–12 weeks. In cool weather a pile may take 6–12 months or longer. Three-chamber systems move batches through in 3–5 weeks then 4–7 weeks; barrels roll every few days for steady action.
Quick fixes for odors, flies, and critters
- Add a 2–4" cap of dry leaves or shredded paper to stop odors.
- Bury fresh food scraps in the center and cover with browns to deter flies.
- Secure lids or add wire cloth; never add meat, dairy, or greasy foods to avoid rodents.
- If grass clippings clump, mix with dry leaves to restore airflow and help microorganisms do their work.
When it’s ready and how to use it
Finished compost is dark, earthy-smelling, and fluffy. The pile usually shrinks to about half its original height and original scraps are mostly gone.
| Test | What to look for | Use |
|---|---|---|
| Smell | Pleasant, earthy | Top-dress beds, refresh pots |
| Texture | Crumbly, fluffy | Mix 20–30% into potting soil |
| Appearance | Dark brown, few recognizables | Mulch perennials 1/2–1" or blend into raised beds |
Keep moisture like a wrung-out sponge—water lightly in dry spells. Use finished soil to feed tomatoes as they set fruit, refresh perennials in spring, and improve overall garden health.
Conclusion
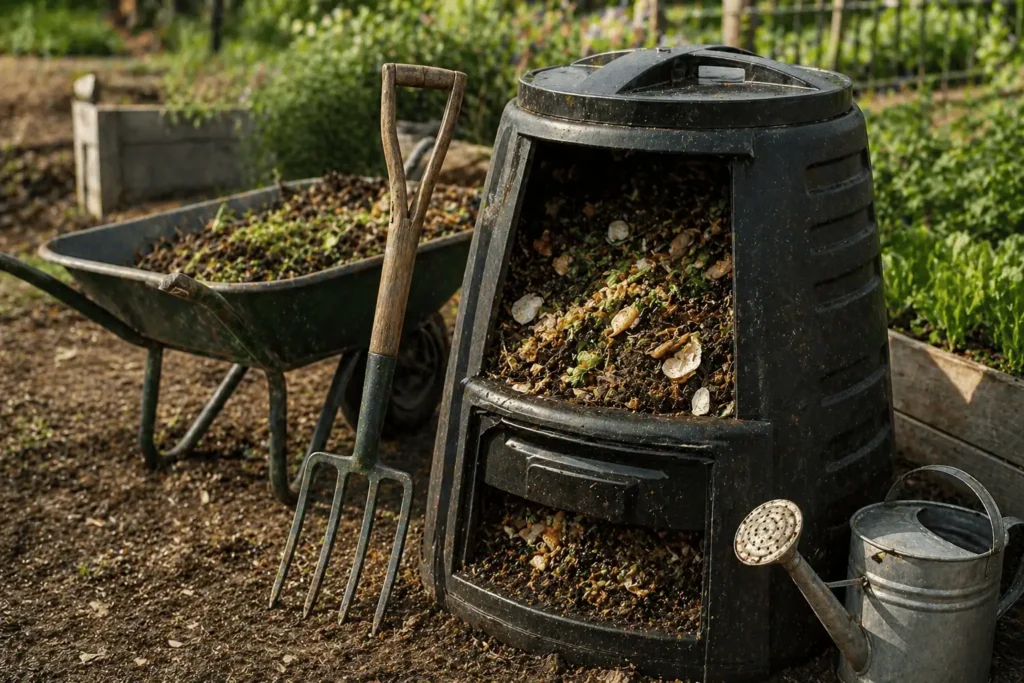
One easy routine can turn your weekly food waste into a garden-strengthener you’ll actually use.
Keep it simple: layer kitchen scraps with browns in a 3–5 foot bin, keep the pile like a wrung-out sponge, and give it air on a regular schedule. Use a fork, a hose, and a small screen—those tools are enough.
Stay selective to avoid pests: no meat, bones, or dairy products. Add fall leaves, a handful of coffee grounds, or a few thoughtful grass clippings as seasons shift.
In time you’ll have dark, crumbly compost that feeds soil and plants. Get started today—the first layer is the hardest, and after that the process becomes a calm, rewarding routine you’ll enjoy.
FAQ
What can I put in my compost pile from the kitchen?
You can add fruit and vegetable scraps, coffee grounds and filters, crushed eggshells, and small amounts of shredded paper or cardboard. Keep out meat, bones, and most dairy to avoid odors and pests. If you have limited space, consider a worm bin or Bokashi system for tougher items.
How do I balance greens and browns for a healthy pile?
Aim for a mix of nitrogen-rich greens (fresh grass clippings, vegetable scraps) and carbon-rich browns (dry leaves, shredded paper, wood chips). A simple rule: layer or mix roughly equal volumes, adjusting if the pile smells (add browns) or sits dry (add greens and water). Proper balance feeds microbes and keeps the pile active.
Where should I site my compost bin in the yard?
Choose a partly sunny, sheltered spot out of drying winds and close to your garden for convenience. Good drainage and level ground help. If you’re a renter or in an apartment, a worm bin or compact tumbling bin works well on a patio or balcony.
How wet should my compost pile be?
Think “wrung-out sponge.” The pile should be moist but not dripping. Too wet conditions slow decomposition and cause odors; too dry and microbes go dormant. If it’s soggy, add browns and turn; if it’s too dry, sprinkle water as you mix.
How often should I turn the pile to speed up breakdown?
For a hot, fast system, turn every 1–2 weeks. A less intensive pile can be turned monthly or only when you notice a slowdown. Turning adds oxygen and helps maintain even heat and moisture, which speeds microbial activity.
How big should a compost pile be to generate heat?
Aim for roughly 3–5 feet wide and tall so the center retains heat. Smaller bins can work but won’t reach high temperatures. A properly sized pile can hit 130–160°F, which accelerates decomposition and helps kill weed seeds and pathogens.
Can grass clippings go in the pile? Won’t they mat and smell?
Yes, but add clippings in thin layers and mix them with browns like leaves or shredded paper. Thick, fresh mats can become anaerobic and smelly. Chopping or drying clippings first reduces matting and helps airflow.
What about dairy, meat, and bones—are they ever allowed?
It’s best to avoid meat, bones, and most dairy in typical backyard piles because they attract animals and create odors. If you have a secure hot system that reaches high temperatures consistently or a Bokashi pre-processing unit, you can manage these items more safely.
How long does it take to get finished compost?
Time varies. A well-managed hot pile can produce finished compost in a few months. A slower, passive pile may take six months to a year. Cold climates slow the process in winter; turning and insulating the pile can help maintain activity.
My pile smells bad or has lots of flies—what should I do?
Bad odors usually mean too much moisture or too many greens. Add dry browns, turn the pile to aerate, and cover fresh food scraps with a layer of leaves or finished compost. To reduce flies, bury scraps deeper, use a closed bin, or try a lid or cover.
How can I prevent pests like raccoons or rats from getting into the bin?
Use a sturdy, enclosed bin with a tight lid or a wire-mesh barrier. Avoid adding meat and oily foods, and bury food scraps under a layer of browns. Compost tumblers and locked commercial bins offer extra protection in urban areas.
Is finished compost safe to use around edible plants?
Yes. Mature compost that is dark, crumbly, and smells earthy is safe and nutritious for vegetables and herbs. Screen it if you want a finer texture. Mix it into garden beds, use as top dressing, or blend into potting mixes for healthy, thriving plants.
Can I compost paper, cardboard, and wood products?
Small amounts of shredded paper and plain cardboard are great browns. Avoid glossy or heavily inked paper. Untreated wood chips and sawdust can be used but mix with nitrogen sources, as they tie up nitrogen while breaking down if added in large amounts.
What tools help make composting easier?
Keep a digging fork or aerator, a garden hose or watering can, gloves, and a simple screener nearby. A small bin for kitchen scraps and a pair of sturdy bins or a tumbler streamline the process and keep your space tidy.
How do I deal with herbicide carryover that can harm plants?
Some grass clippings or hay treated with persistent herbicides can survive composting and harm sensitive plants. Avoid using materials from recently treated lawns, and if suspect, don’t use that compost on food crops until you’re sure it’s safe. When in doubt, compost those materials separately and test on nonedible beds first.
Can worms help, and how do I start a worm bin?
Worms speed decomposition and create rich castings. Start a worm bin with red wigglers, shredded bedding (paper, cardboard), and kitchen scraps. Keep the bin moist, shaded, and aerated. Worm systems are ideal for apartment gardeners and small-space growers.
Related: if you want a beginner-friendly, deep-dive walkthrough of getting started with composting from scratch, check out “Composting for Beginners: Turning Waste into Garden Gold.”