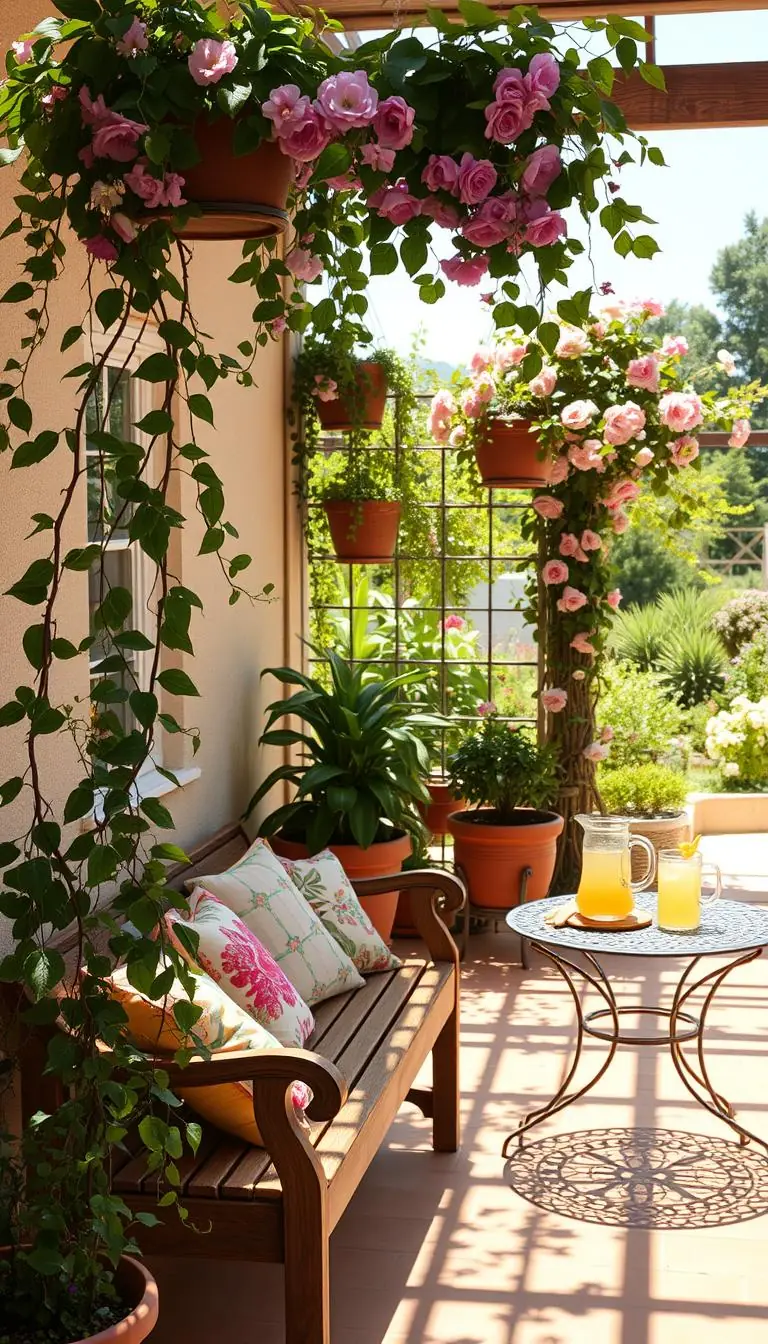
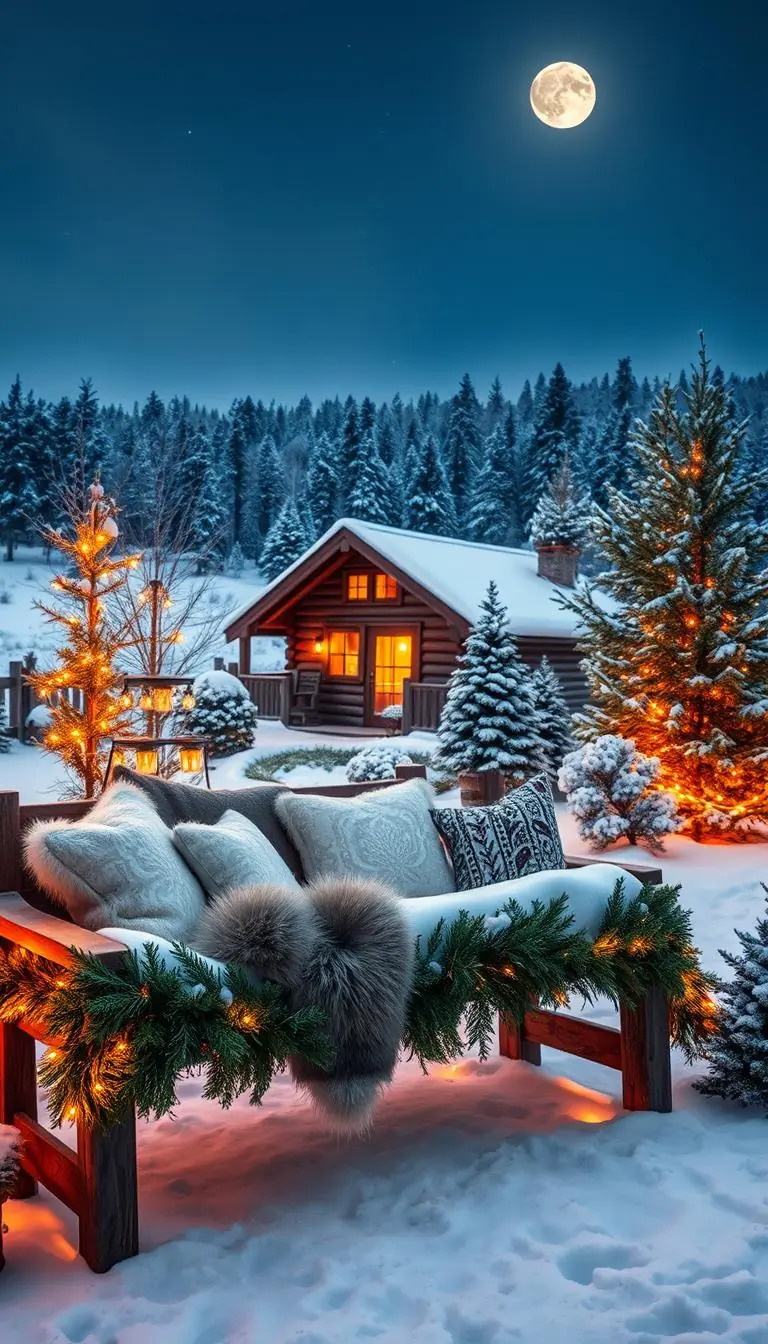
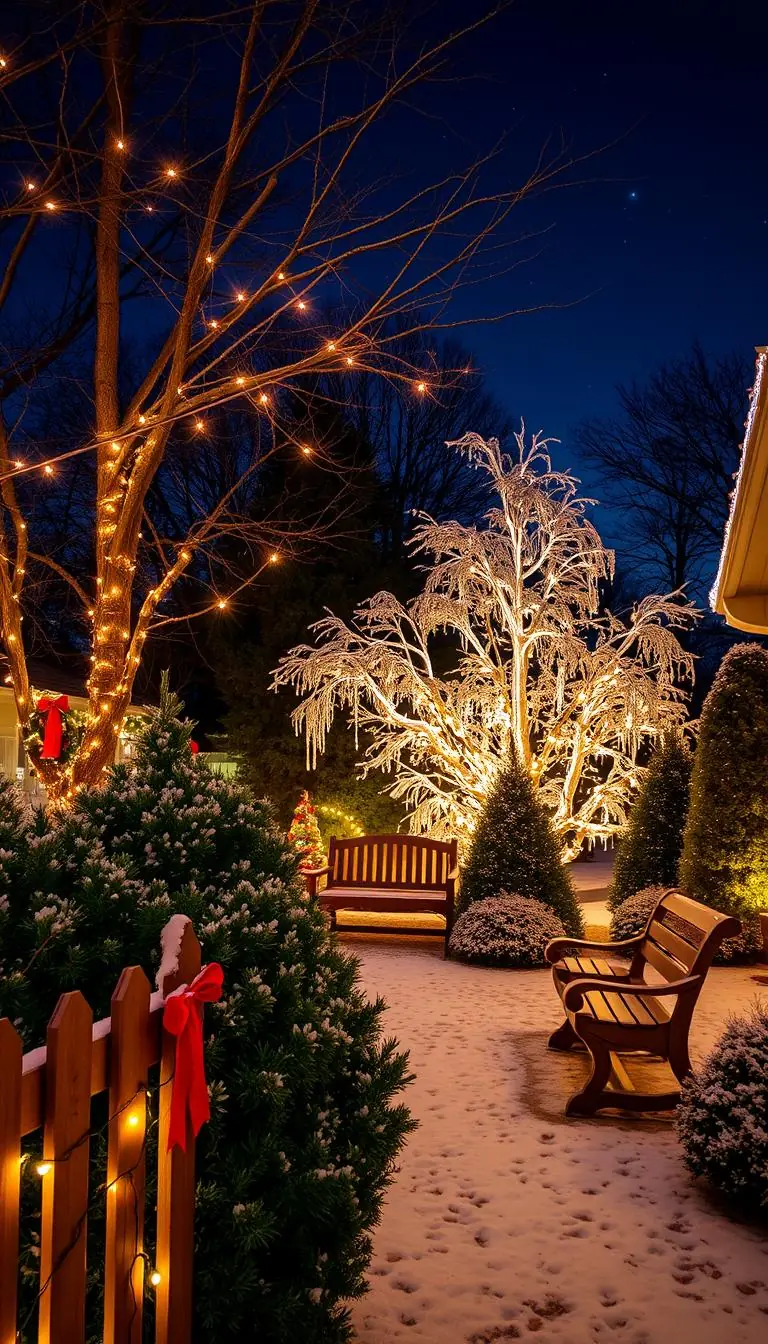
Imagine the scent of jasmine at dusk and soft pools of glow along a stone path. You stop to feel the air and notice how a few well-placed lights change the whole mood of your yard. This guide helps you plan a peaceful, useful setup for garden and patio spaces.
Start simple: grab a notebook and a tape measure, then take a twilight walk to mark doors, steps, and favorite plants. We show why spring or fall are great times to install and how to avoid common mistakes like overlighting or harsh glare that blinds windows.
We’ll explain fixture choices by task so you buy for function and beauty. Learn which bulbs warm wood and stone, which fixtures suit a covered porch or an open deck, and how low-voltage systems make DIY work approachable.
By the end, you’ll know simple spacing, basic transformer tips, and easy maintenance habits to keep your lights clear and dependable. Think calm paths, cozy nooks, and a welcoming entry that extends your home into the evening.
Key Takeaways
- Begin with a sketch, notebook, and tape measure to set clear goals.
- Install in spring or fall; adjust angles after leaf-out and season changes.
- Choose fixtures by job—path, tree, step, or porch—to avoid overbuying.
- Prefer warm bulbs for focal features and cooler tones for wide areas.
- Use low-voltage systems and timers for easier DIY and reliable control.
Start with a vision: map your yard and set simple goals
Start with a simple map of your yard to turn dusk-time impressions into a clear plan. Walk at twilight with a cup of hot tea and note textures you love — silver sage leaves, russet brick, cedar siding. Mark doors, gates, patios, and real plants like hostas and lavender.
Create a quick sketch: home, paths, trees, beds, doors, patios
Print or sketch a plan that shows your home, fences, paths, patios, beds, and trees. Walk the yard to spot slippery steps and dark corners. Circle priorities so your design stays focused and budget-friendly.
Decide on effects: safety, ambiance, or highlighting features
Set a clear purpose for each area: safety for steps, ambiance for seating, and accents for special features. Aim for pools of light by spacing fixtures no closer than 20 feet apart so the eye moves comfortably along the way.
"Keep goals simple and measurable: see every step, read at the table, highlight a favorite tree."
- Mark power sources and irrigation to avoid digging surprises.
- Use sticky flags to test sightlines from the porch and windows.
- List the fewest lights needed to meet each goal; restraint keeps the look natural.
Lighting fundamentals you’ll use at night
Good night design starts with simple rules about color, beam, and brightness. These three choices shape safety and mood. Use warmth for people, beams for form, and lumens for purpose.
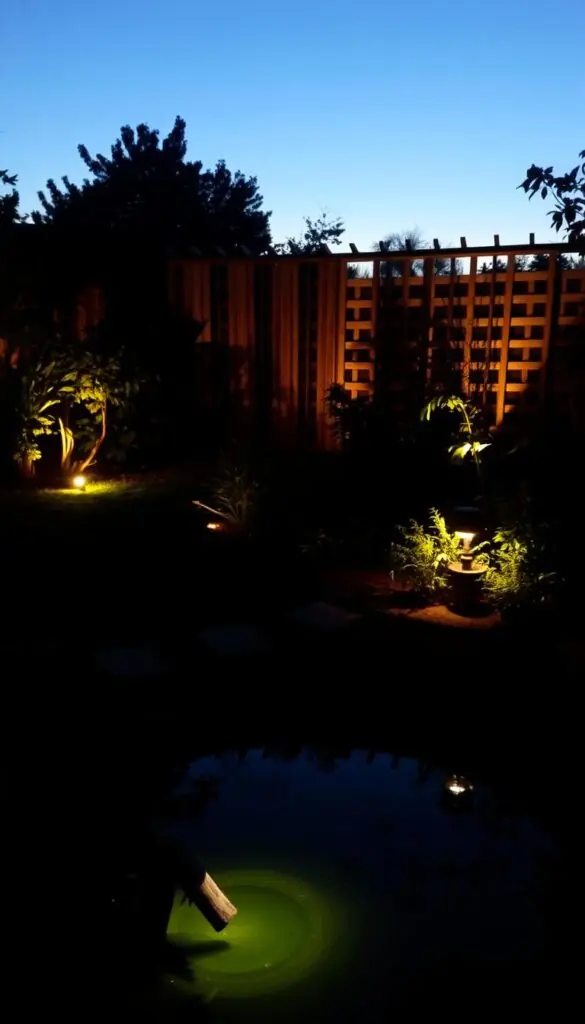
Warm vs. cool color temperatures
2700K–3000K feels like candlelight on cedar. It flatters skin, wood, and stone and invites lingering at a table.
4000K and above reads as moonlit and crisp on concrete. Use it sparingly for driveways or wide lawns where clarity matters.
Pool light, don’t flood: spacing and beam spread
Think in beams, not watts. Narrow bullets (around 12°) make a column of light. Wider beams wash a wall without hot spots.
Space fixtures so pools overlap slightly and leave soft shadow between them. That layering keeps the scene calm and three-dimensional.
Lumens guide and a quick aiming test
- Paths: 100–200 lumens so your eyes adjust gently.
- Accents: 50–300 lumens to sculpt plants or features.
- Floods: 700–1300 lumens for tall walls or big trees.
At dusk, hold a headlamp where a light will go. Tilt until texture looks right and mark the angle with painter’s tape. Shield the bulb and aim away from windows to cut glare.
"Start dimmer — you can always tighten a beam or step up the bulb later."
Choose fixtures by job, not just by look
Match each light to a single job so every element earns its place. When you pick by purpose, the whole design feels intentional and calm.
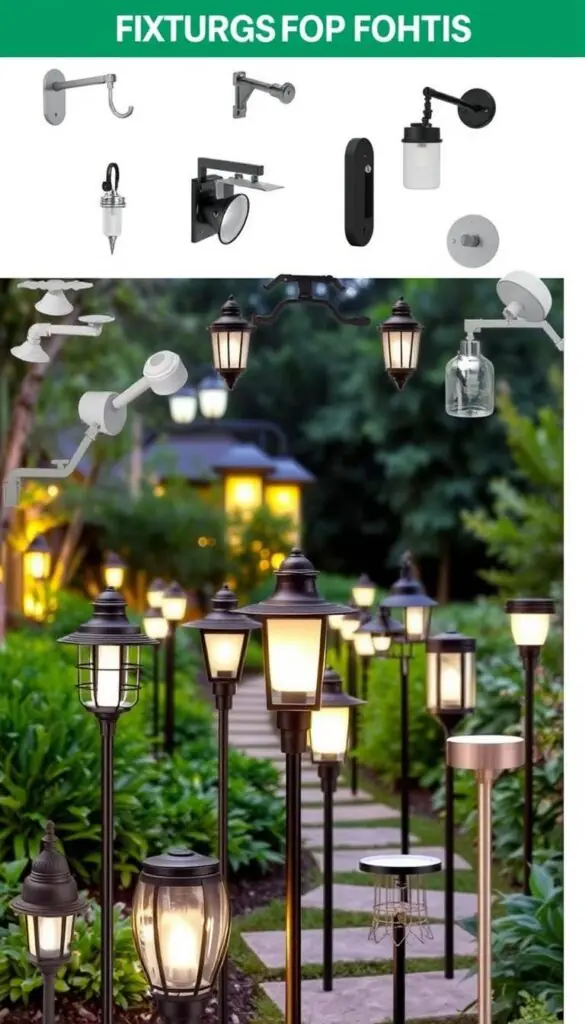
Path and garden lights for a gentle glow
Garden lights on 18–24 inch posts make beds readable and mark routes. They cast a soft dome of light that lets herbs like lavender release scent at dusk.
Bullets and well lights for focused uplighting
Bullet spotlights use narrow beams for crisp accents on trunks, house numbers, or stone columns.
Well lights sit flush in the ground to uplight foliage or graze walls without visible hardware.
Wash and flood lights for broad coverage
Wash lights smooth textures across fences, stucco, and hedges. Flood lights offer wide, bright coverage for large trees and big facades—aim them carefully to limit glare.
Downlights for natural moonlight
Mount downlights in sturdy branches or eaves to mimic moonlight. Long shrouds help cut glare and make walking areas feel soft and safe.
- Pick a purpose first—guiding, highlighting, washing, or moonlighting—then match the right fixture.
- Choose durable finishes like brass or copper in harsh climates.
- Bring simple tools: a rubber mallet and a spade make placement and small digs easier.
Tip: Lay components on the lawn before digging so you can test beam overlaps and avoid extra work.
Style and finish ideas that match your home exterior
Choose a finish that feels like an ally — it should make your siding and plants look better at dusk.
Hold a swatch or a small fixture near the door at twilight to see how the color warms or cools your facade.
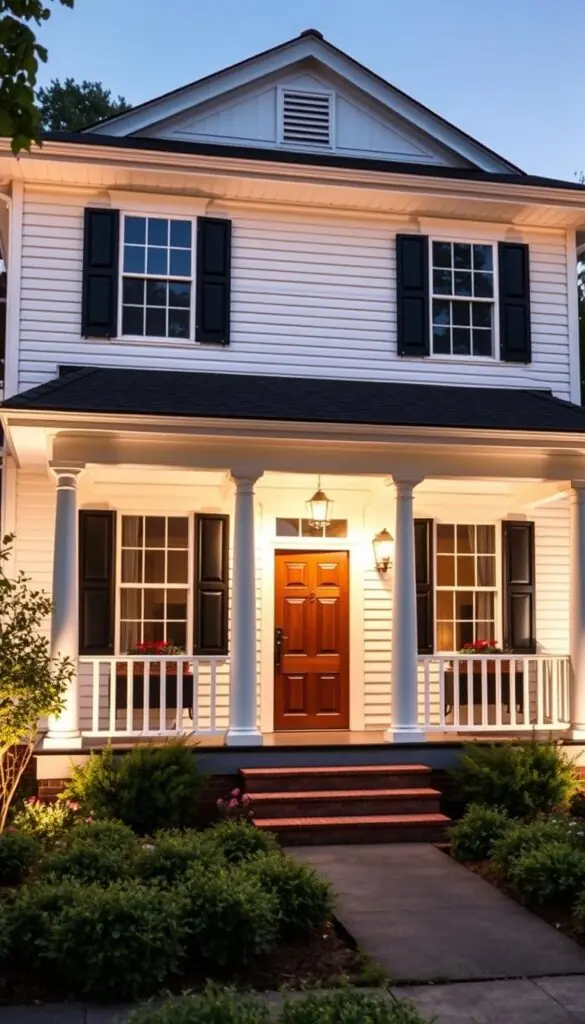
Black frames make hydrangea whites pop and read timeless on a traditional house.
Warm bronze, brass, or copper echoes cedar, brick, and terra-cotta, gaining a soft patina that deepens with age.
Match finish to mood and material
- Matte black: classic and versatile; it highlights white trim and garden blooms after dark.
- Warm bronze/brass: cozy with wood and red brick; these metals age beautifully.
- Brushed nickel/stainless: crisp for modern facades and smooth materials like concrete or graphite paint.
"Hold finishes beside your siding at dusk — the ambient glow will tell you what truly harmonizes."
| Finish | Best with | Notes |
|---|---|---|
| Matte Black | White trim, hydrangeas, traditional houses | Timeless contrast; works across many styles |
| Warm Bronze / Brass | Cedar, brick, terra-cotta, deep green plantings | Develops patina; cozy, inviting glow |
| Brushed Nickel / Stainless | Concrete, graphite paint, silver foliage | Modern, clean edge; resists visible wear |
| Powder-Coated Colors | Pots, shutters, accent trim | Use deep green or navy for subtle tailoring |
Keep the front elevation consistent for a calm view, then mix finishes subtly in backyard living areas.
If you live near salt air, choose marine-grade stainless or solid brass for longer life.
Outdoor lighting ideas for a safer, more welcoming front door
A welcoming entry begins with layered fixtures that balance task and mood. A covered porch performs best when you mix wall and ceiling sources so the area reads as warm and usable. Think practical first, pretty second—so keys, locks, and the doormat stay easy to see.
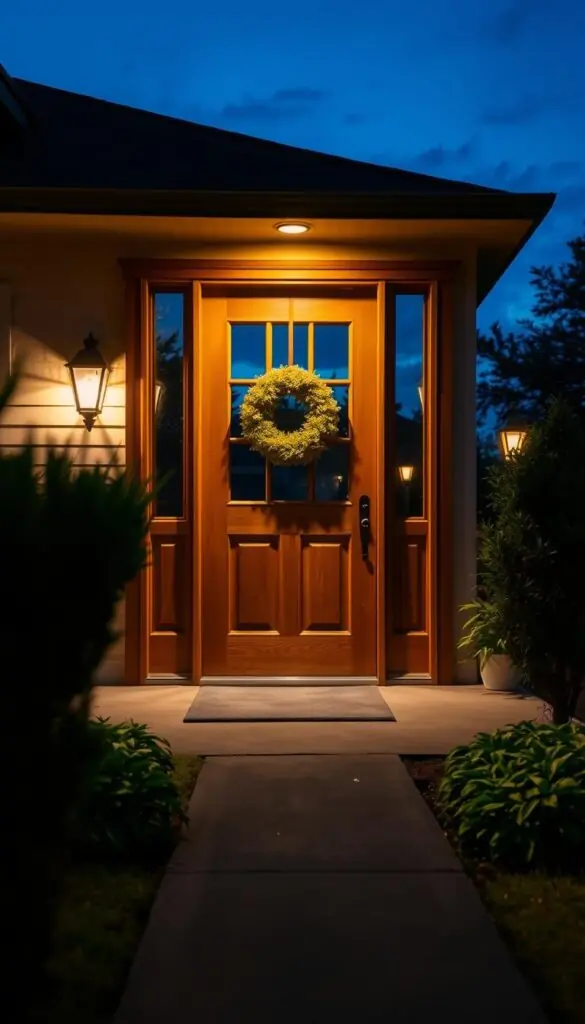
Front porch sconces and ceiling lights for an inviting glow
Simple formula: two sconces flanking the door plus a warm ceiling lantern on a dimmer.
Use 2700K bulbs behind frosted or seeded glass to create a soft spread without hard hotspots. Mount sconces at eye level for most adults to keep faces flattering and to cut glare. If the entry is narrow, one larger sconce paired with a ceiling fixture will still feel balanced.
Layered light at the entry: warm tones and low glare
- Aim for a warm, even glow so you can read keys and see doormat texture without squinting.
- Add a small recessed downlight above the lockset for task visibility without over-brightening the porch.
- Use a timer and photocell so the entry comes on at dusk—this supports safety and makes your home feel welcoming.
- Keep fixtures clean with a monthly wipe to prevent a hazy glow from pollen or webs.
"Two sconces plus a dimmed ceiling lantern gives you control: bright for arrival, soft for evenings."
Pick finishes that match your hardware for a tidy look—bronze, black, or brass can tie the whole entry together. A couple of subtle path lights leading to the stoop also help guests see edges as they approach, boosting both safety and charm.
Brighten paths, steps, and driveways without a runway effect
Keep routes calm and clear so guests arrive feeling welcome, not blinded. Good placement gives you clear sightlines and gentle depth perception while avoiding a harsh, runway look.
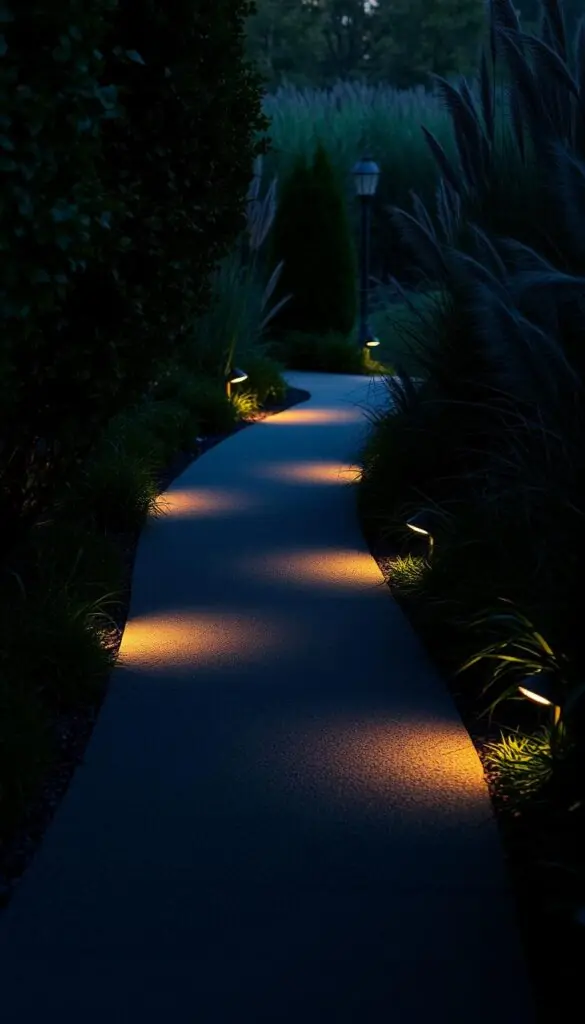
Path spacing and integrated step safety
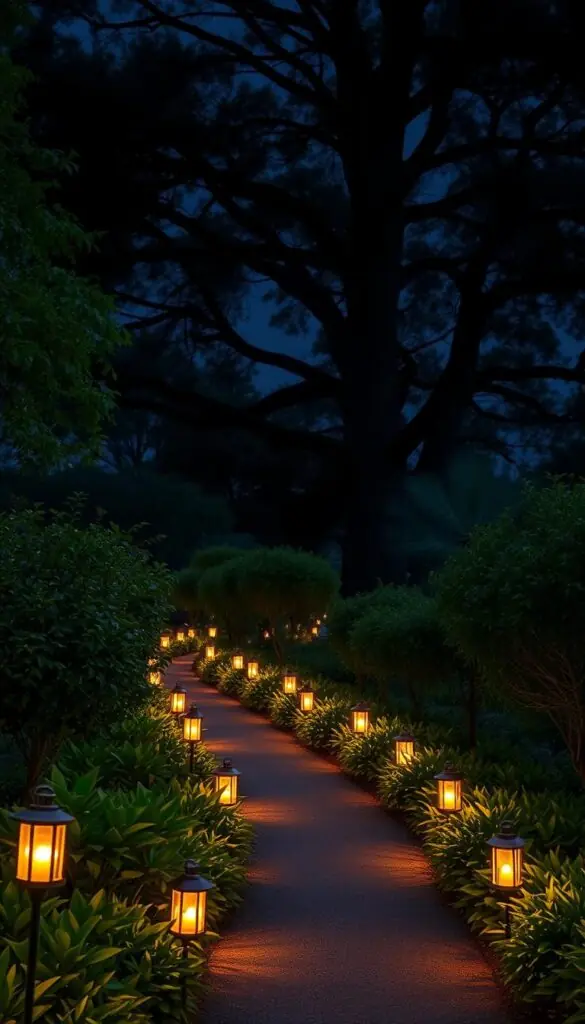
Space path lights about 6–8 feet apart and stagger them side-to-side. This marks edges naturally and stops the "striped runway" feel.
Keep fixtures low and shielded so the beam hits the walking surface, not eyes or windows. For stairs, fit integrated step lights into risers or side walls to reveal each tread after rain.
Bring a masonry bit for stone risers and cable clips to tidy runs along walls.
Tree-mounted downlights to guide the way
Mount soft downlights in sturdy branches to cast a dappled, moonlit sweep across driveways and gravel paths. This guides the way without bright, flat floods.
Choose warm amber tones to improve depth perception and to make bark, flagstone, and mulch read as rich and natural.
- Set fixtures back from plow edges if you get snow; use stakes that can be reset.
- Use shielded heads near white concrete to reduce reflected glare.
- Put path zones on a separate timer so routes stay brighter later for late arrivals.
"Aim low, warm, and shielded — a little light goes a long way toward safety and calm."
Patio and outdoor dining: set the mood for evening meals
Picture warm bistro strands above a table of clinking glasses and rosemary-scented planters. That simple scene comes alive when you layer sources so food and faces look their best.
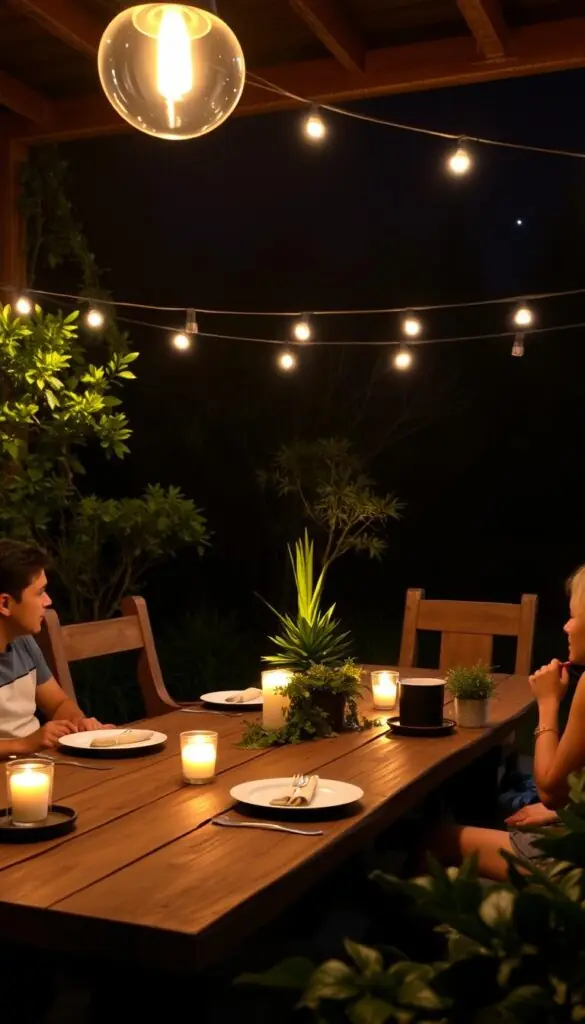
Keep meals flattering: use very warm color, around 2200K–2700K, so plates look rich and skin tones stay soft. For a slightly brighter but still cozy feel, 3000K works well near grills or prep zones.
Layer string lights overhead with a couple of wall fixtures to fill shadows without one harsh beam. Tuck shallow well lights at the patio edges to define the spaces and prevent trips while keeping the scene intimate.
- Choose dimmable LED string lights rated for wet locations and run them on a separate control so you can soften the room after dinner.
- Add a focused task light by the grill on its own switch so cooking won’t spoil the dining ambiance.
- Use planters of rosemary or basil near seating; soft light on the leaves releases scent when brushed.
"Turn lights on about 30 minutes before guests arrive so the patio feels welcoming the moment they step outside."
Finish with a small, warm table lamp made for patios to anchor conversation and keep the glow cozy at your home. Consider these simple lighting ideas to make evenings feel effortless and warm.
Decks and balconies: glow underfoot, comfort overhead
A deck should feel safe underfoot and soft overhead so evenings invite staying late.
Start with subtle under-step LEDs and a single warm overhead source. Add post-cap LEDs to mark the edge and keep sightlines open across the yard. Tuck slim riser lights into stair risers so each tread is visible without spilling brightness across the whole space.
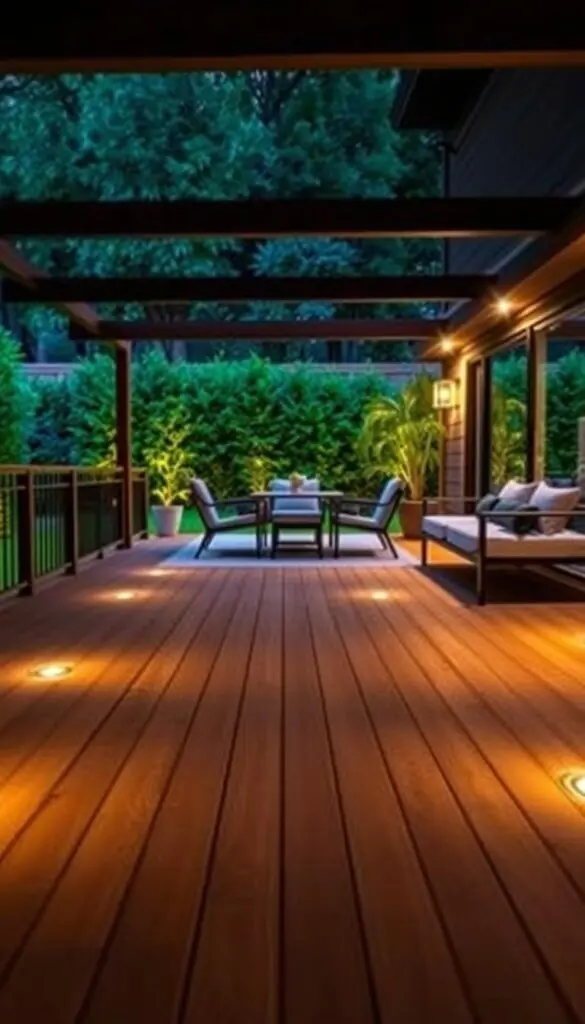
Post-cap, risers, and smart cable routing
Route cables beneath rails and through posts to protect runs from weather and foot traffic. Use sealed connectors and rust-resistant hardware for windy, wet sites.
Color, controls, and practical tests
Pick warm 2700K bulbs for a cozy evening glow, then pair a brighter task fixture near the grill or door. Keep glare off neighbors with shielded fixtures aimed at the deck surface, not outward.
Do the broom test: toss a few leaves or sweep a small patch and check that debris is easy to see without squinting. If you struggle, add a low-glare downlight under a handrail to guide hands and feet.
- Add post-cap lights to softly mark the deck’s edge and keep sightlines open.
- Tuck slim LED riser lights into stairs so each tread is visible without heavy spill.
- Route cables beneath railings and through posts to protect them from wear.
- Choose warm color temperatures for lounging and one brighter task fixture near work areas.
- Put the deck on a separate timer so you can linger after yard zones switch off.
"Less is often more on balconies — one wall sconce and a short festoon can be plenty for a relaxing nook."
| Problem | Solution | Notes |
|---|---|---|
| Dim or uneven steps | LED riser lights spaced per tread | Prevents trips; low glare keeps mood intact |
| Visible wiring | Route under rails or inside posts | Protects cables and keeps the deck tidy |
| Neighbor glare | Shielded, downward-aimed fixtures | Directs light to deck surface only |
| Corrosion risk | Use sealed fixtures and stainless hardware | Improves longevity in wet or salty air |
Make trees, shrubs, and planting beds shine after dark
A simple plan gives you depth and texture after sunset. Aim to illuminate both trunk and canopy so each specimen reads as a whole, not a floating crown.
Uplight trunks and canopies: avoiding the “floating tree”
Small trees (under 20 feet): two 20-watt uplights usually suffice — one to graze the trunk, one to reach the canopy.
Large specimens: use three to five uplights of 35–50 watts. Spread them around the drip line so bark texture and branch edges show in balance.
Pull fixtures slightly back from the trunk flare and angle one beam through the canopy to catch leaf movement. That gentle motion adds life without harsh hotspots.
Garden lights that create pools of light through beds
Tuck compact garden lights among hostas, daylilies, and ferns to create stepping pools of illumination. Vary beam widths so tall grasses get a soft wash and sculptural plants get a tight highlight.
- Place one light to graze the trunk and another to reach the canopy.
- On slopes, stagger fixtures at different heights to layer the landscape.
- Hide wires behind shrubs and cover connections with mulch for neat, serviceable runs.
"Illuminate both trunk and canopy to avoid the floating-tree effect and keep scenes natural."
| Feature | Placement | Notes |
|---|---|---|
| Small trees (<20 ft) | 2 uplights (20W each) | Trunk graze + canopy wash for full form |
| Large trees | 3–5 uplights (35–50W) | Even spacing around drip line; catch bark texture |
| Mixed borders | Tuck low garden lights | Stepping pools guide the eye through plants |
| Sloped beds | Staggered fixture heights | Prevents uneven pools; layers the view |
Show off your home’s architecture with layered illumination
Layered illumination helps the best features of your facade stand out while keeping glare low. Start by thinking of the facade as a series of planes and edges you want to define. Tight accents at corners give the silhouette crispness. Softer washes between them build depth so the whole surface reads as one calm scene.
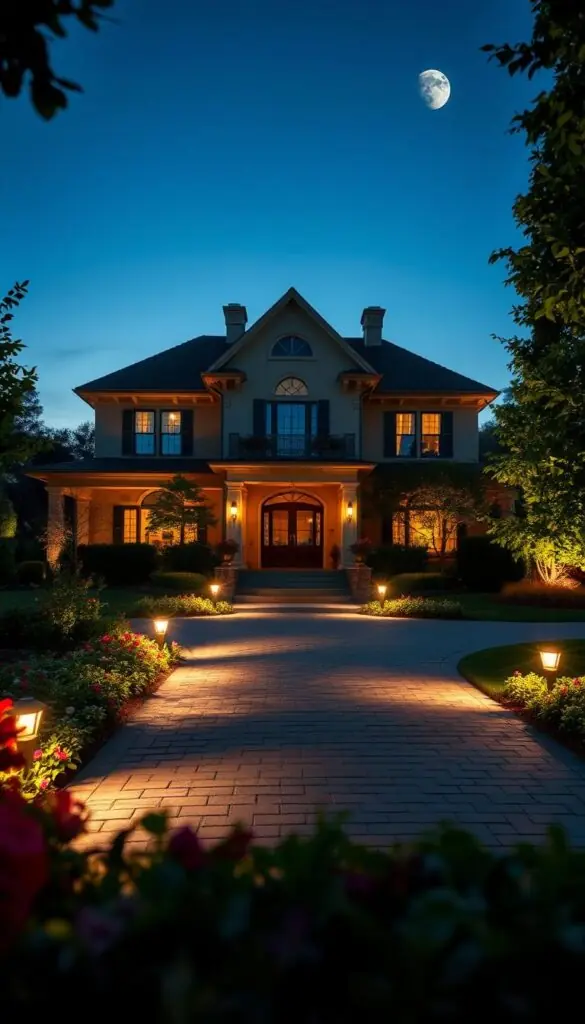
Bullet lights at corners; washes between for depth
Recipe: fit bullet lights with about a 12° beam spread on corners and key trim. Aim those tight beams at columns and dormers to outline the house.
Then add wider, gentle wash lights between bullets. That fill keeps the exterior even and welcoming rather than patchy.
Grazing walls and textures for drama
To bring out stone or brick, place small bullets about a foot from the foundation and tilt upward. Grazing from close range deepens shadows and makes textures pop.
Use collars and shields on beams to protect neighbors and to limit stray glare. Keep color temperature consistent across the facade for a polished design.
- Start narrow at corners; fill between with soft washes.
- Place uplights ~1 foot from foundation and adjust for eaves and trim.
- Step inside to check windows—tweak angles until interior glare stops.
- Tuck low garden lights in beds to layer foreground elements if you have plantings.
- Put the facade on a dusk-to-11 p.m. schedule and keep path zones on a separate timer.
"A few well-aimed beams and gentle fills will make your house read larger and more inviting at night."
Water features, pergolas, and special areas that sparkle
Small changes around a pond or under a pergola can turn a twilight corner into a quiet, textured place you want to linger.
Keep it subtle around water. Skim a soft beam across a fountain or pond so ripples catch the glow. Avoid hard spotlights that make bright glare and call insects. Tuck compact well lights at the base of stonework to outline edges and help footing without overwhelming the scene.
Use low-voltage (12V) systems near any wet area for added safety. Protect all connections with waterproof housings, GFCI-protected outlets, and drip loops so moisture cannot track into fixtures. Cable clips and neat runs keep service simple and reduce failure points.
For pergolas and arbors, mount small downlights on beams to wash tabletops and benches. Highlight vertical posts softly so climbing roses or wisteria glow from within. Choose warm LED bulbs and pair them with dimmers so you can shift a space from lively to reflective.
- Skim light across water surfaces to catch ripples rather than spotlighting them.
- Keep voltage low, use GFCI protection, and add drip loops on all runs near water.
- Mount beam-down downlights on pergolas to light tables without visible glare.
- Tuck well lights at stone bases and use one tight beam for a focal urn or sculpture.
- Match color temps within each feature zone and lower output in buggy seasons.
"Subtle pools and warm, dimmable LEDs make special areas feel safe and inviting after dusk."
LED lights, bulbs, and energy-smart choices
Small changes to bulbs and beams make big differences in color, heat, and running cost.
Choose LEDs first. They run cool, can last up to 40,000 hours, and use about 1–11 watts instead of halogen’s 20–60 watts. That means lower bills and fewer trips to the store.
LED vs. halogen: longevity, efficiency, and heat
Halogen bulbs are bright but get very hot and wear faster. LEDs stay cool, tougher in weather, and kinder to nearby plants and hands.
Pick beam angles and CRI for natural color
Match beam angles to the job: tight for columns and statues, medium for shrubs, wide for walls. Look for higher CRI (80+) so foliage and skin tones read true under your lights.
"Compare lumens, not watts, to get consistent brightness across brands."
- Start warm: pick 2700K–3000K LEDs to keep a cozy feel without blue cast.
- Keep spares: store common bulbs or modules in a labeled box for quick swaps.
- Wet-rated: use sealed lamps for open fixtures or coastal sites.
- Smart dimmable LEDs: choose these where you want flexible scenes.
| Feature | LED | Halogen |
|---|---|---|
| Typical watts | 1–11 W | 20–60 W |
| Longevity | Up to 40,000 hours | 2,000–4,000 hours |
| Heat | Low — safe near plants | High — more heat stress |
| Best use | Most path, accent, and porch lights | Short-run accent where brightness needed |
Over time, the energy you save with LEDs helps pay for a few special accents you’ll enjoy long-term.
Powering your system: low-voltage confidence for DIY
A well-sized transformer and tidy hub make installation and future upgrades painless.
Most systems run on 12-volt low voltage. Add up the wattage of every fixture, then multiply by 1.25 to pick a transformer that has room to grow.
Run a stout 10-gauge trunk to a weatherproof hub, then branch equal 12-gauge runs to fixtures. Keep each branch under 50 feet to avoid dimming at the far end.
Transformer, cable, and hub basics
Bury low-voltage cable at least six inches deep and avoid sharp bends. Note irrigation lines before you dig.
Use gel-filled waterproof connectors and a labeled junction box so future you can troubleshoot fast. Coil extra wire at each fixture for seasonal adjustments.
Timers, photocells, and smart controls
Start with a photocell plus timer: on at dusk, off at a set hour, with a later path-only scene if you like. Place the transformer near a GFCI-protected outlet and add a drip loop to keep moisture out of the housing.
- Tools to have: shovel, wire strippers, waterproof connectors, and a camera to photograph trenches.
- Zone paths, patio, and facade on separate taps so you can schedule each area the way you live.
"Plan for expansion and label everything — tidy hubs and clear zones make maintenance simple."
This simple approach keeps your landscape lighting reliable, safe, and easy to adjust as plants and plans change.
Simple DIY steps and when to call a pro
Start your install by laying out each fixture on the lawn so you can see how the plan reads at dusk. This quick mock-up helps you confirm beam overlap and overall balance before any digging.
Plan, place, connect, bury, test, adjust
Basic steps to follow:
- Plan the layout from your sketch and mark zones for paths, beds, and the driveway.
- Place fixtures on the grass and test beams at dusk to refine angles and spacing.
- Mount the transformer near a GFCI outlet, run a 10‑gauge main, then branch to fixtures.
- Make watertight connections, leave a small service loop at each light, and bury cable 6 inches deep.
- Set controls (photocell + timer), then test across several nights and adjust aim as needed.
Keep a small tool kit: spade, rubber mallet, multimeter, wire strippers, and gel‑filled connectors. These make tidy runs and fast troubleshooting easier.
Complex zones, tough terrain, and code considerations
If you hit steep slopes, rocky soil, or long runs to a far driveway, bring in a pro. Licensed installers help with smart automation and ensure code compliance near pools and the garage where safety matters most.
"When in doubt, have a pro set the backbone—transformer, hub, and buried trunk—then you can add and aim fixtures yourself."
| Task | DIY? | Why hire a pro |
|---|---|---|
| Simple garden and path runs | Yes | Low voltage, short cable runs, easy aiming |
| Long driveway or steep slopes | No | Voltage drop, trenching challenges, safety |
| Poolside and garage entries | No | Local code, GFCI, traffic and safety concerns |
| Smart-home automation integration | Optional | Complex wiring and programming; saves time |
Final tip: don't rush backfilling. Test for a few nights, check voltage at far fixtures with a multimeter, then tidy trenches once you’re happy with the scene. This approach keeps your landscape design safe and reliable while letting your home glow with calm, intentional light.
Seasonal lighting rhythms and quick maintenance
Tend your system like a garden: small seasonal checks keep scenes calm and reliable. A little care each quarter prevents surprises and keeps your home exterior reading as intended after dusk.
Adjust for leaf‑out, holidays, and longer nights
In spring, re‑aim beams after leaf‑out so canopies don't swallow light and beds still sparkle at night. In autumn, move timers earlier as nights lengthen so paths and entries stay safe.
For special occasions, try a subtle scene — then return to your calm baseline so the yard feels natural most evenings.
Clean, trim, and inspect after storms
Wipe lenses monthly to remove pollen and dust; clear glass keeps light crisp and efficient. Trim plants that creep into beams to avoid hot spots and preserve soft edges in garden areas.
After heavy rain or wind, check seals, straighten tilted fixtures, and make sure connections are dry and snug. Replace aging bulbs before they fail to keep voltage balanced across zones.
- Quarterly checklist: wipe lenses, straighten fixtures, prune around beams, reset timers.
- Keep mulch an inch back from fixtures so heat can dissipate.
- Walk the perimeter once a season from the street to spot uneven pools in shared spaces.
"After rain, stone gleams—re‑aim to avoid glare and let textures read softly."
Conclusion
Let a single warm pool of glow invite you outdoors—then add more only as it feels right.
You now have a simple roadmap to bring calm, useful lighting to your yard. Start with one path, one favorite tree, and one table to see how each change feels.
Choose warm color temps, proper lumens, and low-voltage runs so your lights are safe, efficient, and flattering. Keep controls on a timer or photocell to make the glow effortless.
Revisit the scene each season and tweak aims. When it reads peaceful from your porch and inside the home, you’ve done it right.
Enjoy the scent of night flowers, a soft breeze, and quiet conversation. These simple outdoor ideas help your yard welcome evenings with ease.
FAQ
How do I start planning lighting for my yard and patio?
Begin with a simple sketch showing your house, paths, patios, doors, trees, and planting beds. Mark areas where you want safety, ambiance, or feature highlights. That map helps you choose fixture types, placement, and approximate power needs before buying anything.
What color temperature should I use for a warm, welcoming feel?
For a cozy, homey glow choose warm LEDs in the 2700K–3000K range. Use cooler temperatures (4000K+) sparingly for task areas or modern accents, but keep most fixtures warm so skin tones and plants look natural at night.
How many lumens do I need for paths, accents, and wider areas?
Aim for about 100–200 lumens for path lights, 50–300 lumens for accent spots, and 700–1,300 lumens for flood-style fixtures. These ranges balance visibility and ambiance without overpowering your yard.
Should I pick fixtures for looks or function?
Choose by job first: path lights for safe walking, bullet or well lights for uplighting trees and facades, wash lights for walls, and downlights for creating a moonlight effect. Then pick styles and finishes that match your home—bronze, black, or nickel, for example.
What’s the best way to light a front door and porch?
Layer lighting: porch sconces or a ceiling fixture for general glow, plus low-glare step or path lights for safety. Stick to warm tones and shielded fixtures to avoid harsh glare and make the entry welcoming.
How should I space path and step lights so they look natural?
Space path lights roughly 6–10 feet apart depending on beam spread and desired brightness. Use integrated step riser lights or low-profile fixtures at steps. For a softer effect, combine low lumens with tree-mounted downlights to guide the way.
What lighting works best for patios and outdoor dining?
Mix string lights for mood, wall-mounted fixtures for task light, and subtle perimeter wells for depth. Keep color temperature food-friendly (warm 2700K–3000K) and avoid direct glare over the table—diffused, indirect light is more flattering.
How can I light decks and balconies without harsh glare?
Use post-cap LEDs, stair riser strips, and recessed under-rail fixtures for soft underfoot glow. Add low-mounted wall lights or pendant fixtures overhead at comfortable heights to create layered, comfortable illumination.
How do I light trees, shrubs, and beds without making trees look like floating heads?
Place uplights low and close to the trunk to illuminate the canopy gradually. Use multiple fixtures at different angles to avoid a single floating pool. For beds, create small pools of light that reveal texture and color without washing everything evenly.
What techniques show off architectural features best?
Use bullet lights at corners and washes between them to add depth. Grazing fixtures placed close to textured walls will emphasize details. Combine uplighting and washes to balance shadow and highlight for dramatic but natural results.
Can I safely light water features and pergolas?
Yes—choose low-voltage, waterproof fixtures rated for wet locations near water. Use grazing lights to pick up ripples and subtle uplights for pergola beams. Keep transformers and connections a safe distance from splash zones.
Are LEDs worth it compared with halogen?
LEDs last much longer, use far less energy, and run cooler than halogen. Pick LEDs with the right beam angle and a high CRI (90+) if color accuracy matters for plants or finishes. They’re cost-effective over time.
How do I plan power for a low-voltage system for DIY installation?
Size your transformer by totaling fixture wattages and add a 20–30% buffer. Use the correct cable gauge for run length to avoid voltage drop. Include timers, photocells, or smart controls for convenience and energy savings.
What simple steps should I follow for a DIY lighting install?
Plan your layout, place fixtures, connect low-voltage wiring, bury cables safely, test the system, and adjust aiming. If you face complex zones, steep terrain, trenching permits, or local electrical codes, call a licensed electrician.
How do I maintain my system through seasons?
Adjust fixtures for leaf-out and plant growth, clean lenses, trim plants that block light, and check seals after storms. Winterize fixtures and check transformer vents and connections annually to keep performance steady.
What should I consider for smart controls and automation?
Use timers and photocells for basic automatic control, and add smart hubs or apps to group zones, set scenes, or schedule dimming. Smart controls save energy and make it easy to change ambiance without rewiring.
How can I make my lighting energy-efficient without losing effect?
Use LEDs, choose the right beam angles and lumen outputs, dim where possible, and zone lights so you run only what you need. Sensors and smart schedules further reduce run time and energy use while preserving atmosphere.