Imagine the smell of damp earth after a summer rain and a small wheelbarrow of kitchen scraps waiting to be useful. You might wonder if your leftover fruit peels, yard clippings, or a few twigs can really feed your garden. The answer is yes, and you can start this weekend with simple steps and familiar tools.
Compost forms when microbes and tiny organisms break down organic matter into a dark, crumbly amendment. With the right balance of air, water, browns like wood or dried leaves, and greens like fruit scraps, the decomposition process speeds up. Aim for a "wrung-out sponge" moisture, give the pile some air by turning with a pitchfork, and a thermometer helps if you want to track a hot pile.
We’ll guide you in a calm, neighborly way so you feel prepared, not overwhelmed. Expect short, scannable steps, seasonal tips for spring through winter, and quick tricks that keep plants and soil healthy.
Key Takeaways
- You can turn everyday waste into nutrient-rich soil amendment for your garden.
- Balance air, water, browns, and greens to speed decomposition.
- Use simple tools: a pitchfork, a thermometer, and a wheelbarrow.
- Keep moisture like a wrung-out sponge and turn the pile occasionally.
- Seasonal care keeps the process moving from spring to winter.
Start Here: A neighborly welcome to composting
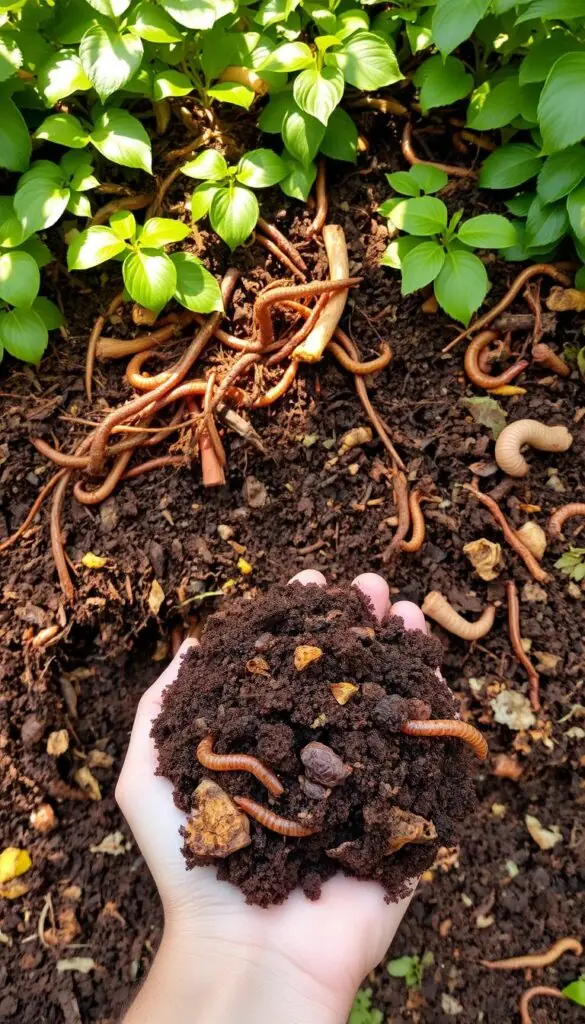
Think of this as a friendly welcome: soon you'll scoop warm, woodsy soil that used to be your kitchen scraps. The finished product often looks like soft, dark soil and smells pleasantly earthy. It will feel crumbly, not slimy, and most original matter will be hard to pick out.
Use your senses: scoop a handful to check texture and aroma. If you still see lots of vegetable bits or fruit skins, give the pile more time or a light turn to reintroduce air.
Timing varies. With active turning, a hot pile can finish in a few months. A laid-back, cool approach may take several months, especially in cooler weather. Trust the look, feel, and smell more than the calendar.
For tidy use, sift your finished compost through a simple frame and return large pieces. That way you get a uniform, nutrient-rich amendment ready to feed your plant beds and containers.
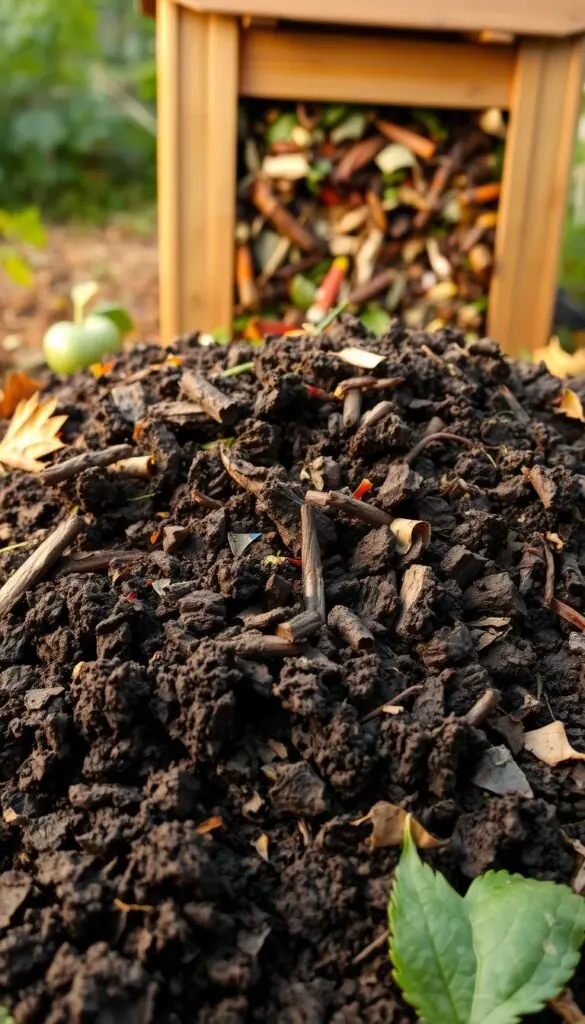
- Deep brown to black color and a woodsy aroma are signs of readiness.
- Feels like chocolate cake crumbs and falls through your fingers.
- Return large bits to the pile to finish and keep the nutrients cycling.
Choosing your spot and compost bin in your yard
A good spot makes caring for your pile as simple as a quick walk outside.
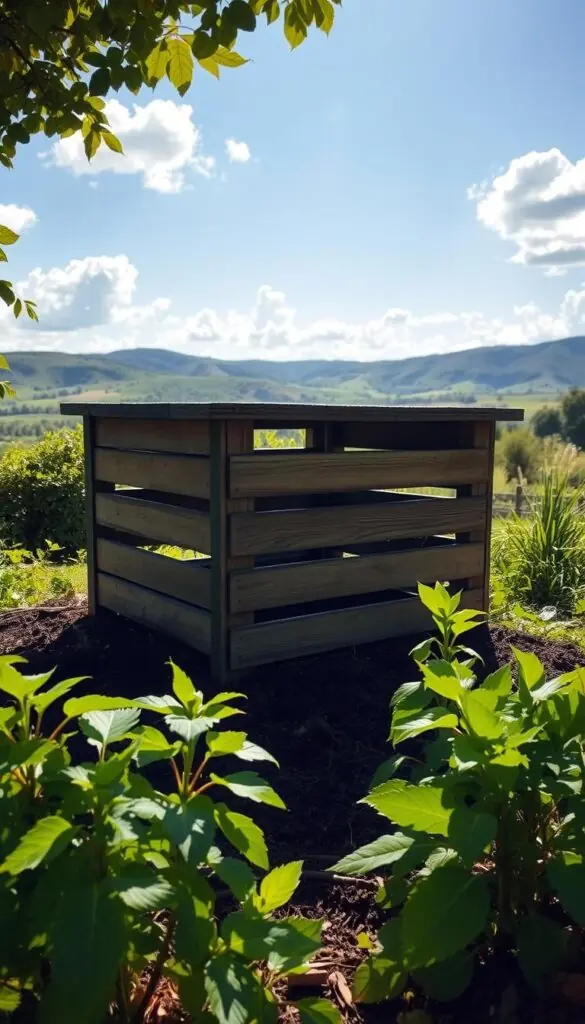
Best placement: pick a level corner that gets morning sun and drains well so the pile never sits in standing water. Keep the bin reachable in winter and place it over loosened soil so worms and microbes can move in and help the breakdown.
Bin options: a lift-off container bin is easy for turning. Three-bin wood systems keep batches organized. Tumblers spin for hands-off mixing if you prefer a crank over a pitchfork.
DIY ideas and tools
- Build a sturdy frame from wood slats and secure corners with rebar.
- Start with branches or chunky wood at the base to improve air flow.
- Keep a pitchfork and wheelbarrow nearby; they make moving a pile light work.
- Leave space for a second pile or a browns staging area near the bin.
| Option | Ease | Turn Method | Best for |
|---|---|---|---|
| Lift-off container | Easy | Manual lift/turn | Small yards, first-timers |
| Three-bin wood frame | Moderate | Fork turning | Batch processing |
| Rotating tumbler | Easy | Crank/rotate | Low-labor households |
| DIY pallet/frame | Budget | Fork or lift | People who like projects |
Compost basics: browns, greens, and that sweet carbon-nitrogen balance
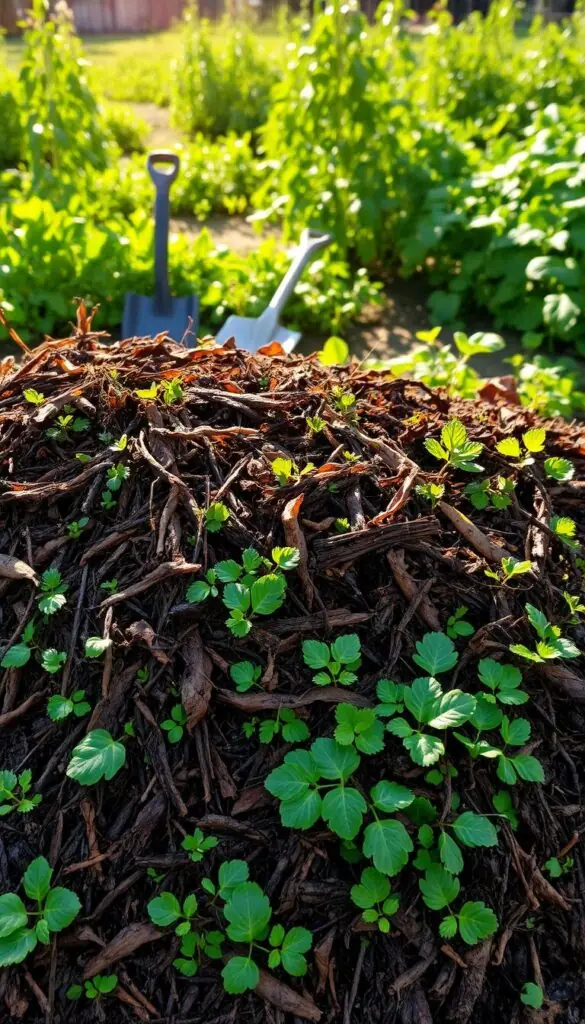
A simple, visual rule helps you mix dry and fresh yard and kitchen scraps without guessing. Aim for two parts brown to one part green by volume. This easy ratio keeps the pile active and sweet-smelling.
Browns bring carbon: dry, papery, or woody items such as leaves, straw, and shredded cardboard. Greens supply nitrogen: fresh kitchen peels, coffee grounds, and grass clippings.
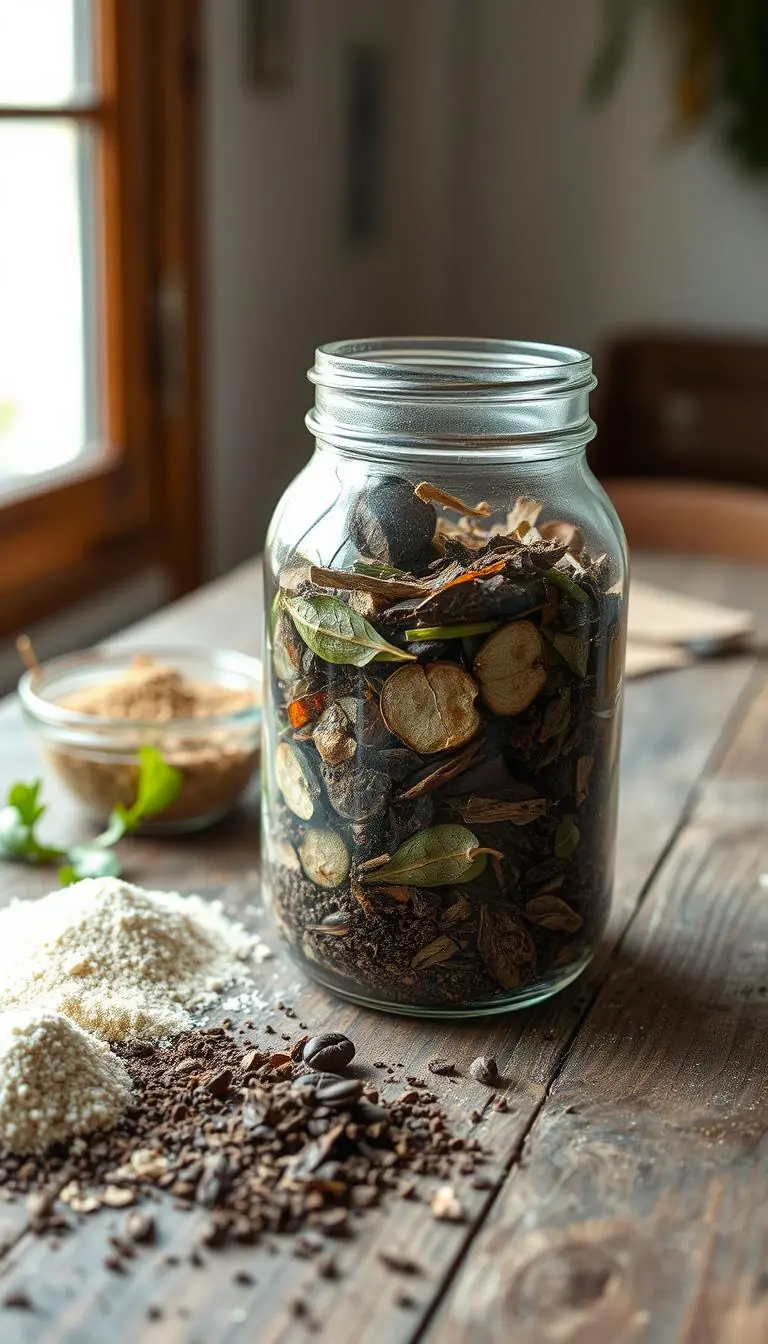
Picture a basket of crisp leaves layered with a small pail of fruit and vegetable peels and a sprinkle of coffee grounds. That balance keeps the decomposition process steady and friendly to microbes.
- Chop or shred scraps to speed breakdown and make turning easier.
- If the pile smells like ammonia, add more browns. If it stalls, add greens.
- Keep moisture like a wrung-out sponge and turn the pile for oxygen.
- Store dry browns in a covered bin and keep a lidded kitchen caddy for wet scraps.
Hot composting step by step for faster finished compost
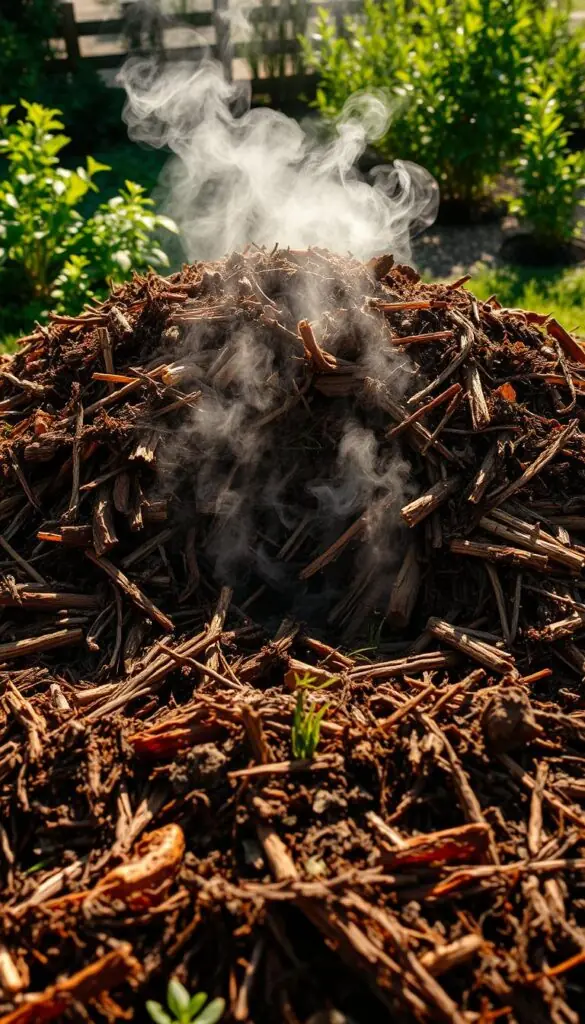
Start a hot pile right and you’ll feel the center warming within days. This method speeds the process by encouraging microbes with a snug, well-aerated mass.
Build it up
Size and base: aim for a 3’ x 3’ x 3’ compost pile so it holds heat but still breathes. Begin with a coarse base of twigs or straw to help air move up through the pile.
Layering, moisture, and heat
Mix or layer browns and greens as you add material. Tuck small voids with straw or twigs to create air pockets.
Water lightly between layers until the pile feels like a wrung-out sponge—moist but not soggy. Expect heat to build in a day or two; you can check with a thermometer or simply feel warmth when you turn the center.
Turning schedule
Turn frequently at first—every few days—to reintroduce air and keep microbes active. Daily to every-few-days turning can yield finished compost in roughly a month. If you turn weekly, plan for a few months.
Seasonal timing
Spring through fall is prime time for a fast process. Winter chills slow microbial activity, so expect progress in cooler months to take longer.
"A warm, well-aerated pile does most of the work—your role is to feed it balanced material and keep it breathing."
| Step | What to do | Why it helps | Timing |
|---|---|---|---|
| Build 3×3×3 | Start with coarse base, add mixed layers | Holds heat and allows airflow | One session |
| Moisture check | Water to wrung-out sponge feel | Keeps microbes active, prevents sogginess | At each layer |
| Turn | Flip every few days, then weekly | Restores oxygen and evens heat | Days → weeks |
| Manage greens | Add grass clippings, coffee grounds sparingly | Prevents matting and odors | Ongoing |
Cold composting for a hands-off, slower approach
If your schedule is full, a slow pile lets nature do the heavy lifting with minimal fuss.
When this way makes sense: choose cold composting when you want to add scraps and yard clippings without frequent turning. It’s patient and fits busy lives.
When “set it and forget it” makes sense
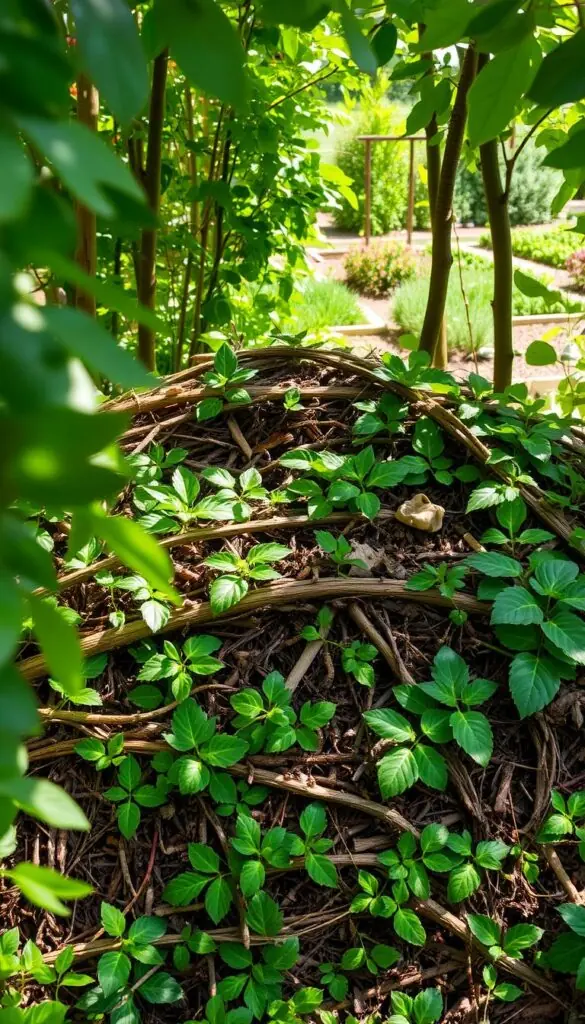
This approach means you add material and wait. The pile will slowly shrink and darken over many months as decomposition moves at its own pace.
It’s ideal for people who prefer low maintenance. Keep a covered bin or corner in the yard and toss in kitchen scraps, leaves, and yard waste regularly.
Managing odors and weed seeds in a cool pile
Odors usually point to low oxygen. Pull back the top, fluff the middle, or poke a few holes to bring in fresh air. A light turn once a month helps without becoming a chore.
Cold piles rarely get hot enough to kill weed seeds or pathogens. Avoid adding seeded weeds or sick plants. Add dry leaves to balance wet kitchen scraps and supply carbon and nitrogen balance.
- Choose cold composting when life is busy — add materials and let time do the work.
- Expect many months for the pile to mature and darken.
- If it smells, introduce more air by fluffing or poking holes.
- A monthly light turn and extra leaves keep the process steady and friendly.
| Feature | Cold Pile | Why it fits |
|---|---|---|
| Effort | Low | Few turns; add and wait |
| Timeframe | Many months | Slower decomposition but steady |
| Weed seed risk | Higher | Doesn't reach weed-killing heat |
| Odor control | Air fixes | Fluffing or holes restore oxygen |
Air and water: the two invisible fuels your compost pile needs
A lively pile needs two simple fuels: steady air and just enough water. Keep checks short and visual so problems never grow large.
Aeration made easy: turn the pile with a pitchfork, use a winged aerator, or push in rebar to make channels. Perforated PVC (about 2" with ½" holes every few inches) can sit vertically or horizontally. A Cornell-style horizontal PVC run can even support hot composting without frequent turning.
Aeration tools that help
- Quick turns and a winged tool bring air back fast.
- Perforated PVC or cardboard tubes make lasting channels.
- Bins with slatted sides or drilled holes improve airflow.
Moisture mistakes to avoid
A soggy pile looks matted and smells sour. Fold in shredded browns and uncover to let excess water evaporate.
Dry piles look pale and dusty. Rebuild in layers, adding water lightly until the center feels like a wrung-out sponge.
Small routine checks—feel the middle, watch color, and adjust air and water early. Little steps keep your compost moving and your garden grateful.
What to add—and what to keep out of your compost bin
A few smart choices at the counter keep your bin smelling sweet and working well. Sort with a quick habit: one small container for kitchen scraps and another for landfill waste. That makes it easy to feed the pile and avoid surprises.
Yes please: common kitchen and yard additions
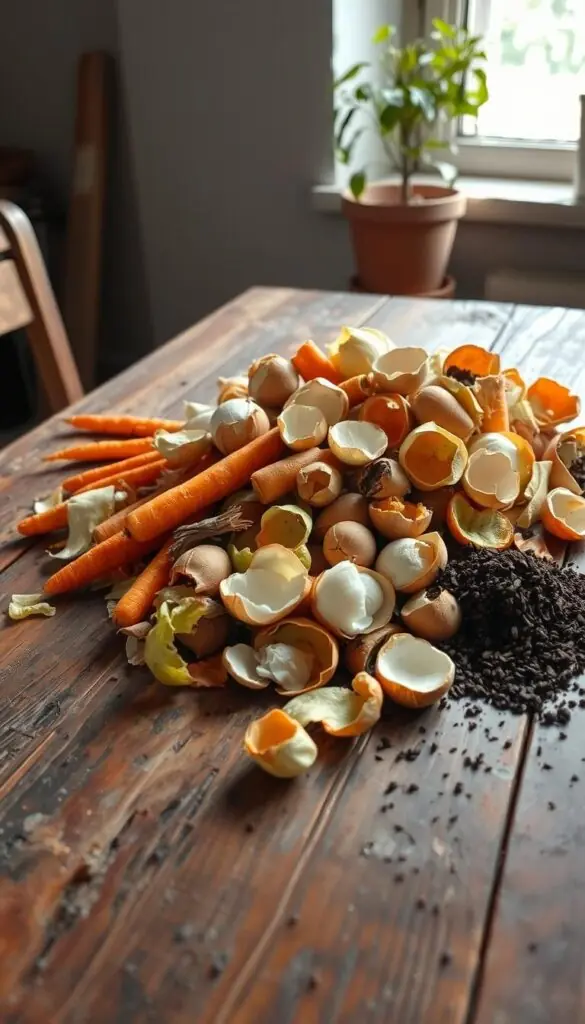
- Fruit and vegetable scraps—peels, cores, and trimmings break down quickly.
- Used coffee grounds and filters add steady nitrogen and texture.
- Fresh grass clippings boost activity when added in thin layers.
- Dry leaves, shredded cardboard, and paper supply carbon to keep the mix fluffy.
- Crushed eggshells add slow-release calcium; tuck them under a thin brown layer.
No thanks: items that cause trouble
- Avoid meat, bones, and dairy — they attract animals and make foul odors.
- Skip large amounts of oils and greasy food products for the same reason.
- Do not add pet waste; it can carry pathogens unsafe for garden use.
- Most "compostable" plastic products need industrial facilities and won’t break down here.
Quick sorting tip: tear cardboard small, mix new kitchen additions under some dry leaves, and keep two countertop containers to build the habit. Your garden will thank you.
Troubleshooting common compost problems
Most hiccups with a pile respond to a little air, water, or balance. A quick check and a calm fix usually get things moving again.
Bad smells, dry piles, and cool cores
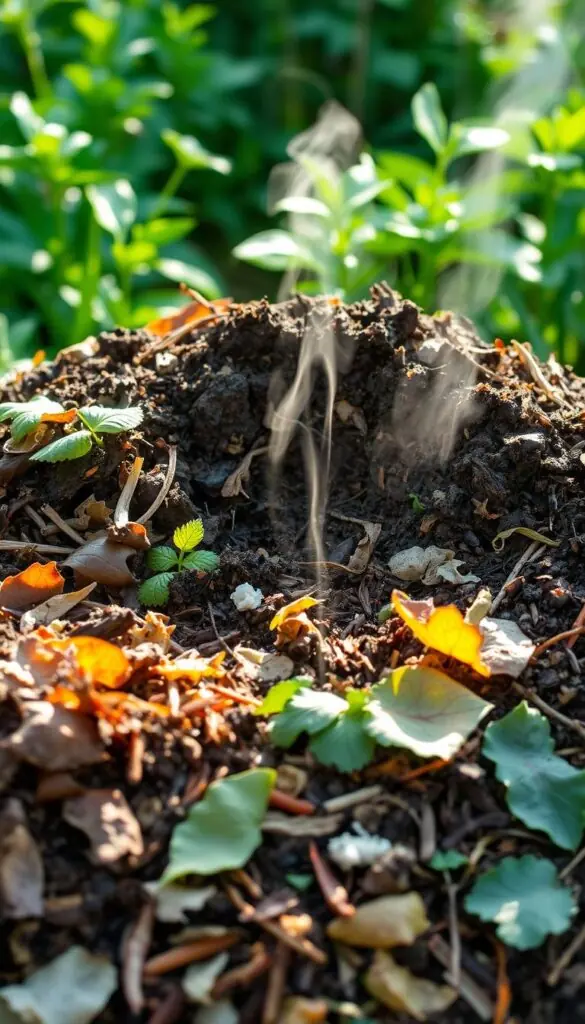
Smells usually mean the pile is compacted or heavy in greens. Turn it to add air and tuck in dry browns like shredded cardboard or straw.
If the core stays cool, the pile may lack nitrogen or volume. Add a thin layer of grass clippings or coffee grounds and turn to trap more heat.
If it’s dry and dusty, rebuild the layers and add water as you go until a hand squeeze feels like a wrung-out sponge.
Rodents and vectors: how to deter them naturally
Bury kitchen additions under several inches of browns. Never add meat, dairy, or oily scraps — they invite animals.
Keep the area tidy. A tight lid, deeper burial of wet material, and a layer of cardboard or straw on top help keep critters away.
When to turn, when to add browns or greens, and when to water
- If the pile smells sour: turn thoroughly and add dry carbon material like cardboard or straw.
- If the center runs cool: add nitrogen-rich greens (grass, fresh trimmings) and turn to bring in air.
- If the pile is dry: rebuild in layers, adding water lightly to reach a wrung-out sponge feel.
- Break up mats of grass or coffee grounds with a fork and mix in browns to restore air flow.
- If you have a small pile, gather more material — small volumes struggle to hold heat; then turn after a day or two.
"A little attention—air, the right balance of browns and greens, and gentle watering—solves most problems."
One small way to help your pile: check often, act calmly, and add simple materials. People who take short, steady steps find the best results.
Putting finished compost to work around your garden
A gentle application of finished material gives plants a steady, nourishing boost.
Vegetable beds and flowers: Rake a 1/2-inch layer of finished compost over beds, then mix into the top 6 inches of soil. Do this in spring before planting and again in early fall for repair and renewal.
Perennials and mulch rings: Spread about 1 inch of mature material around perennials, keeping it a few inches from stems. This feeds slowly, keeps moisture steady, and protects roots through heat and cold.
Lawn and indoor plants: For grass, topdress with 1/8–1/4 inch of screened compost so it slips between blades and improves water holding. For houseplants, add a small handful to the surface and water in to give potted roots a gentle nutrient lift.
Simple sifting for a uniform finish
Build a sifter from wood scraps and hardware cloth that fits over a wheelbarrow. Shake screened material to a crumbly, chocolate-cake texture and return any large bits to your bins for another cycle.
- Spring and early fall are best for major applications.
- Look for a deep brown color, crumbly feel, and earthy scent as signs of readiness.
| Area | Amount | When |
|---|---|---|
| Vegetable beds / flowers | 1/2 inch mixed into top 6 inches | Spring, early fall |
| Perennials | 1 inch as mulch | Spring or after bloom |
| Lawn (grass) | 1/8–1/4 inch topdress | Spring or fall |
| Indoor plants | Small handful at surface | Anytime during growing season |
Bonus paths: vermicomposting and community options
A quiet worm bin under the sink can turn kitchen scraps into rich material without a yard. This friendly way fits apartments, small yards, or any kitchen where you want a tidy solution.
Worms at work: kitchen-friendly vermicomposting
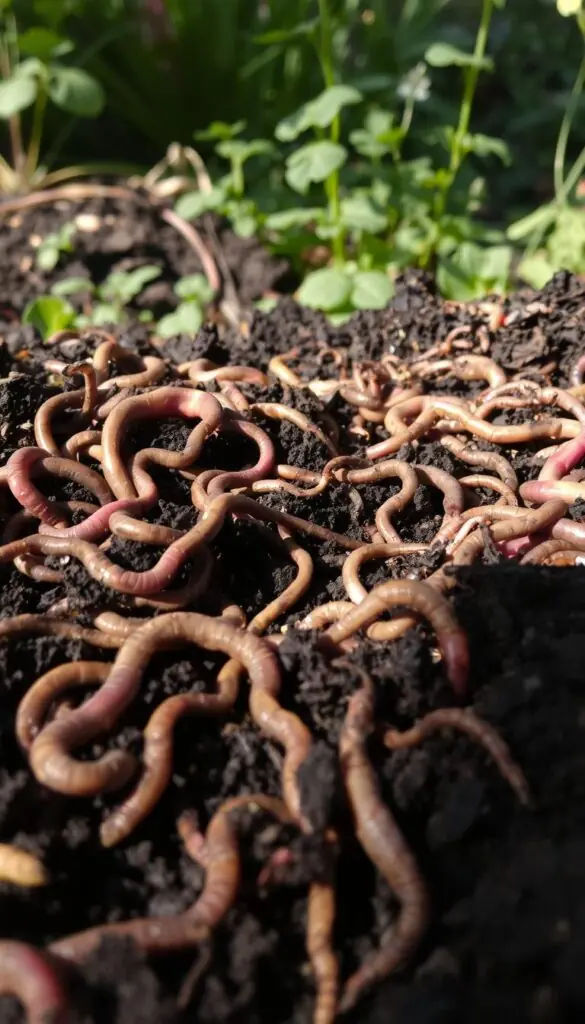
Try a simple bin: bedding, a few air holes, and a dark corner do the trick. Red wigglers are the usual worms people choose for speed and friendliness.
Feed them small amounts of chopped food and used coffee filters. Avoid meat and dairy. Keep moisture like a wrung-out sponge so worms stay active and tidy the bin.
County sites and curbside organics across the United States
If you have larger volumes, check county yard waste drop-offs and curbside organics. Many sites accept items your home bin cannot, and some sell finished products for beds and lawns.
- Call or check your local site for accepted materials and hours.
- Curbside programs can handle approved food-soiled paper and larger food waste.
- Apartment dwellers can join community programs or share a bin with neighbors.
"A small worm setup or a local drop-off keeps scraps out of the landfill and gives you a reliable soil source."
Conclusion
Small, regular efforts give your pile the steady rhythm it needs to become rich soil.
With a little time and a simple bin, composting becomes second nature. Add, mix, moisten, and let the pile do the work while you enjoy the garden.
In every season, a handful of leaves or wood, a sprinkle of greens, a turn with the fork, and a splash of water keep the rhythm easy. Hot or cool methods and a few worms all make good work of kitchen waste.
When the finished material looks dark and crumbly, use it around plants, lawns, and beds. This small practice keeps waste out of the landfill and returns life to your soil—one kitchen pail at a time.
FAQ
What does finished compost look, feel, and smell like?
Finished compost is dark, crumbly, and cool to the touch. It smells earthy—like a forest floor—not sour or rotten. You should be able to squeeze it and feel a slightly damp, wrung-out-sponge texture with no recognizable food scraps or large pieces of leaves.
Where should I place my bin for best results?
Choose a spot with partial sun, good drainage, and easy year-round access. Near your garden or garage works well. A shady area helps in hot climates to prevent drying, while some sun helps keep the pile active in cool spring and fall weather.
Which type of bin should I use: simple container, turning bin, or tumbler?
Use what fits your space and energy. Simple container bins are cheap and low-effort. Turning bins or tumblers speed up decomposition and reduce pests. Tumblers are great if you want cleaner handling and faster results in small spaces.
Can I build my own bin, and what tools help?
Yes. Wood slats or pallets work well for a DIY bin. Rebar or stakes can anchor side panels. A pitchfork or compost aerator and a wheelbarrow make layering and turning easier. Keep gaps for airflow and a removable front for finished material.
What are browns and greens, and what's the right mix?
Browns are carbon-rich materials like dry leaves, straw, and cardboard. Greens are nitrogen-rich such as vegetable scraps, grass clippings, and coffee grounds. A reliable ratio is about 2 parts brown to 1 part green to keep microbes happy and avoid odors.
What are easy examples of materials to add?
Add fallen leaves, straw, shredded cardboard, coffee grounds, fruit and vegetable peels, and grass clippings. Crushed eggshells are fine too. Chop or shred larger items to help them break down faster.
How do I hot compost for quicker finished material?
Build a pile about 3' x 3' x 3'. Layer or mix browns and greens, keep it moist like a wrung-out sponge, and create air pockets. Monitor temperature—hot piles reach safe ranges to speed decomposition—and turn every few days to a week to keep oxygen flowing.
How wet should the pile be and how hot is safe?
Aim for the dampness of a squeezed sponge. Too wet and it smells; too dry and it stalls. Hot composting temperatures of 120–160°F (49–71°C) are effective and safe when monitored. If it gets too hot, turning and adding water slows it down.
How often should I turn the pile?
For hot composting, turn every 3–7 days to keep oxygen in and heat even. For a slower cold pile, turning once a month or not at all is fine. Turn more often if the center cools or if the pile smells.
Can I compost year-round, and what changes in winter?
You can compost year-round, but activity slows in winter. Insulate with extra browns like straw or leaves and consider a covered bin. Hot piles can still work in cold months if large and insulated well.
When is cold composting a good choice?
Cold composting suits low-maintenance gardeners or those with limited time. You add materials and let them break down slowly over months. It works well for yard trimmings and kitchen scraps when you can wait for finished product.
How do I prevent odors and weed seeds in a cool pile?
Avoid adding meat or oily foods, and cover fresh kitchen scraps with browns like shredded cardboard or leaves. To reduce weed seeds, use finished compost as a screen and avoid adding seed-heavy weeds unless the pile reaches high temperatures.
How do I keep the pile aerated without heavy labor?
Use simple methods like adding coarse materials (twigs), inserting a perforated PVC pipe as a passive aerator, or using a winged aerator tool you thrust into the pile. These keep oxygen flowing with less frequent full turns.
What common moisture mistakes should I avoid?
Don't let the pile become a soggy mat or dry clumps. Soggy piles stink and slow decomposition; dry piles stall and refuse to heat. Fix wet spots by adding dry browns and turning. For dry piles, add water and greens, then mix well.
What can I safely add from the kitchen and yard?
Yes please to fruit and vegetable scraps, coffee grounds, tea leaves, crushed eggshells, yard trimmings, and small wood chips. These add nutrients and structure. Chop larger items to speed the process.
What should never go in my bin?
No thanks to meat, dairy, greasy foods, large amounts of oil, pet waste, and most “compostable” plastics. These attract pests, create odors, or don't break down well in a home system.
Why does my pile smell bad or stay cool in the center?
Bad smells usually mean too much wet green material or not enough air. Add dry browns, turn the pile, and check moisture. A cool center can mean the pile is too small, too dry, or lacks nitrogen—add greens and build it up to at least 3' cube for heat retention.
How do I keep rodents and other pests away?
Use enclosed bins or tumblers, avoid meat and dairy, and bury kitchen scraps under a layer of browns. Hardware cloth under a bin entry or a sealed lid helps deter digging animals. Keeping a tidy, well-balanced pile also reduces attraction.
When should I add browns, greens, or water to fix problems?
If it smells, add dry browns and turn. If it’s slow and cool, add greens and moisture. If it’s dry, water as you turn until it feels like a wrung-out sponge. Small adjustments often restore balance quickly.
How do I use finished material in my garden?
Mix finished compost into vegetable beds before planting, top-dress flower beds and perennials, or lightly sift and sprinkle on lawns. For potted plants, blend a small amount into potting mix. Use a thin mulch ring around perennials to feed roots gently.
How can I create a fine, crumbly texture for potting or seed beds?
Sift finished material through hardware cloth or a simple screen frame to remove large bits. What remains will be crumbly, like chocolate cake, ideal for seed starting or mixing into potting soil.
What is vermicomposting and should I try it?
Vermicomposting uses worms (typically red wigglers) to convert kitchen scraps into rich castings. It’s great indoors or for small spaces, producing fast, nutrient-dense material. Use a shallow bin, bedding like shredded cardboard, and feed small amounts regularly.
Are community compost options available near me?
Many U.S. cities offer county compost sites, drop-off centers, or curbside collection. Check local municipal websites or county extension offices to find programs and services that accept yard waste and food scraps—an easy option if you can’t compost at home.
Related: if you want a quick-reference version of composting basics, check out “Composting 101: How to Turn Kitchen Waste into Garden Gold.”