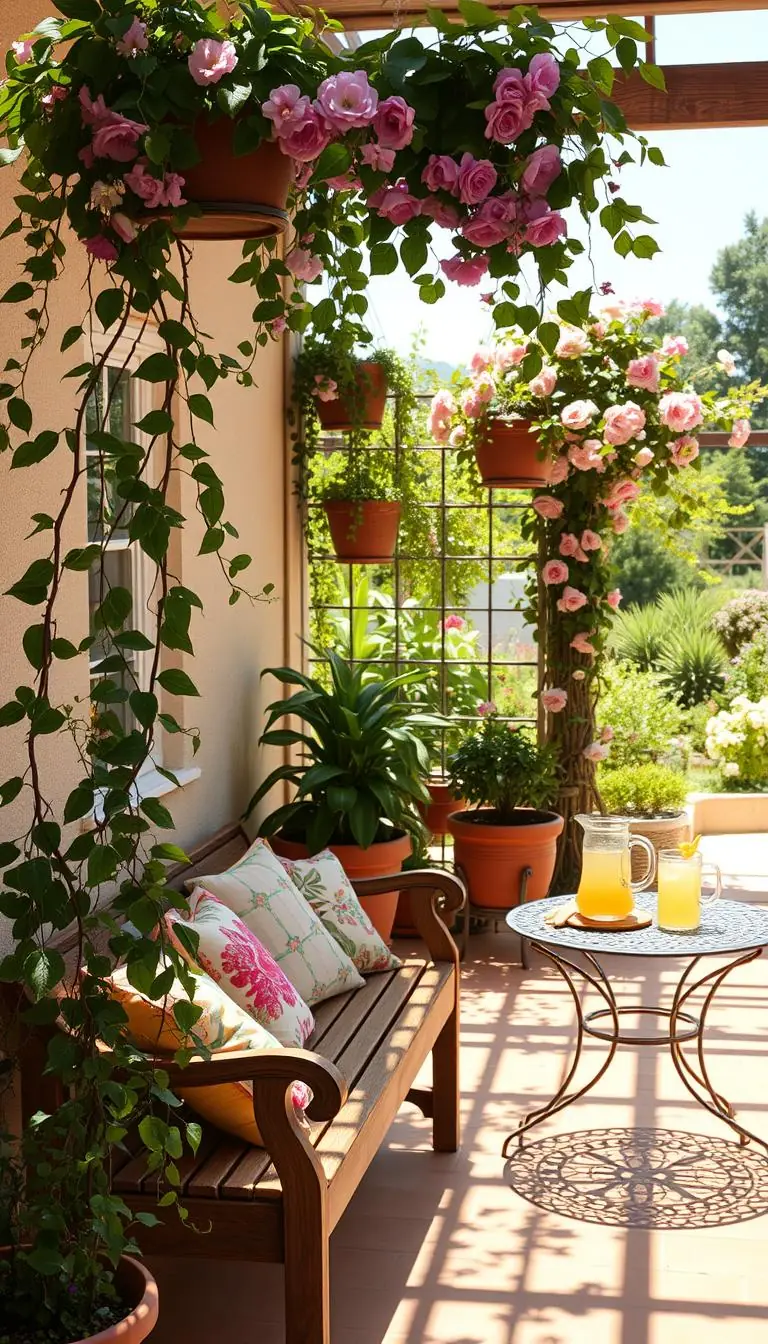
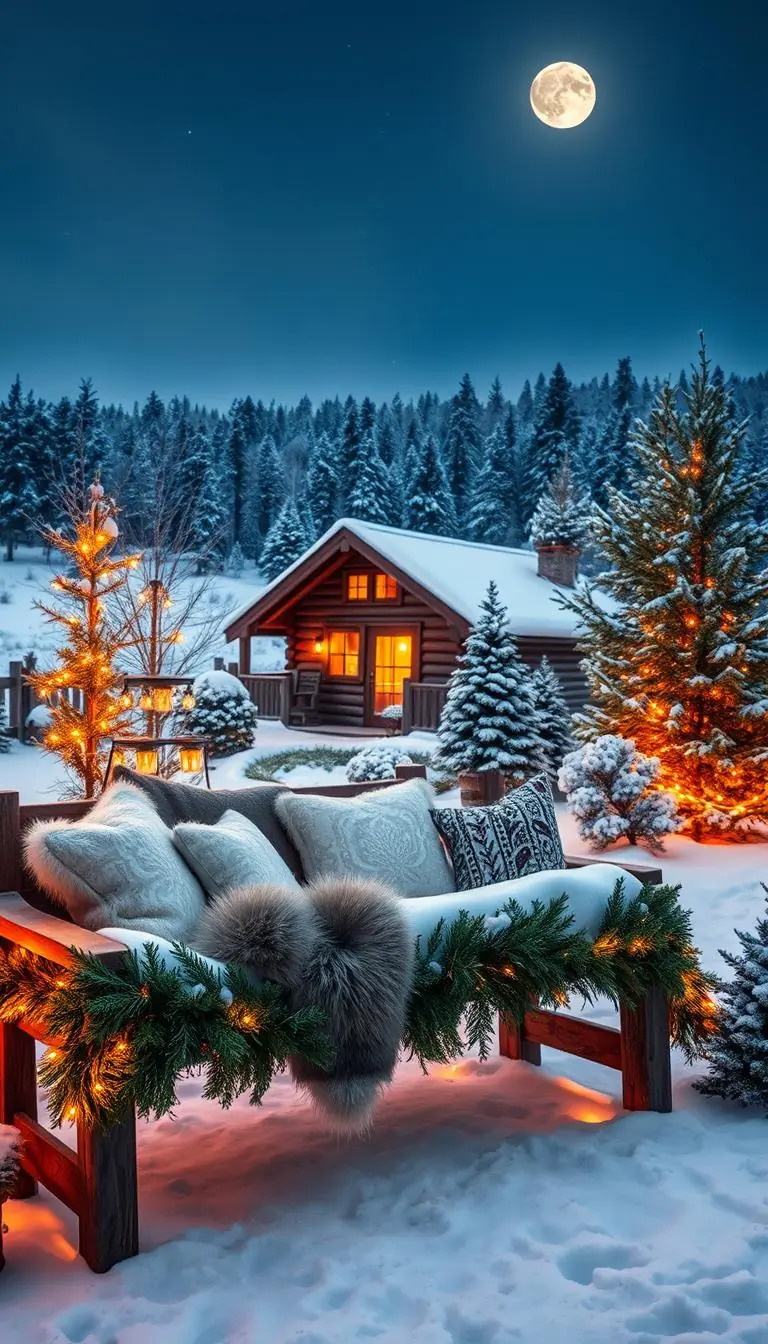
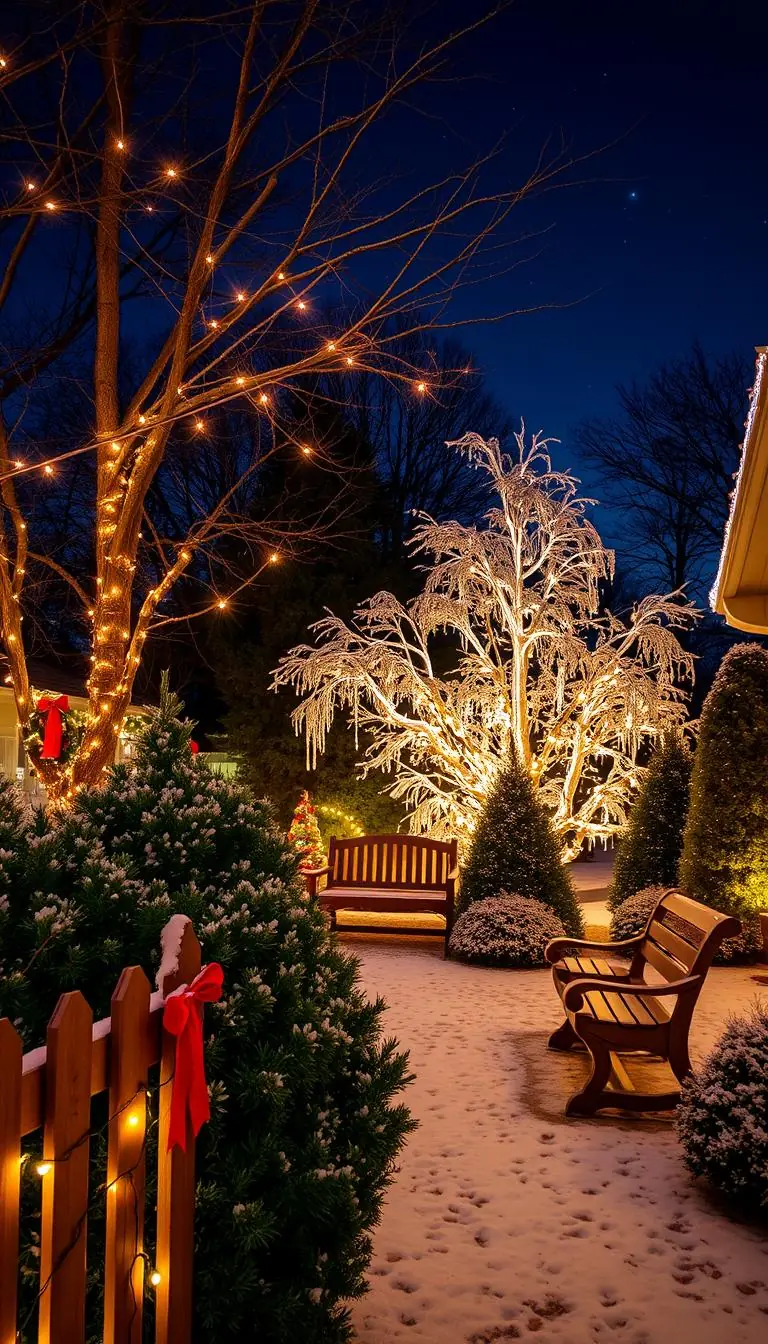
Imagine the warm glow of string lights at dusk and the cedar scent after a quick rain. You notice a small patch of lawn that could use life, or you dream of a colorful spot outside the kitchen window. These are the moments that spark simple change.
We help you spot one or two small weekend wins that refresh your backyard without stress. Think painted concrete for about $90, a compact BBQ station near $300, or a stock tank pool and mini deck for roughly $650.
With a modest budget and a few tools—pruners, a drill, a level—you can finish a diy project and feel the payoff fast. You’ll get calm, friendly guidance with steps, plant picks, and timing tips so each piece fits your life.
Picture a painted deck underfoot, tidy gravel that crunches softly, or a porch swing under the trees—small ideas that change the whole space. We’ll walk beside you like a knowledgeable neighbor so your home looks cared for and inviting this summer.
Key Takeaways
- Start with one weekend project for quick visual wins.
- Set a friendly budget and choose local materials like cedar or pea gravel.
- Use a few reliable tools to keep momentum and confidence high.
- Small color or furniture changes shift the look fast.
- Plan around how your family uses the space—relax, dine, or play.
- Enjoy simple sensory moments: warm light, wood grain, rustling trees.
Start Here: Simple, High-Impact Backyard Upgrades on Any Budget
Choose a realistic task you can complete in an afternoon and watch the space come alive. Small wins build confidence, and one finished project often sparks more good ideas.
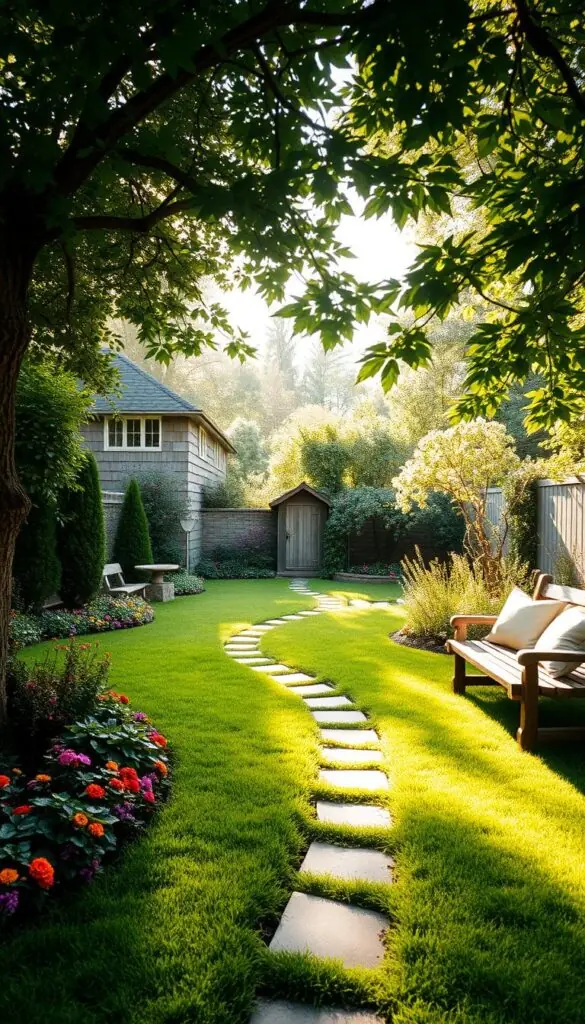
Quick wins under a weekend
Pick a visible spot—near the back door or patio—so the yard feels better the moment you step outside. A string-light run, a planter trio, or a small gravel pad usually fits a single afternoon or a full weekend.
Tools to keep handy
- Essentials: pruners, tape measure, drill, level, pliers, hammer, screwdrivers, garden knife.
- Measure twice, cut once. Use painter’s tape or chalk to outline the footprint before you start.
- Shop local for materials and ask for a cut list to stay on budget and save time.
Many projects land in the $300–$1,000 range if you prioritize scope and plan materials smartly. Work with the weather—paint on mild, dry days; dig after light rain. Finish each day with a quick cleanup, and celebrate the small progress that moves your landscaping plan forward.
Glow Up Your Evenings with String Lights and Smart Landscape Lighting
Evenings feel softer when a few well-placed lights turn ordinary paths into cozy, usable places. A golden glow on a summer night invites lingering and makes your outdoor space feel like another room of the home.
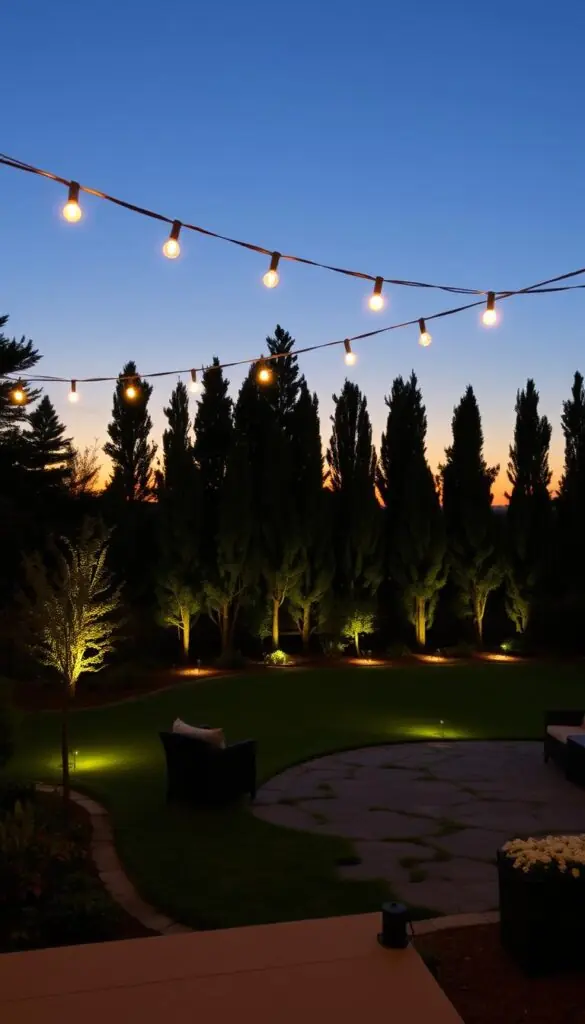
Warm-white vs. cool-white for mood and style
Warm-white (around 2700K) reads intimate and relaxed. It suits casual dining and lounging areas.
Cool-white (4000–5000K) feels crisp and modern and fits clean-lined design or task lighting.
Solar, plug-in, and low-voltage options
Solar gives flexibility and low cost. Plug-in works where outlets are nearby and gives steady brightness. Low-voltage systems are durable and great for landscape lines and paths.
| Type | Best use | Pros | Cons |
|---|---|---|---|
| Solar | Flexible spots, temporary setups | No wiring, low cost | Depends on sun, lower output |
| Plug-in | Patio near outlets, bistro strings | Bright, reliable | Requires GFCI and weatherproofing |
| Low-voltage | Path lights, uplights, permanent layout | Durable, professional look | Higher install effort, needs transformer |
Safe hanging points and quick tips
- Map anchors: mature trees, a pergola beam, fence posts, or guide wires.
- Aim for gentle swags about 9–12 feet above seating.
- Use outdoor-rated cords, GFCI outlets, and tree-friendly straps—not nails.
- Layer lights: a canopy over the table, path lights along the patio, and a soft uplight on a textured wall or small tree for depth.
- Test at dusk, wipe lenses seasonally, and store spare bulbs with your tools.
Follow these steps and you’ll have an inviting, safe lighting plan that brightens key areas and brings warm summer evenings into regular use.
Build a Cozy Fire Pit Gathering Area
A simple circular pit and a few chairs can turn an unused patch into a warm gathering spot. That pop of fire and the scent of wood pull people outside and make evenings linger.
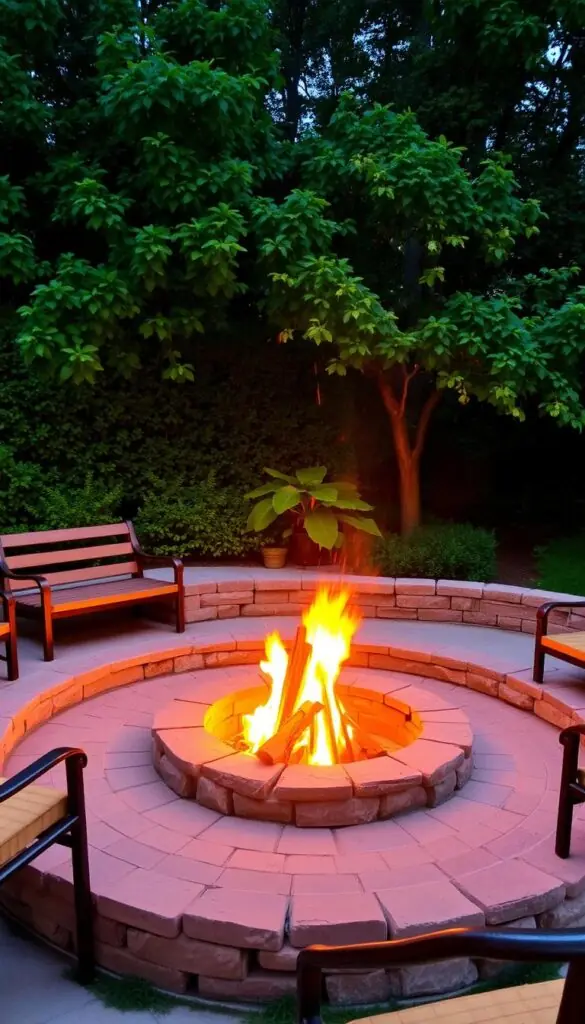
Stone, brick, or concrete block: choosing materials
Choose materials that suit your climate and budget. Local stone reads timeless. Recycled brick gives a warm, lived-in palette. Concrete block builds fast and stays straight for a tidy look.
Safe siting, clearances, and local rules
Site the pit on level ground and keep a safe distance from structures and overhanging branches. Check town rules on open fire before you dig. A spark screen and a bucket of water or sand are nonnegotiable safety items.
Surrounding seating ideas: benches, chairs, and gravel pads
Excavate and lay a compacted gravel base 3–4 inches deep so the ring stays level through seasons. Dry-fit the ring, then stack courses with fire-rated adhesive; vent gaps at the base can reduce smoke.
- Surround the pit with a gravel pad and steel edging so embers land on stone, not grass.
- Arrange seating in an arc: a sturdy wood bench, two deep chairs, and a small side table for mugs or s’mores.
- Keep clear walking paths behind seats and tuck the area behind a low wall or hedge if wind is common.
This DIY project gives you a welcoming area where warm stone underfoot and the crackle of fire make simple nights feel special.
Refresh Concrete, Decks, or Pavers with Paint, Stain, or Stencils
With a little prep and the right paint, your deck or concrete area can feel brand new.
The crisp feel of a freshly washed surface makes the whole space more inviting. Start by pressure washing to remove grime, then let the surface dry fully. Repair cracks so primer bonds well and your finish lasts.
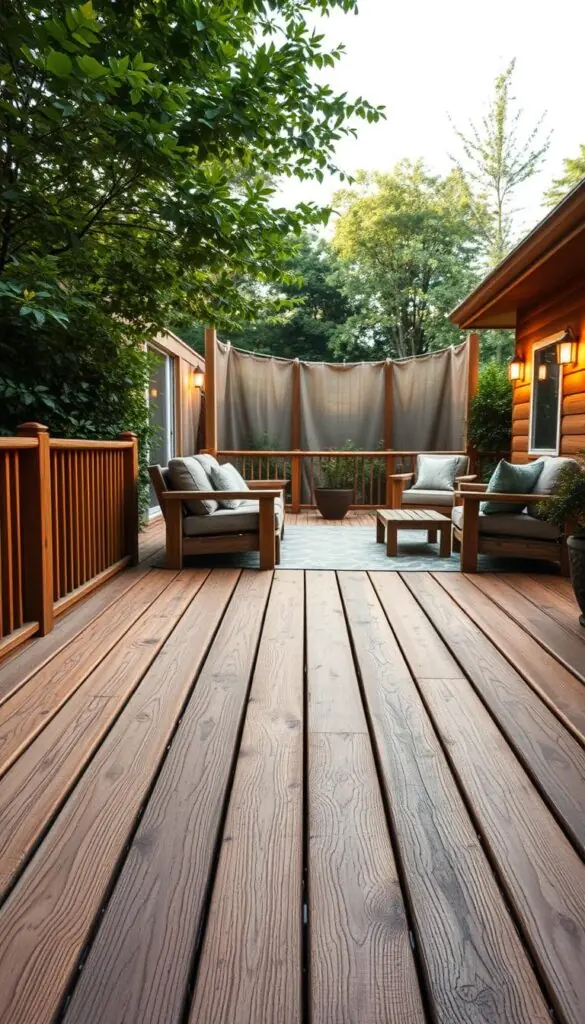
Deck patterns and color ideas for a big visual lift
Map a simple pattern—checks, borders, or modern herringbone—to change the look without constant maintenance. Painted checks in Behr Sunset Drive and True Copper read modern and warm.
Concrete prep: pressure washing, priming, sealing
Prime right: use a masonry-rated primer for concrete and a bonding primer for wood decks. Use exterior paints or stains made for heavy foot traffic.
| Step | What to use | Why it matters |
|---|---|---|
| Wash | Pressure washer, mild detergent | Removes dirt so primer and paint adhere |
| Prime | Masonry primer or bonding primer | Improves durability and evens absorption |
| Finish | Exterior paint/stain, polycrylic sealer | Provides color, pattern, and non-slip protection |
- For a faux-marble patio: four paint shades, sponge dabbing, feather veins, then seal. A recent stencil refresh cost about $90.
- Use a high-quality angled brush for edges and a low-nap roller for smooth patio passes.
- Work in mild, low-humidity weather and allow full dry times between coats.
Stain will highlight deck grain; paint adds bold pattern. Pick colors that echo nearby stone or planters so the area feels cohesive. Step back and enjoy the fresh, bright look — a small diy project can make a big difference in your backyard.
Create Instant Green with DIY Planters and Container Gardens
A cluster of well-chosen containers can turn a plain corner into a fragrant, sunlit mini garden.
Use reclaimed wood boxes, vintage metal buckets (drill drain holes), or simple concrete molds you mix and sand smooth. These pieces are budget-friendly and add charm.
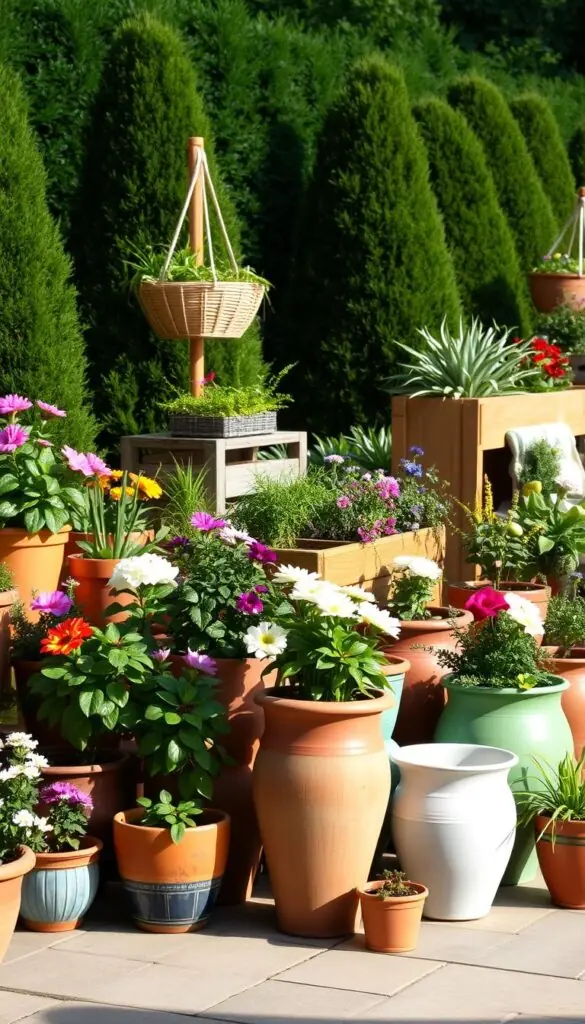
Planting by season and USDA zone
Match plants to your zone. Warm areas suit rosemary, lantana, and sweet potato vine. Cooler zones do well with pansies, sedum, and dwarf conifers for winter interest.
Drainage, soil mixes, and watering made easy
Use a quality potting mix with perlite for airflow. Add a thin gravel layer over drain holes so soil won’t wash out but water still drains.
- Group sun lovers together and keep moisture-friendly ferns in a shaded cluster.
- Place containers where you’ll enjoy them—by the patio door or on a small table for easy snips.
- Water until liquid runs from the bottom, then let the top inch dry before you water again.
| Container | Cost guide | Pros | Care tip |
|---|---|---|---|
| Reclaimed wood box | $0–$40 | Warm look, customizable size | Line with landscape fabric to slow rot |
| Vintage metal bucket | $5–$25 | Character and portable | Drill drain holes; raise on feet to avoid rust stains |
| Concrete mold | $15–$60 | Durable, modern feel | Lightweight mix options reduce weight; smooth edges |
| Terracotta pot | $10–$50 | Breathable, classic | Water more often in heat; use saucers on tables |
Feed lightly every 3–4 weeks in season, and swap seasonal blooms—mums for fall, evergreens for winter, bright annuals in spring. A few thoughtful planters make your yard feel alive with very little fuss.
Go Vertical: Trellises, Green Walls, and Small-Space Herb Racks
Turn a narrow wall into a living tapestry with a trellis, shelf, or pallet frame. Vertical elements free ground space and add instant style to a small garden.
Choose climbers that match your light. Tomatoes and pole beans need full sun. Clematis likes sun with cool roots. Jasmine gives scent when trained against a warm wall.
Quick installation and care
- Anchor securely: use exterior screws, a level, and a small standoff so the frame breathes and the siding stays safe.
- Guide growth with soft plant ties and check weekly to redirect vines for even coverage.
- Water with a narrow drip line or a wand at the base to keep foliage dry and disease-free.
Color, placement, and small-rack ideas
Paint trellises in soft sage, deep navy, or a sunny hue to make green pop without clutter. Mount shallow herb racks by the kitchen door for thyme, oregano, and mint. Combine containers below with basil or marigolds to hide hardware and layer texture.
"Vertical growing stretches a small space into a lush, textured garden."
| Feature | Best for | Tip |
|---|---|---|
| Wall trellis | Climbing vines, jasmine | Leave 1–2" standoff for airflow |
| Pallet frame | Mixed herbs, annuals | Line pockets with landscape fabric for soil retention |
| Herb rack | Small pots near door | Mount at waist height for easy snipping |
Place trellises perpendicular to prevailing breezes or against sturdy fences if wind is strong. In winter, leave frames up and add evergreen garlands or lights for year-round charm.
Gravel Paths and Pads for Affordable, Stylish Hardscaping
Well-laid gravel feels soft underfoot while giving clean lines that guide movement through your space. It’s one of the simplest materials to work with and makes small landscaping projects feel finished quickly.
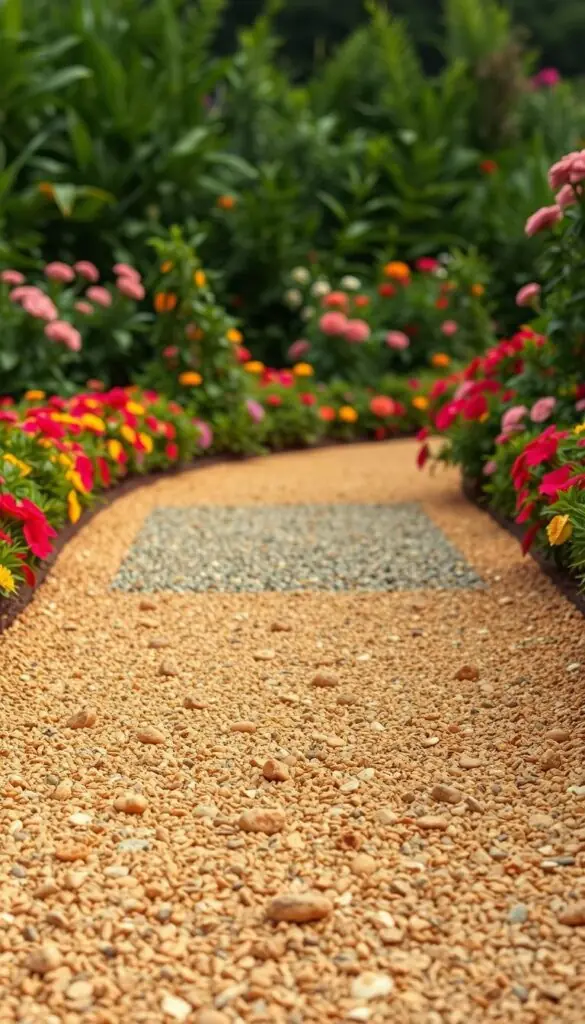
Choosing size, color, and stone type
Pick gravel to match use: pea gravel is gentle for lounge areas; 3/8–1/2-inch angular stone locks in for paths and parking pads. Warm tan tones blend with wood and plants; gray reads modern and pairs well with concrete accents.
Weed barrier, edging, and compaction basics
Mark the route, remove sod and loosen soil a few inches. Lay landscape fabric to block weeds, then add a compactable base if needed.
- Top with 2–3 inches of finish gravel, rake level, and compact lightly.
- Use steel edging for crisp lines, plastic for curves, or stone for a natural edge into planting areas.
- Deepen the base where water pools and prefer angular stone there to help drainage.
"A compacted bed and clean edges keep gravel from migrating and cut down maintenance."
Connect destinations—patio to shed or fire pit—to expand how the yard is used. Sweep stray stones back during the first season and top off thin spots each year. This modest project gives you steady texture, soft sound underfoot, and a calm, organized landscape that feels welcoming.
Zone Your Outdoor Space: Create Mini “Rooms” for Dining, Lounging, and Play
Divide your outdoor area into clear, usable rooms to make every corner feel intentional. A few anchors—an outdoor rug, a row of planters, or a narrow path—can draw the eye and guide movement.
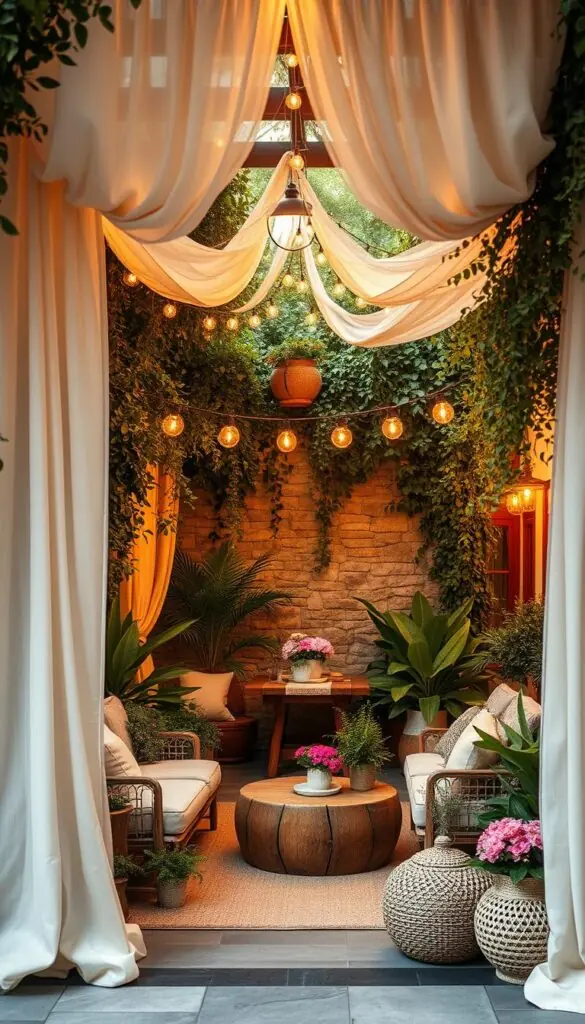
Rugs, planters, and furniture layouts that guide flow
Start near the door: place a dining table and chairs close to the kitchen for easy service. Anchor the group with an outdoor rug so the dining space reads as its own room.
Use planters as soft walls to separate seating from a play nook. Choose slim furniture and stackable chairs to save room when you need open floor space.
Small yard strategies: sightlines, walkways, and storage
Keep taller items at the perimeter so sightlines run corner to corner. Add a short paver or gravel connector between the deck, patio, and a gravel fire pit landing.
- Borrow deck edges for storage benches that hide cushions and toys.
- Give a pit its own gravel pad and seat with two chairs plus a bench for flexible seating.
- Pick one color thread—cushions or planters—to tie rooms together visually.
With a simple plan and right-sized furniture, your yard will feel organized, calm, and ready for dining, lounging, or play. These small design choices make the whole backyard function better.
Backyard Seating That Works Hard: Benches, Swings, and Built-Ins
Smart seating makes a small outdoor spot feel like a full room for friends and family. Choose pieces that match how you live—lounging, dining, or quick morning coffee—and you’ll use the area more often.
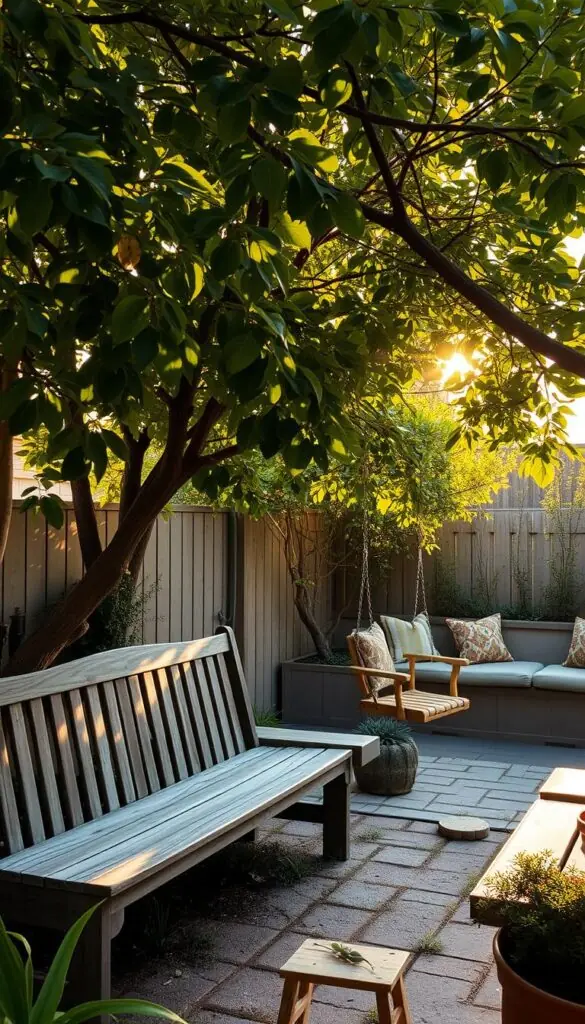
Porch swing hardware and safety tips
Locate ceiling joists and mark them before you drill. Use heavy-duty eye hooks screwed into solid joists and outdoor-rated chain or straps. Test the hang at a low height first, then rise gradually.
- Check hardware weight rating and choose rust-resistant metal.
- Keep a three-foot clear zone around the swing to avoid collisions.
- For family use, inspect hooks and ropes yearly and replace at signs of wear.
Built-in banquettes to fit more friends in less space
Built-ins along a fence or low wall save floor space and seat more people around a compact patio table. A simple wood bench with a 16–18" seat height and a 16–20" deep seat is comfy for most adults.
- Add weather-resistant cushions and anchor them with ties or non-slip pads.
- Place two chairs across from a bench to balance conversation; allow 36" for clear passage behind seating.
- Near a fire area, use non-flammable surfaces underfoot and keep seating a safe distance from flames.
Tools to have: drill, level, tape measure, and exterior screws for a quick diy build that lasts.
Add Structure and Shade with a Pergola or Shade Sail
A pergola or a shade sail gives an outdoor spot instant personality and more livable hours. You’ll learn kit vs. custom choices, simple footing tips, and which vines add scent and privacy.
Pergola kits vs. custom builds: cost and time
Kits like Toja Grid speed assembly and use heavy-duty brackets. A recent DIY build ran about $1,100 total—roughly $800 for hardware and $300 for lumber.
Custom gives full control over size, finish, and materials but takes more time and skill.
Placement, footings, and seating
Plan posts so furniture fits comfortably; a 10x12 pergola often holds a dining set neatly on a patio. Use footings rated for your region and check level and square during assembly.
- Choose rot-resistant wood and exterior-rated screws for low upkeep.
- Train vines—star jasmine for scent, wisteria or clematis for blooms—to create dappled summer shade and soft privacy from nearby trees.
- Or pick a shade sail for flexible, modern coverage that moves with the sun over seating areas.
"A well-placed pergola shapes your backyard into inviting, usable spaces you’ll love all season."
Plant Perennials and Small Trees for Four-Season Interest
A small palette of tough perennials and one well-placed tree can keep your garden lively through every season. These choices add color, scent, and structure with minimal fuss.
Low-maintenance picks
Pick resilient varieties like black-eyed Susans (coneflowers) for bright midsummer color, lavender for its calming fragrance and pollinators, daylilies for repeat waves, and sedum for fall form and seed heads.
Right tree, right place
Choose small trees that match your yard’s scale—serviceberry, redbud, or a dwarf crape myrtle. Plant where roots won’t crowd patios or underground utilities. Place trees to give dappled afternoon shade over seating so your home feels cooler and more inviting.
- Planting tip: set the crown at soil level and water deeply at planting.
- Water: keep regular watering the first season while roots establish.
- Spacing: space plants so mature sizes just meet; avoid crowded beds.
- Mulch: add a thin layer to hold moisture; keep it off trunks to prevent rot.
| Feature | Best picks | Why it helps |
|---|---|---|
| Long bloom | Coneflower, daylily | Keeps color through summer into early fall |
| Scent & pollinators | Lavender | Attracts bees and adds fragrance near seating |
| Fall & winter interest | Sedum, serviceberry | Seed heads feed birds; bark and berries add structure |
Keep a simple care calendar: spring feed, summer deadhead, and divide daylilies in fall. Repeat small groupings from the house to the backyard edge for rhythm that feels intentional. Thoughtful plant and tree choices create a low-effort, four-season landscape you’ll enjoy all year.
Color and Texture: Cushions, Outdoor Rugs, and Painted Accents
A few well-chosen textiles and a painted accent can pull a whole outdoor seating area into one calm, stylish scene. You’ll get friendly palette guidance and simple seasonal refresh ideas to keep the space feeling new.
Palette ideas that complement wood, stone, and concrete
Build a palette from what you already own. Warm wood pairs well with terracotta and sage. Cool gray concrete welcomes navy, charcoal, and crisp white.
Small moves, big change: layer cushions in one or two accent colors across seating to tie the deck and patio together visually. A durable outdoor rug anchors the area and softens footsteps while staying easy to hose off.
Seasonal refreshes to keep the look feeling new
- Swap cushion covers each season—citrus brights for summer, tea-stained neutrals for fall.
- Paint a small accent (planter rims or a side table) to echo your chosen color across spaces.
- Mix materials—metal lanterns, chunky throws, and natural fiber mats—for depth and texture.
Keep traffic paths clear so rooms feel larger. Add a low centerpiece on the table—potted rosemary or a bowl of lemons—to welcome guests without blocking views. A few thoughtful color moves will transform the look of your backyard with small, livable ideas.
Privacy That Looks Beautiful: Slatted Panels, Bamboo Screens, and Hedges
Good privacy feels intentional — a screen can be both elegant and low-effort. Simple panels or a row of plants can transform exposed areas into calm, usable corners. We’ll share neighbor-friendly choices and quick installation tips that keep the result feeling like thoughtful landscaping, not an afterthought.
Modern slat spacing and planter add-ons
Use horizontal slatted panels with even spacing for an airy, modern look that blocks sightlines but lets breeze through. Secure posts in small concrete footings or compacted gravel and attach slats with a level so lines stay clean.
Add planter boxes to soften the structure. Trailing plants and seasonal flowers warm the wood and make the screen read like part of your home garden. One DIY used sanded posts, natural slats, and flower boxes for about $244 plus plants.
Neighbor-friendly choices and placement
In tight patios, bamboo screens or faux green walls fasten with zip ties for a renter-friendly solution; two panels ran near $500. Mix in narrow trees or tall shrubs where space allows—columnar evergreens or clumping bamboo add year-round green without crowding.
- Leave a small gap at the bottom to prevent rot and ease cleaning.
- Coordinate finishes with your house to match overall style.
- Share plans with neighbors if panels sit on the property line so both sides look good.
- Keep access panels for utilities and irrigation clear for easy maintenance.
"Privacy that looks intentional becomes part of the landscaping and lifts the whole look of your outdoor rooms."
Upgrade the Basics: Sheds, BBQ Stations, and Compact Bars
A tidy shed and a small serving counter can turn basic storage into a warm, usable corner. These simple changes let you store tools neatly and host without stress.
Shed facelifts: paint, window boxes, and organizers
Start with paint and new hardware to make the shed feel like part of the patio, not a catchall. Add window boxes and a motion light over the door for charm and safety.
Inside: mount pegboards and narrow shelves to keep tools, cords, and small pieces within reach.
If you plan a greenhouse wall, recycled windows can work—the cost on a recent project ran near $1,000 but gives great light and character.
Small outdoor bar or BBQ station on a budget
Build a compact station with a simple wood frame, a DIY concrete top, and hooks for utensils. A basic concrete-topped BBQ setup can be done for about $300.
- Include a narrow table with stools for serving and casual seating.
- Use sealed wood and powder-coated metals for weather-proof materials.
- Repurpose a salvaged cabinet under the counter for hidden storage.
"A tidy shed and a smart little station make everyday tasks smoother and hosting effortless."
Plan Your DIY Backyard by Season and Time
Set a gentle schedule so projects happen at the right moment and you don’t rush finishes. A simple monthly rhythm makes progress steady and affordable.
Spring planting and staging
Prep beds, add compost, and plant perennials and small trees while soil warms. Stage furniture and rugs once frost risk ends.
Tip: water new plantings deeply and consistently the first month to help roots settle.
Summer entertaining and shade
Install shade sails or train vines on a pergola early in the season. Set up dining and lounge zones with breathable fabrics for long evenings.
Fall staining, sealing, and planting perennials
Wash and seal the deck and stain pergolas while temps are mild. Plant hardy perennials and bulbs for next year’s bloom.
Winter lighting and storage
Lean on uplights and lanterns to brighten short evenings. Clean and store cushions, and cover grills to protect finishes.
| Season | Best tasks | Quick tip |
|---|---|---|
| Spring | Plant perennials, stage furniture | Water deeply; wait until frost passes |
| Summer | Hang shades, set dining zones | Use breathable fabrics; add morning watering |
| Fall | Seal deck, plant bulbs | Seal before cold snaps and mild temps |
| Winter | Light trees, store cushions | Use timers for lights and keep paths clear |
Sequence smartly: do hardscaping first, then plant and furnish. Keep a short supply list on your phone so you save time and stay within budget.
Conclusion
A single simple idea—lights, a seat, or a painted corner—often unlocks how you enjoy your outdoor space. Start small and let that win lead the way.
Focus on high-impact moves: lighting, defined zones, comfy seating, and tidy paths. These ideas work on a modest budget and change how the entire backyard feels.
Invite your family out for an easy meal under lights. Notice the scent of herbs, the soft crunch underfoot, and the warm glow at dusk. Revisit your plan each season, tweak what needs a nudge, and celebrate finished projects.
You’ve got this. With steady, practical steps your landscape will grow more thoughtful and welcoming—one slow evening at a time.
FAQ
What are the quickest projects that deliver a big visual lift in a weekend?
Swap or add colorful cushions and an outdoor rug, hang warm-white string lights, refresh a deck or concrete pad with an exterior stain or paint, and build simple container gardens using reclaimed wood or pots. These take a few hours to a day and instantly make your outdoor area feel curated and welcoming.
Which tools should I keep handy for most DIY yard projects?
A basic kit of pruners, a tape measure, a cordless drill with bits, a level, a rubber mallet, and a hand trowel covers most small to medium projects like planters, trellises, and furniture assembly. Add a pressure washer for concrete prep and a composter fork for gardening tasks.
How do I choose between warm-white and cool-white landscape lighting?
Use warm-white (2700–3000K) to create a cozy, inviting evening mood around seating, dining, and paths. Cool-white (3500–4000K) suits modern patios, accenting architectural features and hardscapes. Mix sparingly: keep seating and gathering spots warm for comfort and use cool light for task areas.
What lighting options work best if I don’t want to run wiring?
Solar fixtures have improved reliability and are perfect for path lights and string lights. Battery-operated lanterns are flexible for temporary setups. For brighter, long-term lighting without heavy wiring, choose low-voltage systems that a pro can install with minimal trenching.
What materials are best for building a small fire pit area?
Stone, brick, and concrete block are durable and heat-resistant. Natural stone gives a rustic look, brick offers classic charm, and concrete block is budget-friendly and easy to work with. Make sure to use non-combustible base materials like gravel or pavers, and follow local codes for safety clearances.
How far should my fire pit be from structures and trees?
Keep an open flame at least 10–20 feet from structures, fences, and low branches. Check local regulations and your homeowner’s association rules—some areas require greater clearances. Always have a fire extinguisher, water source, or sand nearby for safety.
How do I prep concrete, pavers, or a deck before staining or painting?
Start with pressure washing to remove dirt and mildew. Repair cracks, fill joints, and sand rough spots. Apply a concrete or wood primer if recommended by the product. Finish with a suitable exterior stain, paint, or sealer designed for foot traffic and weather resistance.
What are budget-friendly planter ideas that still look polished?
Reclaimed wood crates, painted galvanized tubs, vintage wooden barrels, and simple concrete molds make striking containers. Combine inexpensive potting mix with a layer of pebbles for drainage, and group mismatched containers for a cohesive, collected look.
How do I choose plants by season and USDA zone?
Identify your USDA hardiness zone using USDA or the Arbor Day Foundation maps. Choose perennials and small trees rated for your zone to ensure winter survival. For seasonal interest, plant spring bulbs, summer perennials like coneflowers and lavender, and fall-blooming asters or sedum.
What drainage mix should I use in containers to avoid root rot?
Use a well-draining potting mix blended with perlite or coarse sand. Add a thin layer of gravel or broken pottery at the bottom only if the container lacks drainage holes. Water thoroughly, then allow the top inch of soil to dry before the next watering.
Which climbers are reliable for a small trellis or pergola?
Clematis, jasmine, climbing roses, morning glory, tomatoes, and pole beans are excellent choices. Pick according to light—jasmine and roses prefer sun, clematis tolerates partial shade. Train vines early to avoid tangles and prune annually for shape and health.
What gravel type is best for pathways and small patios?
Use a mix of compactable base gravel (crushed stone) for stability topped with 3⁄8"–1⁄2" decorative gravel or pea gravel for surface texture. Install a weed barrier, edge with landscape timbers or metal edging, and compact the base for long-lasting results.
How can I zone a small outdoor area to feel larger?
Create mini “rooms” using outdoor rugs, planter groupings, and furniture layouts that define dining, lounging, and play areas. Use sightlines—low plantings and vertical structures like trellises—to guide movement and create the illusion of depth.
What seating options give the most value for small spaces?
Built-in benches or banquettes, a compact porch swing, and multi-use furniture (storage benches or foldaway tables) maximize capacity without crowding. Choose weather-resistant materials like teak, cedar, or powder-coated steel for low maintenance.
Should I buy a pergola kit or hire a custom builder?
Pergola kits are budget-friendly and quicker to install if you’re handy. Custom builds cost more but offer exact sizing, integrated lighting, and tailored finishes. Consider your budget, skill level, and desired features when deciding.
Which low-maintenance perennials and small trees offer year-round interest?
Try coneflower, lavender, daylily, sedum, and ornamental grasses for low care. Small trees like serviceberry, Japanese maple (dwarf varieties), or hawthorn add seasonal flowers, foliage color, and manageable shade.
How do I add privacy without blocking light or creating a heavy look?
Use slatted panels, bamboo screens, tall narrow planters, and layered hedging to filter views while letting light through. Space slats wider for an airy feel and add climbing plants for softness and scent.
What are simple shed facelift ideas to freshen a tired structure?
Paint the exterior in a complementary color, add window boxes with seasonal flowers, install hooks and shelving inside for organization, and update hardware for a polished appearance. Good lighting and a small awning can make the shed feel like a mini outbuilding.
How should I plan DIY projects by season?
Spring is best for planting, soil prep, and building planters. Summer focuses on entertaining, lighting, and maintenance. Fall is ideal for staining and sealing decks, planting perennials and bulbs, and pruning. Winter is for planning, ordering materials, and installing lighting or storage upgrades.