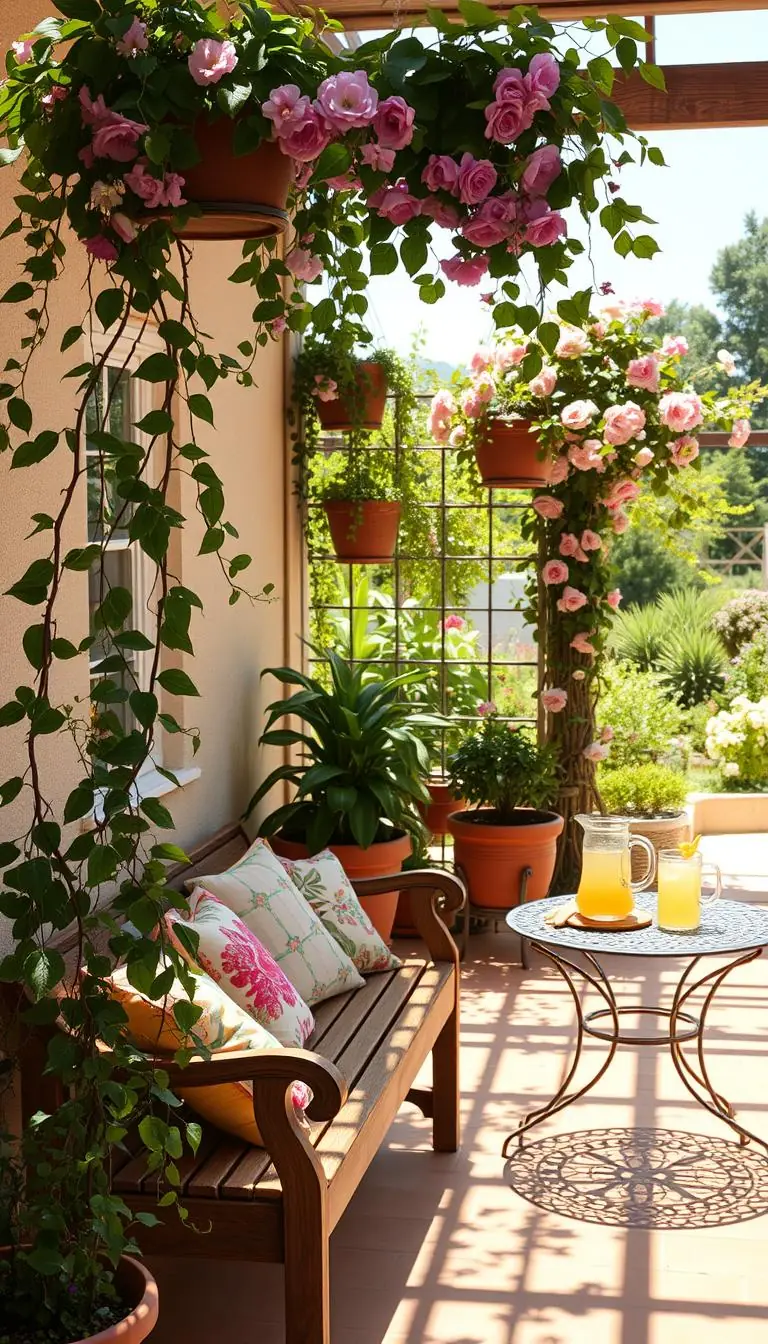
Imagine the warm scent of cedar after a light rain and sun on your herbs. Have you looked out and wished your beds felt a little more finished and protected? You’re in the right place.
Think of this as friendly guidance from a neighbor who’s tried many options. We keep ideas simple so your space looks calm and tidy all year. You’ll see easy steps for materials, height, and ground setup that fit weekend projects.
Our approach highlights products that blend in — non-electric, nearly invisible from a distance — and kits that include posts, sleeves, ties, and hardware. Learn when to stake overlap on uneven ground and which heights suit small, medium, or large areas. We’ll also touch on price, color, and the warm look of wood so you pick the right protection without fuss.
Key Takeaways
- You’ll find practical options that balance charm and protection for your plants.
- Kits often include posts, sleeves, ties, and easy hardware for faster setup.
- Use overlap staked to the ground to deter digging and handle uneven terrain.
- Recommended heights help match protection to your space and wildlife needs.
- Choose materials and color that blend with your design and fit your price range.
Start Here: What You Want Your Fence to Do
Start by picturing the main job you want your barrier to do—protect, define, or welcome.
Write a short list of goals. Do you want to stop deer, guide pets, protect seedlings, or simply tidy a bed? Jot down a few priorities so choices later feel simple.
Think about the plants you care for — hostas, lettuce, or sunflowers — and note which need tight protection. Non-electric physical barriers are reliable for keeping out animals. Overlapped fencing staked to the ground helps stop digging at low or sloped spots.
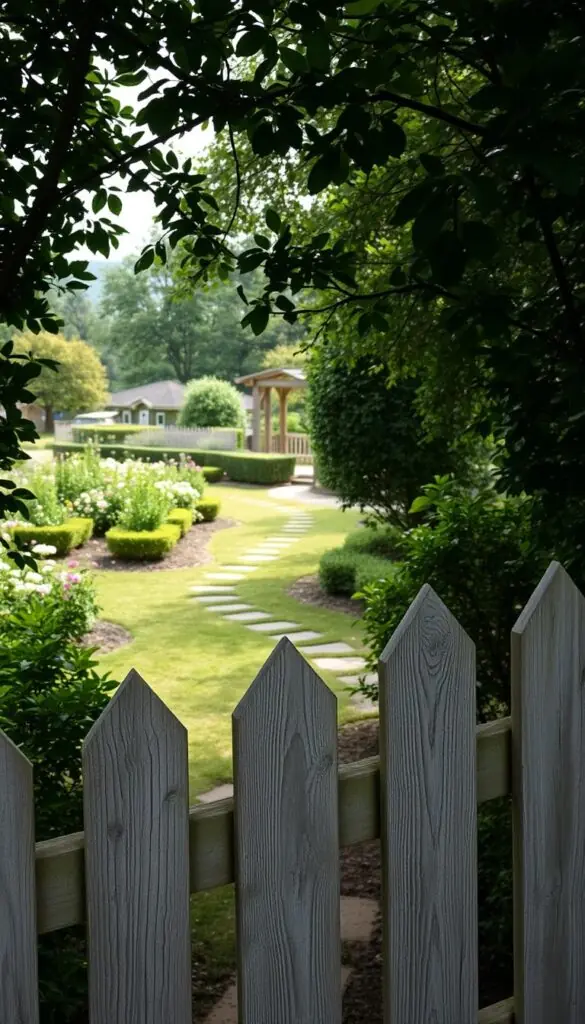
Plan access next. If you move tools or a wheelbarrow, add a gate and a clear width so stems don’t get crushed. For low-visibility around flower plots, black mesh blends with greenery while still keeping wildlife where it belongs.
| Goal | Example Plants | Recommended Option |
|---|---|---|
| Keep deer out | Sunflowers, shrubs | Taller barrier (match height to deer pressure) |
| Protect seedlings | Lettuce, herbs | Tighter mesh, low overlap at ground |
| Neat border | Perennials, hostas | Low-profile black mesh or picket panels |
Quick step: pick a target height and note ground challenges, then match those goals to the right options in the next section.
Map Your Space and Wildlife Pressure
Take a slow dusk or dawn walk around your yard to see where critters really travel.
Look for soft soil, damp grass, and long shadows near hedges. These cues point to deer paths and rabbit runs. Bring a tape measure and a handful of temporary stakes.
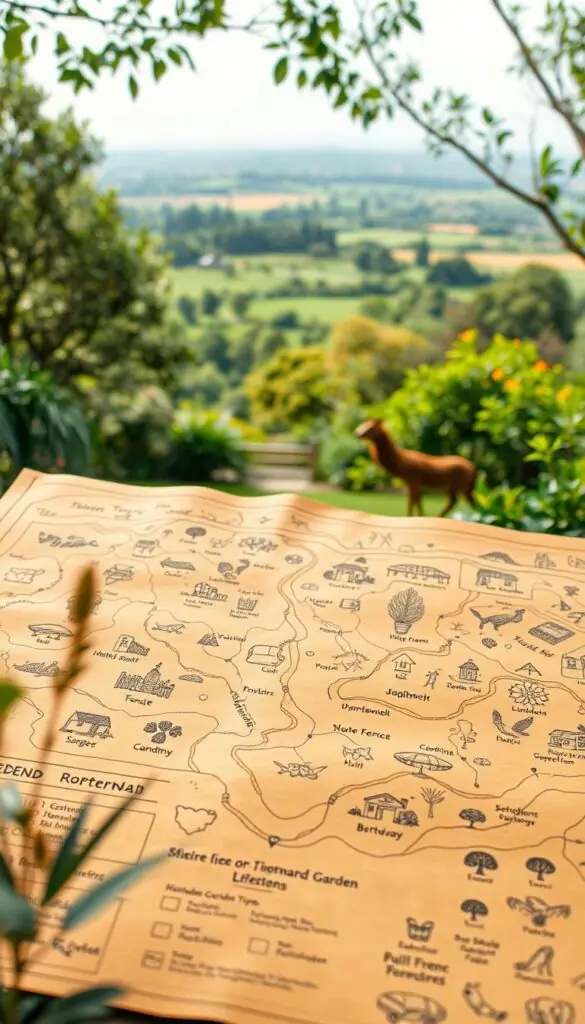
Measure the full perimeter in feet. Mark corners and any tight curves so you can picture gate placement and how large each panel or roll must be.
- Note dips, roots, or stone outcrops on the ground—these need extra overlap or a little fill.
- List animals you see—rabbits, groundhogs, deer—and match them to height and opening size before shopping options.
- If your map has sharp corners, prefer flexible rolls; long straight runs work well with panels.
Height quick guide: small areas up to 100 linear feet plan 6 feet; medium up to 500 feet aim 7–7.5 feet; heavy wildlife or large areas choose 8 feet or higher. Overlap along the ground to deter tunneling pests.
| Area Size | Recommended Height | Notes |
|---|---|---|
| Small (≤100 linear feet) | 6 feet | Good for yards with light wildlife pressure |
| Medium (≤500 linear feet) | 7–7.5 feet | Balance of cost and protection for most gardens |
| Large / Heavy wildlife | 8+ feet | Best for strong jumpers and extensive perimeter needs |
Materials at a Glance: Poly, Metal, Wood, and Vinyl
Your choice of material sets the tone—subtle, sturdy, rustic, or private. Below are common products and simple pros and cons to help you pick the right type for your yard.
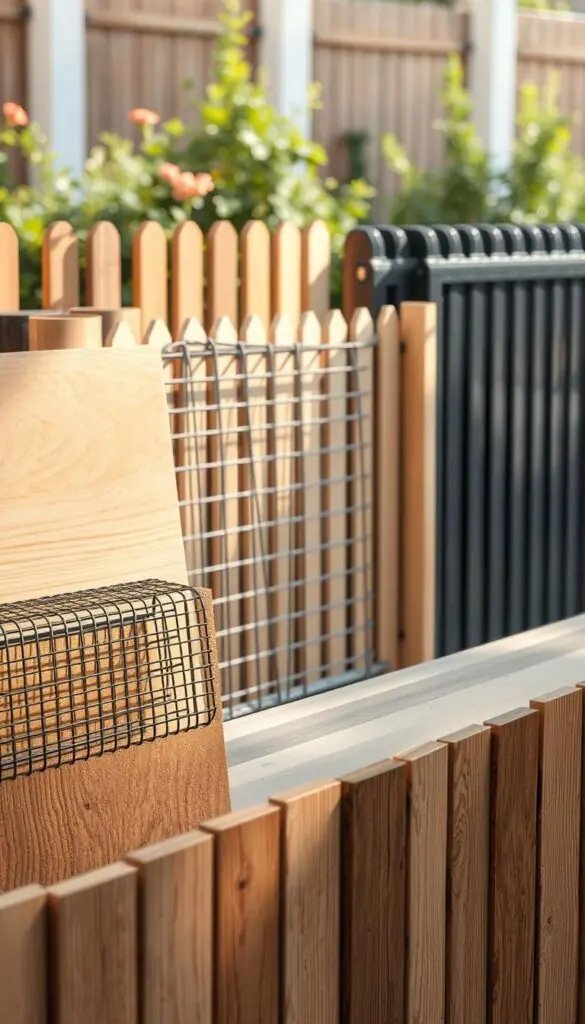
Polyethylene / Polypropylene
Poly rolls are light and nearly invisible, especially in black where the mesh fades into leaves. They are UV-stable and non-electric.
Best when: you want low-visibility garden fencing and minimal maintenance.
Galvanized Steel & Metal Mesh
Steel brings real strength and chew resistance for rabbits and groundhogs. It suits areas with heavier wildlife pressure and larger animals.
Trade-off: more weight and cost, but long-lasting protection.
Cedar Wood Pickets and Panels
Cedar offers a warm tone and natural grain that pairs well with lavender and coneflowers. It resists rot and insects.
Available in rolls (8 ft × 16 in) with 15‑inch cedar stakes and zip ties for quick installs. Use a rubber mallet for setting stakes.
Vinyl Options
Vinyl gives crisp lines, colorfast privacy, and good wind resistance. It’s easy to clean and holds its look over time.
Quick cue: pick poly for subtlety, steel for bite resistance, cedar for charm, and vinyl for private seating areas. For frequent deer, combine taller poly height with a metal chew barrier at the base for balanced strength and subtlety.
Garden Fence Height and Size Recommendations
A clear height plan keeps plants safe and helps you buy the right panels without guesswork.
Small areas up to 100 linear feet: 6-foot basics
For small plots, pick a 6-foot height. That covers most typical jumps and still keeps views open.
Medium gardens up to 500 linear feet: 7–7.5 feet for added protection
When you stretch to a few hundred feet, add a foot. A 7 or 7.5-foot option often stops evening testers like deer.
Large spaces and heavy wildlife: 8+ feet
Large areas or steady wildlife pressure call for 8 feet or taller. Going taller reduces repeat damage and worry.
Quick practical cues:
- Match gate height to the line so openings don’t become weak spots.
- Overlap or bury the bottom into the ground to block tunneling.
- If wind is strong, use tension supports or sturdier posts to keep the height steady.
| Area Size | Recommended Height | Why it helps |
|---|---|---|
| Small (≤100 ft) | 6 feet | Balances protection with view and cost |
| Medium (≤500 ft) | 7–7.5 feet | Extra foot deters late-season jumpers like deer |
| Large / Heavy wildlife | 8+ feet | More reliable long-term protection and less replanting |
When in doubt, choose the higher option. It’s a small extra cost for much calmer mornings and thriving beds.
Opening Size, Chew Resistance, and Dig Prevention
Start by protecting the lowest two feet—most animals test there first, and small gaps are where trouble begins.
Why one-inch or smaller openings matter
Choose a mesh size of one inch or less to stop rabbits and small rodents. Tiny holes look harmless until carrot tops vanish overnight.
- One-inch or smaller openings block the squeeze points where most pests get through.
- Walk the line after rain—soft ground invites tunneling, so add pins where soil lifts.
- When in doubt, secure the first 24 inches; that’s where animals test and push most.
Chew-resistant bases and combining materials
A common, smart option is a poly upper with a metal base for chew resistance. The poly keeps the look subtle while metal stops nibblers at the bottom.
For raised beds with carrots or peas, wrap the lower edge in metal mesh and continue upward with poly. Overlap the material onto the ground and pin or bury the edge a few inches.
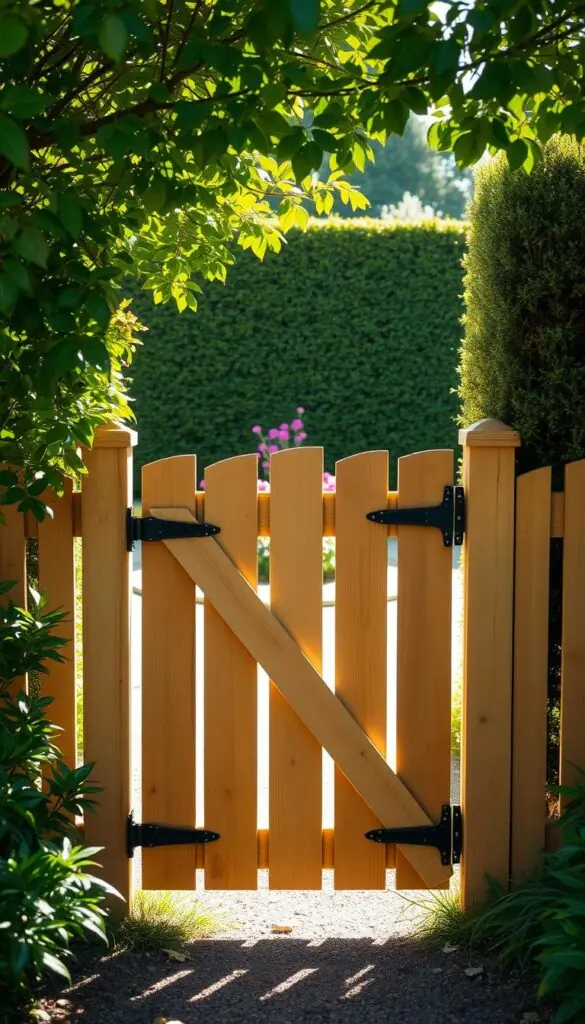
These small steps create a reliable barrier that protects plantings in small plots and larger gardens alike, with sensible fencing choices that balance view and strength.
Garden Fence Kits, Posts, and Parts
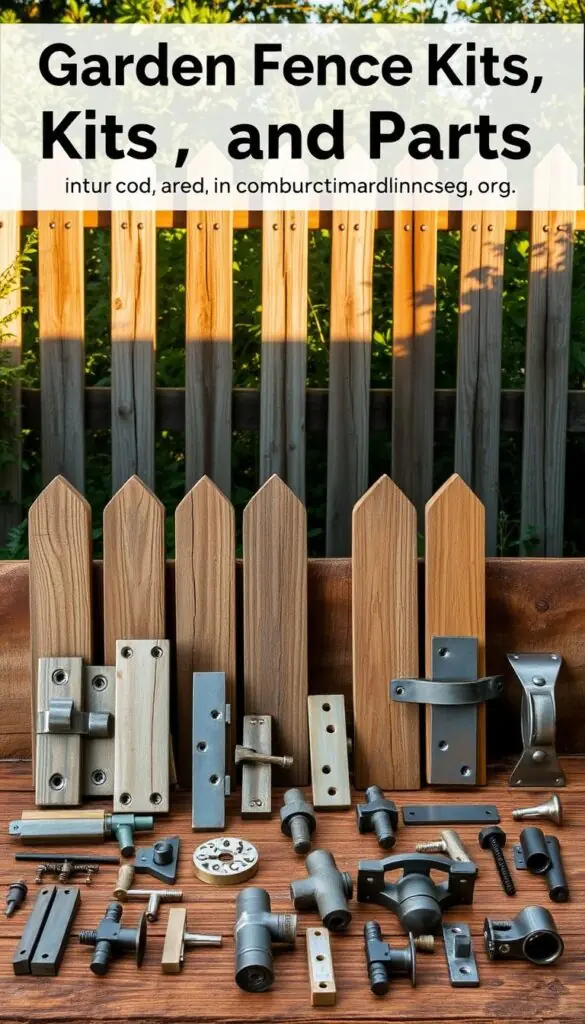
Ordering becomes simple when you understand the typical contents of a kit. A good kit gives you the essentials so install day is calm and quick.
What you’ll commonly find:
| Item | Why it matters | Notes |
|---|---|---|
| Rolls | Cover long runs without seams | Check length per roll |
| Posts & fence posts | Provide structure | Fit into ground sleeves |
| Sleeves, ties, hardware | Make posts removable and secure | Count ties for corners |
Drive ground sleeves with a rubber mallet or sledge, slide posts in, and tighten set screws for a neat, secure top line. Many kits include overlap to stake or bury along dips to block burrowing.
Add-ons and tips:
- Panels and gates create straight runs and tidy entrances.
- Check the number of ties and clips so you aren’t short on corners.
- Look for an option with tensioning hardware if you want a crisp, finished look.
Simple tools to have ready: rubber mallet, zip ties, tape measure, and a level. Compare products to see what’s included so your install goes smoothly.
Installation Methods That Make Life Easier
A calm, well-planned install saves time and keeps the line looking neat for years.
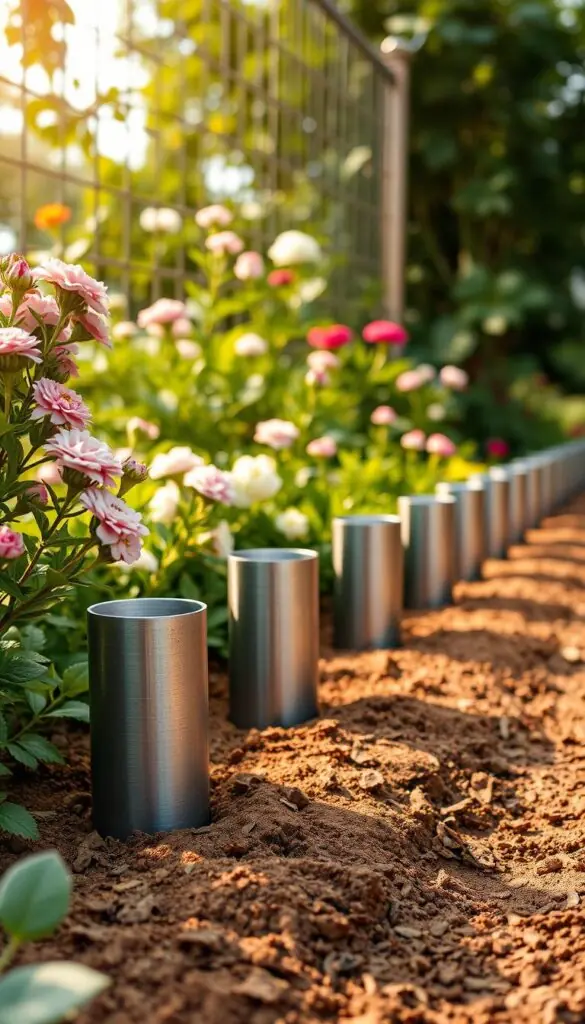
Ground sleeves and set screws
Mark your corners first. Drive ground sleeves straight with a sledge or rubber mallet until the soft thud feels solid. Tamping the soil around the sleeve gives a firm base.
Slide posts into the sleeves. Snug the set screws so posts stay straight but remain removable for seasonal changes or repairs.
Overlap vs. burying edges
Choose overlap on the ground when soil is uneven. Pin the overlap with stakes every few feet to stop small gaps from forming.
If tunneling pests are persistent, trench 3–6 inches and bury the edge. Backfill and tamp; it takes more work but creates a stronger barrier.
Tensioning for extra rigidity
Add a tension cable or wire when wind or long runs cause sag. Tensioning keeps a clean, tight line but makes the run less removable.
"Square corners with a level; the extra minute makes the entire run truer."
- Mark corners and run lines.
- Drive sleeves until plumb.
- Insert posts and tighten set screws.
- Secure overlap or bury edges.
- Add tension if needed and check alignment.
Light tool list: rubber mallet, gloves, zip ties, wire cutters, and a bucket of stakes. Work slowly and enjoy the steady rhythm of a clean, tight line.
Design Styles That Add Charm Around the Garden
Soft curves and warm tones can turn a simple border into a cozy outdoor room. Use shape and finish to make beds and paths feel intentional. Small details set the mood without stealing focus from your plants.
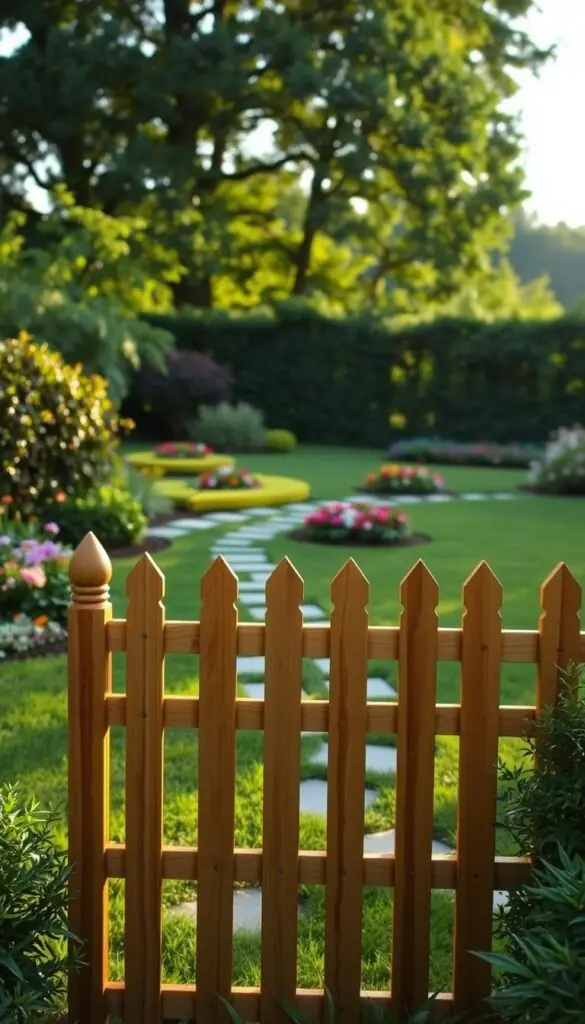
Classic pickets: Choose cedar pickets for a cozy, cottage look. Cedar rolls come in 8 ft × 16 in with 15-inch cedar stakes and zip ties, so they bend for curves or run straight for neat lines. The warm wood pairs beautifully with peonies, salvia, and daylilies.
Crisp white: A white painted picket gives bright contrast. Use water-based paint for easy upkeep. White accents guide steps and make pastel blooms pop.
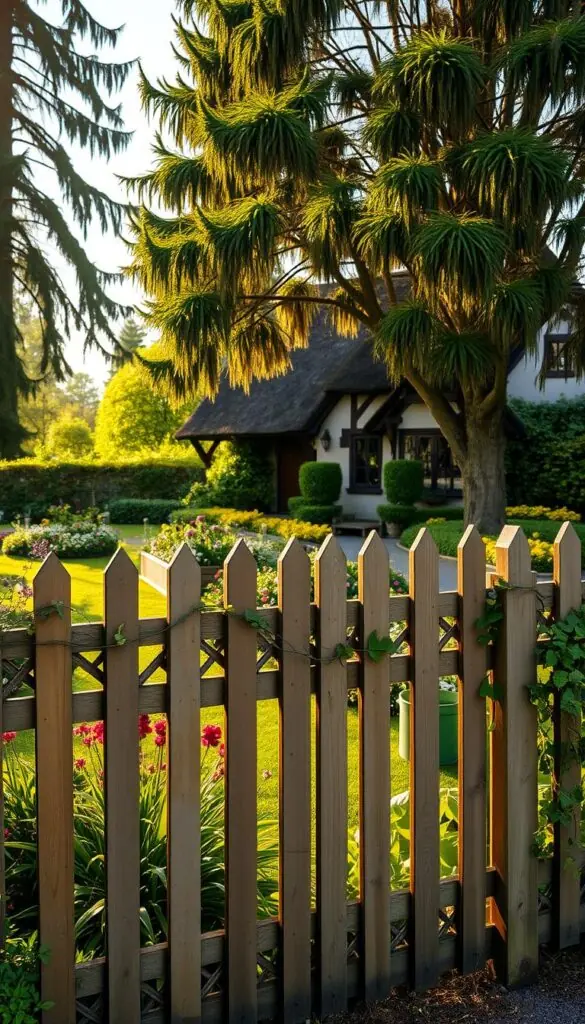
- Rolled fencing gently follows curved beds and informal paths.
- Use panels where you want straight, even lines next to patios or lawns.
- Keep color in mind: black mesh fades, while cedar and white add character and define space.
- Repeat the same style on both sides of a path for a unified look and easy navigation.
- Add a small gate to invite you into a planted room and finish the edge.
Privacy, Color, and Visual Blend with Your Landscape
A subtle palette can make the line nearly vanish, so your blooms and stone paths do the talking.
Choose one or two color choices and stick with them. That keeps the view calm and makes maintenance decisions easier. Match panels and posts to mulch, pavers, or siding for a cohesive look.
Nearly invisible black mesh for a low-profile look
Black poly fades into shade and foliage. From a distance it reads as shadow, so plants remain the star. Poly rolls are designed to be nearly invisible and cost-effective for long runs.
Color choices and practical pairing
Vinyl brings colorfast privacy and good wind resistance. Pick green near evergreens, white for classic contrast, or silver to complement modern stone and steel.
- If you want the barrier to disappear, black mesh blends into shade so your eye sees plants first.
- White stands out and pairs well with pale stone or painted pergolas.
- Silver galvanized mesh looks tidy beside gray pavers and metal planters.
- Choose materials with good wind resistance and add tensioning for crisp lines.
| Color | Best Use | Visual Effect | Resistance / Price |
|---|---|---|---|
| Black | Mixed beds, shady edges | Low-profile, fades into foliage | Good resistance / low price |
| Green | Evergreen borders, woodland edges | Harmonizes with moss and ferns | Moderate resistance / moderate price |
| White / Silver | Formal beds, near stone or steel | Bright contrast or modern tidy look | High resistance (vinyl/galvanized) / higher price |
Quick tip: limit yourself to one accent and one neutral. That simple plan keeps the whole space restful while still providing privacy where you want it.
Seasonal Timing, Zones, and Maintenance
Plan installs for the shoulder seasons so shipping is steady and your hands stay comfortable.
Aim for spring or fall. The ground is workable, plants are quiet, and direct shipping from warehouses is more predictable. Cooler days make digging sleeves and setting posts easier and less tiring.
Use ground sleeves for simpler setup and seasonal removal. They keep posts removable and help you re-level after winter heaves.
Quick seasonal checks
Walk the line each season. Tighten ties, tap in loose stakes, and check set screws on posts. Look for UV wear where sun hits hardest; those spots need extra resistance or a touch-up.
After big winds, scan for sag and re-tension before small shifts become big repairs. If animals pressure rises in midsummer, consider extra overlap pins or a metal chew barrier at the base.
Keep smart information handy
Store your order number, material, height, and the number of posts so replacement parts are simple to order. Small seasonal tasks—cleaning vinyl or oiling cedar—keep the whole garden calm and extend life while keeping price and effort low.
Budget, Price Ranges, and Shipping Considerations
Before you add to cart, know the feet, posts, and panels your project needs.
Start simple: measure perimeter feet and pick a height. That turns price into a clear number and helps you estimate rolls, posts, and panels without surprises.
Compare product bundles versus parts a la carte. Kits can simplify installs and cut down on separate shipping. If you prefer parts, add stakes, ties, and a gate to the same order to avoid extra deliveries.
Material and cost cues: poly options tend to be lower in price and low-visual; wood brings charm but raises cost; steel costs more upfront and lasts longer. If deer pressure is high, budget for added height or a chew barrier — cheaper than replanting.
"Group items into one delivery when you can; fewer shipments cut fees and speed install."
Quick checklist
- Perimeter feet × chosen height = number of rolls/panels.
- Count corner posts, gates, and stakes before checkout.
- Compare kits vs single products for shipping and savings.
| Item | Typical Price Range | Why it matters |
|---|---|---|
| Poly roll | $0.50–$1.50 per foot | Low cost, subtle look, ships light |
| Wood panels | $8–$25 per foot | Warm finish, higher install cost |
| Steel mesh | $1.50–$6 per foot | Durable, best for chew resistance |
Measure, Plan, and Order with Confidence
Start with a simple sketch and a tape measure—those two tools save time and mistakes. Walk the perimeter once with marker flags and a notebook. Mark gates, tight curves, and any dips in the ground so your plan matches reality.
How to calculate linear feet, corner posts, and gate locations
Sketch the layout on paper. Add the length of each side and total the feet around your garden. Note every corner and gate so you can count posts and fence posts accurately.
Matching height, opening size, and local wildlife
Choose height to match local animals and your view. Pick a mesh size of one inch or smaller to block rabbits and rodents. Ground sleeves with set screws make taller runs easier to adjust or remove.
Ordering rolls, stakes, and parts in the right number and size
List rolls, panels, stakes, and ties by run length. Add a small buffer—one or two extra posts and a few spare ties. Many kits include overlap to stake; if you plan overlap, add extra pins every 3–4 feet.
- Measure straight runs twice so cuts are minimal.
- Count corner and line posts, then add 1–2 extras for rocky spots.
- Track price, type, and shipping on your list to compare options easily.
"A clear parts list turns install day into a calm, one-trip job."
Temporary, Removable, and Rental-Friendly Fencing
If you rent or like seasonal layouts, a removable setup keeps your space tidy without permanent changes.
Choose removable posts paired with ground sleeves so you can lift sections at season’s end. Locking set screws hold posts steady all summer, yet release easily for storage. That keeps your deposit safe and your planting areas undisturbed.
Quick end-of-season checklist
- Pull posts from sleeves, roll up mesh or rolls, and air out before storing.
- Remove extra stakes used for overlap and label them with the run length.
- Keep screws, ties, and small parts in labeled bags to speed next spring’s rebuild.
- Store materials in a dry shed or garage to prevent UV and moisture damage.
- Note the type and price of items in your order for easy replacement or additional options.
"Removable sleeves give you a strong line when you need it and a clear yard when you don't."
One tip: avoid heavy tensioning if you plan to remove the run. Tensioned systems are durable, but they are not easily taken down. For renters and seasonal growers, the sleeve-and-post approach is simple, light, and shipping-friendly.
Tools, Setup Steps, and Real-World Examples
A tidy tool set and a few steady steps turn install day into a satisfying afternoon. Gather your kit, mark the run, and you’ll be surprised how calm the work feels.
Quick tool list:
- Rubber mallet — for driving 15-inch cedar stakes.
- Zip ties and a pair of cutters — the crisp click of a tie is oddly rewarding.
- Level and tape measure — keep posts true and gates aligned.
- A handful of spare parts and a few extra pins for the ground.
How to install cedar pickets fast:
- Roll out cedar picket rolls (8 ft × 16 in) and place a stake at the first, center, and last picket.
- Tap stakes with the mallet until firm, then secure pickets with zip ties. The wood aroma makes the work feel fresh.
- Trim ties, level the top, and add a final tie at corners for strength.
Veggie-row example: Around raised beds of tomatoes, beans, and kale, run a metal base for chew resistance and continue upward with poly. This combo keeps visibility high while stopping nibblers at the bottom.
Keep the ground line snug with overlap and extra pins where rain may wash soil away. Add straight panels near patios and rolls around curved herb beds for a tidy look.
"Non-electric barriers are low-maintenance — no broken wires, just an occasional tie check."
Final tip: if late-summer animal visits increase, reinforce the base and tighten ties. It’s a quick fix that protects plants and your harvest.
Common Mistakes to Avoid
You can avoid many headaches by checking a handful of common setup errors before you start.
Small choices on height, mesh, and parts often cause the most trouble. Be kind to yourself — these are easy to fix.
Going too short or picking the wrong opening size
Don’t undershoot for deer. If you spot tracks, raise the plan to 7–8 feet. That prevents repeat jumps and saves replanting.
Choose openings one inch or smaller. Rabbits and rodents squeeze through gaps you might not expect.
Skipping overlap or burying where diggers work
Overlap or shallow bury the bottom edge where the ground is soft. Groundhogs and rabbits will test any gap.
Use metal at the base if chew resistance is needed.
Underestimating posts, parts, wind, and sun
Count extra posts and ties. Spares rescue a day when you hit rock or lose a clip.
If wind is common, add tensioning and closer ties to boost resistance. Watch UV wear in summer and frost heave in winter; check and re-seat posts in spring. Ground sleeves make those fixes quick without new holes.
| Common Error | Quick Fix | Why it matters |
|---|---|---|
| Too short for deer | Increase height to 7–8 feet | Stops repeat jumping and plant loss |
| Large mesh openings | Use ≤1" openings | Blocks rabbits and small rodents |
| Skipping overlap | Pin or bury bottom edge | Prevents tunneling and digging |
"A little extra planning saves time and keeps beds thriving."
Shop Smart: Product Types, Options, and Brands
A little planning at the start saves returns and extra trips to the store. Know the job first and the buy becomes simple. Match the type and material to pests, privacy, or charm before you checkout.
When to choose plastic rolls vs. steel mesh for animals and pests
Plastic rolls for subtle looks, steel for chew strength
Pick plastic rolls when you want light weight, quick installs, and a subtle look. They work well for small plots and tidy borders.
Choose steel mesh if chew resistance and long life matter. Steel suits larger pressure from rabbits, groundhogs, or persistent rodents.
Field fence vs. garden fencing: different jobs, different gauges
Field fence (galvanized steel) is for livestock and heavy impact. It uses a lower gauge number for thicker wire.
Garden fencing focuses on plants and smaller animals with tighter openings. Check wire gauge: lower number = thicker wire and more strength.
Kits shipped direct and in-store options with panels and gates
Look for kits that include sleeves, ties, and hardware so install day is calm. Some vendors ship direct from warehouses for faster delivery; others (like Ace Hardware) stock panels, gates, and parts in-store.
Compare panels for crisp lines to rolls for curves. Both mix well with a gate for daily access.
"Check stock and delivery time before you buy—fast shipping beats a missed season."
| Type | Best use | Key cue | Price note |
|---|---|---|---|
| Plastic rolls | Low-visibility borders, curves | Lightweight, quick install | Lower price, ships light |
| Galvanized steel mesh | Chew resistance, heavy animals | Choose lower gauge for strength | Higher price, long life |
| Panels & gates | Crisp lines, regular access | Easy install, tidy look | Mid–high price, check stock |
Quick buying cues: If deer are your main worry, plan for height and add a metal base as a chew barrier. Check wire gauge when buying steel and confirm number of posts and ties before you order. A small up-front buffer saves trips and extra shipping.
Conclusion
Welcome to a calm closing note that helps you move from plan to first post.
, You now know how to match height, opening size, and materials to your garden fence goals so you can protect plants without losing your view. Non-electric, nearly invisible barriers with the right height provide dependable protection, and simple overlap or a shallow bury at the ground deters digging wildlife.
Pick the look and color that suits your space — from low-profile black mesh to warm wood accents — and choose the option that fits your price and timeline. When you’re ready, lay out posts, set the first sleeve, and take that first satisfying step.
Enjoy evening walks, the scent of tomato vines, and the quiet confidence that comes with a tidy, protected space.
FAQ
What should I decide before choosing a fence?
Start by listing what you want the barrier to do — keep deer out, stop small rodents, add privacy, or mark planting beds. Measure the space, note soil type and wind exposure, and decide on a visual style. That makes material, height, and part choices much easier.
How do I assess wildlife pressure in my yard?
Walk the area at dawn or dusk to spot tracks, droppings, or nibble marks. Talk with neighbors about local wildlife like deer, rabbits, or groundhogs. Higher pressure means taller, tighter-mesh, or reinforced options to prevent jumping, chewing, or digging.
Which materials work best for pest resistance and longevity?
Polyethylene or polypropylene rolls are light and UV-stable for low-visibility uses. Galvanized steel or metal mesh gives strong chew resistance and long life. Cedar pickets offer natural rot and insect resistance with a warm look, while vinyl gives a clean, low-maintenance privacy option.
What height should I choose for different yard sizes?
Small areas often do well with 6-foot barriers for basic protection. Medium spaces benefit from 7 to 7.5 feet to deter larger animals. For heavy wildlife like deer, aim for 8 feet or taller and consider angled toppers to increase effectiveness.
How small should mesh openings be to stop rabbits and rodents?
Choose one-inch or smaller openings to block most rabbits and small rodents. For extra security, add a ground-level metal strip or half-bury the bottom 6–12 inches to prevent tunneling and chewing through the base.
What comes in a typical fence kit?
Kits commonly include rolls or panels, posts or sleeves, ties or fasteners, gate hardware, and installation instructions. Higher-end kits may add tensioning hardware, ground sleeves, and replacement parts for longer life.
What are the easiest installation methods for renters or seasonal use?
Ground sleeves with removable posts make the system reusable and nonpermanent. Set screws and sleeve anchors let you install and remove without concrete. For temporary protection, use stakes and zip ties to secure rolls to existing posts.
Should I bury the bottom or overlap on the ground to stop diggers?
Burying 6–12 inches is most effective against tunneling pests. Overlapping and staking mesh flat on the soil works for light diggers. Combining a buried metal apron with overlapping mesh offers the best long-term defense.
What design styles add the most charm while remaining functional?
Classic picket lines in cedar or painted finishes look timeless around flower beds. Rolled fencing works well for curved borders and informal paths. Match color and texture to plants and hardscape for a cohesive look.
How do I choose color and visual impact?
Black mesh stays low-profile against foliage. Green blends with plants, while white or cedar provides a standout, decorative look. Pick a shade that complements your beds and hardscape while meeting visibility needs.
When is the best season to install and maintain a barrier?
Spring and fall are ideal — the ground is workable and shipping is steadier. Schedule quick seasonal checks for tension, ties, UV wear, and wind damage to keep the system performing year-round.
How do I calculate materials and order the right amount?
Measure linear feet around the area, add extra for overlap at corners and gates, and count corner posts and gates separately. Order rolls, stakes, and parts with at least 10% extra to cover mistakes or uneven ground.
What basic tools and parts make installation faster?
A rubber mallet, level, tape measure, post driver, zip ties, stainless fasteners, and tensioning tools cover most installs. Cedar stakes are great for picket installs; metal post sleeves speed removable setups.
Which common mistakes should I avoid?
Don’t install too short for local wildlife or choose overly large openings. Avoid failing to overlap or bury edges where diggers appear, and don’t underestimate wind loads—use appropriate posts and tensioning.
When should I pick plastic rolls versus steel mesh?
Choose plastic rolls for low-visibility, light-duty needs and easy curves. Go with galvanized steel mesh for chew-prone pests, heavy wildlife, or long-term resilience. Field fence and garden-specific gauges serve different protection levels.
Are there brand or shipping considerations to watch for?
Look for reputable suppliers that specify UV-stability, gauge, and included parts. Check shipping windows, return policies, and whether kits arrive with panels, gates, or only rolls so you’re not missing critical pieces on delivery.