Imagine bending to feel cool, crumbly soil as a sliver of green springs up beneath your fingertips. Have you noticed small spots and thin areas in your yard after the thaw? You are not alone.
We’ll walk a calm, simple path from thinning areas to a soft, lush carpet you can enjoy barefoot. The plan uses everyday tools: a rake, a flat spade, and a hose with a gentle spray.
Quick steps guide what comes first and what follows: clear damaged turf, loosen soil about four inches, add compost, level, then seed or lay sod. Mulch lightly, water often at first, then feed after 6–8 weeks and mow when new grass reaches 3.5–4 inches.
One note: St. Augustine lawns do best with plugs or sod instead of seeding. With a little time and steady care, your lawn will blend back together and look even from sunlit front to shaded back.
Key Takeaways
- Start by clearing damaged turf and loosening soil to about four inches.
- Amend with compost, level, then seed or sod for best results.
- Water frequently at first; feed after 6–8 weeks and wait to mow until 3.5–4 inches.
- Use simple tools and steady, gentle care to encourage steady growth.
- For St. Augustine, choose plugs or sod rather than seed for a uniform look.
Why Your Lawn Has Bare Spots After Winter
A quick, hands-on check can tell you whether traffic, pests, or soil are the real culprits. Walk the yard on a mild morning and note where the turf feels hard, crusty, or matted. Those cues point to compaction from foot traffic or frequent mower lines.
Common causes
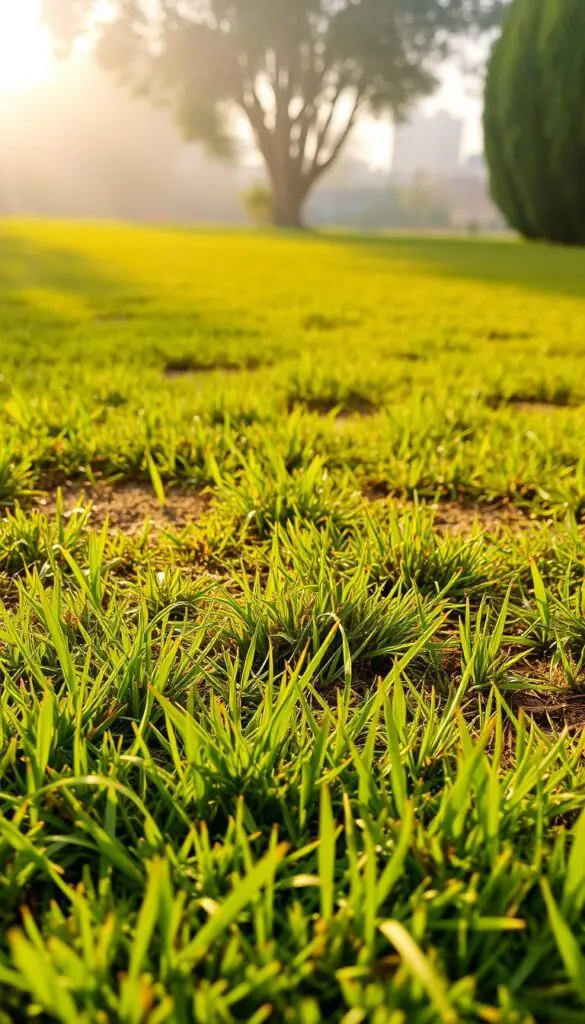
Drought and early-season heat can weaken roots, leaving thin spots that dry out fast. Pests like grubs or chinch bugs nibble at roots, so tug gently: if the grass lifts like a loose carpet, look for insects below.
Fungal disease such as brown patch or dollar spot often shows smoky or tan rings after warm, humid days. Pet urine creates small, bleachy yellow circles with straw-colored centers. Misapplied nonselective herbicides produce sharply defined kill areas—different from other problems.
Quick checks you can do
- Press a screwdriver into damp soil. If it resists, compaction is likely.
- After rain, scan for shallow puddles—poor drainage can invite disease.
- Note mid-day sun and shade patterns; shaded corners thin even when the rest of the yard looks fine.
- Clear stones or roots before fixing a spot to prevent the same problem from returning.
Write down what you find. Naming the issue helps you choose the right next step and keeps these spots from coming right back.
Best Time to Repair in the United States
Pick a calm week and work with the season; timing makes a big difference for lawn success.
Cool-season and warm-season grasses follow different clocks. For cool-season lawns in Zones 3–6, aim for early spring as soil wakes or early fall when nights cool and rains return. These windows lower stress and help seedling roots get started.
In warm-season regions (Zones 8–10) wait until late spring and early summer warmth. That time gives plugs or sod the heat they need to knit in quickly, especially for St. Augustine.
Simple timing tips
- Pick a calm stretch of weather—no late frosts or storms.
- Pencil in a few weeks of gentle, regular watering after placing seed, plugs, or sod.
- Work in small sections so each area gets steady care during that crucial start.
- Watch soil temps and local forecast to avoid heat waves or heavy rains that can ruin new growth.
| Region | Best Window | Recommended Method | First Mow |
|---|---|---|---|
| North / Midwest (Zones 3–6) | Early spring or early fall | Seed for cool-season grasses | After several weeks at 3.5–4 inches |
| South / Warm-season (Zones 8–10) | Late spring through summer | Plugs or sod for St. Augustine | When blades reach 3.5–4 inches |
| Coastal / Mountains | First stable week of mild temps | Small sections, watch weather closely | Delay mow until turf is established |
What You’ll Need: Seed, Soil, and Simple Tools
A small kit of seed, soil, and tools lets you move through each step with calm confidence. Lay out items before you start so the work flows: edge, loosen, amend, level, sow, mulch, and water.
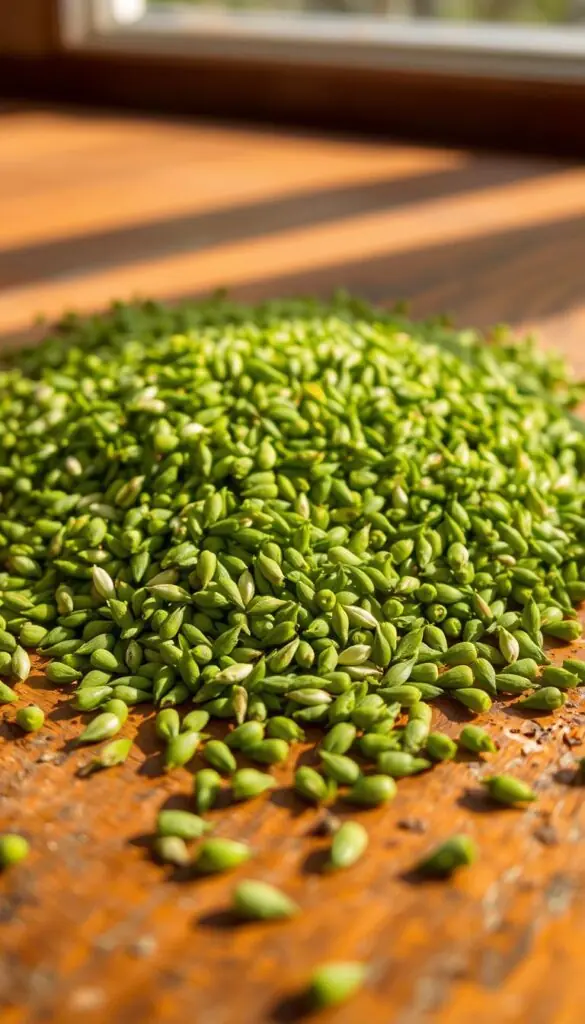
Choosing the right grass
Pick a grass seed blend that matches color and blade texture. If the spot gets shade, choose a type labeled for shade tolerance. For sunny areas, use heat-friendly blends so the patch blends in visually and by growth habit.
Soil amendments and mulch
Bring a bag of dark, crumbly compost to mix into the top four inches of soil. Add peat moss or a light, papery mulch if the soil is very sandy or dry.
Keep pale straw or a paper-based seed-protecting product on hand. These hold moisture without smothering and some products include a starter fertilizer to help roots get started.
Helpful tools
- Flat spade — edge the area and remove damaged turf, then loosen soil to about four inches.
- Garden rake — blend compost and level the surface.
- Hand spreader or broadcast spreader — use for larger areas at the label rate; hand sow small spots.
- Hose with a gentle spray — wet evenly so seed stays put without washing away.
| Item | Why it helps | Quick tip |
|---|---|---|
| Grass seed blend | Matches color and texture of existing lawn | Choose shade or sun variety for best match |
| Compost | Dark, crumbly organic matter improves soil and moisture | Mix into top 4 inches before sowing |
| Mulch products (straw/peat/paper) | Protects seeds and conserves moisture | Apply a light, wispy layer; avoid smothering |
| Spade, rake, spreader, hose | Give clean edges, good seed contact, and gentle watering | Set tools out in order to keep work steady |
Step-by-Step bare patch repair for a thicker, greener lawn
A few hands-on moves — and steady care — will get new grass filling in quickly. Below are clear, numbered actions you can feel as you work: soil crumbles in your hand, the rake glides smoothly, and mulch falls like a light straw shower.
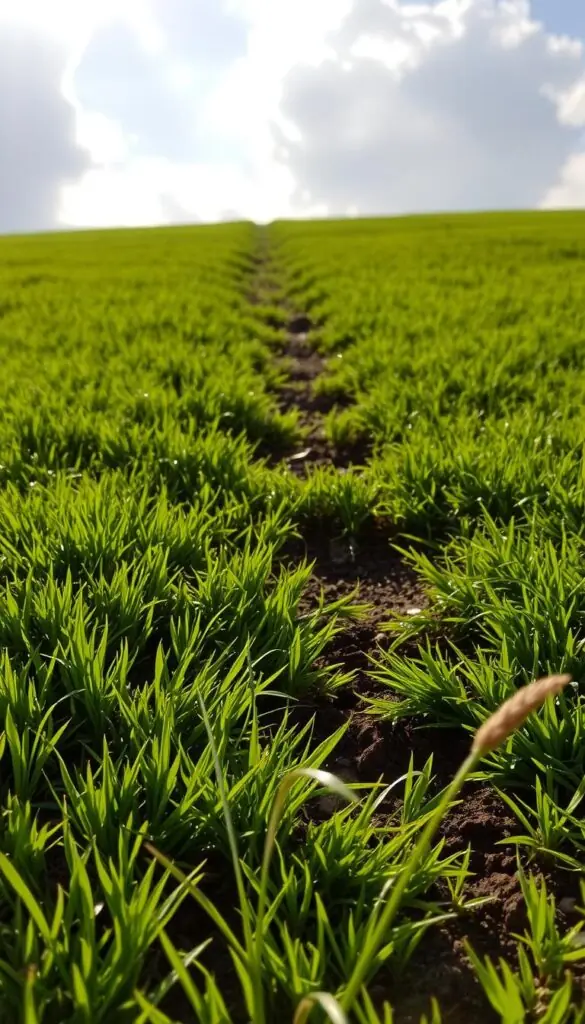
Clear and loosen
- Outline and lift: Edge the spot with a flat spade. Moisten first so the blade slides and turf lifts in clean strips.
- Loosen to 4 inches: Break up compacted soil so roots can explore. Remove stones, old root bits, and debris.
Amend and level
Fold in a shovel or two of compost until the soil looks deeper brown and feels springy in your hand.
Rake smooth so the surface matches surrounding grade. Avoid dips that hold water and invite disease.
Seed or sod
- Seed: Broadcast seed at the bag rate, then drag the rake lightly so only a whisper of soil covers each seed.
- St. Augustine: Use plugs or sod instead of seed. Fit plugs snugly and tap sod seams so the surface sits even.
Mulch lightly and water
Sprinkle a thin mulch—think a light straw snowfall—to keep seeds damp. Mist gently; the goal is moist, not muddy.
- Flag the area so pets and people step around the spot while new grass establishes.
- Check daily; if the top feels dry, give another light drink.
Watering, Feeding, and Mowing to Support New Grass
Gentle, steady care after seeding makes the difference between thin sprouts and a lush, lasting lawn. Start with a clear plan for moisture, feeding, and the first cut so new turf can establish without stress.
Keep soil evenly moist at first: mist lightly 2–3 times daily so the top inch of soil never dries. This protects tiny seeds and helps seedlings push up quickly.

Shift to deeper waterings in weeks two to four
As seedlings appear, water less often but longer to wet the top two inches. This trains roots to grow down and builds steady growth.
Fertilizer timing and spreader notes
Hold off on fertilizer until the new lawn has settled. Feed the entire lawn at about 6–8 weeks to supply gentle nutrients without burning tender roots.
Use the label setting on your spreader for even coverage and sweep granules off walkways so all nutrients return to the grass.
First mow at 3.5–4 inches
Cutting high helps shade soil, crowd out weeds, and keep a fuller, greener look. Sharpen the blade for a clean cut and wait until the stand has reached mowing height.
- Early-morning watering reduces disease risk.
- Ease into a deep, once-or-twice-weekly routine after roots deepen.
- If heat hits, add one light drink to keep the repaired turf calm and green.
Stop Problems Early: Weeds, Pests, and Grubs
Catch small problems early and your lawn will thank you with steady, even growth. Watch your new grass during the first few weeks and treat only when needed. A little patience now saves you time later.
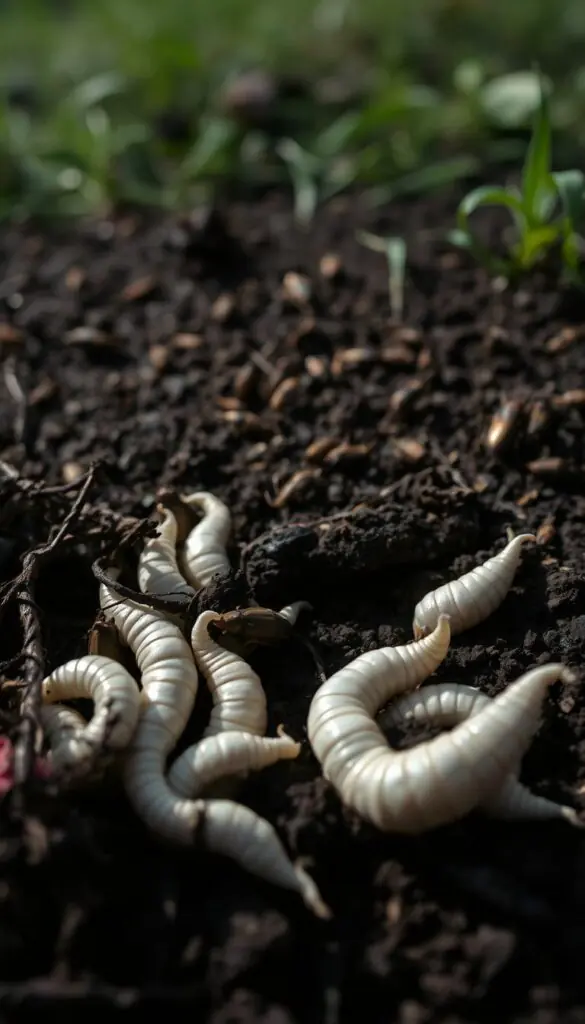
When to wait on weed controls: Hold off on most weed control products until your grass has been mowed 3–4 times. That lets blades toughen up and reduces stress from chemicals.
Signs and timing for grub prevention
Look for spongy turf that lifts easily or for birds and raccoons pecking at one spot; these often point to grubs. Preventive grub care works best in late spring just as soil warms. Many treatments protect for up to four months when timed right.
- Hand-pull lone weeds in a small spot and save broad products for after mowing.
- Choose only products labeled for newly planted grass and follow instructions exactly.
- Scout wet corners for signs of disease; improve airflow and adjust watering first.
- Keep notes for a few days—observing a problem for several days can prevent unneeded action.
Final thought: Treat only what you must. Gentle, consistent lawn care often outcompetes small problems and reduces the need for repeated products or fixes.
Keep Lawn Thick: Aeration, Overseeding, and Seasonal Care
A simple annual rhythm keeps your lawn resilient through changing seasons. Core aeration, light overseeding, and steady habits protect soil and roots so thin spots have less chance to form.
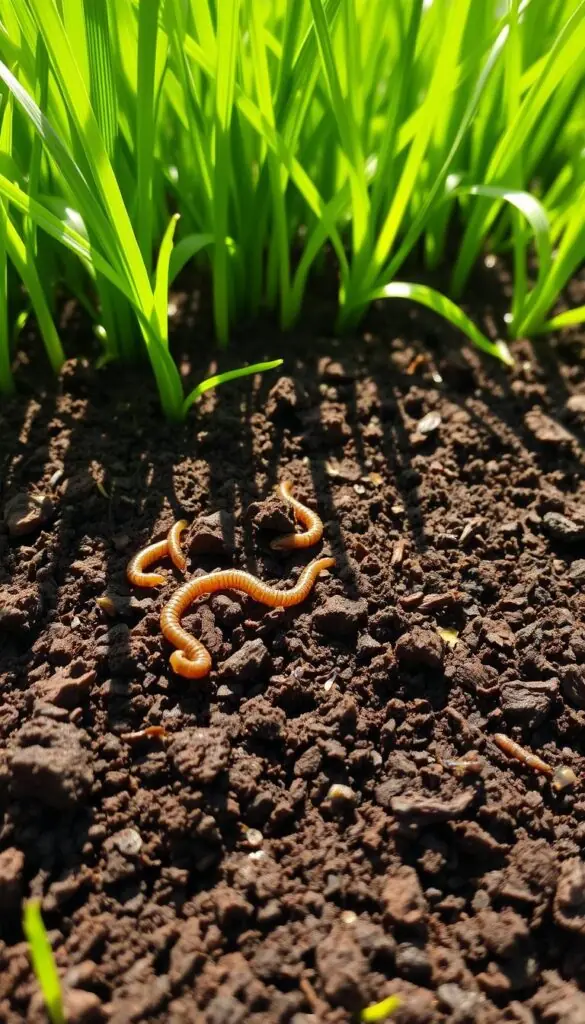
Core aeration for compacted areas and high-traffic spots
Core aeration pulls small plugs so air, water, and nutrients reach the root zone. Focus on play zones, dog runs, and paths where compaction builds up.
After aerating, overseed those areas. The holes cradle seed and give fast contact with soil to speed growth.
Annual overseeding and a simple seasonal lawn care rhythm
For cool-season lawns, overseed each fall to fend off winter bare patches. In warm regions, time light renovation when nights cool or summer stress fades.
- Aerate compacted areas and follow with overseeding for quick establishment.
- Water deeply one to two times weekly to train roots down and steady color.
- Mow high; never remove more than one-third of the blade each time.
- Sprinkle a thin layer of compost on tired areas to refresh soil and support roots.
- Set simple reminders for yearly checks—sharpen blades, calibrate spreader, glance at soil.
These small, steady habits are the easiest way to keep lawn vigor up and avoid surprise thin spots. With gentle care, your lawns will stay lush and ready for barefoot days.
Conclusion
With a few steady steps and gentle care, your lawn will come back strong. Clear and loosen soil, add compost, seed or use sod or plugs, mulch lightly, and water consistently for the first days. Then shift to deeper soaks in the following weeks and feed once seedlings set.
Pay attention to heat, drought, and early signs of disease or pests. Act at the right time with the right products and you’ll protect roots and nutrients without extra fuss.
In a few days you’ll spot green threads. In a few weeks your turf will feel soft and even. Step outside, breathe that fresh, earthy scent after watering, and enjoy the thriving grass you grew.
FAQ
How soon after winter should I fix bare spots in my lawn?
Aim to start when soil is workable and temperatures match your grass type. For cool-season lawns (fescue, rye, bluegrass), that’s early spring or early fall. For warm-season lawns (zoysia, bermuda, St. Augustine), choose late spring to early summer after soil warms. Work while the ground isn’t soggy and before summer heat or fall freezes set in.
What are the main reasons my lawn has bare spots after winter?
You may be seeing damage from foot traffic, drought, pets, pests like grubs, fungal disease, or freeze injury. Compacted soil, poor drainage, and deep shade also prevent healthy regrowth. Look for uneven soil, puddling, or thinning near trees and high-use paths to find the root cause.
How can I tell if soil compaction or drainage is the problem?
Press a screwdriver or small spade into the soil — if it’s hard to push in, compaction is likely. If water pools after rain, you have drainage trouble. Both issues stunt roots and slow recovery; core aeration and adding organic matter will help open soil and improve moisture movement.
Which seed should I use to match my existing turf?
Match the seed to your current lawn and site conditions. Cool-season mixes work for northern lawns; tall fescue blends are good for shady yards. Warm-season seeds like bermudagrass and zoysia fit southern lawns. For St. Augustine yards, use sod or plugs instead of seed.
What soil amendments help seedlings establish faster?
A light mix of compost or topsoil improves texture and nutrients. Peat moss or coconut coir helps retain moisture in sandy soils. Avoid heavy layers — work amendments into the top few inches to give new roots a loose, fertile medium without burying seed too deep.
Do I need to remove old dead grass before seeding?
Yes. Rake out dead material and thatch so seed contacts soil. For compacted or crusted spots, loosen soil about four inches deep to encourage root growth. Clearing and loosening promotes faster germination and stronger seedlings.
Should I use straw or a seed-protecting product over new seed?
Lightly mulching with straw or a seed blanket helps retain moisture, prevents erosion, and shields seed from birds. Use clean, weed-free straw and avoid thick layers that block light. Seed-protecting granules that hold moisture can also boost early germination.
How often and how much should I water new grass seed?
Keep the top inch of soil consistently moist. In the first two weeks, water lightly 2–4 times daily depending on sun and wind. Once seedlings emerge, reduce frequency and increase duration to encourage roots to grow deeper — aim for 1 inch of water per week once established.
When should I start fertilizing new grass?
Wait until seedlings have mowed twice and have a good root hold — usually 4–6 weeks after germination. Use a starter fertilizer higher in phosphorus if your soil test shows low levels, or a balanced slow-release formula to feed without burning tender roots.
When is it safe to mow newly grown grass?
Mow when the grass reaches about 3.5–4 inches and remove only the top third of the blade. A higher cut helps shade soil, conserve moisture, and lets new plants build stronger crowns. Use a sharp blade and avoid scalping thin areas.
How do I protect new grass from weeds and pests?
Avoid broadleaf weed controls until grass is well established — usually 2–3 months. For grubs, treat preventative products in spring if you had past grub issues, or spot-treat when you see signs like birds digging or brown patches that pull up easily. Maintaining dense, healthy turf is the best long-term defense.
Can I overseed trouble spots instead of replacing with sod?
Yes. Overseeding is cost-effective for most lawns, especially cool-season grasses. Match seed, loosen the surface, work in some compost, and keep moisture steady. For St. Augustine and some warm-season varieties, plugs or sod are a better bet where seed won’t establish.
How often should I aerate and overseed to prevent future bare spots?
Aerate compacted or high-traffic areas annually or every other year to improve root growth. Overseed once a year for cool-season lawns (early fall is best) to maintain density. A simple seasonal routine — aerate, feed, and overseed as needed — keeps turf thicker and more resilient.
What weather conditions slow down seed germination and growth?
Extreme heat, prolonged drought, and hard freezes delay germination. Very wet, cold springs also hold seed back. Choose your timing to avoid these windows: plant before severe heat in summer and not during freeze-thaw cycles in late fall or early spring.
How long until new seedlings become a strong, usable lawn?
Expect visible turf in 2–4 weeks for many grasses, with steady root development over 6–12 weeks. Full recovery to a thick, traffic-ready lawn can take a season, depending on grass type and care. Patience plus consistent watering and gentle care gives the best results.