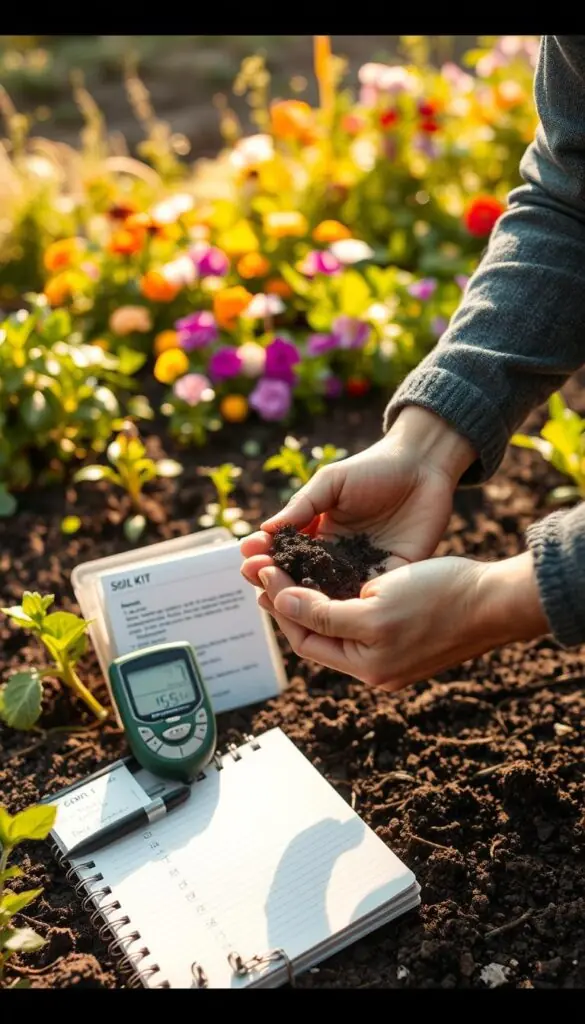
Imagine kneeling on a cool morning, the crumbly earth between your fingers and the faint scent of rain. You wonder why your tomatoes aren’t as lush as last year or why some leaves look pale. A simple soil pH test can answer that question and guide your next move.
We’ll walk you through friendly, calm steps so you can test soil with confidence and keep your garden thriving. Knowing the right level helps plants access nutrients like nitrogen, so your blooms and leaves show real improvement.
Whether you choose a quick at-home kit or professional testing, we keep directions simple, seasonal, and practical. By the end, you’ll know when to amend and when to wait, and you’ll feel ready to help your yard grow healthier with one clear number.
Key Takeaways
- You’ll learn why a simple soil pH check is the best first step before feeding plants.
- pH affects nutrient uptake and shapes leaf color, bloom size, and vigor.
- Options range from quick home kits to lab testing—pick what fits your time and budget.
- Simple sampling tips keep your hands clean and results reliable for any space.
- Seasonal timing makes testing easier—think a calm fall or bright spring day.
Start here: what you’ll learn and why it matters for your garden’s beauty and yield
Begin with a quick check that turns confusing numbers into easy actions for healthier plants.
You’ll get short, practical steps with seasonal notes so you know when morning light and cool ground make sampling easiest. Use simple tools you likely already own—a clean bucket and a stainless trowel—and label each area before you collect a sample.
Why this matters: a reliable check guides plant choices, soil prep, and feeding. It helps prevent overgrowth, reduces runoff, and saves you money on unnecessary fertilizer.
Practical examples: blueberries prefer a more acidic range, while fescue lawns need a different balance. Test several months before planting. For cool-season lawns, collect in summer; for warm-season lawns, collect in fall or winter.
- You’ll learn one good sample method and clear next steps for healthier plants and better harvests.
- You’ll see how small shifts affect nutrient uptake and appearance.
- You’ll know when to check each area—beds, lawns, trees—so timing matches growth cycles.
| Area | Best Time to Sample | Why it Helps |
|---|---|---|
| Vegetable beds | Several months before planting | Plan amendments and fertilizer accurately |
| Cool-season lawns (fescue) | Summer | Avoid weak spring growth and pests |
| Warm-season lawns | Fall or winter | Adjust before active growth resumes |
Understanding pH: the simple science behind healthy soils
Imagine a handful of dark, crumbly ground that either frees or hides the food your plants need.

What pH measures and how the 0–14 scale works
pH measures hydrogen ion activity—the tiny charge that makes a patch acidic or alkaline. The 0–14 scale is logarithmic, so a one-point shift is a big change in chemistry.
Neutral, acidic, and alkaline made plain
Seven is neutral. Below that is acidic, above it is alkaline. Most gardens do best when the mix is slightly acidic, near 6.0–6.5, where common nutrients are easiest for roots to take up.
Why this number controls nutrient availability for plants
When ground is too acidic, aluminum can rise and stress roots. If it leans alkaline, iron and certain trace elements lock up and new growth turns lime-yellow between the veins.
| Condition | Typical range | Visible sign |
|---|---|---|
| Slightly acidic | 6.0–6.5 | Dark, lush leaves and steady growth |
| Too acidic | Below 6.0 | Stunted roots; dull leaves; aluminum issues |
| Alkaline | Above 7.5 | Pale new leaves; iron chlorosis |
Why it matters: a quick check of this number tells you whether to sweeten or gently acidify so nutrients, including nitrogen, reach roots after rain or after you add water and compost.
Why a soil pH test is the first step before you fertilize
Start by checking one spot so your next feeding actually helps the plants you care for.
Simple checks save time, money, and fuss. A single sample shows whether nutrients like nitrogen and trace elements are available. That means you avoid overfertilizing and reduce runoff into nearby water.
Better balance also cuts common problems. When the ground leans wrong, leaves yellow, stems weaken, and pests find soft new growth. Correcting the level first helps plants put energy into flowers, fruit, and roots—not into rehabbing damage.
- Testing first means fertilizer dollars work where they’re needed, not washed away.
- Balanced conditions reduce pruning, weeds, and mystery yellowing.
- You’ll water smarter; healthy roots take up water more reliably during heat spells.
- Fixing the range protects nearby streams and lowers your long‑term input costs.
A single, well-timed result guides your season: what to feed, when to mulch, and how to protect each area for steady, thriving growth.

When to test: seasonal timing and how often to check pH
Pick a calm day to check your garden so you have time to act before planting season.
A few timing rules make results useful. Submit a soil sample several months before planting so amendments settle. For cool-season lawns, check in midsummer. For warm-season lawns, aim for fall or winter checks.
Trees and shrubs benefit from a fall window. Winter rains help amendments blend into the ground by spring.

How texture affects how often you check
Sandy soils shift faster and need checking every 2–3 years. Clayey soils hold changes and can be checked every 3–4 years once they sit in the right range.
- Aim for calm windows: fall/winter for spring gardens; midsummer for fescue lawns.
- Avoid sampling right after adding compost, lime, manure, or fertilizer — wait several weeks.
- Take brief notes on sun, water patterns, and mulch depth in each area so your routine is repeatable.
- If you manage a tricky range, do a quick at-home check in early spring to keep plants happy.
Collecting a clean soil sample the right way
Gather a few simple tools and you’ll make a representative sample that tells the real story of your garden’s needs.
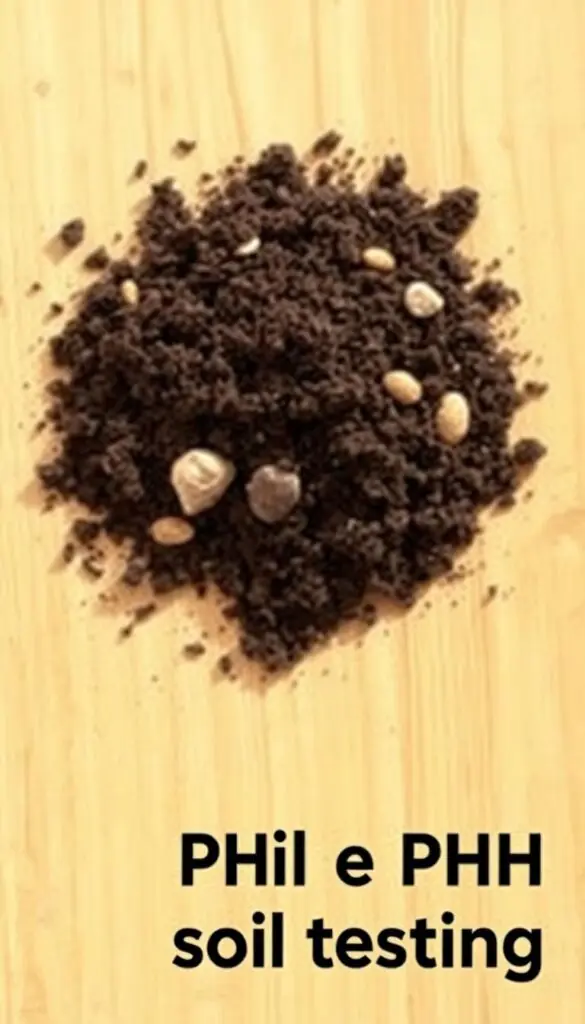
Tools and quick prep: Grab a stainless corer or a sturdy trowel and a clean plastic bucket. The metal will feel cool in your hand and helps avoid contamination. Keep a small bottle of distilled water on hand to rinse tools if soil clings.
Where and how deep to take samples
For lawns, take thin slices about 4 inches deep. For vegetable beds, scoop 6–8 inches. For trees and shrubs, aim 6–10 inches to match roots.
Mixing subsamples into one composite
Brush aside any loose leaves and surface debris before you dig. Collect 6–8 subsamples across the area and mix them in the bucket until color and texture look uniform. The earthy scent as you stir confirms a true blend.
- Avoid odd spots: wet patches, compost piles, pet urine, or under eaves.
- Rinse tools with distilled water between areas and shake off excess.
- Label each bucket clearly and note the side of the yard you sampled so you can repeat it next time.
Goal: one clean composite that represents the whole area, so your results guide better choices for happy plants.
Home and lab testing options: choosing your method
Some methods give a quick idea; others give a full nutrient picture — pick what fits your garden life.
Quick, budget-friendly choices: Test strips and simple chemical kits are fast and cheap. They cost little and work well for a rough read. Color matching can be subjective and dark slurries may stain indicators, so expect about ±0.5 unit variation.
Test strips and chemical kits
These kits shine when you want a quick home check before planting. They give immediate results and are easy to use.
- Pros: low cost, fast results, good for spot checks in spring.
- Cons: limited range, color judgment issues, and disposal steps for chemical waste.

Analog probes and digital meters
Analog probes are simple to insert into moist ground. Digital meters show a precise number and repeatable readings if you calibrate often.
Care tips: Look for ATC and stability indicators. Keep buffer packets and storage solution on hand. Clean the electrode after gritty slurries to keep accuracy high.
Mail-in laboratory options
Laboratory panels cost roughly $15–$60 and return detailed information in 1–2 weeks. Labs report nutrients, CEC, and lime guidance — great value every few years.
"Choose the option that matches your comfort, budget, and how much detail you need — consistency in how you collect samples matters most."
| Option | Cost | Turnaround | Best for |
|---|---|---|---|
| Test strips / kits | $5–$25 | Minutes | Quick home checks |
| Analog / digital meters | $20–$250 | Immediate | Regular gardeners wanting precise numbers |
| Mail-in laboratory | $15–$60 | 1–2 weeks | Detailed nutrient plans and baseline panels |
Match the method to your area, timing, and comfort. Above all, collect soil samples the same way each time so your results are comparable and useful for planning amendments like lime or nitrogen applications.
How to test soil: step-by-step methods you can trust
Try one of two straightforward approaches—a jar slurry or a direct probe—to read your garden’s chemistry.
Slurry method (kitchen counter)
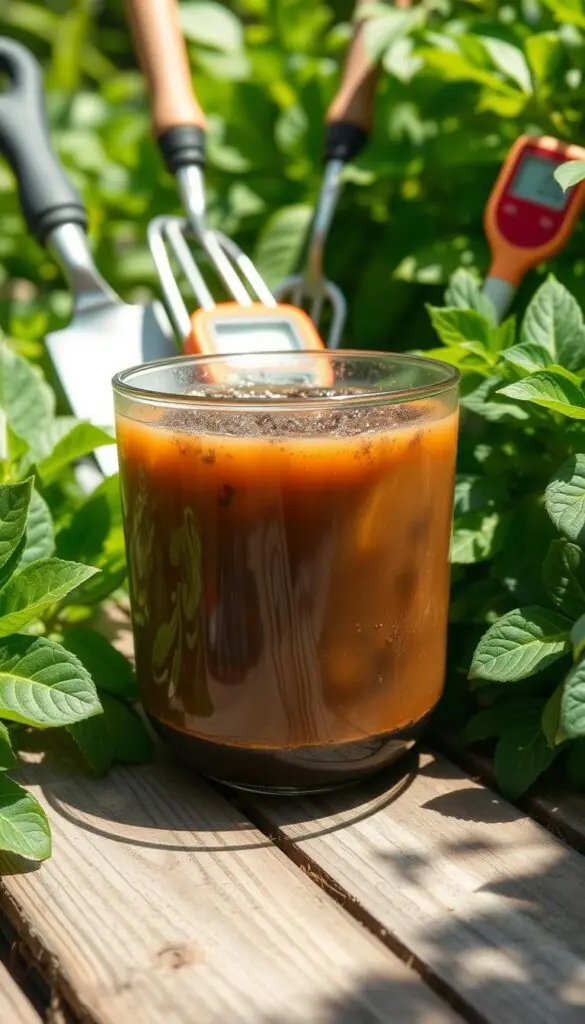
For a consistent reading, scoop a clean sample into a jar and add equal parts distilled water until it looks like a chocolate milkshake. Stir 5 seconds, rest 15 minutes so particles settle, stir once more, then measure.
That pause gives a smooth texture and steadier numbers. Label the jar with the area name and time if you take several samples.
Direct in‑ground method (right in the bed)
Dig a neat hole to the same depth each time so readings stay comparable between top and lower side layers. Add a little distilled water until the hole is damp but not muddy.
Insert your probe and wait for the reading to stabilize. Rinse the electrode between spots, especially after gritty samples, so each reading reflects only that garden side.
Quick tips
- Use soft morning light when moisture is even—readings feel more reliable and the moment is calmer.
- Follow kit instructions closely; accurate amounts and timing matter for color changes or digital numbers.
| Method | Key steps | Best use |
|---|---|---|
| Slurry (1:1) | Mix soil and distilled water, stir 5s, wait 15m, stir, measure | Consistent lab‑style readings on the counter |
| Direct probe | Make hole to consistent depth, moisten, insert probe, wait | Fast checks in the bed; good for multiple spots |
| Test kits / meters | Follow kit timing and volumes; rinse between samples | Quick home rounds or routine monitoring |
Reading your results: what the numbers mean for your plants
Reading your result turns a decimal into clear next steps for each bed and lawn.
Start by matching the number to the plants you grow. If the value sits near 6.0–6.5, most garden plants take up nutrients easily and show steady, deep green growth.
Some plants like it different. Blueberries and rhododendrons prefer a lower range, about 5.0–5.5. Fescue lawns do best closer to neutral, near 6.0–6.5. Apples are flexible around 5.0–6.5.
Numbers also explain visual clues. When the ground leans alkaline, new leaves often look yellow between the veins — that points to iron being unavailable. When it dips too low, aluminum can stress roots, causing stunted growth or poor flowering even after you add nitrogen.
How to act on a single reading
- Write the number next to the bed name so you remember each area’s preferred range.
- If two areas differ, treat them separately — what’s right for hydrangeas may not suit the lawn.
- Consider a lab panel when you want extra information: nutrient indices and specific amendment advice make changes safer and more effective.
- After you adjust, re-run the same method so your new number shows real progress.
| Plant type | Preferred range | Visual clue |
|---|---|---|
| Blueberries / Rhododendrons | 5.0–5.5 | Rich, dark foliage; blooms set better |
| Apples | 5.0–6.5 | Healthy fruit set; steady leaf color |
| Fescue lawn | 6.0–6.5 | Even green turf; fewer weeds |
| Alkaline-affected beds | >7.0 | Yellowing between veins; iron deficiency signs |
Adjusting pH safely: simple ways to raise or lower soil pH
A small, careful adjustment can steer an entire bed toward healthier growth over weeks.
Raise the level (sweeten acidic ground)
Using calcitic or dolomitic lime
Choose calcitic lime (calcium carbonate) when magnesium is adequate. Pick dolomitic lime if you want both calcium and magnesium.
Pelletized lime is easy to spread and less dusty. Finer powders act faster but are messier. Apply before planting and work lightly into the top layer.
Lower the level (acidify alkaline spots)
Sulfur and organic amendments
Elemental sulfur gives a gentle, gradual shift. Add pine bark or peat-based composts to steer things slowly without shock.
Gypsum adds calcium and sulfur but does not change acidity—use it for structure, not as an acidifying agent.

Quick tips: rates, moisture, and patience
- Apply evenly and water lightly so the dust settles like powdered sugar on dark ground.
- Match your approach to texture; sandy areas respond faster than clay.
- Avoid over-correcting—small seasonal changes protect roots and nutrient availability, including nitrogen.
| Amendment | Use | Note |
|---|---|---|
| Pelletized lime | Raise acidity level | Easy to spread; best before planting |
| Elemental sulfur | Lower alkalinity | Slow, steady action over weeks–months |
| Pine bark / peat | Slow acidifying | Improves texture and organic nutrients |
Avoiding common mistakes and fixing problem spots
A few common missteps make readings confusing, yet a calm retake often clears everything up.
Start with the sample itself. Remove surface debris and slice cleanly from the side wall of a small hole. Mix 6–8 subsamples so the mixed soil samples truly represent the area.
Light and color matter. Poor light, stained strips, or faded charts can mislead you. If color matches look odd, retake the sample in bright daylight or switch methods.

Quick fixes and safe steps
- If results seem off, resample before adding amendments.
- Rinse tools between spots and avoid wet patches or under-eave zones.
- Add changes slowly; avoid over-amending to protect roots and nutrients like nitrogen.
- Compare a weak bed with a healthy one by sending two labeled soil samples to a lab.
When to ask for expert help
Many inexpensive kits give mixed information. If kits disagree or numbers confuse you, email or call a lab. Labs provide clear results and lime/fertilizer rates so you can act safely.
"Retake carefully, compare areas, and reach out when the results don't match what you see in the garden."
| Problem | Likely cause | Fix |
|---|---|---|
| Odd readings | Contaminated sample or poor light | Resample from side wall; mix subsamples; retest in daylight |
| Yellowing leaves | Locked-up iron or aluminum issue | Compare area to healthy bed; send paired samples to lab |
| Rapid swings after amending | Over-amending | Stop, water lightly, recheck later; make smaller, staged changes |
Conclusion
A single clear reading and a small, patient change unlock a season of steady improvement.
With one thoughtful sample and a modest adjustment, you set plants up to take up water, nitrogen, and other nutrients more easily.
Aim to repeat soil testing every 2–5 years, or sooner while you are adjusting levels. Labs return useful results and specific recommendations, and a lab panel adds real value if you want extra information or reassurance.
Keep steps simple: clean tools, consistent sampling, calm readings, and modest changes. Tuck your notes with seed packets, step outside, breathe the earthy scent after a light watering, and enjoy watching your garden grow with confidence.
FAQ
How often should you check your garden’s soil pH?
Aim to test once every 1–3 years for established beds. Test annually for vegetables, new plantings, or if you add lime or sulfur. Check more often after heavy amendments, extreme weather, or if plants show yellowing, stunted growth, or poor blooms.
When’s the best time of year to take samples?
Late fall or early spring work well. Those windows give steady moisture and let you plan amendments before peak growth. Avoid testing right after heavy rain or irrigation — wait for soils to drain so readings aren’t skewed by excess moisture.
What tools and items do you need to collect a clean sample?
Use a stainless-steel corer or a clean trowel, a nonreactive bucket, and distilled water for mixes. Remove debris like roots, mulch, and leaves. Label samples by area so results guide specific beds, lawns, or pots.
How deep should you take samples for lawns versus garden beds?
For lawns, sample 2–4 inches deep where roots live. For vegetable beds and flower borders, sample 4–6 inches. For shrubs and trees, take subsamples at different depths (6–12 inches) and from several spots around the dripline.
Why mix subsamples into one composite sample?
Mixing 8–10 subsamples from a uniform area averages small variations and gives a representative reading. It prevents overreacting to a single odd spot and helps you apply amendments where they’ll benefit most.
Should you use home kits, meters, or mail-in lab tests?
Home kits and strips are quick and budget-friendly for a general sense. Digital meters give fast readings but need calibration and care. Mail-in labs provide the most detail — nutrient levels, organic matter, and precise recommendations — ideal before a major planting or fertilizer plan.
How do you do a reliable slurry method at home?
Mix equal parts sample and distilled water, let it sit 15–30 minutes, then stir and read with strips or a meter. Consistent water ratio and distilled water reduce variability so results match lab-style methods more closely.
What common mistakes skew results?
Sampling only one spot, including fresh fertilizer or mulch, using tap water, and testing when soil is too wet are frequent errors. Also avoid metal buckets that can react with samples. Proper depth, clean tools, and multiple subsamples prevent those problems.
How do you interpret readings for different plants?
Most vegetables and lawns prefer slightly acidic to neutral ranges, while acid-loving plants like blueberries need more acidic conditions. Use the result to match crops to beds or guide amendments — aim for the range your plants prefer rather than a single universal number.
How quickly can you change a reading, and what methods work?
Changes take time. Raising alkalinity with lime needs weeks to months to take effect; dolomitic lime adds magnesium too. Lowering alkalinity with elemental sulfur or acidic organic matter also works slowly. Fast fixes are rare; plan gradual adjustments and retest in the season following application.
When should you send samples to a lab instead of relying on home methods?
Choose a lab when you need nutrient analysis, recommendations for trial crops, or if home results are inconsistent. Labs offer detailed reports on nitrogen, phosphorus, potassium, micronutrients, and organic matter that guide targeted fertilization.
Can soil texture affect how often you test and amend?
Yes. Sandy soils change faster and may need more frequent checks and smaller, more frequent amendments. Clay holds nutrients and buffers changes, so you can test less often but should apply larger, measured adjustments when needed.
What are signs your planting area needs attention beyond a reading?
Yellowing between veins, poor growth despite watering, patchy lawns, and leaf burn can signal nutrient lockup or imbalance. Use those visual clues with a representative sample to decide whether to amend or call a lab for deeper analysis.
How should you store and transport samples for mail-in tests?
Keep samples dry and cool in labeled paper bags or clean containers. Avoid plastic bags that trap moisture. Mail promptly and include notes about recent amendments or watering to help the lab interpret results accurately.
What should you avoid adding based solely on a quick home reading?
Don’t over-apply lime, sulfur, or heavy fertilizers based on one spot reading. Wrong doses can harm plants and waste money. Use composite samples, consider lab confirmation for major changes, and follow recommended rates.