Imagine warm sunlight on a soft, springy yard just outside your kitchen window. You run your hand over the grass and feel a spongy layer beneath your fingers. That cushion could be helpful — or it could be holding back water and nutrients.
Thatch is a mat of dead grass, roots and debris that sits between the green blades and the soil. A thin layer can protect roots, but when thatch grows past about three quarters of an inch it traps moisture, invites pests, and blocks fertilizer.
We’ll walk you through simple, calm steps to restore lush, even growth. You’ll see when the best time is for cool- and warm-season grass, learn safe blade and tool tips, and avoid common mistakes like cutting too deep.
Key Takeaways
- Thatch is a layer of dead material that can help or harm your lawn.
- Check thickness: over 3/4 inch needs attention.
- Choose tools and timing by grass type for quick recovery.
- Work gently, mark sprinkler heads, and adjust blade depth.
- Afterwards, water, overseed, and feed for steady growth.
Understand Thatch: What It Is and When It Becomes a Problem
A thin brown cushion under your turf can feel reassuring — until it starts to hold back water and air. This layer is a mix of living shoots, dead stems, crowns, and small roots sitting between the green blades and the soil surface.
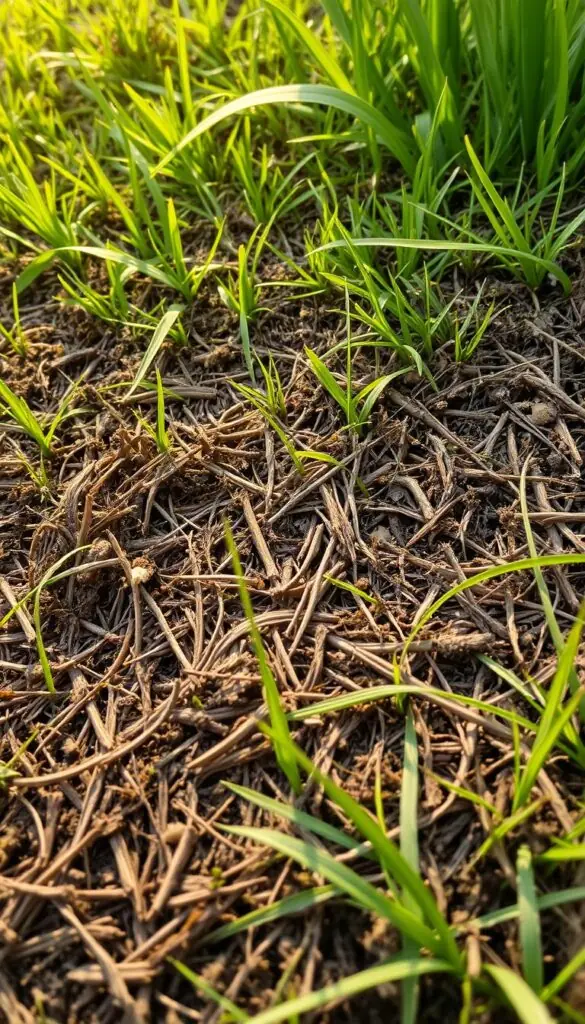
At about 1/2 inch a layer can insulate and save moisture. But when the thatch layer grows to roughly 3/4–1 inch, problems begin. Thick thatch blocks water, traps pests, and keeps fertilizer from reaching the soil.
Easy at-home checks
- Spade-and-wedge test: cut a small slice and measure the material between the blades and soil. Around 3/4–1 inch means action time.
- Finger test: press through the layer — if you can’t reach soil, that resistance often signals thick thatch.
- Tool feel: a hand trowel should slide with some effort. If it stops at a springy mat, that’s the layer you’re sensing.
"If your lawn feels bouncy underfoot or water runs off instead of soaking in, check the layer beneath the grass."
| Sign | What it means | Quick check |
|---|---|---|
| Spongy surface | Thick mat holding air and water | Step on grass; note bounce |
| Grayish-brown fibers | Old stems and crowns collecting | Part blades and inspect base |
| Runoff or puddles | Thatch is sealing the thatch soil interface | Water a small area slowly |
| Resistant trowel | Thick layer above soil | Dig a small wedge and measure |
Some grass types build thatch faster. Kentucky bluegrass often forms mats; tall fescue usually resists buildup. Do a calm early spring check so you can plan gentle care for problem areas before roots get stressed.
Best Time to Dethatch by Grass Type and Season in the U.S.
The best time to open your lawn is when growth is active and soil is just moist. Matching season to grass type helps the turf recover quickly and keeps work gentle.
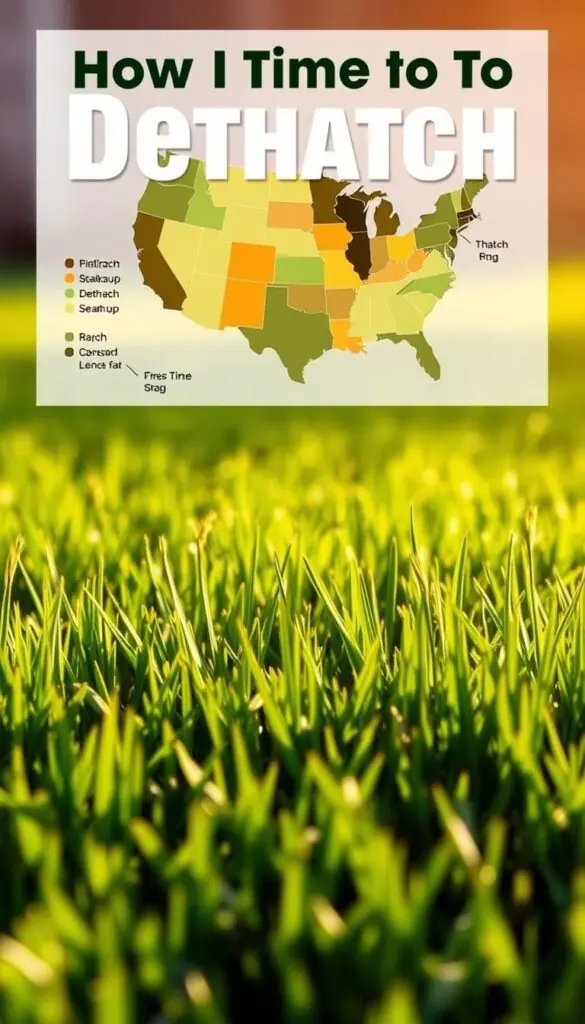
Cool-season grasses: early spring or early fall windows
For cool-season grasses like Kentucky bluegrass and perennial rye, aim for early spring or early fall. Those windows give mild days and steady root growth so the lawn rebounds fast.
Warm-season grasses: late spring to early summer
Warm-season grasses — think Bermudagrass and zoysiagrass — do best in late spring through early summer. Plan work after the first or second mow when growth has kicked in.
When to wait: new lawns, drought, or hot summer heat
Pause if the lawn is new, drought-stressed, or in a hot summer stretch. If soil is soggy or crowns are weak, wait for firmer conditions.
- Practical cue: a flush of spring growth or steady late spring warmth means it’s time to act.
- Tool note: set any power tool to the right depth for your grass type and make light passes.
"If in doubt, choose the milder window—early spring or early fall for north, spring early summer for south."
Tools That Make Dethatching Easier
The right rake or power tool helps you remove thatch without gouging the soil. For light mats or tight corners, a leaf rake will do, but a rigid bow rake or a dedicated dethatching rake with straight-edged tines pulls more material cleanly.
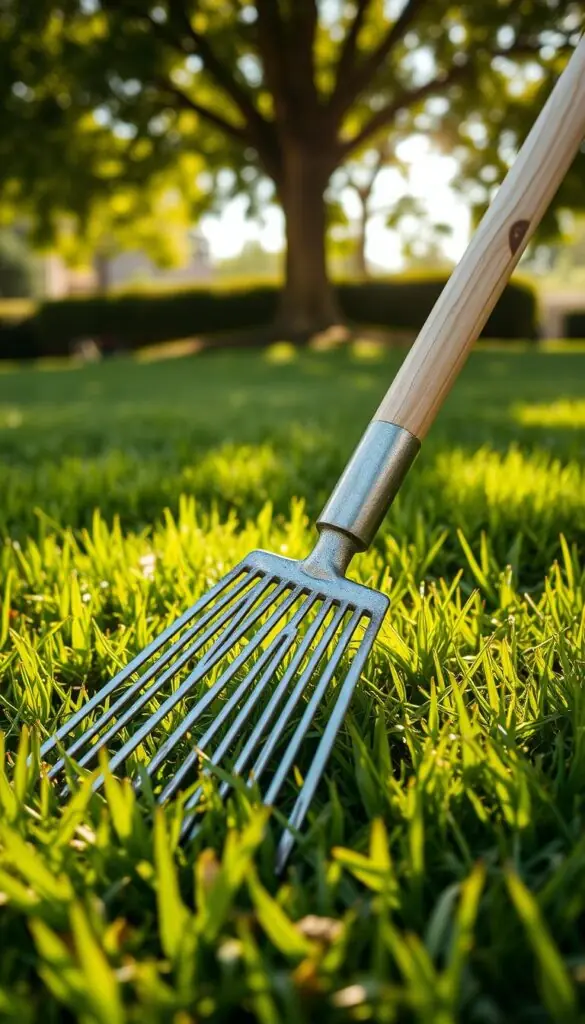
On small lawns, a manual rake gives you control and lets you feel resistance underfoot. Work with steady, even pulls to avoid tearing grass.
For mid to large areas, rent a walk-behind power rake or verticutter. Ask the rental counter to set the blades and spacing for your grasses. Blades should skim the surface — avoid digging more than about 1/2 inch into the soil.
- Use a leaf rake for light work and edges.
- Choose a dethatching rake with straight tines for dense patches.
- Rent a power rake for larger lawns to reduce strain.
- Mark sprinkler heads and lines before you start.
Tip: Wear gloves and supportive shoes, keep a tarp or wheelbarrow nearby, and switch to a hand rake in shaded or thin-turf spots. Expect plenty of debris — plan cleanup so your lawn bounces back quickly.
Dethatching: Step-by-Step You Can Do Today
Start with small, confident steps so the lawn recovers quickly after you open its surface. Begin by mowing to about half your normal height so tools can reach the thatch layer without fighting tall blades.
Check soil moisture. Aim for slightly damp soil — firm underfoot, not muddy. Flag sprinkler heads, shallow lines, and edges so every pass is safe and predictable.
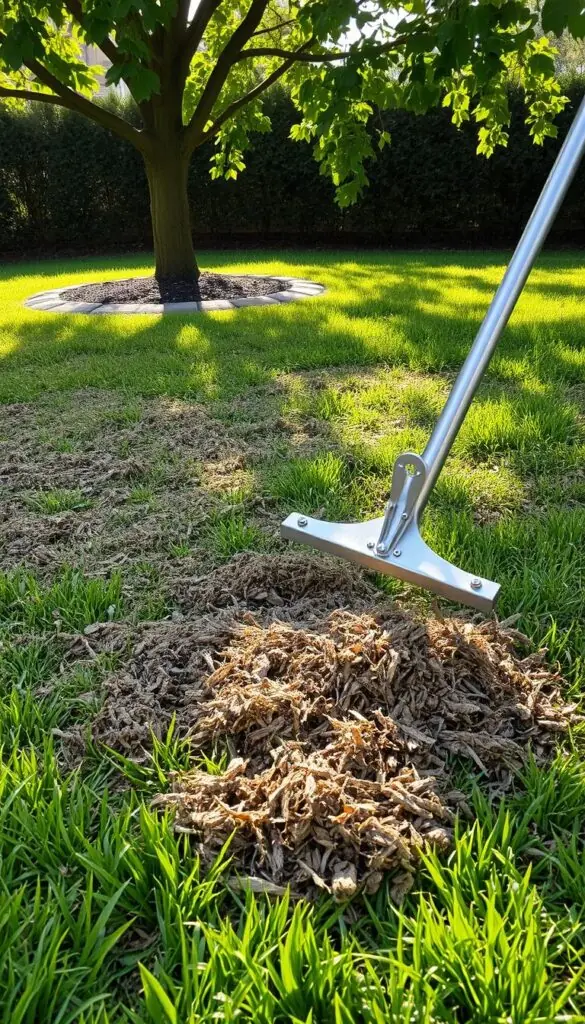
Prep the lawn
Prep first: mow low and avoid fertilizing right before you work. Mark utilities and walk the area so you know the surface and hidden obstacles.
Small areas: rake technique
For tight spots use a dethatching or bow rake. Push the tines into the layer and pull firmly, then repeat in a crisscross pattern to lift fibers evenly.
Work slow and steady. If roots pull up, ease your pressure. Rake debris into piles and compost or remove it so the soil can breathe.
Larger lawns: power rake safety and tips
On larger yards rent a power rake or verticutter. Set the blades shallow — commonly no deeper than about 1/2 inch into the soil — so you skim the surface instead of gouging roots.
Make one to two measured passes, then stop and check progress. Overworking the lawn in one session stresses grass more than it helps.
- Rake up straw-like material until you see soil peeking through.
- Water lightly after the job to settle dust and restore even moisture.
- If thin spots appear, overseed and press seed into contact with soil for best germination.
"Slow, steady passes and shallow blade settings protect crowns and speed recovery."
After Dethatching: Recovery, Overseeding, and Long-Term Lawn Care
Once the surface is open, a short recovery plan helps grass bounce back quickly. Start by raking and removing loosened fibers so new shoots get sun and air. Then water lawn lightly to settle the surface and ease stress on grass roots.
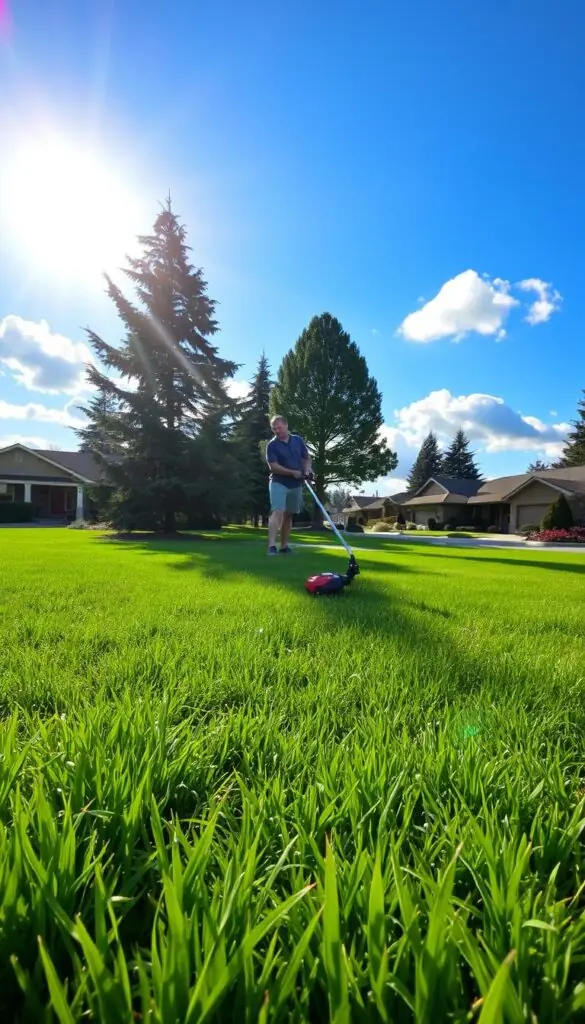
Clean up, aerate, overseed, fertilize
Core aeration is an ideal next step. Pulling small plugs lets air and water reach grass roots and helps nutrients move into the soil.
Overseed thin spots the same day. Press seed into contact with soil and keep the area damp, not soaked, until seedlings establish.
Apply a balanced feed after aeration and seeding. Gentle nutrients support steady growth without prompting rapid thatch rebuild.
Prevent buildup with simple habits
Water deeply but infrequently, mow at the recommended height for your grasses, and ease up on high-nitrogen feeds. These habits slow thick thatch and strengthen roots.
"Give the lawn 3–4 weeks to rebound; new lime-green growth is your sign that recovery is working."
| Task | Why it helps | Timing |
|---|---|---|
| Rake and remove debris | Exposes soil and new seed to sun and air | Immediately after work |
| Core aerate | Improves air, water, and nutrient flow to roots | Same day or within a week |
| Overseed & water | Fills thin spots and anchors roots | Day of aeration; keep moist for 2–3 weeks |
| Light fertilization | Supports calm, even growth | After seedlings appear or as directed |
Conclusion
A light, well-timed opening of the turf can bring back airflow and healthy roots.
When a thatch layer nears 3/4–1 inch, a planned pass makes a big difference. Choose the best time dethatch for your grasses — spring early or the milder fall window — and work when soil is slightly damp.
Use a steady rake or a rental machine for measured passes. Follow with water, seed, and gentle care. In a few quiet weeks you’ll see fresh growth and a softer, sunlit lawn underfoot.
Keep the routine simple: watch the grass, act at the right moment, and enjoy a greener, more inviting yard.
FAQ
What is thatch and how can I tell if my lawn has too much?
Thatch is a layer of dead and living grass stems, roots, and debris sitting between the green grass and the soil. It looks like a brown, spongy mat when you pull up a small plug. If the layer measures about ¾–1 inch thick or the lawn feels springy and spongy underfoot, it’s likely excessive and limiting air, water, and nutrients to the roots.
How can I test my lawn for a thick thatch layer?
Cut a small wedge or pull up a 2–3 inch plug with a shovel. Measure the brownish layer between the green blades and the soil. Another quick check is the “spongy step” — walk across the lawn; if it compresses and doesn’t spring back, thatch is probably thick enough to act up.
When is the best time to remove thatch for cool-season grasses?
For cool-season grasses like fescue and bluegrass, plan to remove heavy thatch in early spring or early fall. Those windows let the turf recover when growth is naturally active, reducing stress and giving new roots a chance to fill in.
When should I take care of thick thatch on warm-season grasses?
For warm-season lawns such as Bermuda or zoysia, late spring to early summer is best — after the first or second mow when the turf is actively growing. That timing helps the lawn recover quickly and maintain a dense, healthy surface.
Are there times I should avoid removing thatch?
Yes. Don’t tackle heavy thatch on a newly established lawn, during drought, or in the peak of summer heat when the turf is stressed. Also avoid dethatching when soil is saturated; working wet ground can damage roots and compact soil.
What tools work best for removing thatch from small areas?
For small patches, use a thatch rake or a sturdy bow rake with sharp tines. Use deep, crisscross strokes to pull up the mat. Hand raking lets you target problem spots without stressing the whole lawn.
When should I use a power rake or verticutter on a larger lawn?
Use a power rake or verticutter for larger areas with a thick thatch layer. Set the blades or tines shallow at first and increase depth only as needed to avoid cutting too deeply into soil and roots. Work in passes and clean up the debris as you go.
How should I prepare the lawn before removing thatch?
Mow the grass lower than usual, mark sprinkler heads and buried lines, and check soil moisture — slightly moist is ideal. This prep helps the tools reach the thatch and prevents accidental damage to irrigation or utilities.
What steps should I take immediately after removing thatch?
Rake out and remove debris, water the lawn to settle the soil, and consider overseeding thin areas. Light fertilization and, if needed, aeration can boost recovery and help new grass establish faster.
How can I prevent thatch from building up again?
Reduce thatch by following good cultural practices: water deeply but less often, avoid excess nitrogen fertilizer, mow at the proper height for your grass type, and aerate regularly. These steps encourage deeper roots and more breakdown of organic material.
How deep should blades or tines cut when using a machine?
Start with a shallow setting and make a pass. Increase depth only if needed to remove thatch without cutting into live crowns or roots. The goal is to remove the layer, not scar the soil excessively.
Can aeration replace the need to remove thatch?
Aeration helps reduce compaction and can aid the breakdown of thin thatch over time, but it doesn’t remove a thick, stubborn mat. For layers about ¾–1 inch or more, mechanical removal with rakes or a verticutter is usually required.
How soon can I overseed and fertilize after removing thatch?
Overseed as soon as you’ve cleaned up debris and the soil surface is exposed. Light fertilization tailored to your grass type helps new seedlings establish. For cool-season grasses, plan overseeding in early fall when conditions favor growth; for warm-season grasses, follow dethatching in late spring to early summer.