You step outside at golden hour, the air warm, the grill faintly smelling of herbs. Do you want a calm, tidy corner for coffee, or a cozy, lived-in nook that invites lingering evenings?
Start by naming your priorities: hosting, play, growing food, or quiet living. Rank needs over wants before you buy anything. That clarity keeps decisions simple and budget-friendly.
Think in practical moves you can do this weekend. Edge beds to open sightlines, remove bulky railings, or place a small pergola kit for quick shade. Match flooring tones through French doors to blend interior and exterior for seamless home flow.
Materials and plants set the mood. Modern reads as smooth concrete, trimmed grasses, and neutral palettes. Rustic leans on cedar, stone, herbs, and flowering perennials that scent summer nights. Use built-ins, vertical trellises, and layered lighting to make small spaces feel larger and last into the evening.
Key Takeaways
- Pick three core functions for the space before spending money.
- Create clear traffic flow with outdoor rooms and defined paths.
- Choose materials and plants that reflect the look you want and your climate.
- Use simple weekend projects—edging, a pergola kit, or container groupings—for big impact.
- Layer lighting and add built-ins to stretch use into evening hours.
- Stretch budget with gravel extensions, pea gravel paths, and smart seals.
Start Here: How You Want Your Outdoor Space to Feel and Function
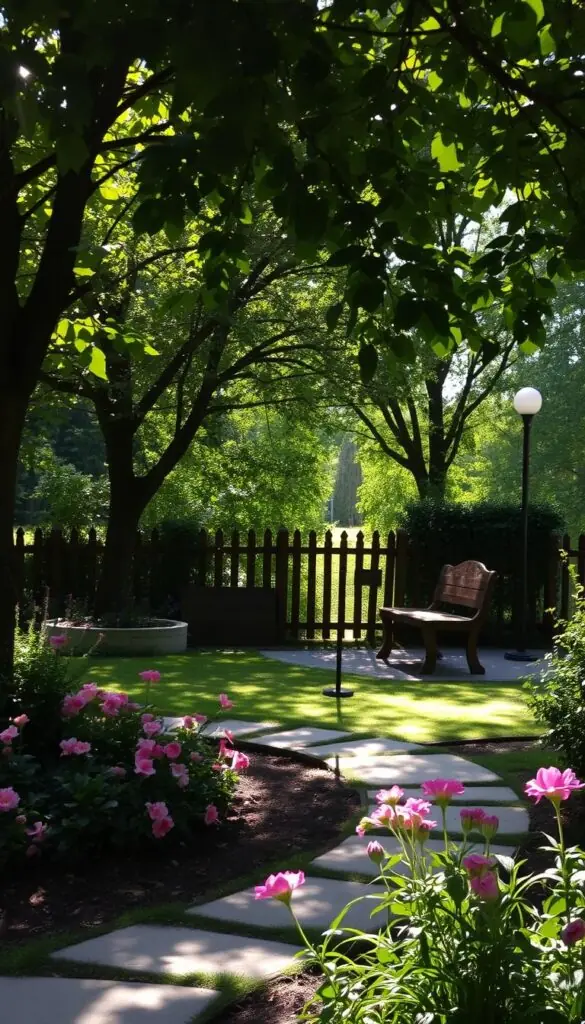
Imagine your perfect evening here: who’s with you and what are you doing? Picture the use first. This clears choices and saves money.
- Take 10 minutes to list the main role for this season: host friends, grow herbs, unwind, or give kids room to play.
- Write three needs and three wants in a notebook before buying anything.
- Spend 30 minutes sketching the area with a tape measure; mark doors, sun patterns, and hose bibs.
- Use stakes and string to outline rooms and walk the paths to test the way they feel.
- Think vertical: a wall garden or slim pergola adds function without stealing ground.
"Three zones, two materials, one lighting plan keeps decisions simple and lasting."
| Action | Time | Tools |
|---|---|---|
| List needs & wants | 10 minutes | Notebook, pen |
| Sketch footprint | 30 minutes | Tape measure, paper |
| Mock rooms with stakes | 15 minutes | Stakes, string |
Keep materials simple for calm landscaping. A designer's trick: limit textures to two and pick a tight palette. This place will feel tidy and welcoming.
Modern Backyard Design at a Glance: Clean Lines, Calm Neutrals, Smart Function
Feel the calm of smooth concrete underfoot and let straight paths shape how you move through the space. A modern design leans on a tight palette and simple shapes so the area reads as an easy extension of your living room.
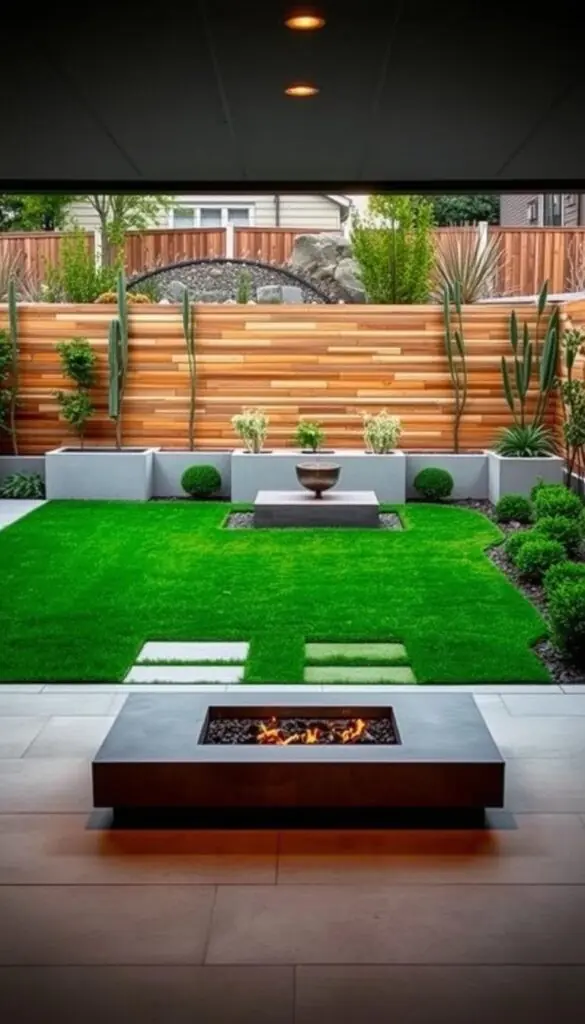
Signature materials: concrete for a patio or paver steppers, pea gravel to stretch the footprint affordably, and powder-coated steel planters for sculptural form.
Pick warm neutrals—sand, putty, caramel—and repeat that color across cushions, pots, and pavers. Add soft ornamental grasses and a single specimen tree for movement and scale.
- Straight paths and boxy planters keep the look streamlined.
- Extend a concrete patio with gravel bands to save money and improve drainage.
- Install a drip line and a 2–3 inch mulch layer to cut watering and weeding work.
- Hide tools with a slim storage bench and keep décor intentional: one large rug and a single oversized planter.
Tip: Low-voltage lights on timers and a smart drip controller keep maintenance low so you spend more time enjoying the space and less time on upkeep.
Rustic Backyard Design at a Glance: Natural Materials, Cozy Layers, Timeless Charm
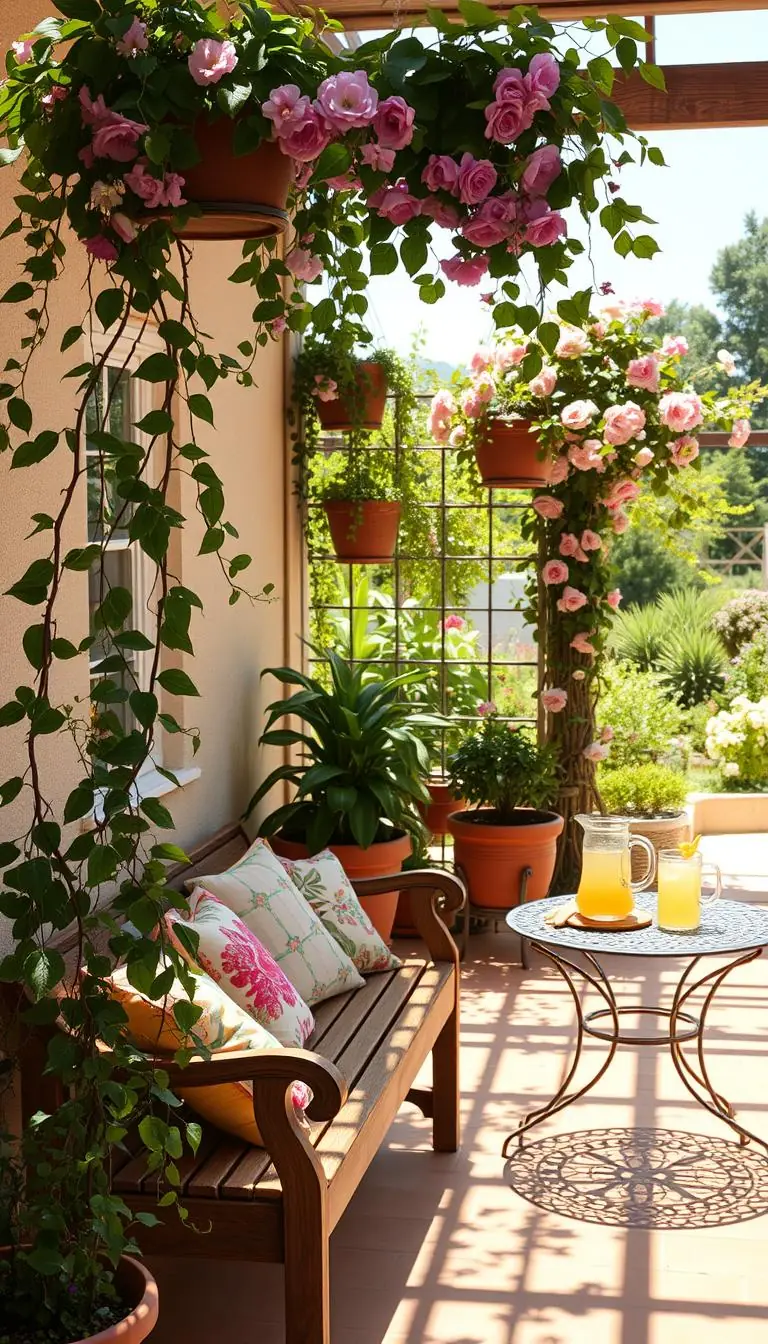
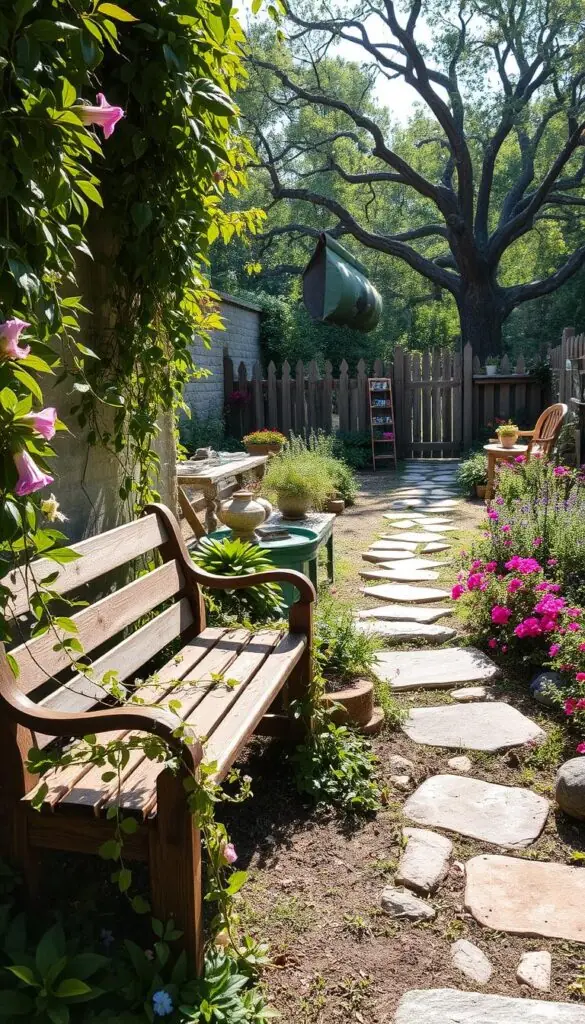
Let sun-faded planks and stone paths invite you to slow down and stay awhile. Think of cedar’s warm scent after rain and low light through vine-wrapped beams. This kind of space feels lived-in and calm.
Signature elements
Cedar, reclaimed wood, stone, clay, and patina age beautifully and add personality. Use gravel or pea stone for walkways and tuck creeping thyme between pavers for scent underfoot.
Color and texture
Choose a palette of mossy greens, muted terra-cotta, and creamy limestone. Repeat that color in cushions, pots, and planters to make the area feel cohesive.
- Lean on materials that gain character: cedar posts, reclaimed benches, split stone edging.
- Plant in layers: flowering perennials, pollinator natives, and a small fruit tree for blooms and harvest.
- Add a cedar or vine-wrapped pergola for shade and privacy; grape or climbing roses add scent.
- Repurpose pavers into low retaining walls to add function and rustic charm.
"Minor scuffs and sun fade tell the story of a welcoming, lived-in garden."
Finish wood with natural oil and refresh every few years. Soft lighting—lanterns and café bulbs—keeps evenings warm. These simple moves make a small backyard feel like a timeless retreat.
Backyard Style: Choose the Look That Matches Your Daily Life
Match the look of your outdoor area to how you actually live each day. Think about weekly rhythms, who uses the space, and how much time you want to spend caring for it.
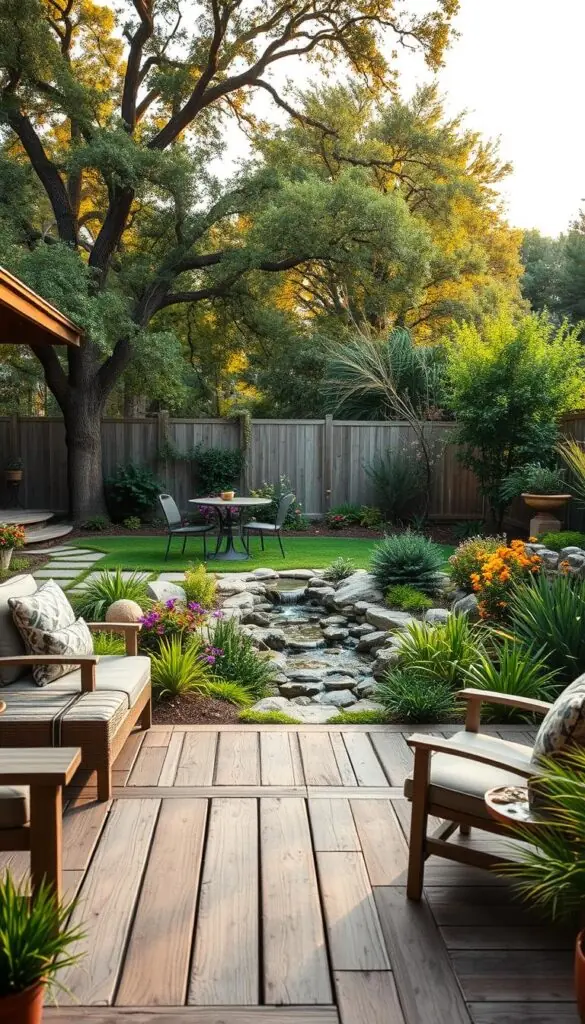
If you love low-maintenance order: modern
Pick modern for tidy lines, fewer plant types, and straightforward maintenance. Hardscaping and repeat plantings cut chores.
Hidden benches and sleek storage keep gear out of sight. For frequent hosts, clear traffic flow and wipe-clean surfaces make gatherings easy.
If you crave a lived-in garden feel: rustic
Choose rustic when layered plantings, seasonal color, and a collected look bring you joy. A potting bench and baskets suit hands-on gardeners.
Vine-wrapped pergolas and long tables favor slow meals and lingering evenings with family.
- Hybrid: concrete patio with cedar accents gives structure plus warmth.
- Water-smart: drip irrigation for modern repeats; drought-tolerant natives for rustic beds.
- Start small: add one zone—dining or seating—and expand over seasons.
Your best choice is the one you’ll maintain with a smile, not stress.
Layout Like a Designer: Create Outdoor Rooms and Clear Paths
Lay out your zones like a floor plan so each area feels purposeful. Sketch three to four rooms—dining, seating, fire pit, play, or planters—and mark them on the ground with landscape paint to test scale before you buy.
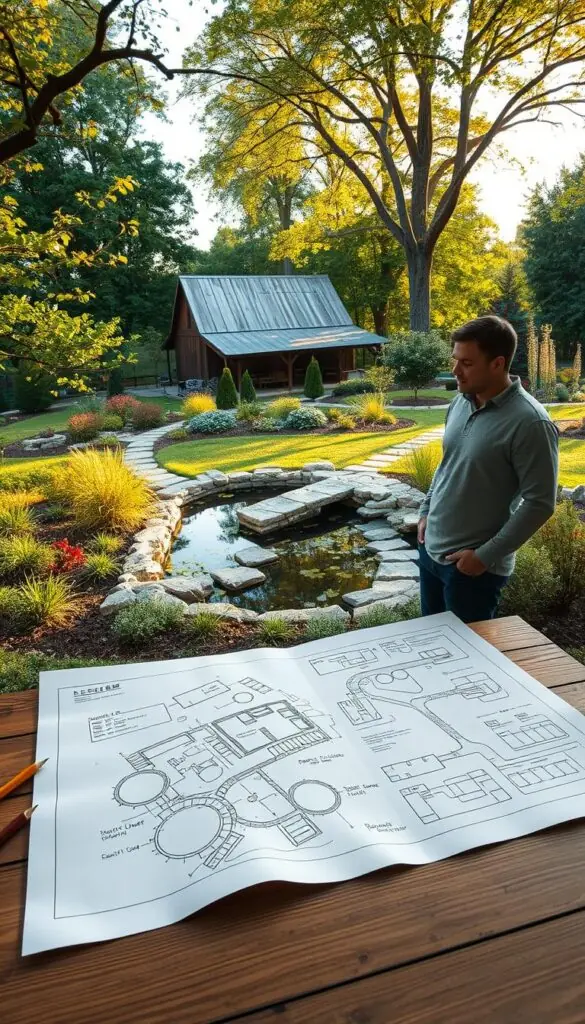
- Measure and mark areas with string and landscape paint. Use a level to verify slope and seat heights.
- Keep paths at least 36 inches wide; use 48 inches where two people pass often.
- Place rugs to define rooms: 8x10 under a six-person dining table, 5x8 for a small seating nook.
Small-space tricks and tools
Edge beds with steel or stone to make the yard read as organized. Remove bulky railings if codes allow or swap for cable to open sightlines.
"Mocking up zones on the lawn saves time and prevents costly returns."
| Task | Tool | Quick spec |
|---|---|---|
| Mark zones | Landscape paint, string | Sketch 3–4 rooms |
| Install path | Pavers, pea gravel, tamper | 24-inch pavers on gravel; 36–48" width |
| Built-in seating | Level, concrete blocks | Perimeter benches save space |
Use round tables and armless chairs in tiny yards to make space and keep circulation easy. Frame views with tall planters or a slim trellis to draw the eye and make the space feel longer.
Plants That Fit Each Area (With Zones in Mind)
Pick greenery for the job you need it to do. Start with a USDA hardiness map and a sun plan so you choose the right plant for the right spot.
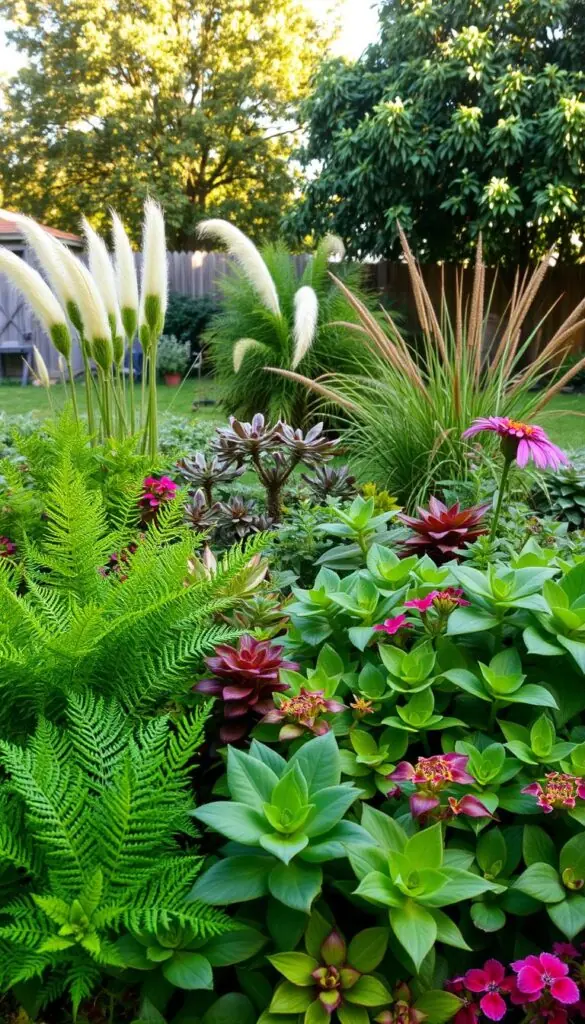
Modern picks
Clean, low-fuss selections: feather reed grass, blue fescue, dwarf boxwood, Japanese holly, and a sculptural tree like dwarf olive (warm zones) or upright juniper.
Watering: use drip emitters at each root zone on a timer. Space plants to their mature width so walkways stay clear by midsummer.
Rustic picks
Friendly, scented choices: coneflower, black-eyed Susan, salvia, lavender, rosemary, thyme, and small fruit trees such as dwarf apple or fig where your zone allows.
Plant herbs and lavender near seating for scent. Keep mint in pots to stop it from spreading.
- Mulch 2–3 inches to retain moisture and cut weeds.
- Place drip emitters at the root flare, not the trunk, and run on shorter cycles to avoid runoff.
- For renters, cluster three pots: one tall "thriller," one "filler," one "spiller"—easy to move with seasons.
- Train vines like grape, jasmine, or native honeysuckle on pergolas for shade and privacy.
| Zone Task | Example Plants | Spacing | Planting Time |
|---|---|---|---|
| Sunny modern knot | Feather reed grass, dwarf boxwood | 2–3 ft apart | Spring or fall |
| Pollinator rustic bed | Coneflower, salvia, black-eyed Susan | 1.5–2 ft apart | Spring |
| Herb & scent near seating | Lavender, thyme, rosemary, basil (pot) | 12–18 in apart (pots closer) | After last frost |
| Small fruit trees | Dwarf apple, fig, dwarf pear | 8–12 ft apart | Early spring or dormant season |
"Right plant, right place saves time and keeps the garden thriving."
Hardscaping That Sets the Tone: Concrete vs. Flagstone and Wood
Set the hardscape first so the planting and furniture fall into place. Think of this as the room floor for your outdoor area. A clear base saves time and guides every choice you make next.
Quick decisions: concrete gives a clean, modern surface that’s easy to maintain. Flagstone adds natural variation. Wood decks bring warmth. Mixing one hard material with pea gravel stretches budget and reads intentional in a small backyard.
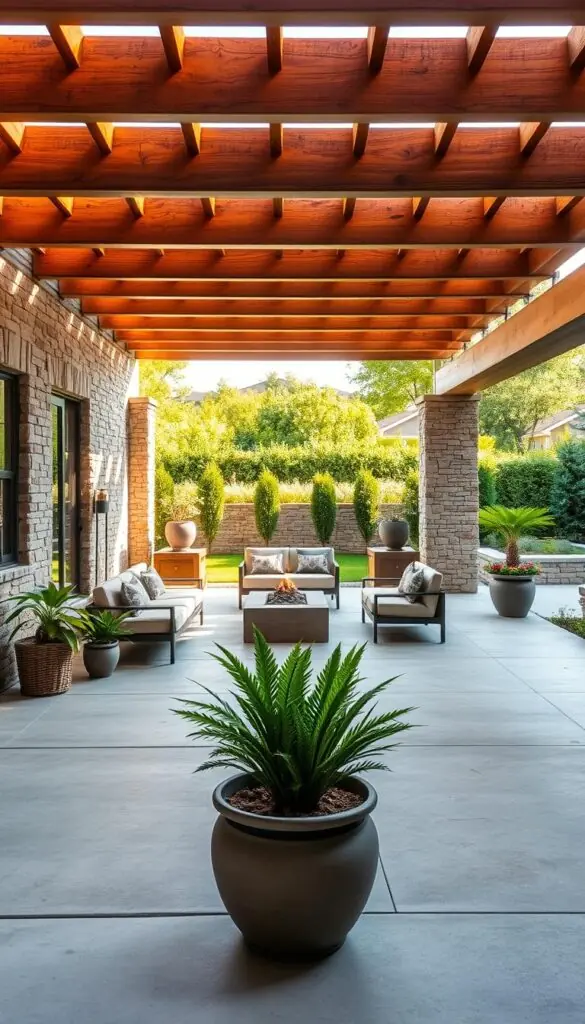
Budget-friendly steps
- Extend a small patio with pea gravel framed by steel edging; tamp in 4–6 inches of compacted base for drainage.
- Personalize a slab: pressure wash, prime, and paint a checkered or stenciled pattern—rough DIY cost around $90—then seal with polycrylic.
- Use large-format pavers set in gravel for a floating walkway that works on slight slopes.
Durability, tools and safety
Consider a pergola kit with Toja Grid brackets for secure connections and stain options—black for a crisp edge or natural cedar for a softer feel.
| Tool | Task | Time (DIY) |
|---|---|---|
| Tamper, gravel | Lay and compact pea gravel extension | 2–4 hours |
| Pressure washer, paint | Stenciled concrete finish + seal | 1 weekend |
| Drill, brackets | Assemble pergola kit | 1–2 days |
Keep expansion joints clear on concrete and reseal every few years. Add a low fence panel or slatted screen where privacy matters. Around a future pool, pick slip-resistant textures and leave pump access clear. Always mark utilities before digging to avoid surprises.
"A solid base and careful sealing give you a lasting, confident look."
Vertical Interest: Pergolas, Trellises, and Green Walls
Give your vertical elements a clear job: shade, privacy, or a place to climb plants. A well-placed pergola or screen defines areas and adds instant charm without stealing ground in a small space.
Modern move: choose a kit with black steel brackets for crisp lines. Kits around $1,100 simplify a DIY build and cut framing guesswork. Stain beams with an oil-based black for even coverage; work in the shade to avoid lap marks.
Rustic move: use cedar posts and leave wood natural. Train wisteria, grape, or climbing rose to wrap beams and cool seating zones. Cedar weathers beautifully and smells great after rain.
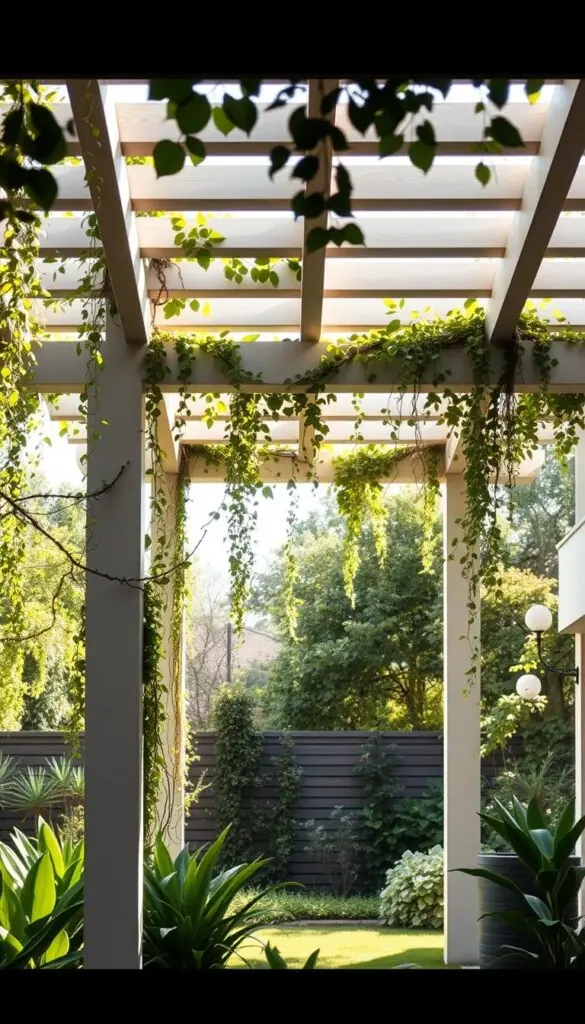
Quick privacy and renter-friendly options
Zip-tie faux greenery to a bamboo fence for an easy, season-proof panel — about $500 for two panels. It’s light, removable, and needs no watering.
Or build a slim slatted wall for roughly $244 plus planters. Sand, install, and leave the wood natural for warmth. Add planter boxes to soften the sightline and grow herbs.
"Use verticals where they block most neighbor sightlines and least sun—privacy without losing light."
- Add a pergola to create an outdoor "ceiling" for lights and shade without shrinking the space.
- Mount café lights on pergola posts and put them on a dimmer for cozy evenings.
- Keep posts plumb, follow bracket specs, and check local codes for setbacks and height limits.
| Option | Typical Cost | Best Use |
|---|---|---|
| Pergola kit w/ black brackets | $1,100 | Modern seating areas; easy DIY |
| Faux green panels on bamboo fence | $500 (two panels) | Renter-friendly privacy; low maintenance |
| Slatted fence/wall panels + planters | $244 + planters | Hide old plaster; add herbs and color |
Plant or train trees and tall shrubs near verticals to soften edges and add seasonal interest. Place vertical pieces to block wind and sightlines while keeping the sun you need for plants and seating.
Blend Indoor-Outdoor Living: Doors, Decks, and Flow
Make the transition from indoors to out feel effortless with a few simple choices. Treat the area outside as the next room of your living space so movement feels natural and welcoming.
Extend an interior floor tone to the patio with a matching outdoor rug and pavers. This visual thread helps your home read as one continuous area and makes the patio feel like an easy extension of the kitchen or lounge.
Widening a back doorway or swapping to glass doors brings light and view. If that’s out of budget, clean panes, add a screen, and cluster container plants by the entry for a soft, fragrant threshold you’ll use daily.
Align the door-to-dining route so you can carry plates without zigzags. Place the grill a few steps from the kitchen and keep a storage bench by the door for throws and bug spray to cut trips in and out.
Frame the opening with a slim pergola or header beam and add a dimmer or smart switch for outdoor lights. For homes with a small pool or a compact backyard, plan a dry path to towel hooks and a spot for sandals to keep floors clean and traffic clear.
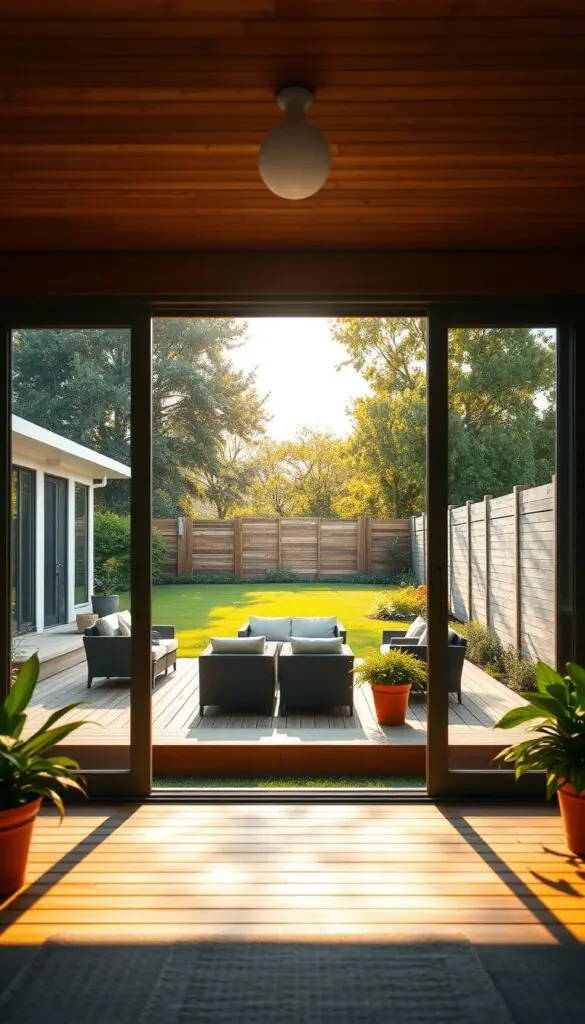
Lighting Magic: From Golden Hour to After-Dark Glow
Evening lighting can turn a small outdoor space into a cozy, usable room after dusk. Use layers to balance safety and atmosphere so you enjoy more time outside without glare or fuss.
Layer your glow: path lights for safe routes, dimmable string lights over dining or seating, and two uplights to lift trees and architecture. Add a small task light near the grill or a step light where levels change.
- Start with a low-voltage kit — it’s a simple DIY: mount the transformer near an outlet, run cable along beds, and hide it under mulch.
- Place path lights 6–8 feet apart and stagger them; aim uplights at trunks and the underside of canopies for soft sparkle.
- Use warm-white solar where wiring is tricky; shield fixtures from neighbor windows to protect privacy.
For pools or stock tanks, favor indirect glow on a nearby wall or plantings instead of harsh downlights. Set timers or smart plugs to switch on at dusk and off late — it saves energy and makes evenings effortless.
"Test angles at twilight before you bury cables — small tweaks make a big difference."
Fire Features and Seating: Modern Fire Pit vs. Rustic Hearth
A small flame can transform an evening—choose the form that fits how you gather.
Modern or rustic? A low-profile concrete fire pit pairs well with sleek benches for a tidy look. A stone hearth and cedar seating give a cozier, lived-in feeling. Built-in benches maximize tight patios and help a family fit more people without crowding the walkways.
Right-size the circle: leave 36–48 inches from the pit edge to seating so legs stretch and traffic flows. Use heat-resistant tops—concrete, stone, or porcelain—near flames rather than raw wood. For tiny patios, L-shaped or curved benches hug the edge and keep the center open for movement.
Fuel and safety: gas gives instant flame and low smoke for frequent nights. Wood adds crackle and campfire scent but needs a spark screen and clearances. Keep a gas shut-off nearby and check local rules on open flames.
- Add movable stools or poufs you tuck under benches when not in use.
- If a pool sits nearby, orient fire and water so smoke or steam won’t drift toward towels or loungers.
- Store cushions in a water-resistant bench; choose quick-dry foam for rainy evenings.
- In windy spots, fit a tempered-glass wind guard on gas pits to steady the flame.
Budget note: a DIY stucco bench build runs about $1,000 and mixes well with concrete or cedar accents for durability and warmth. With careful spacing and materials, you get a safe, sociable patio that invites quiet nights and family gatherings.
Water and Pools: Sleek Plunge Pool or Stock Tank Charm
Choosing between a sleek plunge or a charming stock tank starts with how you plan to use it. A plunge gives a permanent, modern look. A stock tank is quick, affordable, and full of personality.
Start by picking a sunny, level spot. For a stock tank, level the base with sand and compact it. Check level in several directions with a long level so water sits evenly.
- Pumps & water care: Add a pump and filter; hide equipment under a small deck with access for maintenance. Use chlorine tablets or another sanitizer and test water weekly.
- Permits & safety: Check local rules—many places require fences, gates, or alarms even for small pools. Install a lockable gate and consider an alarm for child safety.
- Electrics & siting: Use GFCI outlets and weatherproof covers. Plant low shrubs or small trees a safe distance away to block wind but avoid too much shade.
For winterizing, drain, clean, and cover in cool months. A simple wrapped deck or platform modernizes a round tank and makes entry safe.
"A well-placed dip is part comfort, part common sense—safety first, then the fun."
DIY and Budget-Friendly Ideas That Transform Your Yard
You don't need pro skills to add structure, color, and comfort to your outdoor room this month. Pick one project and finish it well. That focused approach makes a real change to how your space feels and how you use it.
Weekend wins
Paint a patio: pressure wash, prime, roll a base, tape a check pattern, then seal with polycrylic. A faux marble or checkered concrete finish can cost about $90 and gives a fresh, clean look.
Pop up a pergola with a Toja Grid bracket kit (~$1,100). Cut posts, square the frame, then stain black for a crisp modern edge or oil cedar for warm tones.
Planters & seating: make planters from cedar boards or stock tanks and build a slim storage bench with a hinged lid. Layer gravel, soil, and herbs near your cooking zone for scent and easy snips.
Smart materials list
- Exterior paint, polycrylic sealant, and exterior-rated screws.
- Corrosion-resistant brackets and fasteners for pergolas and benches.
- Bamboo panels and zip ties for a renter-friendly fence screen.
- Low-voltage lighting kit and dimmable café lights to extend evenings.
| Project | Tools | Time |
|---|---|---|
| Painted concrete patio | Pressure washer, rollers, stencil tape | 1 weekend |
| Pergola kit | Saw, drill, Toja brackets | 1–2 days |
| Storage bench | Screw gun, hinges, weather strip | 1 day |
"Prep well: clean, sand, and dry first — rushing leads to a redo."
Privacy, Fences, and Good-Neighbor Design
Privacy shapes comfort—small choices can make big differences in how you feel outdoors. Plan with kindness and clarity so your area feels private without surprising anyone next door.
Talk to neighbors before you start work. A short note or chat builds goodwill and helps avoid conflicts over timelines, sightlines, or fences.
Arborvitae hedges, shared-facing fences, and sightline etiquette
Arborvitae make a slim, evergreen living wall in tight spots. Plant them straight or staggered for faster fill, and expect modest seasonal trimming.
- Think “both sides” with a fence: present a finished face to each yard so both neighbors feel considered.
- Mix a slatted panel with tall grasses or climbing vines to keep the area light while blocking views.
- Avoid tall balconies or structures near neighbor windows; angle seating inward to keep conversations private.
"Good-neighbor design improves privacy and keeps relationships healthy."
Confirm property lines, local height limits, and set-backs before digging post holes. Add a low garden wall or planter at seating height to block wind and create a cozy nook for reading.
| Option | Typical Height | Maintenance |
|---|---|---|
| Arborvitae hedge | 6–12 ft mature | Annual trim; moderate water first 2 years |
| Slatted timber fence + vines | 4–6 ft | Stain or oil yearly; train vines seasonally |
| Low masonry wall + planter | 18–24 in | Minimal; check mortar and drainage |
Keep hedges and shared fences tidy with seasonal trims and a hardware check. Use soft, shielded lighting along borders to protect the night sky and neighbor rest.
Seasonal Care and Low-Maintenance Tips for Both Styles
When you tune routines to the seasons, maintenance becomes a few focused tasks, not a full-time job.
Spring and fall are your two big reset moments. They set the tone for warmer months and protect plants through winter. You’ll notice the fresh soil smell in spring and the soft stack of fall leaves when you rake.
Spring & Fall routines
- Spring tune-up: refresh 2–3 inches of mulch, check drip lines and emitters, and prune dead wood from trees and shrubs for healthy growth.
- Summer smart: water early, add shade sails or umbrellas where afternoon sun bakes, and clear path lights from sprawling plants to keep them visible.
- Fall reset: cut back perennials as needed, leaf-mulch beds, and set lighting timers for earlier sunsets so the yard still feels welcoming.
- Winter watch: move tender pots close to the house, sweep debris from gravel to keep surfaces draining well, and cover delicate plants if needed.
Common mistakes to avoid
Avoid crowding plants so each has room to breathe. Overplanting leads to mildew, blocked paths, and more trimming than you want.
Plan shade from the start — a pergola, a well-placed tree, or a cantilever umbrella keeps spaces usable through hot stretches.
Check safety monthly: tighten pergola hardware, confirm fire feature clearances, and inspect steps, especially DIY gravel or timber stairs made with treated lumber, rebar, lag bolts, and pea gravel fill.
| Season | Quick Fix | Tools/Notes |
|---|---|---|
| Spring | Refresh mulch, test drip emitters | Mulch fork, pressure test; prune trees for structure |
| Summer | Add shade, water early | Shade sail/umbrella; hose with shut-off |
| Fall | Cut back perennials, leaf-mulch | Leaf rake, compost leaves; set lighting timers |
| Winter | Protect pots, sweep gravel | Move containers, broom; check drainage |
"Set a recurring 20-minute reminder each week — small, steady care keeps the whole space effortless."
Keep a simple kit: bypass pruners, hand trowel, mulch fork, hose with shut-off, and a headlamp for late watering. If slopes tire you out, a small retaining wall or timber-and-gravel steps makes the way up and down secure and improves overall landscaping.
Conclusion
A single, well-chosen tweak can change how you use and feel about your outdoor space. Pick one idea this week—sketch a dining zone, hang a string of lights, or edge a bed—and enjoy the quick payoff.
Small, thoughtful moves add up. Use zoning, blend indoor and living tones at the door, and layer simple lighting so evenings feel effortless. Budget mixes like concrete + gravel, a compact pergola, or a privacy hedge are proven wins.
Think about the moments you want: morning coffee, a safe play nook, or a cooling dip in a small pool. Check paths and shade seasonally so the garden stays useful from spring through fall.
Your backyard doesn’t need to be perfect to be wonderful. Start with one modest project this weekend and watch the place around your home become more inviting—one golden hour at a time.
FAQ
How do I choose between a modern or rustic look for my outdoor space?
Start by thinking how you want the space to feel and function. If you prefer clean lines, low-maintenance surfaces, and a calmer, more ordered palette, modern is a great match. If you want a cozy, lived-in garden with natural materials, layered textures, and fragrant plants, rustic will suit you better. Write down your top three needs — host, grow, relax, or play — and let those priorities guide the decision.
What are the signature elements of a modern design?
Modern yards rely on materials like concrete, gravel, and steel combined with simple plant palettes. Think smooth finishes, warm neutrals, sculptural planters, and ornamental grasses. Keep forms minimal and prioritize clear pathways and defined outdoor rooms for dining and lounging.
What defines a rustic outdoor area?
Rustic spaces use cedar, reclaimed wood, stone, clay, and items with patina. Favored plants include flowering perennials, herbs, and small fruit trees. The color story leans toward mossy greens and sun-faded woods, with layers of texture and comfortable, timeworn seating.
How can I layout my yard like a designer if I have a small space?
Create distinct zones for dining, seating, a fire pit, play, and planters. Use edge beds and outdoor rugs to define areas, remove visual clutter like bulky railings, and choose multiuse furniture. Smaller patios benefit from built-in benches and vertical planters to save floor space.
Which plants work best for modern and rustic zones?
For modern zones, pick ornamental grasses, evergreen shrubs, and sculptural succulents in simple planters. For rustic zones, choose flowering perennials, culinary herbs, and small fruit trees that invite pollinators and scent — think lavender, roses, and espalier apples.
What hardscaping materials set the right tone?
Concrete and smooth pavers favor a modern look, while flagstone and reclaimed wood suit rustic designs. On a budget, extend an existing concrete slab with pea gravel or use stencils to add pattern. Durable materials that match your daily use are the smart choice.
How can I add vertical interest without overwhelming the space?
Use a pergola, trellis, or green wall to draw the eye upward. For a modern move, choose a black-stained pergola with clean brackets; for rustic charm, go with cedar beams wrapped in vines. Renter-friendly options include faux green panels or freestanding trellises.
What’s the easiest way to blend indoor and outdoor living?
Focus on flow. Align doors and decks so sightlines extend from inside to outside. Use matching or complementary flooring, roll-out shades or curtains, and arrange furniture to create a natural transition for dining and lounging.
Which lighting strategies work best for both ambiance and safety?
Layer lighting: path lights for guidance, string lights for warmth, and spotlights to highlight trees or architectural features. Low-voltage kits and solar options cut installation cost and support safety. Aim for dimmable controls to change the mood from golden hour to after-dark glow.
Should I pick a built-in fire feature or a portable fire pit?
It depends on space and use. Built-in fire pits or hearths feel permanent and work well for frequent entertaining; portable pits suit renters or seasonal use. Consider seating needs — built-in benches save room on tiny patios — and check local codes before installing.
What should I know before adding a pool or water feature?
Treat it like a small construction project: ensure proper leveling, choose the right pump and filter, verify permits, and plan for child safety and fencing. A plunge pool or stock tank offer different vibes — sleek and modern versus relaxed and rustic — so match size and finish to your overall plan.
Which weekend DIY projects give the biggest impact?
Quick wins include painting or staining the patio, installing a pergola kit, building planters or storage benches, and layering outdoor rugs. Use smart materials like exterior paint, polycrylic for protection, and sturdy brackets and fasteners for longevity.
How can I add privacy without building a tall fence?
Planting arborvitae hedges or fast-growing climbers on a trellis creates soft screens. Consider shared-facing fences and sightline etiquette with neighbors. Freestanding privacy panels or layered planting beds give instant seclusion while keeping the space friendly.
What seasonal care keeps both modern and rustic areas thriving?
Follow spring and fall routines: add fresh mulch, flush and check drip irrigation, prune as needed, and remove dead material. Avoid common mistakes like overcrowding plants, skipping shade planning, or ignoring lighting. Simple, regular maintenance keeps your space looking intentional year-round.