Imagine a cool kitchen bathed in soft afternoon light, a pop of velvety red set against glossy green leaves by the window. You might wonder how to keep that glow through the busy holiday season without fuss. We’ll walk you through simple steps that fit real life and small spaces.
Simple, reliable guidance shows you where to place your plant, when to water, and how to spot signs it feels dry or needs more light. Expect short, practical tips—like using a sheer curtain to soften sun, a thermometer to hold 65–70°F, and gloves for pruning—so you can enjoy color without stress.
We’ll also point out easy mistakes to avoid: soggy soil, cold drafts, and hot vents. Along the way, notice the bracts that frame tiny yellow flowers and learn how daylight length helps them set color. By the end, you’ll feel calm and ready to keep holiday plants thriving in your home.
Key Takeaways
- Place plants in bright daylight near south, east, or west windows.
- Keep soil moist but well-drained; water when the topsoil feels dry.
- Maintain daytime temperatures around 65–70°F for best results.
- Avoid drafts, hot vents, and standing water to prevent problems.
- Use simple tools—gloves, pruning shears, saucers, a small humidifier—for easy upkeep.
- Watch bracts and leaves as clues for light, water, or rest.
Set the Stage: Light, Temperature, and Placement for Holiday Radiance
Start by choosing a bright spot where soft light flatters leaves and bracts. A warm window nook with indirect sun helps keep colors vivid during shorter days. Place the plant in a south, east, or west window so it gets about 6–8 hours of bright, indirect light each day.
Light that flatters:
Light that flatters: bright, indirect sunlight for 6-8 hours
Use a sheer curtain to diffuse harsh midday sun and protect delicate bracts from fading. Rotate the container a quarter turn every few days so every side receives equal light and the plant grows evenly.
Comfort zone: 65-70°F days, 60-62°F nights; avoid drafts and heat vents
Keep a small thermometer on the sill to watch temperature swings. Aim for daytime temperatures around 65–70°F and about 60–62°F at night. Avoid drafts, heat ducts, fireplaces, and fans that dry leaves or shock the plant.
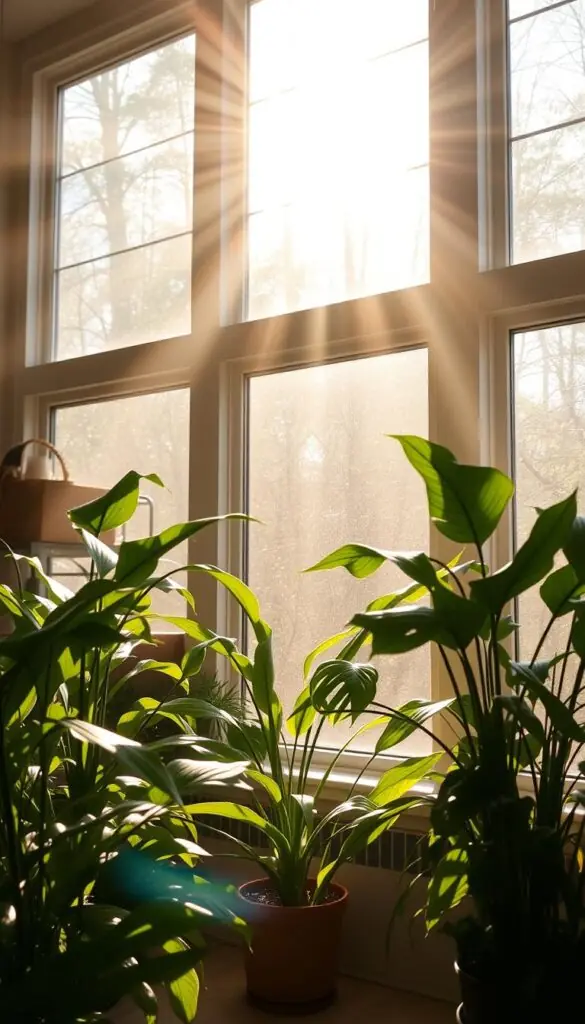
Display tips: keep bracts from touching cold windows; use sheer curtains to diffuse sun
Leave a few inches between foliage and the glass so bracts don’t touch cold panes. A plant caddy or stand makes it easy to adjust the place by day and lift the pot away from chilly windows at night.
- Protect from cold: never let temps fall below 50°F during transport or overnight.
- Humidity help: use a small humidifier or a pebble tray to keep air gentle and leaves lush.
- Quick check: pale bracts mean too much sun; stretched stems mean not enough — move slightly closer or a bit farther from the window.
Watering Without Worries: When the Soil Feels Dry, How to Water Right
A quick lift and a fingertip check will tell you exactly when to water. Learn this habit and you’ll avoid both drought stress and soggy roots.
Lift-and-touch test: Pick up the pot—if it feels light and the top inch of soil feels dry to the touch, it’s time to water.
Move the plant to the sink, remove any decorative foil (or poke several holes), and use a long-spout watering can to pour evenly until water runs from the drainage holes.
Let the pot drain for a few minutes, then return it to a saucer. Never let the pot sit in standing water; that invites root rot and weakens roots.

- Pot choices: clay dries faster; plastic holds moisture longer—choose based on how often you water.
- In warm, bright rooms you may water more; in cool, low light you may only water once or twice a week—check by lifting and touching.
- If leaves droop and bounce back quickly after watering, you waited a bit too long. Yellowing and a mushy stem point to overwatering and rot.
Poinsettia Care After the Holidays: From New Growth to Spring Refresh
After the holidays, a gentle routine helps your plant shift from display to steady growth.
Late winter: keep bright light and steady moisture. Hold off on fertilizer until you see clear new growth — tiny shoots or fresh green leaves. When that appears, start feeding at half the label strength every 3–4 weeks to support steady, healthy growth.
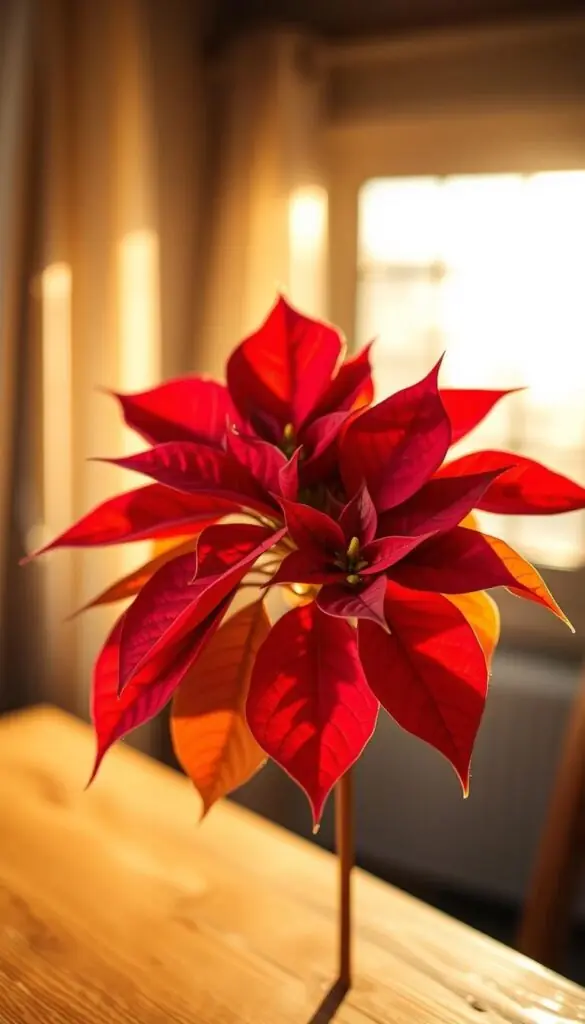
Early spring pruning and timing
In early spring, put on gloves and use clean pruning shears to cut leggy stems back to about 4–5 inches. This reset helps the plant push compact, bushy growth over the next weeks.
Repotting and soil
Repot in late spring or early summer into a container 2–4 inches larger. Use a well-draining mix rich in peat and compost and be sure the pot has generous drainage holes.
Tip: Water thoroughly after repotting and let excess drain; then rotate the pot over the following weeks for even shape.
- Do not fertilize during bloom; wait until new growth shows.
- Avoid feeding too early — it can stress roots and dull color next year.
- Pinch off weak shoots as growth fills out to shape a tidy form.
Summering Indoors or Out: Strong Plants for Next Season’s Color
A simple summer rhythm helps your specimen build strength for next season’s color.
Outdoor option: After all frost risk has passed and nights stay above 55°F, move the pot into part sun—about 4–6 hours of gentle morning sun. In zones 9–11 you can plant in the garden as a shrub in well-drained soil with light afternoon shade. Add compost to improve structure and mulch to cut evaporation.
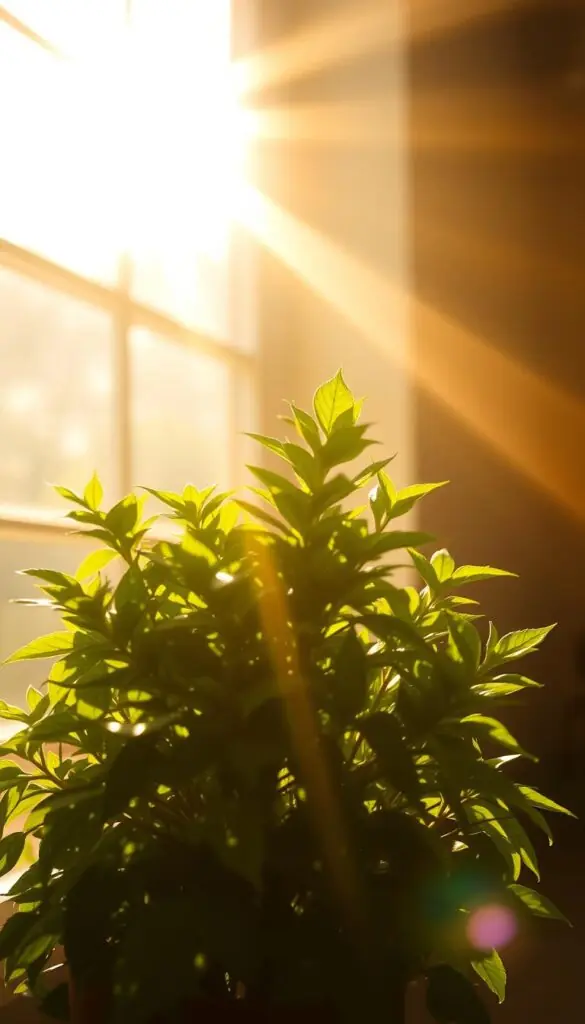
Weekly rhythm: Rotate the pot a quarter turn each week, check the top inch with your finger, and water so the soil stays evenly moist but never soggy. Feed with a balanced fertilizer every 2–4 weeks while active; skip feeding during heat waves if growth stalls.
Shape and timing: Pinch or trim soft tips in early July and again in mid-August. Remove 1–2 inches to encourage branching and bushier growth.
Move plants indoors before nighttime temperatures drop below 55°F. Use clean pruners, gloves, a thin mulch layer on containers, and a rolling plant caddy to make moving easy. These simple steps help you keep poinsettia strong and ready for next winter’s show.
How to Rebloom Poinsettias: Short Days, Long Nights, Brilliant Bracts
Start a steady light-and-dark routine in early fall to prompt bright bracts by the holidays.
When to begin: Mark mid/late September or the first week of October to start the treatment. Consistency over the next 8–10 weeks is what triggers bloom for the season.
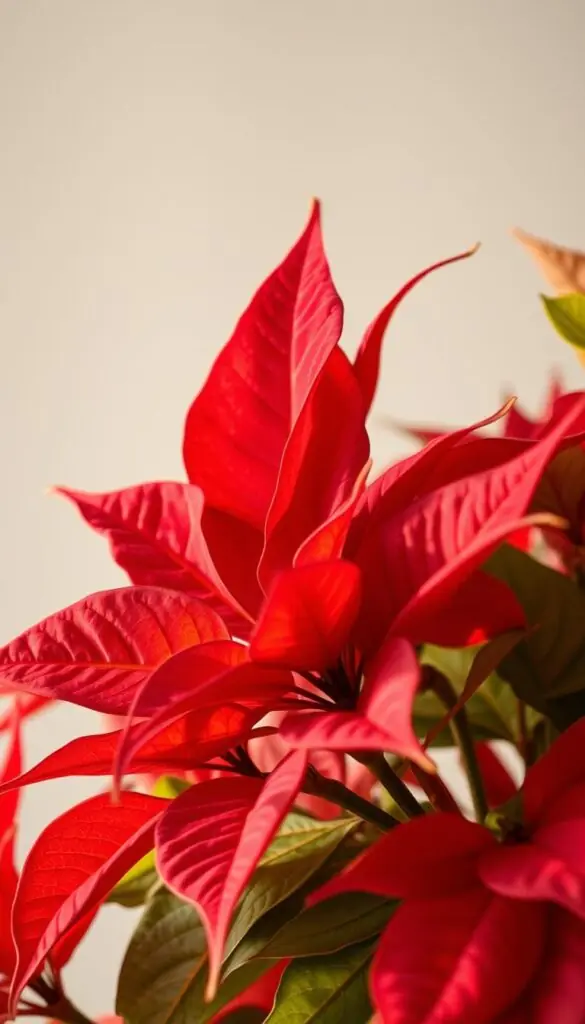
Daily schedule options
Choose one formula and stick with it daily:
- UMN method: 16 hours of uninterrupted darkness + 8 hours of bright, indirect light.
- Common method: 12–14 hours darkness + 8–12 hours light.
Keep nights truly dark
Use an opaque box or a closet and never open it during the dark stretch. Even small leaks from hall lights or streetlamps can delay flowers.
"Zero light leaks are the most common reason blooms stall. Be strict about nightly darkness."
Daily steps and tools
- Set a timer for your room light so the schedule runs without thinking.
- Rotate the plant during its daylight period for even growth.
- Water when the topsoil feels dry and avoid heavy feeding while in treatment.
| Start Date | Daily Dark Hours | Daily Light Hours | Duration |
|---|---|---|---|
| Mid–Late Sept / Early Oct | 16 (UMN) | 8 | 8–10 weeks |
| Mid–Late Sept / Early Oct | 12–14 (Common) | 8–12 | 8–10 weeks |
| End treatment | Stop near Thanksgiving | Return to bright window | Color by mid-Nov–Christmas |
Troubleshooting: If color is slow, check for stray light, tighten your blackout setup, and keep going. Patience and a steady routine will reward you with strong bloom and cheerful flowers.
Healthy Roots, Happy Bracts: Soil, Fertilizer, and Tools That Help
A lively soil blend and a tidy toolkit make nurturing roots and bright bracts easy all season.
Soil recipe: Mix a loamy, well-drained potting mix with peat and compost for good structure and steady moisture. The blend should feel springy to the touch and drain freely from the pot's holes. Good drainage keeps roots healthy and helps bracts keep their saturated color.
Fertilizer schedule: Do not feed while the plant is in bloom. Once you see new growth, begin feeding at half strength every 3–4 weeks. This supports steady growth without salt build-up that can harm roots or dull flowers.
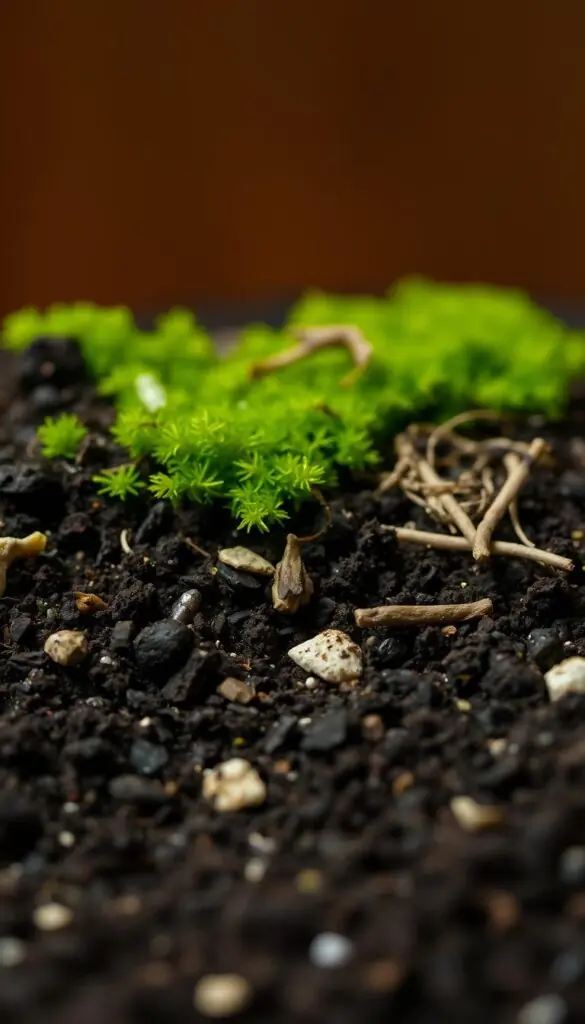
Helpful tools and propagation tips
- Keep sharp pruning shears for a clean cut and gloves to protect your hands from sticky sap.
- Use saucers to protect furniture and a compact humidifier in dry homes to reduce leaf edge browning.
- To root cuttings: snip 3–6 inch green tips, dip in powdered rooting hormone, set in fresh mix, and cover loosely with plastic. New leaves in about a month mean success.
| Item | Why it helps | When to use |
|---|---|---|
| Loamy potting mix (peat + compost) | Airy, nutrient-rich base for roots and color | At potting and repotting |
| Half-strength fertilizer | Supports balanced new growth without salt build-up | Every 3–4 weeks after new growth appears |
| Pruning shears, gloves, saucers | Clean cuts, safe handling, and tidy watering | Pruning, watering, and display |
| Rooting hormone & plastic cover | Improves success of stem cuttings | When propagating 3–6 inch tips |
Troubleshooting Poinsettias: Leaves, Pests, Rot, and Heat/Draft Damage
Noticing limp or spotted leaves? A few simple checks usually reveal the problem. Start with water and light, then move through a short list of fixes.
Yellowing leaves
Check moisture first. Soggy soil often points to root rot; bone-dry mix means drought. Correct slowly—water less if soggy, water deeply if dry.
Also watch light and temperatures. Low light or chilly rooms make lower leaves yellow. Overfertilizing or a pH issue can show similar symptoms.
Root rot and canker
Slide the plant from its pot. Trim brown, mushy roots and cut away blackened stems. Rinse the root ball and repot in fresh, well-draining soil in a clean container.
If canker appears, remove affected stems, improve airflow, and consider a garden-center fungicide if it spreads.
Insects and quick fixes
Rinse whiteflies and mealybugs off with mild soapy water. Spray gently, repeat weekly, and isolate the plant until pests are gone.
Safety: The milky sap can irritate skin—wear gloves. These plants aren’t poisonous to people, but curious pets may get an upset stomach if they nibble.
- Keep plants away from heat vents and cold drafts to avoid crispy edges or sudden leaf drop.
- Remove decorative foil or poke holes so excess water can escape and reduce rot risk.
Conclusion: Keep Poinsettias Glowing Through the Holiday Season and Beyond
A few steady habits will help your plant stay vibrant from Thanksgiving through spring.
Quick checklist: bright, indirect light by day; water when the top of the soil is dry; keep the pot off cold windows and away from heat vents. Rotate for even shape and let excess drain fully.
After the holiday, wait for new growth before feeding at half strength. In spring, prune and refresh soil so the plant is ready for the next year. For rebloom, start long nights of uninterrupted darkness in fall for about 8–10 weeks.
With a few tools—shears, gloves, saucers, and a sheer curtain—and steady attention to light and moisture, you’ll keep your poinsettia glowing. Trust your senses, take small steps, and enjoy a sunlit, lush home through the season and into the year ahead.
FAQ
How much light does my holiday plant need to look its best?
Bright, indirect sunlight for about 6–8 hours a day works well. A spot near an east- or west-facing window with a sheer curtain is ideal. Too little light makes leaves and bracts fade; too much direct afternoon sun can scorch them.
The soil feels dry — when should I water?
Use the lift-and-touch test: water when the top inch of soil feels dry and the pot feels noticeably lighter. Water thoroughly until it drains from the bottom, then discard excess. Avoid letting the pot sit in a saucer of standing water to prevent root rot.
How do I tell if I’m overwatering or underwatering?
Wilt can come from drought — dry, limp leaves and light pot. Overwatering shows as yellowing leaves, mushy stems, or foul soil smell. If roots look brown and soft, repot into fresh, well-draining mix after trimming damaged roots.
What temperature should I keep the room during the day and night?
Aim for about 65–70°F by day and 60–62°F at night. Keep plants away from cold windows, drafty doors, and hot vents. Sudden temperature swings and drafts can drop color and cause leaf drop.
Should I remove the decorative foil around the pot?
Yes — remove or poke drainage holes in foil. Decorative wraps can trap water and hide wet soil, increasing rot risk. Use a saucer under the pot to catch excess water.
When is it safe to fertilize and what should I use?
Hold off during full bloom. Begin a half-strength balanced fertilizer once you see new growth in late winter or early spring, then feed every 3–4 weeks while actively growing.
How and when do I prune to encourage compact, bushy growth?
In early spring, cut back to about 4–5 inches to promote branching. During summer, pinch or trim in early July and again in mid-August to shape and encourage a fuller plant for the next season.
Can I keep the plant outdoors in summer?
Yes in warm climates (USDA zones 9–11) or as a seasonal move. Provide part sun (4–6 hours) and bring it inside before nights drop below 55°F to avoid cold damage.
How do I get brilliant bracts again next holiday season?
Start a short-day treatment in mid/late September: give 12–16 hours of uninterrupted darkness each night and 8–12 hours of bright daylight each day for about 8–10 weeks. Use an opaque box or closet to prevent light leaks and rotate the plant during daylight for even color.
What soil mix should I use when repotting?
Choose a loamy, well-draining potting mix rich in organic matter — a peat/compost blend works well. Ensure the new pot has ample drainage holes to keep roots healthy.
My leaves are yellowing — what can I do?
Yellowing can come from overwatering, low light, cold temperatures, or salt buildup from fertilizer. Check soil moisture, improve light, trim damaged foliage, and flush the soil with water to remove excess salts if needed.
How do I handle pests like whiteflies or mealybugs?
Start by rinsing leaves with a gentle stream of water and wiping with mild soapy water. For persistent infestations, use insecticidal soap or horticultural oil and isolate the plant to prevent spread.
Are these plants dangerous to pets or people?
The sap can irritate skin for some people, so wear gloves when pruning. While not highly toxic, eating leaves may upset pets; keep plants out of reach and consult your vet if ingestion occurs.