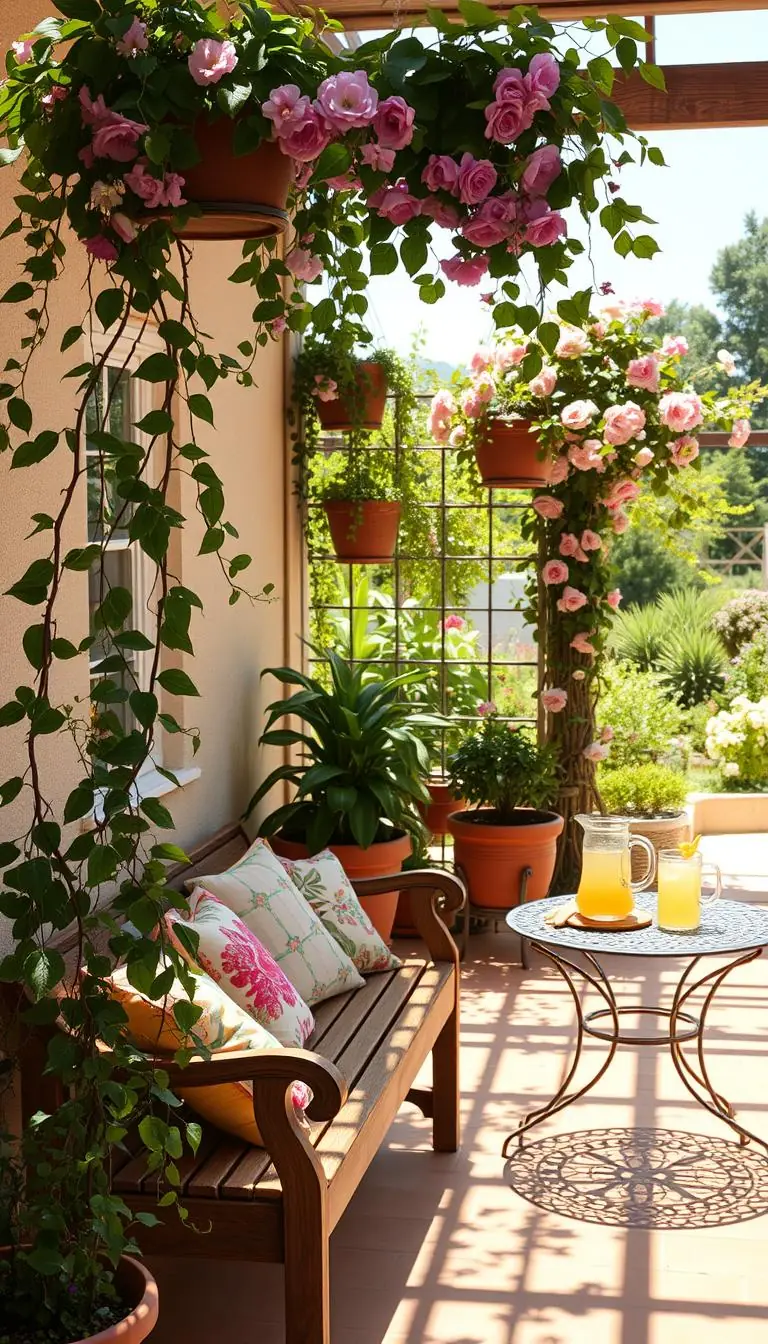
Morning light warms your cup, a soft breeze moves a sheer panel, and the space outside your kitchen feels like an extra room. You can create that calm quickly with a few well-chosen pieces.
Think of this as an easy weekend project that blends privacy, shade, and style. We show simple tools—tape measure, level, stainless screws, and a masonry bit for brick—and the best product types like triple-weave blackout, waterproof canvas, or natural linen.
Pick the size and heading that fits how you live: grommets for smooth glide, tab tops for a casual look, or Velcro tabs for quick installs on a pergola or gazebo frame. Match colors to plants—lavender, jasmine, or rosemary—to make the garden feel lush.
Plan by exposure: east-facing spots want light panels; west-facing spaces may need heavier shades before peak sun and wind. Order swatches, measure twice, and you’ll be ready to mount like a pro.
Key Takeaways
- Picture how you’ll use the space—morning shade or evening dinners—to guide fabric and color choices.
- Measure carefully and choose the right heading: grommets, tab top, or Velcro for your frame.
- Select from blackout, waterproof canvas, or sheer linen depending on privacy and light needs.
- Use weights or tie-downs for windy sites and pick darker hues if you host often.
- Gather basic tools and set aside a mild weekend to install with confidence.
Why Outdoor Curtains Elevate Your Patio, Lawn, and Garden
A few well-placed panels can turn a noisy yard into a calm, private retreat. Picture filtered light making your dining table glow at golden hour and a gentle swish cooling the air as you unwind.
Real-life perks include shade where you need it, added privacy without building walls, and a softer, more room-like feel for meals or reading. Choose privacy-forward Triple-Weave outdoor blackout panels for deep shade or breezy 100% natural sheer linen when airflow matters.
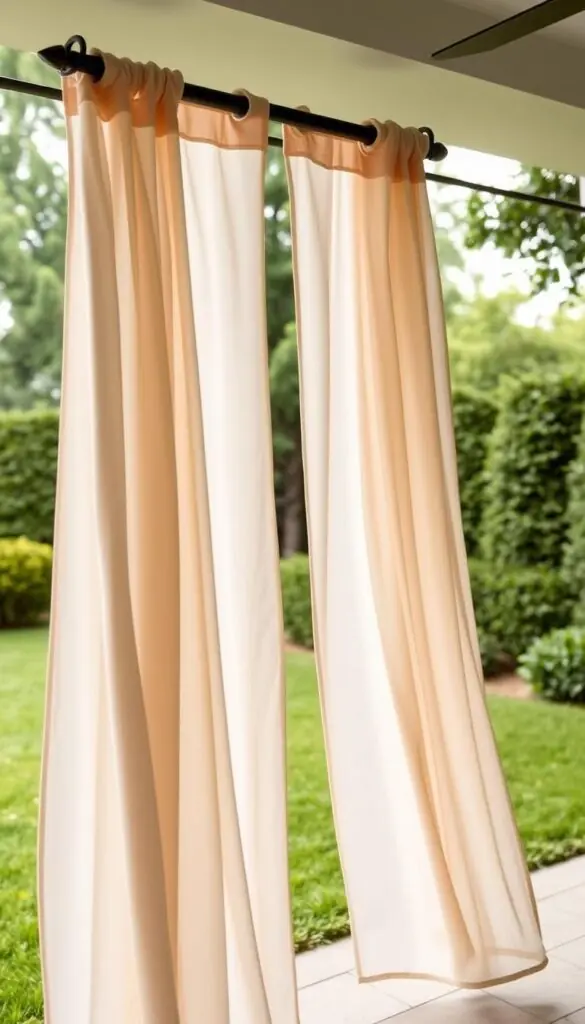
Simple steps that work
- Hang panels to block the strongest sun edge first, then angle furniture to catch the breeze.
- Use tie-backs for quick views of your garden or to open the space for guests.
- Pair linen for movement and canvas or triple-weave for quiet, cool corners.
Match colors to your lawn and flower beds so the whole home landscape feels cohesive. These small choices make your porch, gazebo, or pergola feel more lived-in and welcoming.
Know the Features That Matter: Waterproof, Windproof, and UV Protection
Know which performance features matter so your outdoor space stands up to storms, sun, and wind. These details tell you when to pick coated canvas, a denser weave, or triple-weave blackout for true shade.
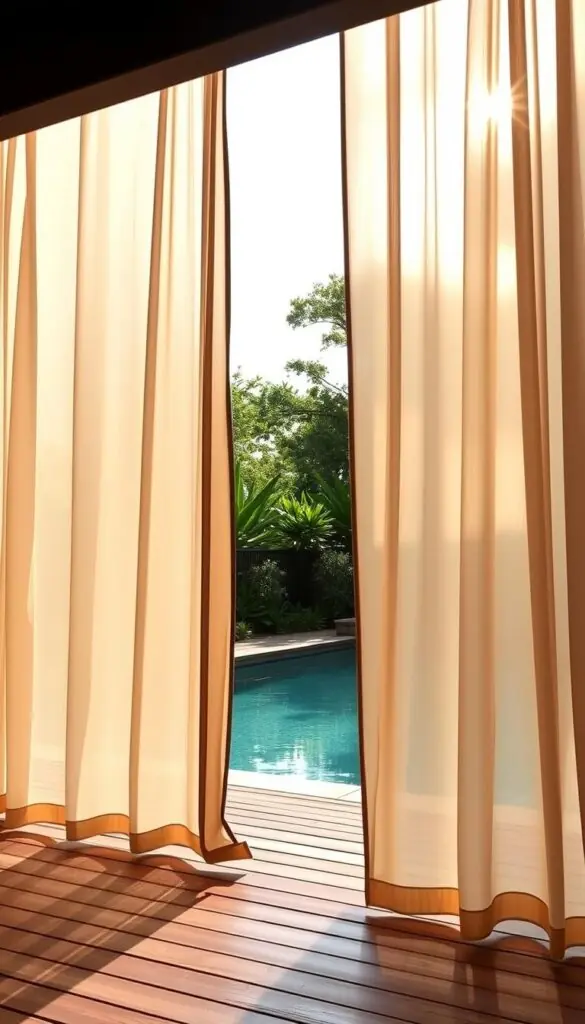
Waterproof vs. water-resistant: Choose true waterproof coatings when rain is frequent. Water-resistant weaves work for light showers. Check hems for tight stitching so water won't wick through seams.
Windproof details: In gusty spots, heavier gram-weight materials and weighted hems help. Secure headings—grommets or reinforced tabs—stop panels from popping free. Velcro tabs and bottom weights add stability for gazebo and pergola corners.
UV and fade resistance: Confirm UV ratings so colors stay lively through long sun seasons. Triple-weave options also cut light and heat for cooler afternoons.
Quick checks before you buy
- Rub a sample to feel density and hold to the sun to test opacity.
- Inspect grommets and tab stitching for rust resistance and reinforcement.
- Add extra fullness when sizing so panels overlap and block side-light and rain.
| Feature | Best for | What to check |
|---|---|---|
| Waterproof coating | Frequent rain exposure | Seam sealing, fabric rating, wash care |
| Water-resistant weave | Light showers, airflow | Weave tightness, hem stitching |
| Windproof construction | Open yards, breezy corners | Gram-weight, bottom weights, secure headings |
| UV/fade-resistant finish | Sunny, south- or west-facing areas | UV rating, colorfast testing |
Choosing Your Fabric and Opacity: Sheer, Linen, Canvas, or Triple-Weave Blackout
Start by feeling the fabrics — touch tells you if a panel will float or hold shape. That simple test helps decide between airy linen, sturdy canvas, or dense blackout for your outdoor room.
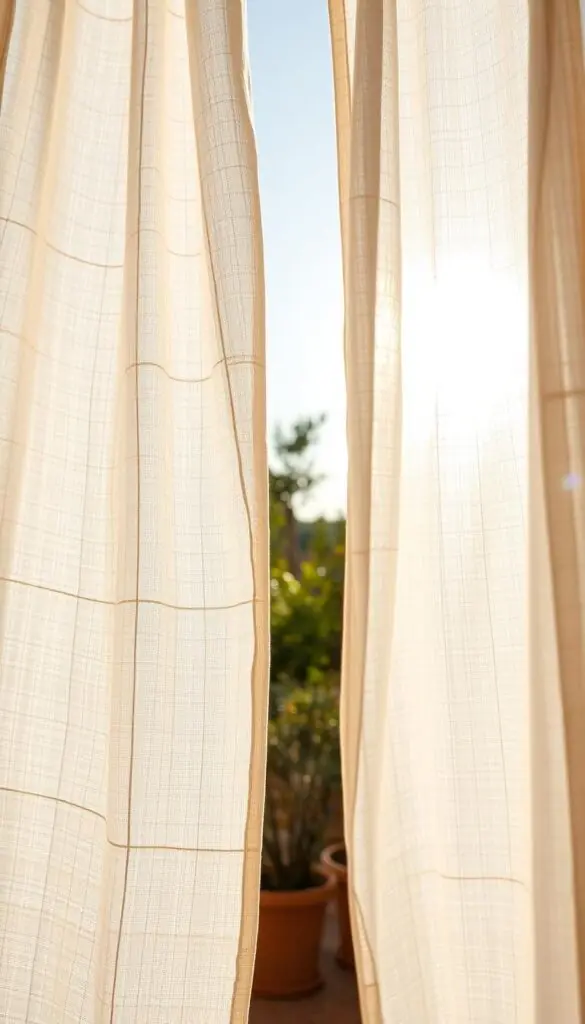
Sheer outdoor linen lets light and breeze flow. Choose rod pocket or grommets and hang linen near feathery grasses like Mexican feather grass to enhance movement. Rub a swatch to feel the natural slub.
Canvas and waterproof polyester
These products are built for kids, pets, and easy care. Waterproof options resist showers and stand up to wind. Press a canvas sample to see how it holds structure. Use a canvas panel where you need durability.
Triple-weave blackout
For privacy, deep shade, and cooler seating, triple-weave blackout is the pick. It comes with grommets, Velcro tabs, or rod pocket in colors like beige, white, and rose. Mix opacity—sheer on garden sides and blackout on neighbor-facing sides—to keep airflow without losing privacy.
- Tip: For pergola or gazebo installs, consider tab top or Velcro tabs for quick swaps; use grommets for smooth glide.
Header Styles Explained: Grommet, Rod Pocket, Tab Top, and Velcro Tabs
Choose a header that matches your routine—easy slides, tidy drapes, or quick swaps. The right top treatment sets daily use, cleaning ease, and the overall look of your outdoor room.
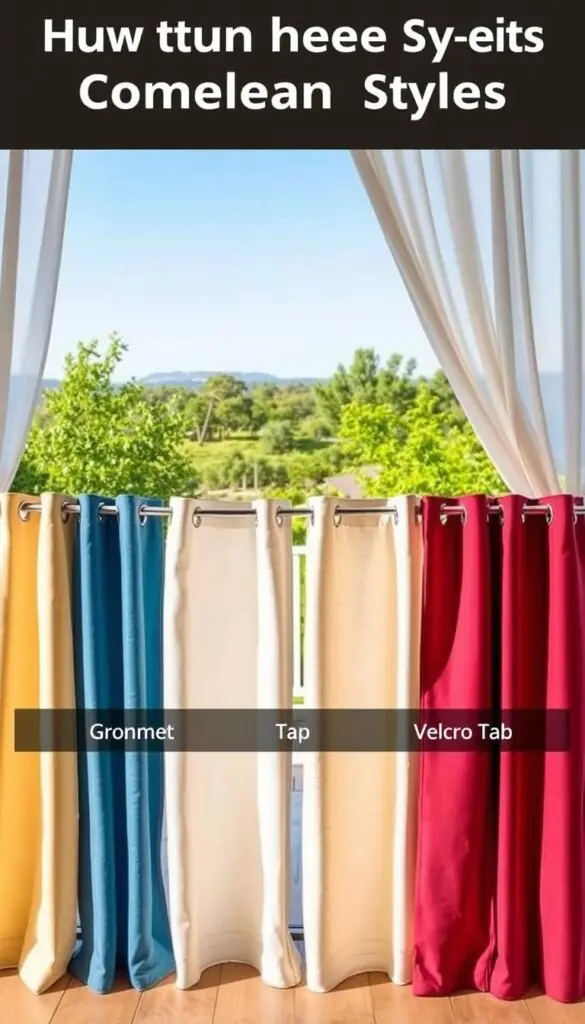
Grommets for smooth glide on a rod
Grommets are ideal when you want frequent sliding. They glide on a sturdy rod and suit heavier waterproof panels. Use stainless or powder-coated rods so hardware resists weather and salt air.
Rod pocket for a tailored, stationary look
A rod pocket hides the rod for a classic, cottage feel in linen or soft blends. Pick rod pockets if you prefer a neat, stationary line that keeps a porch beam tidy.
Tab top and Velcro tabs for easy install and removal
Tabs and hook-and-loop Velcro tabs wrap frames on a pergola or gazebo fast. They make swaps and washing simple. For corners, split panels and add an extra tab to reduce billow and protect your view.
- Match header to weight: heavy waterproof panels need wide tabs or grommets to prevent sag.
- Measure stack-back so open widths and sizes keep sightlines clear.
- Keep a step stool, tape measure, and pencil handy while laying out brackets.
How to Measure and Get the Right Size (Including Custom Sizes)
A quick, careful measure is the step that separates a good install from a wasted order. Take a steel tape and measure width and height twice. Write each number down so you don’t guess later.
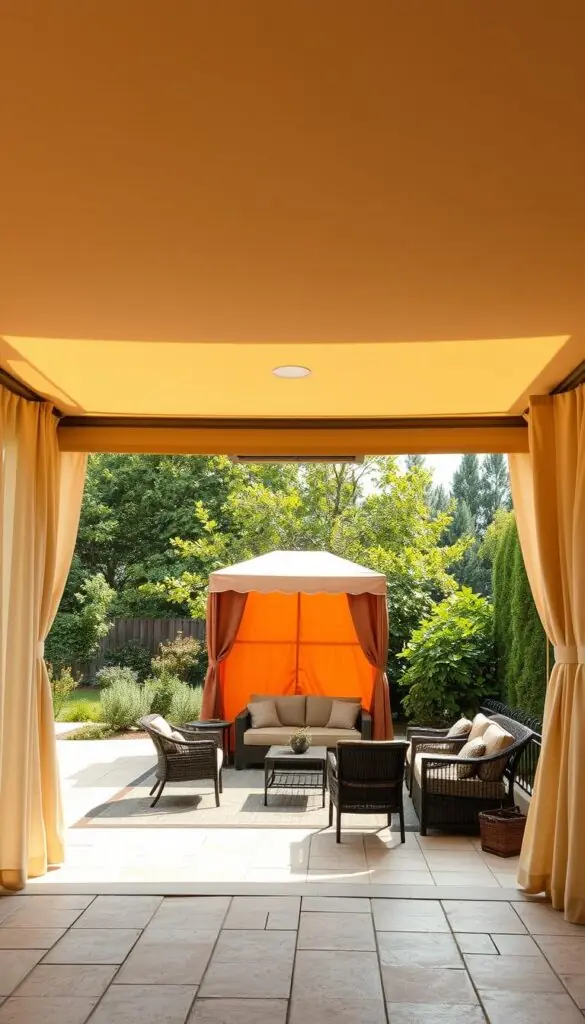
Width and fullness: simple math for graceful gathers
Measure the opening and multiply by 1.5–2× for fullness. This ensures your panels gather evenly and close without gaps.
For door spans, add 2–4 inches per side so you get privacy when you want it.
Length choices: kiss the floor, hover, or anchor with weights
Decide: hover 0.5–1" to avoid wet decks, "kiss" the floor for a polished look, or use clip-on weights to anchor a panel in breezy balcony or gazebo corners.
Custom orders: what to know about final size adjustments
Many products offer extra-wide and extra-long options. Note that final sizes can shift by 1–2 inches during a custom order—allow a small margin if your opening is tight.
"Measure twice, mount once."
- Measure each side if beams or rails are uneven; use the shortest drop to avoid dragging.
- Measure from the top of the installed rod or beam for tab spacing so tabs clear correctly.
- Sketch spans and mark bracket spots with a pencil to avoid re-drilling.
- If you're measuring linen expect little stretch; canvas and triple-weave hold length well.
Keep a notepad with every span—patio, balcony, or gazebo—so placing an order for outdoor curtains and matching hardware is simple and confident.
Hardware and Rods That Stand Up Outdoors
The right rod and brackets make installation fast and keep panels steady in wind. Sturdy fittings are the base of any long-lasting outdoor room.
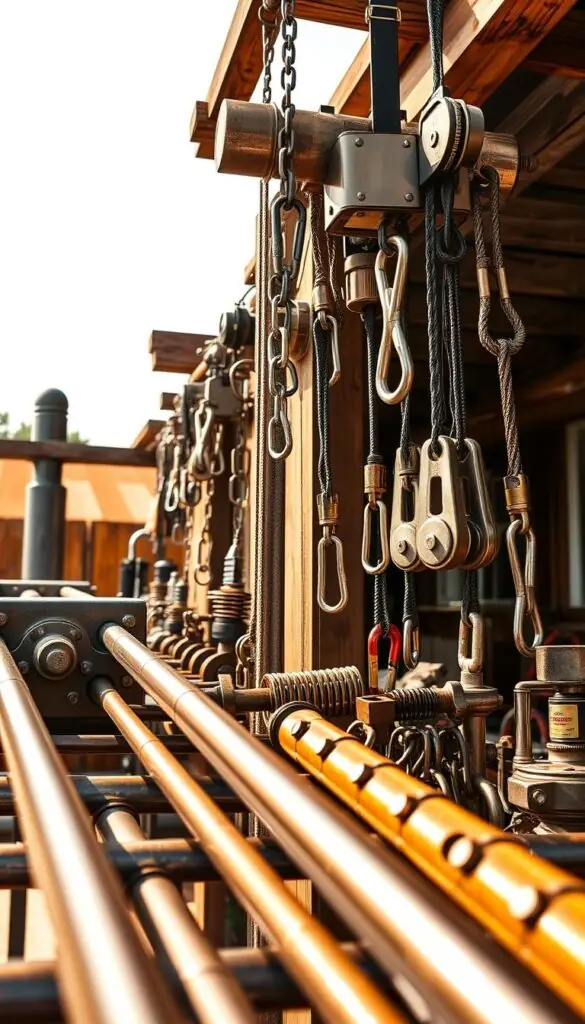
Choose stainless steel or powder-coated metal rods so salt and rain won’t pit the finish. Match bracket strength to heavier waterproof panels, especially where gusts arrive.
Stainless and powder-coated rods for weather resistance
Stainless resists rust in coastal air. Powder-coated steel gives color options and extra protection. For linen or light fabric, a slimmer rod works. For heavy waterproof products, pick a thicker diameter and closed-end caps so grommets don’t slide off during gusts.
Mounting options: wall, ceiling, and tension solutions
Wall mounts suit solid posts. Ceiling mounts work under covered porches and give a cleaner look. Use tension rods where drilling isn’t allowed, but avoid them for long spans or heavy sizes.
- Use exterior-rated screws for wood; for brick and stone pre-drill with a masonry bit and add anchors that match the substrate.
- Space brackets every 36–48 inches and add a center support for long runs to prevent sag.
- Plan small eye hooks at corners for tie-down cords to hold panels during storms.
Weekend checklist: drill/driver, masonry bit, wall anchors, level, pencil, ladder. Add extra screws when you mount pergola or gazebo frames.
"Good hardware makes a good install last."
Space-by-Space Picks: Balcony, Porch, Gazebo, and Pergola
Fit fabrics and fastenings to the place—balconies need slim profiles, gazebos love weight and ties. We’ll give you easy recipes so you can pick the right product and plants for each spot.
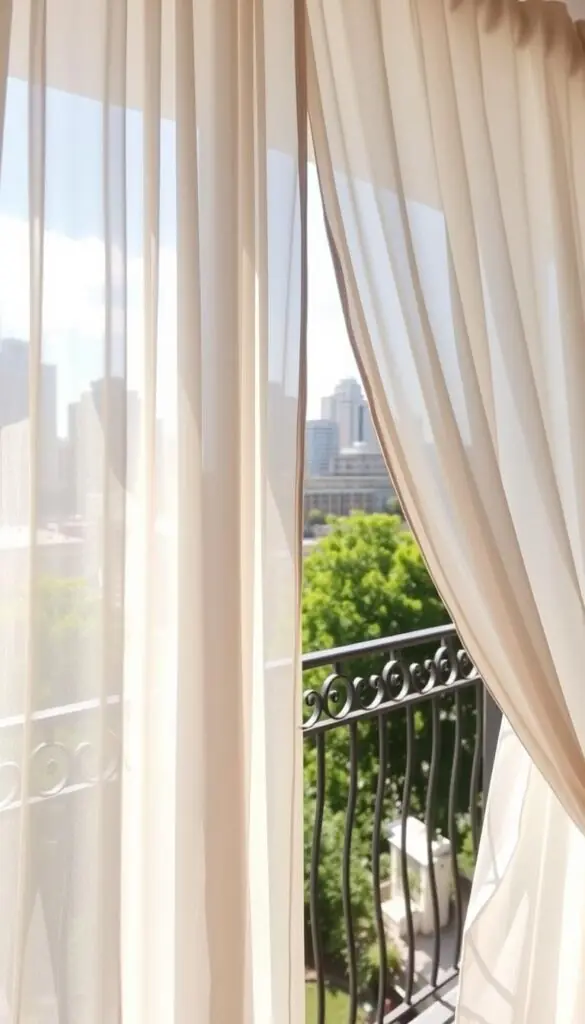
Balcony privacy without bulk
Use one extra-wide panel or two for full coverage without clutter. Choose a slim, powder-coated rod to save visual space.
Tip: clip-on weights keep panels from lifting above the rail. For real privacy, go triple-weave or canvas in calming tones and add a small herb planter like rosemary.
Screened or open porch comfort
For screened porches, rod-pocket linen gives a breezy, cottage look and washes easily. For open porches that see weather, grommet waterproof panels hold up best.
If your porch faces west, pair a blackout panel on the hot side with a sheer on the opposite side to keep breezes while blocking late sun.
Gazebo and pergola draping for elegance and enclosure
Dress gazebo corners with matching panels and use subtle tie-downs at the bottom to calm flapping. Tab-top or Velcro tabs work well on pergolas for easy swaps as the sun moves.
Choose waterproof, windproof sizes for exposed gazebos and consider custom measurements for a tailored fit. Plant picks like potted boxwood, jasmine, or bougainvillea frame the structure beautifully.
| Space | Recommended header | Fabric & feature |
|---|---|---|
| Balcony | Slim rod, extra-wide panels | Triple-weave or canvas; clip-on weights; compact colors |
| Screened porch | Rod-pocket linen | 100% natural linen; airy look; easy washing |
| Open porch | Grommets | Waterproof panels; heavier gram-weight |
| Gazebo | Tab top with corner ties | Waterproof, windproof; custom sizes; secure tie-downs |
| Pergola | Tab top or Velcro tabs | Mix sheer and dense panels; moveable for sun control |
Privacy and Light Control Without Sacrificing Breeze
You can keep daylight and airflow while dialing up privacy by mixing a sheer linen panel with a denser triple-weave blackout. Daytime feels open and sunlit. Evenings become private when you draw the heavier layer.
Practical layering tips:
- Install a sheer layer behind a heavier panel so air flows through the sheer while the blackout stands ready for privacy.
- Fit tie-backs at two heights — one near chair level and one at standing height — to fine-tune breeze and sightlines.
- Choose sizes with overlap so panels meet in the middle without gaps and maintain a private feel.
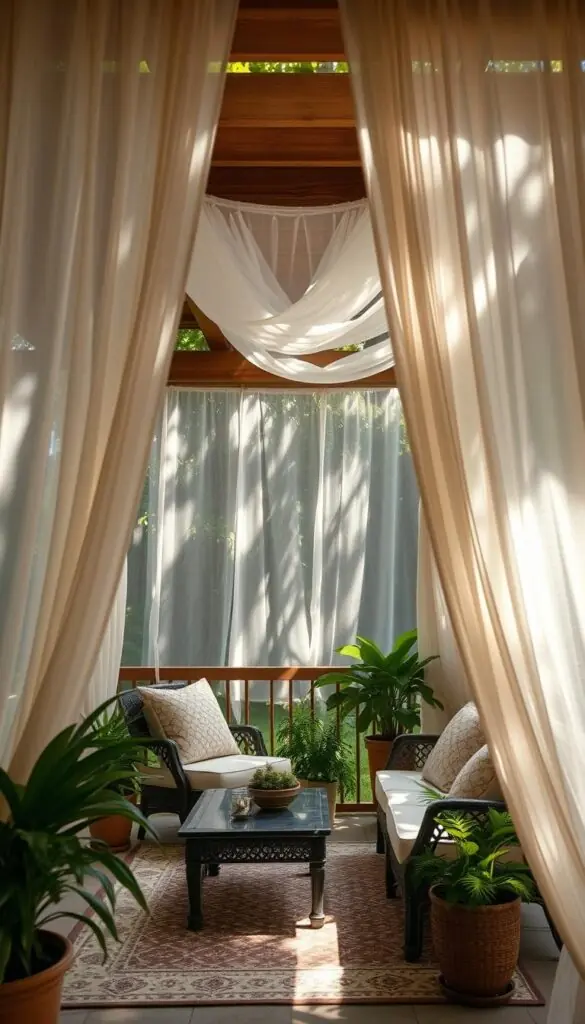
Use blackout panels on west-facing sides where late sun is strong and keep sheer outdoor fabric on garden-facing edges to frame the view. Match colors across fabrics so layers look intentional and not pieced together.
| Layer Combo | Best for | Quick check |
|---|---|---|
| Sheer Linen + Triple-Weave Blackout | All-day airflow with night privacy | Overlap 3–6" at center; matching color family |
| Sheer + Mid-weight Canvas | Soft light with moderate screening | Use tie-backs and a center tab for windy spots |
| Double sheer (two opacities) | Filtered light and decorative depth | Stack at different heights for adjustable breeze |
| Blackout alone with corner ties | Full privacy and heat control | Add bottom weights to reduce billow |
Quick extras: mount rods a few inches higher to elongate sightlines, add a center grommet or small tab for windy afternoons, and plant citronella or lavender to keep dusk insects at bay. Clean panels lightly each month to keep drape and colors fresh.
Weather-Savvy Setup: Managing Wind, Rain, and Strong Sun
A brisk gust or sudden downpour doesn't have to ruin an afternoon if your setup is ready. A few small additions protect your outdoor room and keep things tidy after storms.
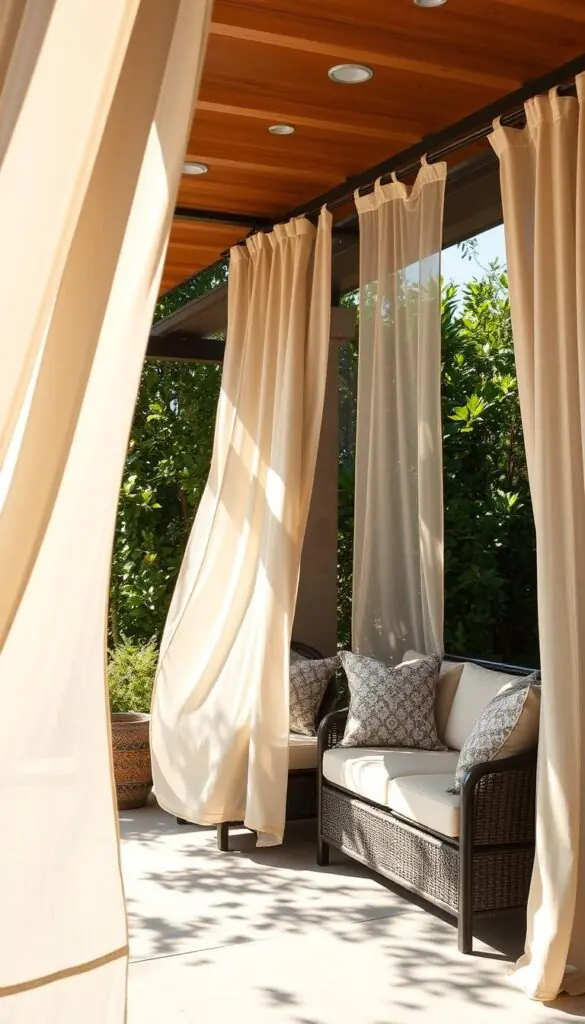
Weighted hems and corner tie-downs
Weighted hems or clip-on weights keep panels hanging straight in wind. They preserve a graceful drape while stopping billow.
Choose hem weights designed for waterproof or windproof products so coatings and seams stay intact.
Tie-backs and eye hooks for sudden gusts
Install small eye hooks at outer corners and stash short cords for quick secure ties. A discreet loop stops flapping without changing your color or look.
For pergola and gazebo frames, wrap Velcro tabs once more during storm alerts. It takes seconds and adds real protection.
Layering sheer and blackout panels for flexible shade
Pair a sheer linen layer with a triple-weave blackout behind it to manage glare and heat. Draw the blackout at peak sun, then open it to let breeze and light return.
Use lighter colors where sun is strongest to reflect heat, and mid-tones on shaded sides for visual balance.
"Small anchors and thoughtful layers keep comfort steady — not fragile — when weather swings."
- Close the most waterproof panel on the windward side first during rain.
- Mount rods with extra center supports on long spans; secure hardware is your first line of protection.
- Choose sizes with added width so panels overlap and stop side-spray and gaps.
- Keep a small bin with spare clips, cords, and a towel to dry hems after storms.
| Solution | Best use | Quick check |
|---|---|---|
| Weighted hems / clip-on weights | Windy exposures | Compatible with waterproof finishes; rust-resistant clips |
| Eye hooks + short cord | Sudden gusts and storms | Install at corners; test tie for discreet hold |
| Sheer + triple-weave blackout | Sun control with airflow | Overlap 3–6"; match color family for cohesion |
| Extra Velcro wrap on tabs | Pergola and gazebo storm warnings | Wrap an extra turn; check tabs after first storm |
Quick weather checklist: weighted hems, eye hooks at corners, quick-release tie-backs, sturdy rod mounts, and a small care kit. Check and tweak after the first storm — a few modest adjustments protect your setup for the season.
Seasonal Timing and Care Tips for the United States
Start your year with a simple calendar: plan installs and care around local frost dates. That small habit keeps fabrics and hardware working longer and saves time when shipping windows tighten before summer.
Spring install: Measure and order early. In Zones 7–9 aim for March–April. In colder Zones 4–6 wait until late April–May so frost won’t surprise your work. During install, check bracket tightness and add a dab of exterior sealant in masonry holes for extra longevity.
Summer upkeep
Rinse dust and pollen monthly with a gentle spray. Spot-clean with mild soap, then let the fabric dry fully outdoors.
For storm-prone areas, place waterproof panels on windward sides and use eye hooks to tie them back during warnings to protect seams and hems.
Fall and winter care
In snowy regions, wash and dry panels before storing indoors in a dry bin with cedar blocks to prevent mustiness. Remove rods or wrap metal hardware in breathable covers and give brackets a quick anti-corrosion wipe.
- Check privacy needs in late winter and plan upgrades like adding a blackout panel for low winter sun angles.
- Keep a small notebook of sizes, colors, and what worked — it makes next year’s ordering and shipping simple.
- Plant or stake shrubs near wind funnels to soften gusts that hit your lawn or garden curtain lines.
"Order early for peak colors and sizes—warranties can run up to five years depending on fabric, so factor in lead time when you plan."
Color Confidence: From Crisp Whites to Deep Blues and Grays
Color sets the mood—bright whites lift a space while deep blues anchor it like a favorite painting.
Choose crisp white for a fresh, coastal feel; it brightens a balcony and reads clean against brick or cedar. White panels reflect light and make small spaces feel larger.
Deep blue or charcoal frames views like a gallery. These tones hide pollen and dust and keep a sense of calm over long outdoor seasons.
- Warm shades such as rose or mustard add sunlit glow and flatter flowering beds.
- Match linen textures to stone gray or sand beige for a natural, connected look.
- If privacy matters, opt for mid-to-deep tones to reduce silhouettes at night.
Practical notes: hold swatches outside at morning, noon, and dusk—colors shift with sun angle. Keep hues consistent across gazebo and pergola zones for a unified yard. For intense sun, add a blackout liner to protect saturated color from fading.
"Test a swatch in real light before you buy; it saves time and keeps your view beautiful."
Budget, Shipping, Swatches, and Warranty: Plan Before You Order
Plan your buy like a small project: swatches first, then sizes, then a single coordinated shipment. Doing this saves money and keeps installation to one weekend.
Order free swatches (many sellers offer 20-color sets) and pin them in both sun and shade for a day. That reveals true texture and colors before you commit.
Build a simple budget that includes rods, brackets, tie-backs, and optional weights. Waterproof and extra-long sizes cost more but often last longer outdoors. Ask about expedited or free shipping if timing is tight.
Check warranty details. Some product lines include up to five years of protection for seams, colorfastness, and hardware. Confirm custom size policies—many final sizes can shift 1–2 inches.
"Request swatches, confirm shipping windows, and get warranty terms in writing before you hit order."
| Item | Why it matters | Quick check |
|---|---|---|
| Free swatches | See color and materials in your light | Pin outdoors 24 hours; test against plants |
| Coordinated shipping | Fewer delays; one easy install day | Ask seller to ship panels, rods, and weights together |
| Warranty | Protection for seams, UV fade, and hardware | Get length and coverage in writing (up to 5 years) |
| Custom size policy | Final fit and header options | Confirm ±1–2" tolerance and available tabs or grommets |
Installation Made Simple: Step-by-Step for a Weekend Project
Set aside a relaxed weekend and we’ll walk through each step so your new panels look and move like they belong.
Mark, pre-drill, and mount the brackets
Start by measuring twice and marking bracket locations with a pencil and a level. A straight line makes everything hang cleanly and helps the curtain stack evenly at the center.
Pre-drill holes—use a wood bit for wood and a masonry bit for brick or stone. Set anchors matched to your substrate so the mount holds firm.
Mount brackets snugly with stainless or exterior-rated screws. Drop in the rod and press gently to test for flex before adding panels.
Hang the panels and test glides in the wind
Slide on grommet panels or thread rod pockets. For tab tops or Velcro tabs, wrap and space evenly so sizes stack and glide smoothly.
Close panels and adjust overlap for privacy and neat lines. Add tie-backs at standing height so a door or walk-through opens easily.
Do a wind test during a breezy moment. If fabric billows, clip on weights or add corner eye hooks. For linen, avoid overstretching—let the fabric relax on the rod for a natural drape.
- Quick finish: wipe hardware and dust panels so the first day feels tidy.
- Step back at dusk to check color and glow; small rod-height tweaks make a big difference.
- Remember: many outdoor products use grommets, tab tops, or Velcro tabs—pick what suits your porch, gazebo, or patio and the sizes you ordered.
"A calm, confident install starts with good prep—measure, mark, and mount."
Common Mistakes to Avoid with Outdoor Curtains
Avoiding common missteps saves time and protects your fabrics and hardware from early wear. A few small choices—like skipping weights or using indoor hardware—cause most problems. Below are the pitfalls neighbors run into and quick fixes you can use right away.
Under-measuring width and skipping weights
Don’t skimp on fullness. Measure the opening and plan 1.5–2× the width so panels overlap and close fully for privacy. Too-narrow panels leave gaps and invite side-spray on a sunny deck or patio.
Also, add weighted hems or clip-on weights in breezy spots. They stop billow and keep drape neat during gusts of wind.
Using indoor-only hardware outside
Indoor brackets and screws rust fast. Choose stainless or powder-coated metal, and match anchors to the substrate so rods stay steady through seasons.
Avoid mixing metals. Use outdoor-rated materials for real long-term protection and easier care.
- Don’t mount into soft, unanchored surfaces—use proper anchors for steady support.
- Keep hems 0.5–1" above the floor to prevent water damage on porches.
- Do a quick wind test after hanging; adjust ties or center supports to stop sag and snags.
"A small pre-check saves fabric life and keeps your outdoor room feeling calm."
patio curtains: Quick Picks for Popular Setups
We’ll give you two neighborly, ready-to-shop combos that work for sun and breeze. Each pick pairs reliable products with small accents—pots, solar lights, and a coir mat—so the space looks finished fast.
Sunny patio: waterproof blackout with grommets
Pick triple-weave outdoor blackout in beige or dark gray and choose grommets for smooth slides. The fabric is waterproof and windproof, so it blocks heat and keeps privacy when the sun is high.
Add clip-on bottom weights for late-afternoon breezes and a powder-coated rod with stainless brackets and a center support for long spans.
Breezy porch: sheer linen with rod pocket and tie-backs
Choose 100% natural linen in white or pale neutrals for soft movement. A rod pocket gives cottage charm and tie-backs at two heights let you tune airflow without fuss.
Place terracotta pots of lavender and rosemary near seating for scent and texture. On a compact balcony, a single extra-wide panel in a mid-tone blocks glare at noon and opens for evening sky views.
- For pergolas, use tab tops or Velcro tabs on the sunniest beam and rotate seasonally.
- Mix one sheer outdoor panel with one blackout panel for flexible light control.
- If storms are common, choose waterproof in a medium tone to hide dust and keep the space bright.
"Keep a short list of products, sizes, and colors you like — ordering is quicker when you're ready to buy."
Conclusion
A small plan, a swatch, and a Saturday can change how your outdoor home feels. Take one last measure, order fabric samples, and set aside a gentle weekend to install.
With the right curtains your patio becomes a calm extension of your home. Choose durable products, outdoor-rated hardware, and headers—grommet, rod pocket, tab top, or Velcro—that match how you use the space.
Many brands offer free swatches, warranties up to five years, and straightforward returns. Bundle items for free shipping and save time so the whole project fits in one easy visit.
Keep herb pots and a watering can nearby. Enjoy the hush of fabric in the breeze, the scent of mint and lavender, and a few more peaceful minutes outside each day.
FAQ
What are the main benefits of adding outdoor curtains and canopies to my outdoor room?
You get shade, privacy, wind protection, and a softer, more finished space. Curtains can filter harsh light, reduce glare and heat, and add color and texture so your porch, balcony, or gazebo feels more like an extension of your home.
How do I choose between waterproof and water-resistant fabrics?
Waterproof fabrics block water and are best for exposed spots that face frequent rain. Water-resistant fabrics shed light showers and dry quickly, keeping airflow. Pick waterproof for long-term protection and canvas or treated polyester for balanced durability.
Which fabric gives the best airflow while still offering privacy?
Sheer linen or lightweight outdoor blends let breezes pass and soften views. Pair them with a denser panel for privacy when needed, or layer sheer and blackout panels to keep airflow without sacrificing seclusion.
What does “triple-weave blackout” mean and when should I use it?
Triple-weave uses three yarns woven together to block light and reduce heat. Use it where you want deep shade, full privacy, and cooler seating areas—great for sunny, open areas or when you need darkening by a door or window.
How do I measure width and length so curtains hang correctly?
For width, measure the opening and multiply by 1.5–2 for full gathers. For length, decide if you want panels to kiss the floor, hover slightly, or anchor with weights. Always measure from your rod or mounting point to the desired hemline.
Can I order custom sizes and what should I know before ordering?
Yes—many suppliers offer custom lengths and widths. Provide exact finished measurements, note header style, and allow a small hem allowance. Ask about lead time and return policy before placing a custom order.
Which header style is best for smooth opening and closing on an outdoor rod?
Grommets offer a smooth glide and work well on round rods. Tab-top creates a casual look and is easy to remove. Rod pockets look tailored but limit movement. Choose based on how often you plan to slide the panels.
What hardware holds up best in outdoor conditions?
Stainless steel, aluminum, or powder-coated rods resist rust and last longer. Use marine-grade screws and secure ceiling or wall brackets. Tension rods work in light-duty spots but are not ideal for windy areas.
How do I keep panels from whipping in strong winds?
Use weighted hems, corner tie-downs, or discreet snap hooks to anchor bottoms. Tie-backs and eye hooks help secure panels during gusts. Heavier fabrics also resist wind better than light sheers.
How should I care for outdoor liners and fabrics through the seasons?
Clean with a gentle rinse and mild soap for spot care in summer. Before winter, store panels dry in a breathable bag and remove hardware or protect it with covers. Check labels—many performance fabrics are machine washable on gentle cycles.
Are there color choices that hold up to sun and fade less?
Look for UV- and fade-resistant dyes. Deep blues, grays, and earthy tones typically hide wear well, while crisp whites can brighten a space but may need more upkeep. Request free fabric swatches to see true color in your light.
How long does shipping usually take and are swatches available?
Shipping times vary by supplier and whether panels are custom. Many companies offer free fabric samples so you can feel texture and confirm color before you order. Ask about lead times when you place your order.
What warranty should I expect on outdoor fabric and hardware?
Typical warranties cover manufacturing defects in fabric and hardware for a set period—often one to five years. Read warranty details for fade, seam, and hardware coverage and keep purchase records in case you need a claim.
Can I install outdoor panels myself over a weekend?
Yes. Basic install steps are mark, pre-drill, mount brackets, and hang panels. Use a level and studs or proper anchors for secure mounting. Short projects often take a couple of hours with one helper.
What common mistakes should I avoid when buying and hanging outdoor panels?
Don’t under-measure width or skip weights for winds. Avoid indoor-only hardware outside and don’t skip testing swatches in your natural light. Plan for fullness and mounting height before ordering.
Which setup works best for a sunny deck versus a breezy screened porch?
For sun-drenched decks, choose waterproof blackout panels with grommets to block heat and sun. For breezy porches, pick sheer linen or light blends with rod pockets and tie-backs to keep airflow and a soft look.
How do I balance privacy, light control, and airflow?
Layer panels—sheer for daytime breeze and light, and a heavier blackout or canvas panel for privacy and shade. Use tie-backs and weights to adapt quickly as conditions change throughout the day.