Imagine the soft green of a peace lily leaning toward the kitchen light while you lock the door for a weekend away. You want to travel without worrying that thirsty leaves or soggy soil will greet you on return. We’ll show practical steps and simple setups so you can leave for a long weekend or a six‑week trip with confidence.
Self-watering planters store moisture in a lower chamber and pull it up into the potting mix as plants need it. A side fill tube or a top-fill rim makes refills easy, and overflow holes stop overfilling.
In this guide you’ll learn how to read a water reservoir, when to refill, and how to prevent root rot with airflow and simple overflow controls. We’ll compare trusted planters and give step-by-step setups for indoor outdoor options so beauty and function live together.
Try these gentle solutions and enjoy coming home to thriving greens.
Key Takeaways
- Self-watering pots and planters keep water available so your plants sip as needed.
- Use the right potting mix and check the water reservoir before you leave.
- Overflow holes and airflow help prevent root rot during long trips.
- Choose planter size by plant type and trip length for best results.
- Simple DIY reservoirs work well when paired with tested planters and routines.
Why Self-Watering Planters Are a Traveler’s Best Friend
A good reservoir keeps soil evenly moist so you can lock the door and leave town without worrying about thirsty leaves.
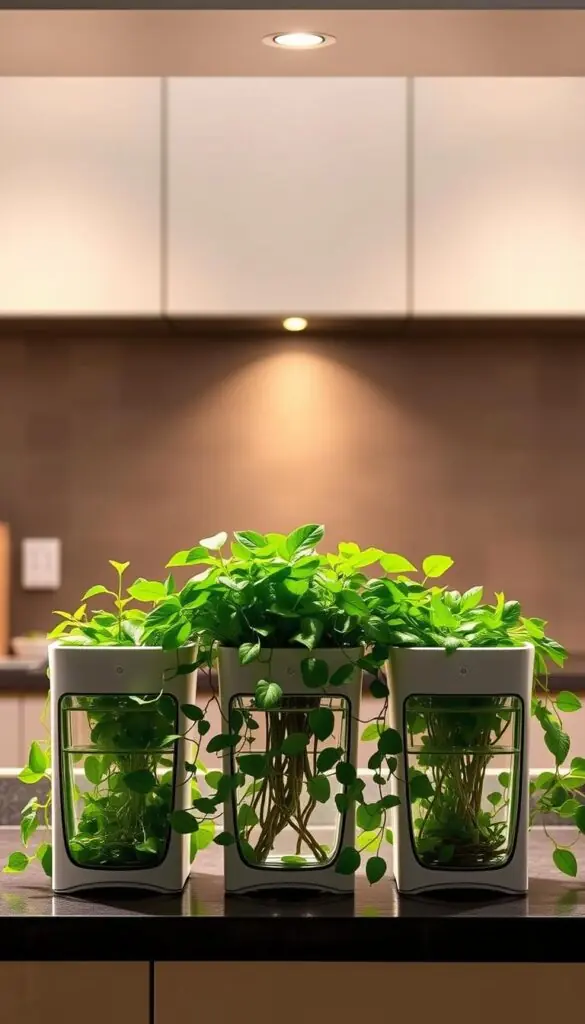
Built-in tanks save you time by metering water to the roots. You’re not tied to daily chores. A quick glance at a gauge or sight window shows the water level before you go.
The payoff is simple: you return to glossy leaves and springy soil instead of droopy stems. Large models, like Crescent Garden, can stretch care windows up to six weeks. Smaller hanging baskets may need top-ups every few days in heat.
Practical safeguards—overflow tubes and vents—prevent excess moisture from pooling and reduce the risk of root rot. Plants draw what they need, which cuts waste and smooths stress from temperature swings.
- You save time while plants stay lush.
- Gauges remove guesswork about the reservoir.
- Pick larger tanks for longer trips; top off small units before a short break.
| Reservoir Size | Typical Care Window | Best Use |
|---|---|---|
| Small (0.5–1 L) | Days | Hanging baskets, warm rooms |
| Medium (1–3 L) | About a week | Most houseplants |
| Large (3+ L) | Several weeks | Travel, large root balls |
How Self-Watering Systems Work (Wicks, Reservoirs, and Oxygen for Roots)
Capillary action quietly moves water from the tank at the bottom up into the soil so roots find steady moisture. In plain terms, tiny channels in the potting mix pull water upward, keeping the root zone evenly damp without frequent checks.
Wick vs. wickless: wick designs use a cord to bridge the reservoir and the mix. Acrylic wick lasts longer than cotton and resists rot. Wickless systems lift the mix just above the water so roots sip directly.
Keep overflow holes set at reservoir height and clear of debris. That stop-gap prevents overfilling and gives the bottom chamber room to breathe.
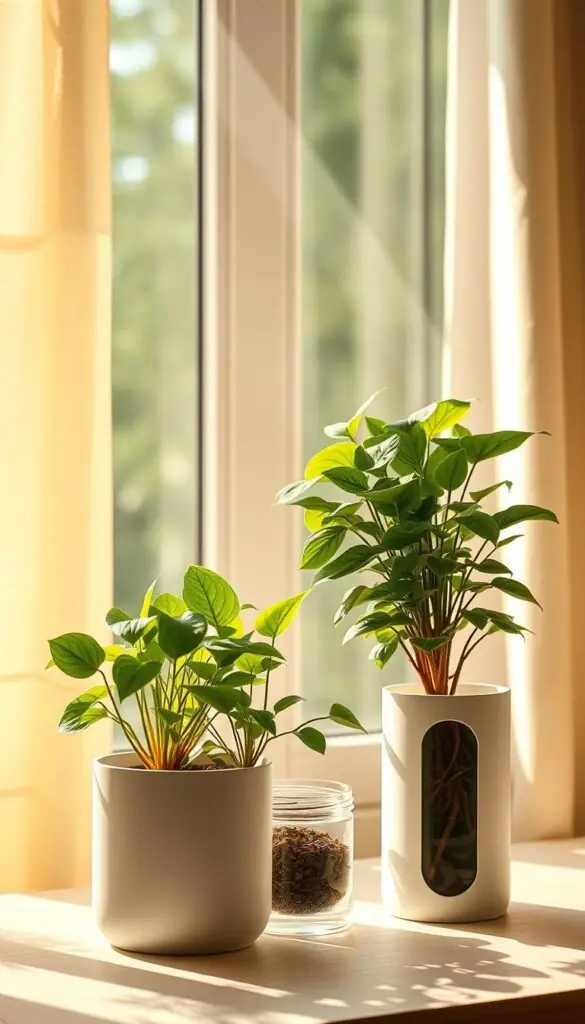
Airflow matters: slotted bases or raised platforms let oxygen reach roots and cut rot risk. Use a light, airy potting mix with perlite or coco coir so capillary action and air can work together.
- Prime a wick by wetting it before threading to start flow.
- Check the reservoir after a few days to learn your plant’s intake.
- Balance is key—moist at the bottom, not soaked; damp at the top, not dusty.
"The right mix and clear overflow holes help plants stay lush while you travel."
Top Picks: The Best Self-Watering Planters We’d Trust While You’re Away
Good travel planters combine smart design with sturdy materials so your plants stay calm while you’re away.
Best Overall — Tierra Verde Sonata: Recycled rubber feels textured and upscale. Multiple sizes resist cracking (365‑day guarantee). No water-level indicator, so plan on weekly refills in hot weather.
Best Budget — Gardenix: Inner lift pot prevents waterlogging and includes coco coir. The indicator helps you top up before a trip. Looks like ceramic but fares best indoors.
Best Splurge — Crescent Garden: Double‑walled, high‑grade polyethylene holds up to six weeks of water in larger models. UV‑stable with a visible gauge and a 10‑year limited warranty.
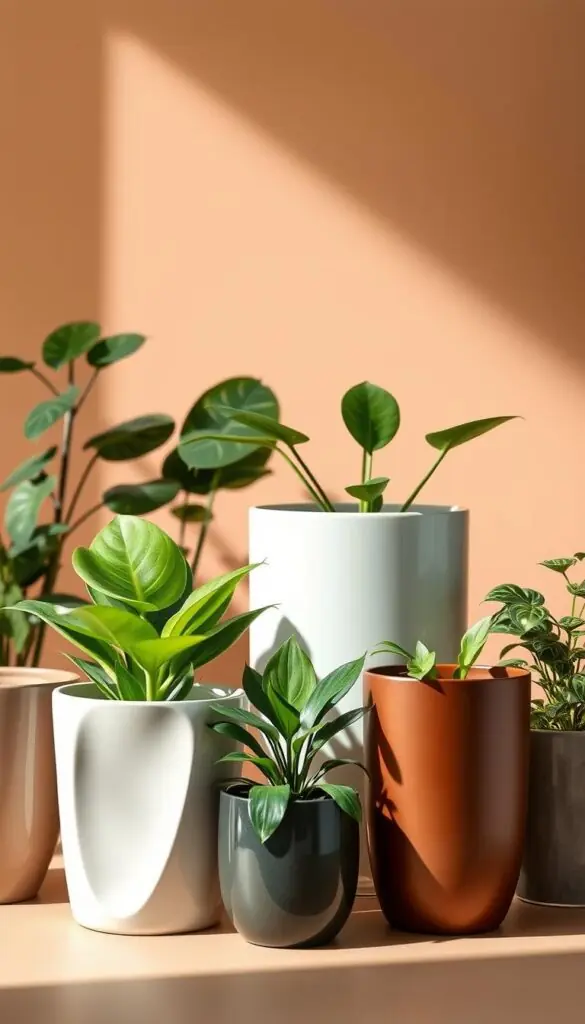
- HBServices (Indoor): slotted base for oxygen, clip fill; color‑fast plastic but handle with care.
- Hanging wicker‑style: classic look, chain hanger and gauge; small reservoir needs frequent refills in heat.
- Windowsill herb set: dual wicks and viewing window — best kept inside to avoid rain overfills.
| Model | Material | Key Feature |
|---|---|---|
| Tierra Verde Sonata | Recycled rubber | Durable, no gauge |
| Gardenix | Ceramic look | Inner lift & indicator |
| Crescent Garden | Polyethylene | 6‑week reservoir & gauge |
"Match reservoir size to your plant’s thirst and pick features that fit your routine."
self watering pots: Choosing the Right Size, Shape, and Material
Choose the right planter size and shape so roots have breathing room and the water reservoir matches your trip length.
Size guidance: For most houseplants pick a pot 1–2 inches wider than the root ball. A 7–12 inch diameter fits many peace lilies, ferns, and pothos.
Shape rules: Taller, narrow containers suit deep roots. Wide bowls work best for shallow, fibrous root systems. Match shape to how the plant spreads its roots.
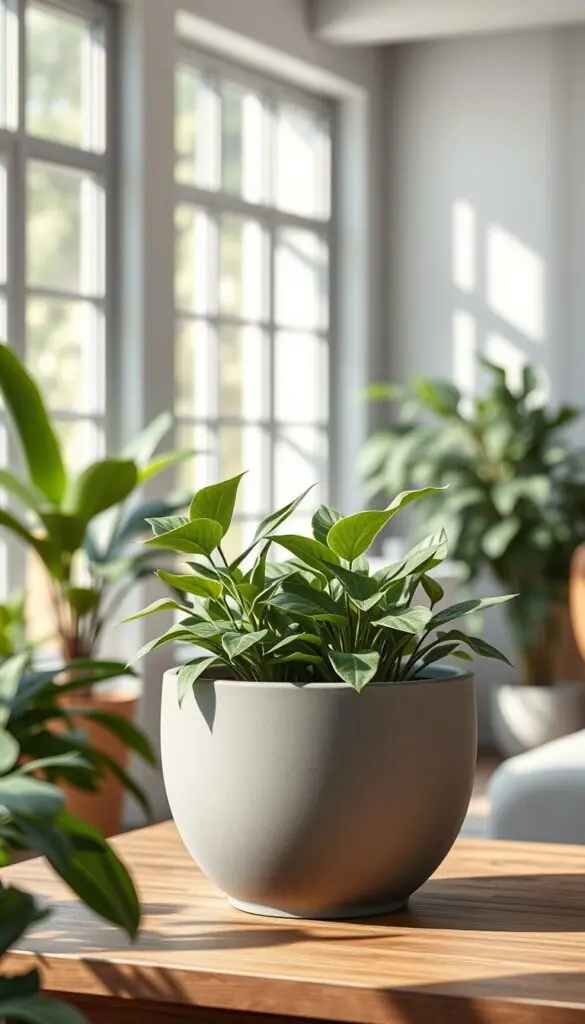
- Reservoir vs. trip length: Compact planters give a few days to a week between top‑ups. Large double‑walled models can extend to around six weeks.
- Material matters: Lightweight bodies are fine indoors; heavier, UV‑stable material resists sun and wind outdoors.
- Protect the bottom: Ensure the bottom platform keeps the potting mix above the water line to preserve oxygen and prevent rot.
Practical tip: Avoid true garden soil in containers—it compacts and blocks wicking. Use a light, well‑draining potting mix so moisture moves evenly from the reservoir through the wick path.
"Size and material determine how long your plant can thrive without fuss."
DIY Option: Convert a Plastic Container into a Self-Watering Planter
With basic tools and a common plastic tub you can build a reliable reservoir that keeps plants happy while you're away.
Tools & materials: hacksaw, drill with a large bit, scissors, lighter; a closed-bottom plastic tub (about 40 L / 10.5 gal), one small perforated plant pot, short land-drain pipe sections, 1" PVC fill tube, landscaping fabric, and peat-free potting mix with perlite or coco coir.
Step-by-step build
- Cut drain-pipe supports to make a platform about 1/4–1/3 of the container height.
- Set the perforated plant pot on those supports in the center; this forms the reservoir base.
- Drill an overflow hole at the exact height of the supports — that marks the max water line.
- Line the bottom with landscaping fabric so soil stays above the water chamber but wicks moisture through.
- Place the 1" PVC fill tube angled to the side and fill through it until water trickles from the overflow hole — that’s your full mark.
Costs and safety
Use food-grade or recycled plastic when you can. Perforated drink bottles can replace drain pipe for budget builds. Do not add fertilizer to the reservoir; feed from the top to avoid a murky tank. In hot weather expect weekly refills.
"Prime the central plant pot and check the overflow before you trust the planter on a long trip."
Set Up for Success: Potting Mix, Wicks, and First Watering
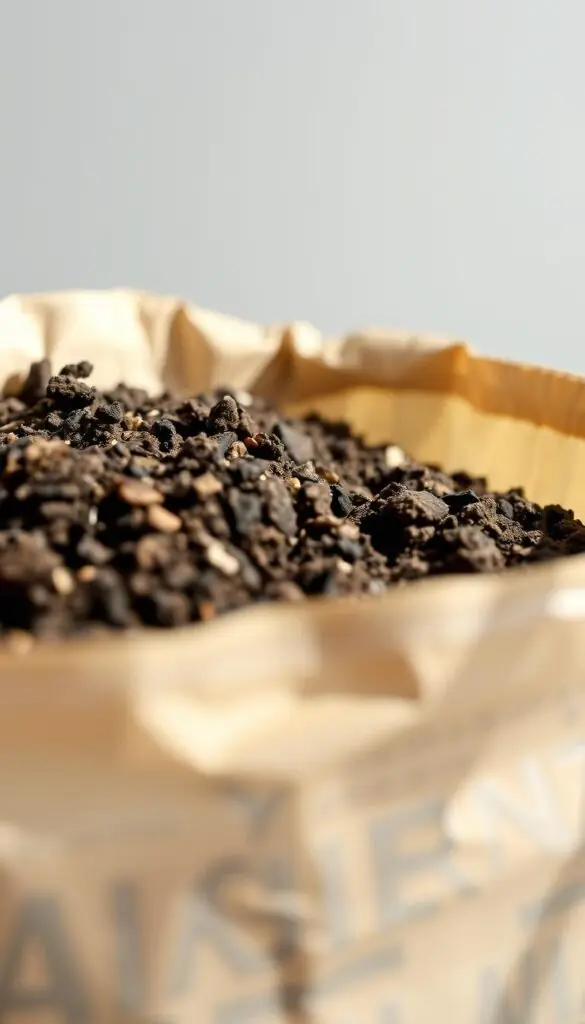
Start with a light, airy potting mix so roots find oxygen and steady moisture from day one. A good blend kickstarts capillary flow and makes the wick function reliably.
Simple breathable mix: combine 4 parts peat‑free potting mix, 2 parts perlite, and 1 part coco coir. Hand‑feel the mix — it should compress slightly and spring back, not stay packed.
Pre‑wet the mix until it’s evenly damp. This avoids dry pockets and helps water move from the bottom chamber upward on first fill.
Priming the wick and first fill
Soak each wick fully before threading it through the plant pot base or wick slot. Make sure the wick end reaches the bottom of the water reservoir and the top end sits in the root zone.
- Place the plant pot and position wicks centered under the root mass.
- Gently fill with the damp potting mix, firm lightly—don’t compact. Leave about 1 inch at the top.
- Pour water into the fill tube until water flows from the overflow. Note how long this first fill takes.
- Check the top inch of soil for even moisture during the first week—springy, not soggy.
- Add a second wick for thirsty plants; remove one if the mix stays too wet.
- Perforate any plastic liners so the wick and mix can breathe.
- Finish with a gentle top watering to settle dust before relying on the reservoir alone.
| Step | Action | Why it matters |
|---|---|---|
| Mix formula | 4:2:1 (peat‑free mix:perlite:coco) | Light, airy texture for capillary action |
| Wick setup | Soak wick; thread to contact bottom chamber | Ensures steady water transfer |
| First fill | Fill through tube until overflow | Prevents overfilling and sets full water level |
| Settling | Light firming; leave 1" top space | Avoids compaction and allows top watering |
"A springy mix and a primed wick are the simplest step to reliable moisture while you travel."
Match Plants to Planters: What Thrives in a Self‑Watering System
Match each plant’s thirst and light needs to the planter so both beauty and health thrive.
Great fits are leafy and thirsty. Peace lilies, ferns, and basil do very well when the reservoir supplies steady water and an airy mix. Fruiting annuals like tomatoes and peppers also love larger tanks outdoors where they can drink heavily and set fruit.
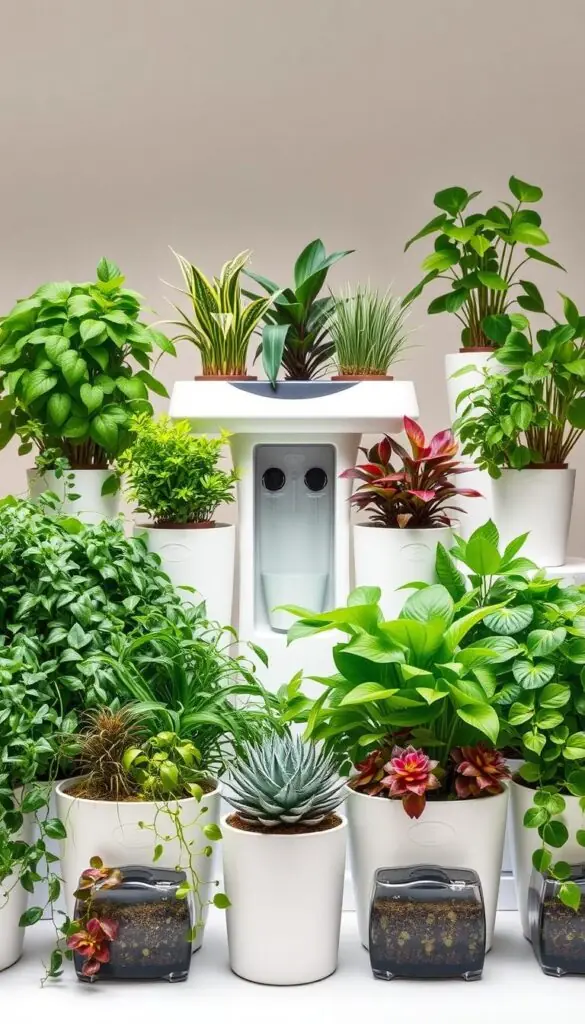
- Choose moisture lovers: peace lilies, ferns, basil — they respond to steady moisture and oxygenated roots.
- Fruiting plants: tomatoes and peppers need deeper reservoirs and larger planters for big root systems.
- Windowsill herbs: basil, parsley, chives stay fuller with a medium tank that prevents midday wilting.
- Use caution with succulents and cacti; they prefer drier soil and minimal wicking to avoid rot.
Indoors, place planters in bright, indirect light; outdoors, shield them from harsh midday sun. Group plant pots with similar thirst levels together. If a plant pouts, reduce wicking or open a drainage plug to dry the mix faster and help prevent root rot.
"Pair plant thirst with reservoir size, and keep mixes fluffy so roots breathe."
Seasonal Tips for U.S. Travelers: Heat Waves, Winters, and Long Weekends
A quick seasonal check can turn a nervous trip into a calm return with thriving plants.
In summer heat waves, shade matters. Move garden containers a few feet out of direct afternoon sun and top up the reservoir a day before you leave. Testing shows robust outdoor planters can often last a week in 90°F; small hanging pots may need water every other day.
For long weekends, large planters usually ride out 3–4 days comfortably. Small, warm-room containers drink faster—plan on checking them if temperatures spike.
In dry winter homes, indoor heating lowers humidity. Group containers, add a pebble tray, and keep reservoir levels steady to prevent leaf crisping. In coastal humidity, open overflow and ensure airflow around the bottom so the mix stays fresh.
Before any trip do a quick walk-through: fill reservoirs, clear overflow holes, and note sun patterns for the next days. Choose a larger reservoir before peak travel to buy more days of freedom.
| Season | Typical Care Window | Key Action |
|---|---|---|
| Summer heat | Every 1–7 days | Move shade, top up day before |
| Long weekend | 3–4 days (large tanks) | Fill reservoir; tuck into cooler spot |
| Dry winter | Week or longer | Group containers, add humidity tray |
| Stormy season | Depends on rain | Open drainage, clear overflow |
"A few small tweaks by season make travel simple and bring you home to healthy, happy plants."
Water Level Indicators, Overflow Holes, and When to Refill
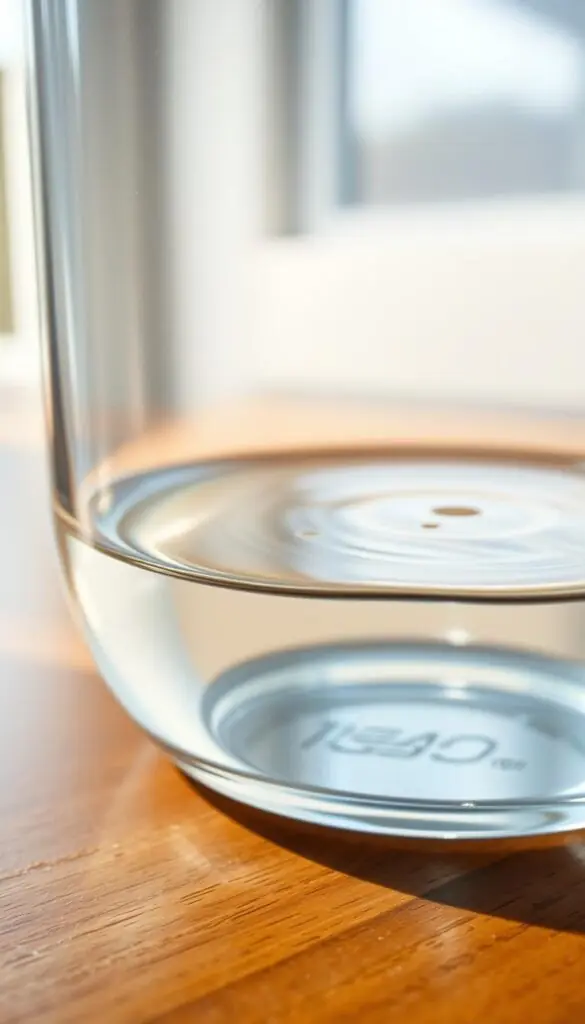
A clear gauge or sight window gives you calm confidence before a trip. Read the indicator the day before you leave and aim for mid to full. A steady mark means the water reservoir has room to supply roots without constant drips.
Reading gauges and sight windows before travel
If your planter has a gauge: check for the min/max marks. Don’t top so high that overflow drips nonstop.
No indicator? Fill through the fill tube until a slow overflow trickles. Note the date and plan refills from that rhythm.
Weekly top‑ups vs. multi‑week reservoirs
Medium reservoirs suit weekly top‑ups. Large double‑walled reservoirs can stretch to multi‑week schedules in mild weather.
Adjust for season: more frequent water in hot sun, fewer days in cool, humid rooms.
- Keep overflow holes clear so excess exits cleanly and does not sit in the mix.
- If roots press into the reservoir, trim or repot to prevent root rot.
- In plastic planters with small ports, use a narrow‑spout can or clip‑on funnel to avoid spills.
"A quick pre‑trip check — fill to a safe mark, clear the overflow, and wipe sight windows — saves you worry and helps plants come home thriving."
| Reservoir Size | Care Window | Key Pre‑trip Action |
|---|---|---|
| Small (0.5–1 L) | Days | Top up day before; check sun exposure |
| Medium (1–3 L) | About a week | Fill to mid/full; clear overflow holes |
| Large (3+ L) | Several weeks | Fill fully; confirm gauge or sight window |
Avoid These Common Mistakes That Lead to Root Rot
Most rot problems come from blocked airflow or the wrong mix, not bad luck. Catching issues early keeps roots healthy and plants thriving. Below are simple fixes you can do in minutes.
Overly heavy soil and blocked airflow
Heavy, compacted soil suffocates roots. Swap to a lighter potting mix with perlite or coco coir so the bottom of the root zone can breathe.
Keep slotted bases and vents clear. Do not sit planters on a sealed tray that blocks air under the reservoir.
Fertilizing into the reservoir and stagnant swamp risks
Never pour fertilizer into the tank. Nutrients in the reservoir can turn the water into a smelly, stagnant swamp and invite rot.
Feed from the top or use a slow‑release granule in the soil. If the planter smells swampy, empty and rinse the reservoir, then refresh the root mix.
Incorrect wick thickness or placement
Choose durable, non‑rotting wick material. Cotton wicks can decay—use nylon or braided fibers and replace them each season if worn.
Too thick a wick will overwet the mix; too thin won’t supply enough water. Place wicks where roots will grow, not bunched at the edge.
- Check overflow holes — a clog traps water and invites rot.
- If leaves yellow and soil feels soggy, lower the level, open drainage, and add perlite at next repot.
- Keep the planter clean: rinse reservoirs and wipe sight windows to prevent biofilm that slows capillary action.
| Problem | Quick Fix | Why it helps |
|---|---|---|
| Compacted soil | Replace with light mix; add perlite | Restores airflow to roots and reduces rot |
| Fertilizer in tank | Empty, rinse, feed from top | Prevents murky water and bacterial growth |
| Wrong wick | Swap to durable wick; adjust thickness | Balances water delivery to the root zone |
| Clogged holes | Clear overflow and vents | Allows excess water to escape and keeps bottom air available |
"A few small checks — lighter mix, clear vents, correct wick — will prevent root rot and help your plants come home healthy."
Styling and Sensory Joy: Colors, Textures, and Evening Ambiance
A well-chosen planter can turn a corner into a calm, scented nook you look forward to each evening.
Pick plant pots that echo your home’s palette. Matte charcoal suits modern rooms. Warm terracotta tones cozy up a reading corner.
Mix textures for depth. Smooth, durable resin next to wicker‑style baskets gives a relaxed, porch‑ready feel. Color‑fast plastic that mimics ceramic keeps the look without heavy lifting.
- Evening light: glossy leaves catch warm LEDs; keep the top rim clean for a crisp silhouette.
- Group pots of varied heights to frame a chair or windowsill and create a calming mini garden.
- Tuck fragrant herbs like basil or mint near walkways so you release scent as you pass.
- Raise bases a touch so the bottom stays dry and surfaces remain unstained.
| Finish | Best Use | Durability |
|---|---|---|
| Matte resin | Indoor modern rooms | High; color-fast, fade resistant |
| Wicker-style | Porches & relaxed nooks | Medium; adds warm texture |
| Plastic (ceramic look) | Shelves, stands, lightweight displays | High; weather-tolerant when labeled UV-safe |
"Blend finishes, keep tops tidy, and use soft light to let foliage and scent do the decorating."
Maintenance Made Easy: Cleaning, Fertilizing, and Off‑Season Storage
Small maintenance habits save time and keep planters performing well through every season. A tidy routine prevents smelly reservoirs and keeps the system reliable when you travel.
Rinsing and wick care: Every month or two, empty and rinse the reservoir to keep water fresh and odor‑free. Re‑thread or replace wicks at the start of the growing season so moisture stays steady.
Fertilizer timing and safe methods
Never put fertilizer into the water reservoir. Feed from the top with diluted liquid fertilizer or add slow‑release granules into the upper potting mix.
Before a long trip, top off the tank and note the date. Knowing how much time between refills gives you calm confidence.
Cleaning holes, windows, and algae
Check overflow holes and wipe mineral deposits so the system drains cleanly. If algae forms in clear windows, use a soft brush and mild soap, then rinse well.
- Empty and rinse the water reservoir monthly or bi‑monthly.
- Refresh the top third of potting mix each spring instead of a full repot.
- Keep a small caddy with a funnel, brush, and measuring scoop for quick care.
"Wash plastic bodies at season’s end, dry fully, and store planters out of direct sun to extend life."
For outdoor containers, remove small drainage plugs and tilt slightly so winter rain can’t pool. Clean gear now and you’ll save time later.
Indoor vs. Outdoor Use: Drainage Plugs, UV Stability, and Wind
Where you place a planter—inside the living room or out on a sunny deck—changes how it handles water and weather.
Indoors, keep drainage plugs closed and top off before you leave. Protect floors with risers so the bottom won’t stain. Check the fill mark rather than relying on rain or runoff.
Outdoors, open plugs so rain can escape through the hole and overflow. Choose UV‑stable material and sturdy plastic that resists fading and cracking on sunny decks.
Light, flimsy planters can tip in wind. Add weight at the bottom or use heavier planters and tuck tall forms near a wall for shelter. After storms, clear debris from the base so overflow paths stay open and water drains cleanly.
- Rotate placements seasonally: shade seekers near doors in summer, sun lovers forward in spring.
- Label drainage plugs so you know which are open or closed at a glance.
- Adjust potting mix—more perlite for outdoor heat, slightly richer mix for steady indoor growth.
"A few quick checks—open plugs outdoors, seal them inside, and pick UV‑stable plastic—will keep your planters calm through storms and heat."
Conclusion
A well-set reservoir and airy mix mean you can close the door and return to upright, glossy leaves.
Choose a planter you love, fill it with a light potting mix, and learn the water level rhythm over a couple of cycles.
Premium planters can carry plants for weeks, and simple systems with clear overflow and weekly checks work too. A self watering setup with a visible gauge removes guesswork and protects roots.
Start with one or two planters. Rinse reservoirs, feed lightly from the top, and tweak seasonally. You’ll come home to a calmer, greener space—and less worry when you travel for a week or more.
FAQ
How do I keep my houseplants watered while I’m on vacation?
Use a planter with a bottom reservoir and a wick or capillary system. Fill the tank, prime the wick if needed, top up the water level indicator, and place the planters out of direct midday sun. Match reservoir size to how many days you’ll be away — larger tanks hold enough for weeks for many common houseplants.
Why are self-watering planters a traveler’s best friend?
They reduce daily chores, keep potting mix evenly moist, and help prevent root rot by providing water on demand rather than constant saturation. A correctly designed reservoir also adds oxygen to the root zone, so plants stay lush while you’re gone.
How do these systems actually work — what is capillary action?
Capillary action draws water from the bottom reservoir up through a wick or porous barrier into the potting mix. That keeps moisture evenly distributed without overwatering. A sight window or gauge shows water levels so you refill before the tank runs dry.
What’s the difference between wick and wickless designs?
Wick designs use fabric or cord to pull water into the soil and need occasional priming and replacement. Wickless units use an inner pot or permeable barrier that lets water rise; they often require less maintenance but depend on proper soil mix and airflow to avoid sogginess.
Do I need overflow holes or extra airflow to prevent soggy soil?
Yes. An overflow hole prevents overfilling and keeps the waterline below the root crown. Airflow channels or a slotted base let roots breathe, reducing stagnant “swamp” conditions that cause rot.
Which planters are best for travel: indoor, hanging, or heavy-duty outdoor options?
For most travelers, indoor units with a clear reservoir and indicator work best. Hanging planters can be great for small spaces but need secure anchors. Outdoor, UV-stable, double-walled containers suit longer trips and harsh sun; size and reservoir capacity matter most.
How do I choose the right size and material for a planter?
Match pot diameter to the plant’s root ball — 7–12 inches fits many houseplants. Pick materials that suit the location: resin or recycled rubber outdoors for UV resistance, breathable composites or coco-coir liners indoors for oxygen flow.
Can I convert a plastic container into a reservoir planter myself?
Yes. You’ll need a drill, a fill tube or funnel, landscaping fabric or wick material, and a safe food-grade plastic container. Cut an overflow hole, create a water chamber, add a wicking system, and use a light, airy potting mix to finish.
What potting mix should I use with a reservoir system?
Choose a light, airy mix with perlite or coco coir for good capillary action and drainage. Avoid heavy garden soil. A peat-free blend with organic matter helps roots stay oxygenated while the wick moves water upward.
Which plants thrive in these planters and which should I avoid?
Good fits include basil, tomatoes, peppers, ferns, and peace lilies — they like steady moisture. Use caution with succulents and cacti; they prefer fast-draining, drier conditions and often do better in traditional pots with minimal reservoirs.
How do I read a water-level indicator and know when to refill?
Check the sight window or gauge before you leave and every few days if possible. The marker shows full, half, and low. For multi-week trips, fill to the recommended max and top off after a week if the system design calls for it.
What common mistakes lead to root rot and how do I avoid them?
Heavy soil, blocked airflow, oversized wicks, and fertilizing directly into the reservoir are common culprits. Use a light potting mix, keep overflow vents clear, choose wick thickness recommended for your plant, and fertilize via soil or diluted feed — not into the tank.
How often should I clean the reservoir and replace wicks?
Rinse reservoirs every few months, or more often if algae forms. Replace fabric wicks annually or when they fray. Before storage, drain and dry parts to prevent mold and odor.
Are water-level gauges reliable for long trips and varied seasons?
They’re reliable if calibrated and not clogged. In heat waves expect faster use; in cool or low-light winters, plants use less water. Choose a planter with a large reservoir for summer travel and monitor levels before you go.
Can I fertilize plants in a reservoir system without fouling the tank?
Yes — use a water-soluble fertilizer at half-strength and apply to the soil or top water in small doses. Avoid pouring concentrated fertilizer into the reservoir; buildup can foul the tank and harm roots.
What seasonal tips should U.S. travelers follow for heat waves or cold snaps?
In heat, increase reservoir capacity, move plants to cooler, shaded spots, and check gauges more often. In winter, reduce water levels and place planters away from cold drafts. For extended trips in extreme weather, ask a neighbor to check in weekly.
Are there styling options that don’t compromise function?
Yes. Many manufacturers offer colorful, textured, or double-walled designs that hide reservoirs but keep indicators visible. Choose finishes that match your decor and ensure vents and fill ports remain accessible.
Can these systems be used outdoors in windy or sunny locations?
Use UV-stable materials and secure heavier pots against wind. Drain plugs are useful for heavy rain. For full sun, pick a planter with stable resin or rubber and a reservoir sized for higher evaporation rates.
How long can reservoirs typically keep plants hydrated?
Depending on plant size, potting mix, and reservoir volume, many setups keep plants happy from several days up to about six weeks. Check product specs and match capacity to the length of your trip.