Imagine the earthy scent after a fresh watering and a sunlit windowsill that feels like home. Have you noticed a few limp, pale leaves and wondered what went wrong? This guide is for you.
You’ll learn why plant leaves yellow and how to bring life back with simple, step-by-step fixes. Overwatering is the top issue: soggy soil suffocates roots, while drought blocks nutrient uptake.
We’ll show practical tips and tools—moisture meters, clean pruners, and pots with drainage—to test soil, trim away trouble, and prevent repeat problems. You’ll get seasonal advice for the United States: less water in winter, steady feed in summer.
Expect clear checks you can do in minutes: feel the soil, note older versus newer leaf patterns, and match light to each species. With small weekly habits, your plants can look lush and calm again.
Key Takeaways
- Overwatering is the most common cause; use pots with drainage and test the soil before you water.
- Learn visual cues: older leaves vs. new, edges vs. veins to spot nutrient or pH issues.
- Use simple tools—a moisture meter and clean snips—to diagnose and fix problems fast.
- Match light and humidity by season: brighter, drier winter light; steady moisture in summer.
- Healthy roots are pale and firm; rotten roots are dark, soft, and smell sour.
See the Signs: What Yellow Leaves Are Telling You Right Now
Reading the signs on a fading leaf is the fastest way to find the right fix. Start by looking closely, then use your hands and senses to confirm what you see.
Quick checks: feel the soil 1–2 inches down. Cool, damp mix means wait. Dry, crumbly mix means it’s time to water.
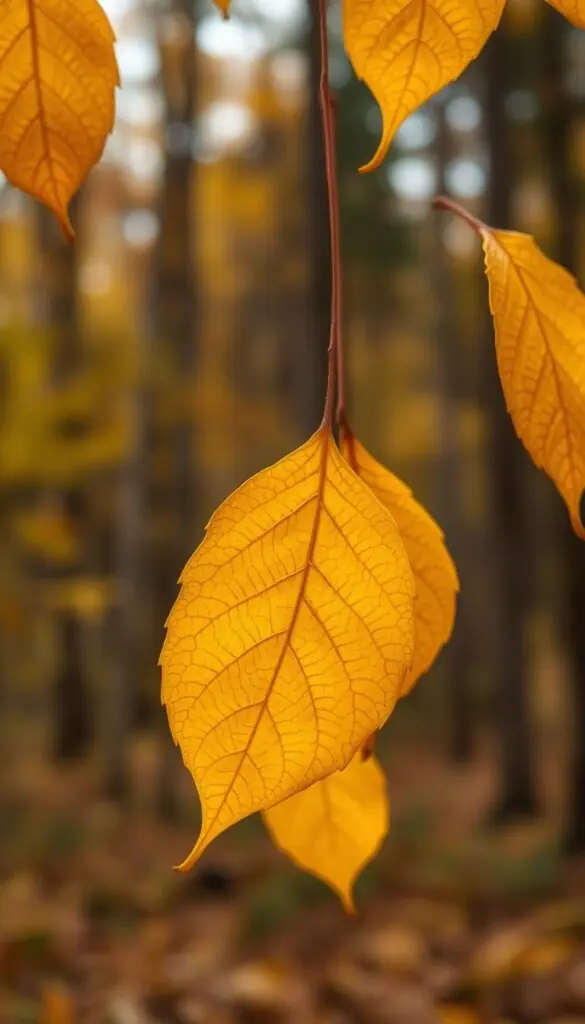
Soft, limp lower leaves that are turning yellow often point to too-frequent watering. Papery, crispy edges usually mean the pot needs moisture. New growth that pales between veins suggests an iron deficiency, while older leaf striping points to magnesium or potassium.
If yellowing appears in a dim spot, low light may be slowing photosynthesis and causing water to linger. Scan stems and undersides for webbing, cottony tufts, or sticky residue—pests can mimic other symptoms.
| Symptom | Likely Cause | Quick Check | Immediate Action |
|---|---|---|---|
| Soft, limp lower leaf | Overwatering | Soil damp 1–2 in | Hold water; improve drainage |
| Crisp, browned edges | Underwatering or low humidity | Soil dry and pulling away | Soak thoroughly; increase humidity |
| Yellow between veins on new growth | Iron deficiency | New leaves pale | Use chelated iron or correct pH |
| Sticky residue or webbing | Pests | Inspect undersides | Clean, treat with insecticidal soap |
Keep a simple log: note the symptom, the time it started, and any recent moves. A photo and a short note save guesswork later.
plant leaves yellow: Quick Diagnostic Flow
A simple flow—moisture, light, and pattern—will clear up many common symptoms fast. Start with the soil and follow three focused checks to decide your next steps.
Check moisture first: finger test vs. moisture meter
Step 1—Insert your finger 1–2 inches into the soil. If it feels cool and damp, wait. If it’s dry, plan a thorough watering.
Tip: A moisture meter removes guesswork and reads deeper moisture levels.
Light and location scan: window direction, distance, and hours
Note window direction. East windows give gentle morning sun. South or west can give 6+ hours of direct sun; use a sheer curtain if leaves look bleached.
Count hours of direct sun and move the pot closer or farther to balance brightness.
Leaf pattern clues: older vs. newer leaves, edges vs. between veins
Read the pattern: older leaf yellowing signals a nitrogen lack. Edges then brown point to potassium. Interveinal yellowing on new growth often means iron. Use these clues before feeding.
- Lift the pot: light = dry mix; heavy = wet mix.
- Smell the soil; musty odor can mean stressed roots.
- Flip a leaf to check for pests before you water or feed.
- Record symptoms and action for future reference.
| Check | What to Do | Tool |
|---|---|---|
| Soil moisture 1–2 in | Wait if damp; water thoroughly if dry | Finger or moisture meter |
| Light hours & direction | Move or filter light to match needs | Clock, window map |
| Leaf pattern | Match pattern to likely nutrient lack | Reference chart, notebook |
Watering Woes: Too Much, Too Little, or Just Right
A simple watering routine can save stressed roots and revive drooping growth. Start with gentle checks and a reliable method so you don’t overreact to common symptoms.
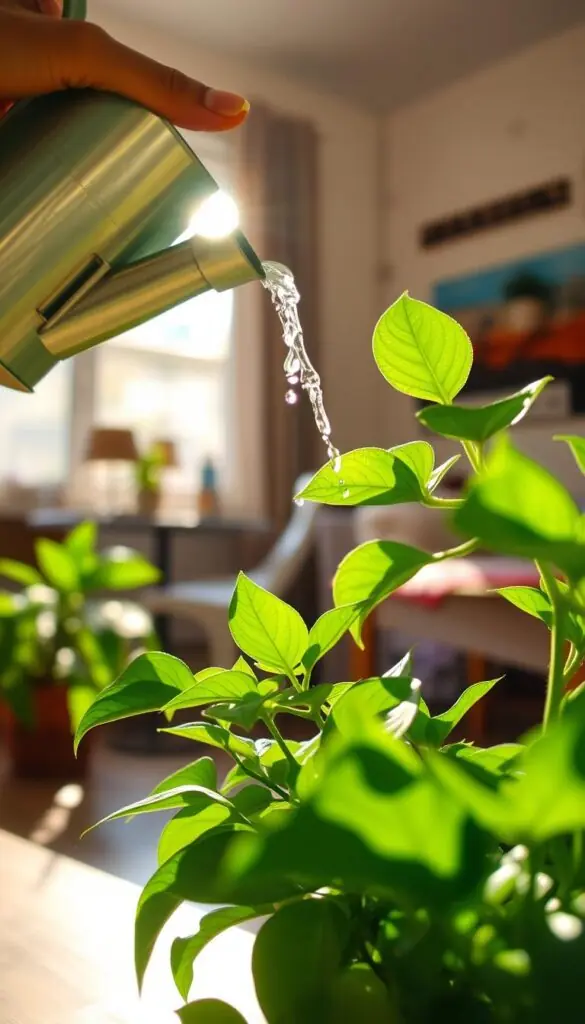
Spotting over- and under-watering
Too much shows as soft, discolored lower foliage while the soil stays heavy and wet. Pause watering, increase airflow, and move the pot to brighter light.
If the mix is bone-dry and pulling away from the pot, rehydrate slowly to avoid root rot. Water lightly today and again tomorrow before resuming your normal schedule.
How to water the right way
- Take the pot to a sink or tub.
- Water evenly around the surface until a steady stream runs from drainage holes.
- Let it drain fully and empty the saucer.
Tip: Use a narrow-spout can for even coverage and a moisture meter to confirm soil moisture below the surface.
Quick fixes and practical examples
For thirsty tropicals like pothos or peace lily, keep the top inch slightly damp. For succulents such as aloe or snake plant, allow the mix to dry deeper between drinks.
| Type | Frequency | Sign to watch |
|---|---|---|
| Tropical | Moderate (top inch) | Droop, pale new growth |
| Succulent | Infrequent (deep dry) | Crisp edges |
| General | Seasonal adjust | Heavy vs. light pot feel |
Light Mismatch: Low Light Stress and Sun Scorch
Where you place a window-side pot can decide whether it thrives or simply survives. Low light slows photosynthesis, reducing water uptake so symptoms may also look like overwatering. Too much direct sun will scorch the leaf edges and bleach new growth.
Bright, indirect light made easy
An east-facing window gives gentle morning glow that many foliage types love. Place most pots within 1–3 feet of an east window. For south or west exposures, move the pot 3–6 feet back or add a sheer curtain to soften harsh rays.
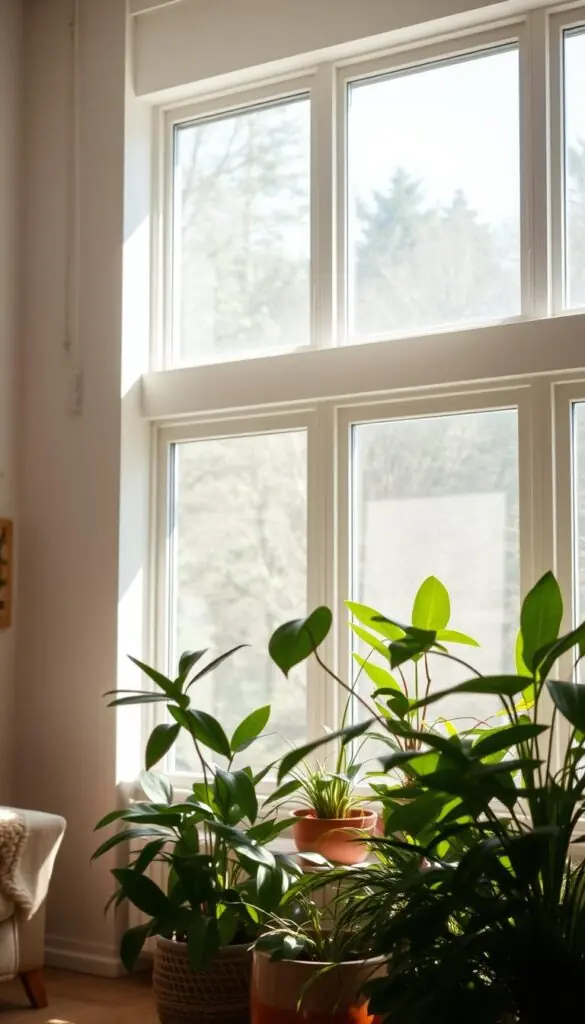
Acclimating sun-loving species safely
Sun lovers such as citrus or jade may also handle direct rays, but introduce light slowly.
- Start with 1–2 hours of morning sun.
- Add about an hour every 2–3 days while watching the surface and edge color.
- If leaves feel hot or look bleached, move back a foot or filter the light.
- Balance light with soil checks—more light dries mix faster, so water less often at first.
- Rotate pots a quarter turn each week for even growth.
- Use an LED grow light 12–18 inches above the canopy for low-window homes; run 12–14 hours.
| Situation | Placement | Action |
|---|---|---|
| Dim corner with pale new growth | 1–3 ft from east window | Move to brighter, indirect light; check soil moisture weekly |
| South/west direct sun causing brown edges | 3–6 ft back or behind sheer curtain | Filter light; acclimate slowly if species likes sun |
| Sun-loving succulent or citrus | Near unobstructed south/west, 6+ hours | Start with short morning exposure; increase time gradually |
Root Rot, Compaction, and Drainage Problems
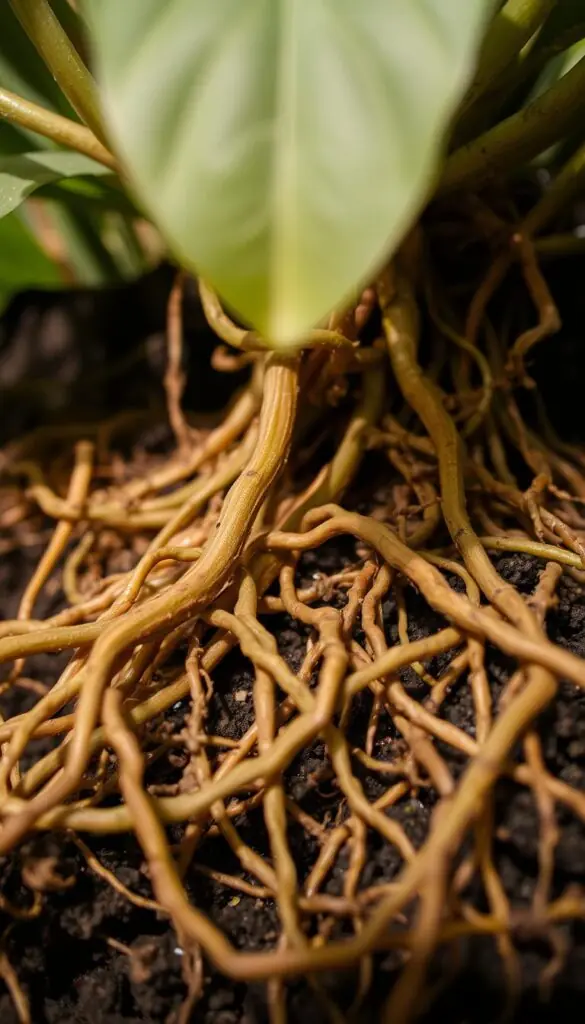
A quick pull-and-peek can reveal whether the problem starts below the soil line. Gently slide the pot out and inspect the root ball. Healthy roots are pale and firm; rotten ones are dark, mushy, and smell foul.
Pull-and-peek method: tease the outer mass and look for firm, whitish-yellow strands. If you find soft, black sections with a sour odor, that is root rot and needs action now.
Choose a pot with drainage holes and use a premium, well-draining soil. For airy mixes, add perlite or bark so moisture escapes and airflow improves.
- Slide the plant out gently and inspect the roots.
- Trim rot with sterilized snips, cutting to firm tissue; wipe blades with alcohol.
- Loosen compacted mats so new feeder roots can reach fresh mix.
- Repot into a container only 1–2 inches wider with fresh chunky soil.
After treatment, water lightly and let wounds callus a day before a full soak. Keep saucers empty and boost airflow to speed recovery. Expect a few leaves to drop; focus on firm stems and steady new growth.
| Issue | Sign | Quick Fix |
|---|---|---|
| Compacted root ball | Slow uptake, dry surface | Loosen roots, repot to airy mix |
| Root rot | Dark, mushy roots; sour smell | Trim rot, disinfect, fresh soil, small pot |
| Poor drainage | Heavy pot after watering | Use pot with holes; add perlite or bark |
Nutrient Deficiencies: Reading Yellow Patterns Like a Pro
Little clues on older growth versus new growth reveal specific nutrient gaps. Scan color, texture, and the pattern of fading to decide who’s missing from the mix.
Quick pattern guide:
- General pale older growth = nitrogen.
- Leaf edges yellow then brown on older foliage = potassium.
- Yellowing between veins on older growth = magnesium.
- Interveinal yellowing on new shoots = iron.
- Overall paler new growth often signals sulfur.
Feed smart in the growing season. Use a balanced indoor plant food that lists micronutrients. Start light after winter and only increase when new shoots appear.
Avoid burn and salt buildup: water first, then feed at label rates. Flush the soil every 6–8 weeks to wash excess salts away. If you had recent rot, wait until new roots form before a gentle dose.
- Rule out watering problems first.
- Match feed to the pattern you see.
- Pair feeding with good light so nutrients are used, not wasted.
| Deficiency | Sign | Action |
|---|---|---|
| Nitrogen | Older growth fades overall | Balanced feed every 2–4 weeks |
| Iron | New growth pale between veins | Chelated iron or adjust pH |
| Potassium | Edges yellow then brown | Use complete fertilizer with K |
Soil pH and Nutrient Lockout
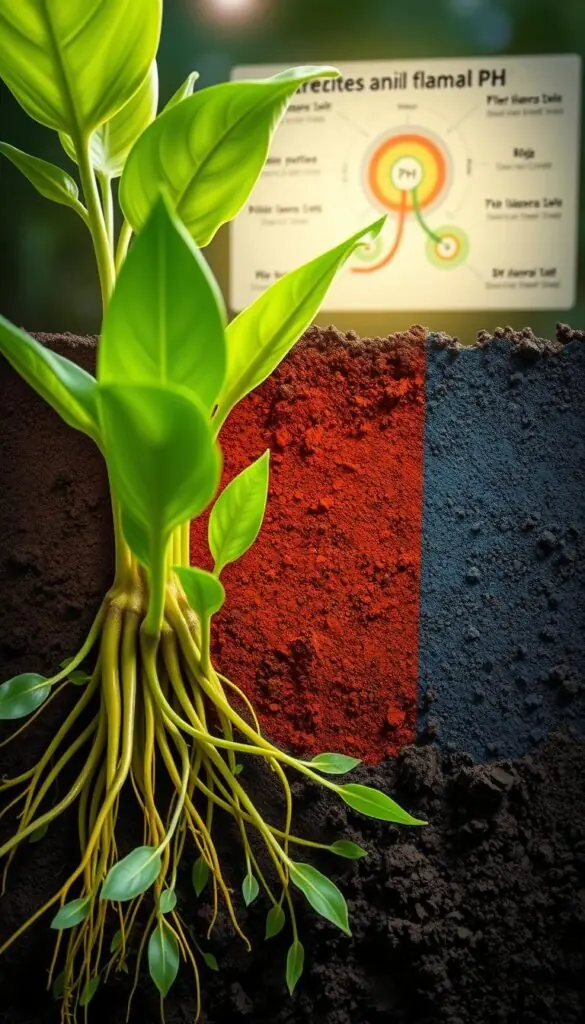
A simple pH imbalance can keep the best fertilizer from reaching hungry roots.
Aim for the sweet spot: most indoor mixes do best between 6.0 and 7.0. Acid-loving varieties—azalea, blueberry, and gardenia—prefer a lower window around 4.5–6.0.
When pH drifts, essential nutrients can be present in the soil but remain unavailable. This often causes pale new growth or interveinal yellowing from a lack of iron, even though the mix contains the element.
Quick testing steps:
- Use a home pH kit for a fast read, or send a sample to a lab for precise guidance.
- Follow the test directions and note results before adding amendments.
Safe corrections: prefer gradual fixes. Use pH-balanced plant food and gentle soil amendments recommended by the test. Avoid harsh DIY brews that push pH to extremes.
Also mind water quality—hard tap water can nudge pH up. Flush the pot with distilled water occasionally and keep the soil slightly moist, not soggy, to help roots take up restored nutrients.
| Issue | pH Range | Action |
|---|---|---|
| Most houseplants | 6.0–7.0 | Use balanced feed; retest seasonally |
| Acid lovers (azalea, blueberry) | 4.5–6.0 | Use acidifying amendments as lab suggests |
| High pH causing iron lack | >7.0 | Lower pH slowly; chelated iron can help new growth |
Pests That Cause Yellowing Leaves
Tiny invaders feeding on sap can quickly turn healthy green growth into a pale, stressed mess. Catching them early stops spread and helps recovery fast.
Spot the culprits
Use a magnifier and flashlight to inspect undersides and nodes. Fine webbing points to mites. Cottony tufts mean mealybugs. Sticky honeydew flags aphids or scale. Hard bumps on stems are usually scale.
Safe treatments
Rinse the specimen gently in the shower to dislodge pests, then let it dry. Apply neem oil or a spinosad spray to all surfaces, repeating per label every 7–10 days until clear.
Prevention tips and routine
- Quarantine new arrivals 2–3 weeks before introducing them.
- Wipe foliage with a damp microfiber cloth to remove dust and small pests.
- Boost airflow with a small fan and avoid leaving surfaces wet overnight.
- Keep tools clean—wipe snips and stakes with alcohol between uses.
- If topsoil has eggs, replace and seal old soil for disposal.
| Sign | Culprit | Immediate Action |
|---|---|---|
| Fine webbing | Spider mites | Rinse, increase humidity, treat with miticide or neem |
| Cottony tufts | Mealybugs | Wipe with alcohol, apply spinosad or neem, repeat |
| Sticky residue | Aphids/Scale | Rinse, use insecticidal soap or neem, remove heavy infestations |
| Hard bumps on stem | Scale | Scrape gently, treat with oil-based spray, monitor |
Root-Bound Plants and Pot Size Problems
A cramped root ball changes how soil holds water and how fast the top dries — learn the simple checks. Early spotting keeps your green spaces healthy and calm.
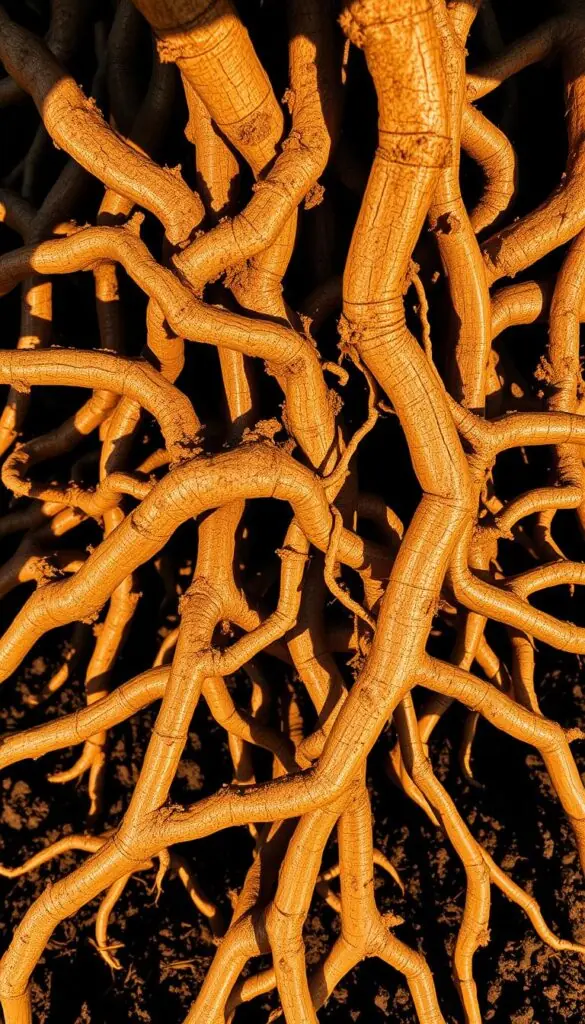
Telltale signs: lift the container. If roots push through the drainage holes or circle tightly at the edge, the pot is too small. If water rushes through and the mix won't rehydrate, roots are hogging space and the soil-to-root ratio is off.
Repotting steps and choosing the next size
- Slide the specimen out gently and inspect the roots. Trim only dead or mushy bits to avoid root rot.
- Choose a pot 1–2 inches wider. Too large traps moisture and risks rot; too small keeps growth stunted.
- Loosen circling roots so they can explore fresh soil, or tease the ball lightly if roots are dense.
- Use a well-draining, peat-light mix and water slowly after repotting to settle the blend. Let excess drain and cut direct sun for a week.
Time repots for spring when growth resumes, unless stress demands action now. Expect a leaf or two to drop as the plant recovers; new, perky growth is your sign that it worked.
| Sign | Cause | Quick Fix |
|---|---|---|
| Roots in holes | Root-bound | Repot to 1–2" bigger pot |
| Water rushes through | Soil crowded by roots | Tease roots, refresh soil |
| Leaves turn small/sparse | Restricted root space | Repot and trim dead roots |
Normal Leaf Aging vs. a Real Issue
Not every faded patch signals danger; some aging is part of a normal cycle. Older foliage often gives up nutrients so new growth can thrive. That trade-off is a sign of life, not always a problem.
Watch for firm stems and steady new shoots. If you see fresh leaves above older, paler ones, it usually means the specimen is reallocating energy.
Pruning guidance
- Trim a leaf only if it is more than 50% discolored.
- Avoid removing more than 30% of foliage at one time so the plant can recover.
- Use clean, sharp snips and cut close to the stem without nicking healthy tissue.
Do pruning in the morning so cuts dry quickly. If many areas fade at once, pause and revisit water, light, and feeding rather than heavy trimming.
| Sign | When to Prune | Action |
|---|---|---|
| Lowest leaf turns pale first | New growth present | Remove if >50% discolored; compost if pest-free |
| Many leaves fade quickly | Rapid spread over days | Run diagnostics: moisture, light, nutrients |
| Single, old leaf browns | Isolated and slow | Clip close to stem; leave healthy canopy |
Tip: Expect bounce-back within weeks—fresh, upright new growth confirms you were on the right track.
Seasonal Care in the United States: Adjust Water, Light, and Food
Temperatures and day length across the U.S. change how fast soil dries and how much light your pots need. A small seasonal plan helps you match care to the growing season so stress stays low and new growth arrives on schedule.
Fall–winter slowdown: less water, more light, pause heavy feeding
In fall and winter, shorter days and indoor furnace heat make soil dry unevenly. Hold off on heavy feeding and reduce how often you water to avoid root stress.
Rotate pots closer to bright windows, or add a gentle grow light to keep foliage vibrant when the sun rides low. Grouping pots or a pebble tray helps offset dry indoor air and preserves humidity.
Spring–summer growth: steady moisture and gentle feeding
As day length increases, most houseplants enter an active growth time. Keep soil evenly moist for tropicals and check the top 1–2 inches more often in hot months.
Use a diluted, balanced fertilizer every 2–4 weeks. A touch more nitrogen can support lush new growth, but stop feeding if a specimen is stressed. Resume only when you see steady new shoots.
| Season | Water | Light & Food |
|---|---|---|
| Fall–Winter | Reduce frequency; check soil before watering | Move closer to light; pause heavy feeding |
| Spring–Summer | Keep evenly moist; check drainage often | Feed lightly every 2–4 weeks; acclimate to sun slowly |
Beauty Meets Function: Tools, Materials, and Simple Habits
A small toolkit and a brief weekly habit keep care simple and stylish. Choose items that look good and work well so your home feels calm and lived-in.
Must-haves for a useful, attractive kit
Stock the basics: planters with drainage holes, a reliable moisture meter, sharp snips, and premium potting soil. These items cut guesswork and make the routine fast.
A five-minute weekly check you can enjoy
Touch the soil to feel damp or dry. Look under leaves and at stems for pests or spots. Lift the pot to gauge weight—heavy = wet, light = soil dry. Sniff near the surface for sour odors that signal trouble.
- Use a long-spout watering can for even soaking without splashing.
- Keep a soft cloth to dust foliage; clean surfaces help photosynthesis.
- Flush pots every couple of months to wash away excess food salts and protect roots.
- Label pots with light and water notes so anyone can help while you travel.
"Small, regular rituals protect beauty and health better than big, rare fixes."
Top off tired soil in spring and add balanced plant food sparingly. Tuck a small compost caddy for garden scraps and use finished compost outdoors. Enjoy the process—these tiny habits keep your plants lush and steady.
Conclusion
Most problems have a clear, easy path from diagnosis to recovery.
When yellow leaves or yellowing leaves show up, follow a calm checklist: check moisture, tune light, peek at roots, test pH, and offer balanced feed for essential nutrients.
Small, steady routines—thorough watering, bright but gentle light, and airy soil—fix the common issue over time. Read patterns (interveinal, older foliage, or leaf edges) to spot a likely nutrient deficiency like low nitrogen.
If you see browning at the edge or sticky residue, act quickly with a rinse and safe treatment to avoid root rot. Keep notes, make gradual changes, and celebrate each fresh leaf.
You’re building a living garden at home. Kind care, simple tools, and these tips help your plants need less fuss and give more joy season after season.
FAQ
What are the most common problems that make houseplants develop yellowing?
Yellowing often signals issues like improper watering (too much or too little), poor drainage or root rot, nutrient deficiencies (especially nitrogen), light stress, pest damage, or natural leaf aging. Check soil moisture, inspect roots if possible, scan leaves for pattern clues, and rule out pests before changing feeding or light routines.
How can I tell if soil moisture is the cause?
Do a simple finger test or use a moisture meter. If the top 1–2 inches feel bone dry, the pot likely needs a thorough drink. If it feels damp and heavy and the pot smells musty, excess water and poor drainage are likely. A quick lift of the pot helps too—wet soil feels heavier than dry.
What leaf patterns point to specific nutrient deficiencies?
Older foliage yellowing first often means nitrogen lack. Yellow between veins on new growth suggests iron deficiency. Margins turning brown and yellow can indicate potassium issues. A balanced indoor fertilizer with micronutrients typically corrects general shortages during the active growing season.
How do I treat overwatering without causing more damage?
Stop watering until the top soil dries. Improve drainage by ensuring the container has holes and the mix is airy. If root rot is suspected, gently remove the plant, trim mushy roots, let the root ball dry briefly, then repot in fresh, well-draining potting mix and a clean container.
What’s the right way to water to avoid yellowing from under- or overwatering?
Water deeply and evenly until excess drains from the saucer, then empty the saucer after 15–30 minutes. Aim for consistent cycles—let the top inch of soil dry for many common houseplants. Avoid shallow, frequent sips that leave uneven moisture and invite root problems.
Could light be causing discoloration, and how do I fix it?
Yes. Low light makes older foliage pale and drop, while sun scorch causes bleached, crispy patches. Move shade-tolerant species to bright, indirect light (east windows or filtered south/west). Acclimate sun lovers gradually to more direct exposure to prevent scorch.
How do I diagnose root rot versus compacted roots or being root-bound?
Healthy roots are firm and white. Rotting roots are brown/black, soft, and foul-smelling. Circling roots that fill the pot mean it’s root-bound. For rot, trim bad roots and repot. For root-bound plants, choose the next size up and refresh the mix to reinvigorate growth.
When should I feed and what kind of food helps restore color?
Feed during the growing season—spring through summer—using a balanced indoor fertilizer with micronutrients. If new growth returns green and vigorous, you’ve likely corrected a deficiency. Avoid fertilizing stressed or waterlogged plants until they recover to prevent burn or salt buildup.
How does soil pH affect nutrient uptake and yellowing?
pH controls nutrient availability. Most houseplants prefer 6.0–7.0; acid lovers like 4.5–6.0. If pH is off, nutrients can be locked out and leaves yellow even when fertilizer is present. Use a reliable test kit and amend the mix to bring pH back into the ideal range.
What pests cause yellowing and how can I treat them safely?
Spider mites, mealybugs, aphids, and scale suck sap and create yellow spots or overall discoloration. Treat with regular cleaning, insecticidal soaps, neem oil, or spinosad for infestations. Quarantine new plants, increase airflow, and inspect leaves weekly to prevent recurrence.
How do I tell the difference between normal leaf aging and a problem?
Natural aging shows yellowing on lower, oldest foliage while new growth stays healthy. Remove only a few old leaves at a time. If yellowing spreads to new shoots or appears in patterns, investigate water, light, roots, or nutrients rather than pruning alone.
What seasonal care changes help prevent yellowing in US homes?
In fall and winter, reduce watering, increase light if possible, and pause heavy feeding. In spring and summer, maintain consistent moisture, rotate for even light, and feed gently during active growth. Adjust routines when indoor heating or cooler nights change moisture needs.
Which basic tools and habits keep plants healthy and reduce yellowing?
Keep a moisture meter, pruning snips, quality potting mix, and planters with drainage holes handy. Weekly five-minute checks—touch, look, lift, sniff, rotate—catch issues early. Small, regular habits prevent many problems before they show in the foliage.