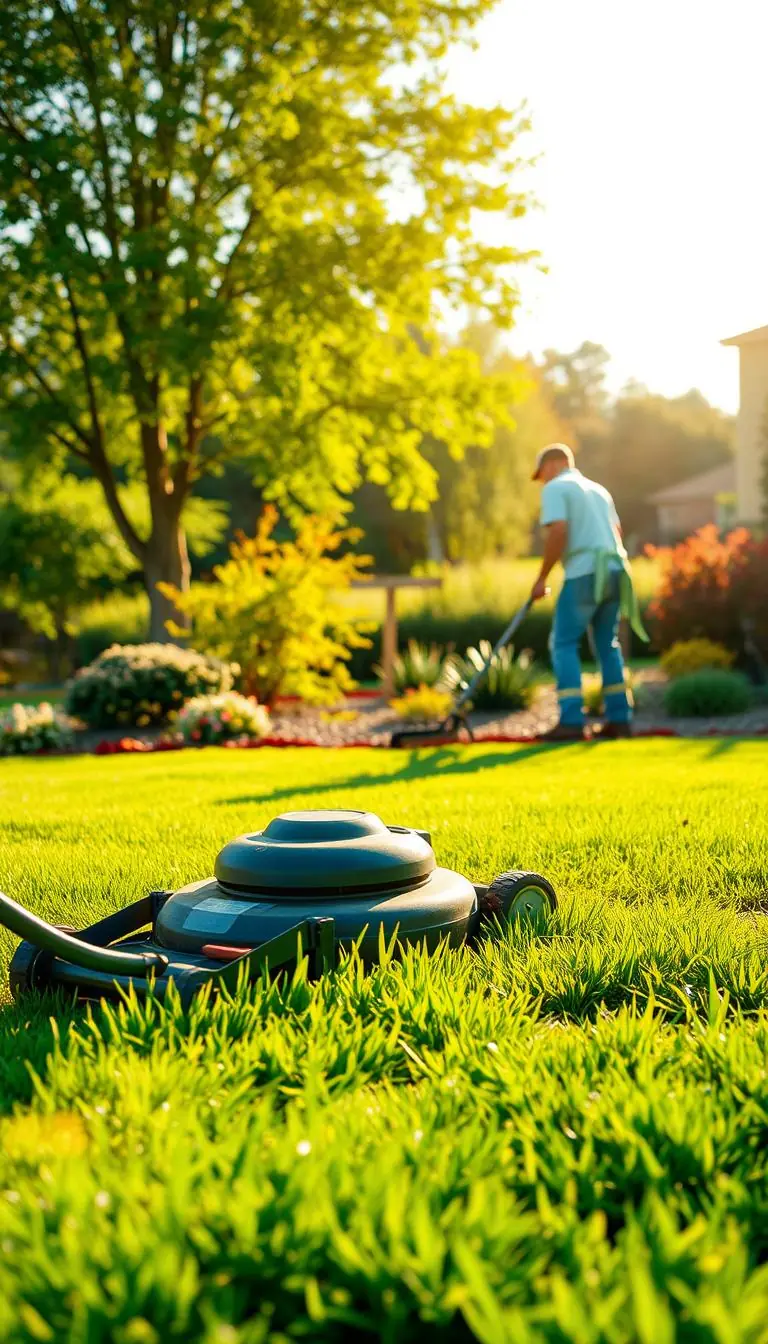
You step outside and notice a patch that dips under your feet — the sun warms the grass and you imagine a smooth, sunlit surface again.
We’ll walk you through a calm, neighborly plan to restore your yard without drama.
This approach focuses on simple tools, a single easy step at a time, and timing cues like spring or fall aeration so grass recovers quickly.
Start by spotting low spots with the mower set a bit shorter, remove debris, and use a mix of sand and compost to fill shallow dips.
You’ll learn which tools help most, how to check slope for proper drainage, and when to water so the fill settles. By the end you’ll have a clear, friendly way to create a safer, more even surface in your yard.
Key Takeaways
- You can fix uneven spots with short, practical steps and basic tools.
- Work when grass is actively growing and core aerate to reduce compaction.
- Use a sand-compost mix or topsoil for filling; water to settle and top up as needed.
- Check slope and drainage so rain moves away from your home.
- Keep grass tips exposed after filling for faster recovery and consider overseeding.
Before You Begin: Why leveling matters and what’s making your lawn uneven
Understanding why your grass gets bumpy makes the fix feel straightforward and hopeful.
Why it matters: A smoother yard means safer play, easier mowing, and better drainage after storms. You’ll cut more evenly, protect mower blades, and see water run off rather than pool. Healthier grasses follow because water and fertilizer reach roots evenly, so your outdoor space looks and performs better.
Benefits you’ll notice quickly
- Smoother mowing with fewer jolts and a cleaner finish.
- Fewer trip hazards so kids and guests can play freely.
- Improved drainage — puddles disperse faster and soil doesn’t stay soggy.
- More uniform water and nutrient delivery, leading to lush, even grasses.
Common causes of uneven areas
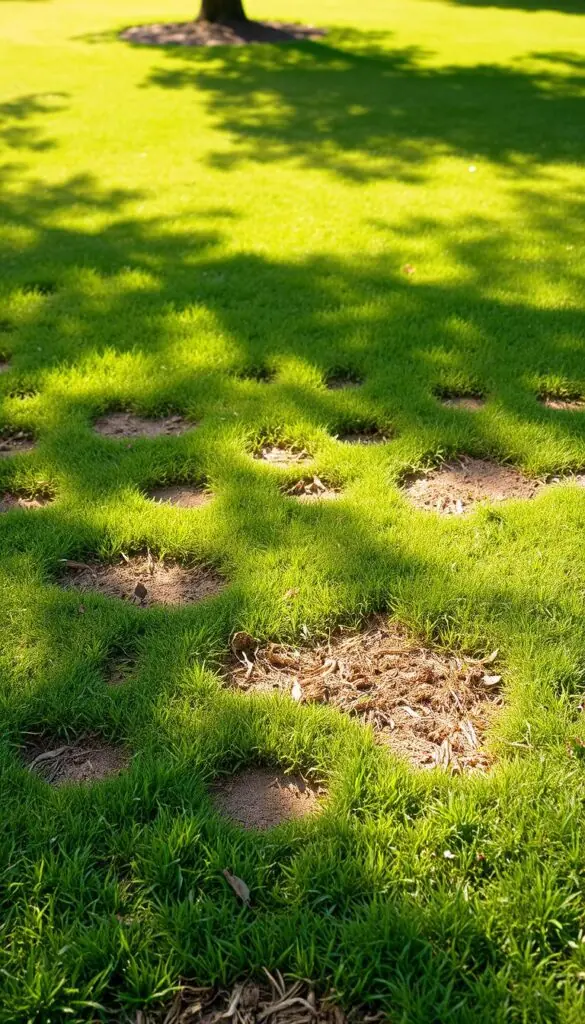
Many spots come from compacted soil after heavy foot or mower traffic. Uneven watering, wavy mowing patterns, or poor sod installation also create bumpy areas over time.
Natural forces play a role too. Freeze-thaw cycles shift soil, drought cracks it, and heavy rain can clump and dry into bumps. Pets and burrowing pests leave holes and raised mounds that show up as new spots.
Timing tip: Do most repairs when grass is actively growing — spring for warm regions and late summer or fall for cool-season grasses — so recovery takes less time and effort.
Gather Your Tools and Materials for a smooth, level lawn
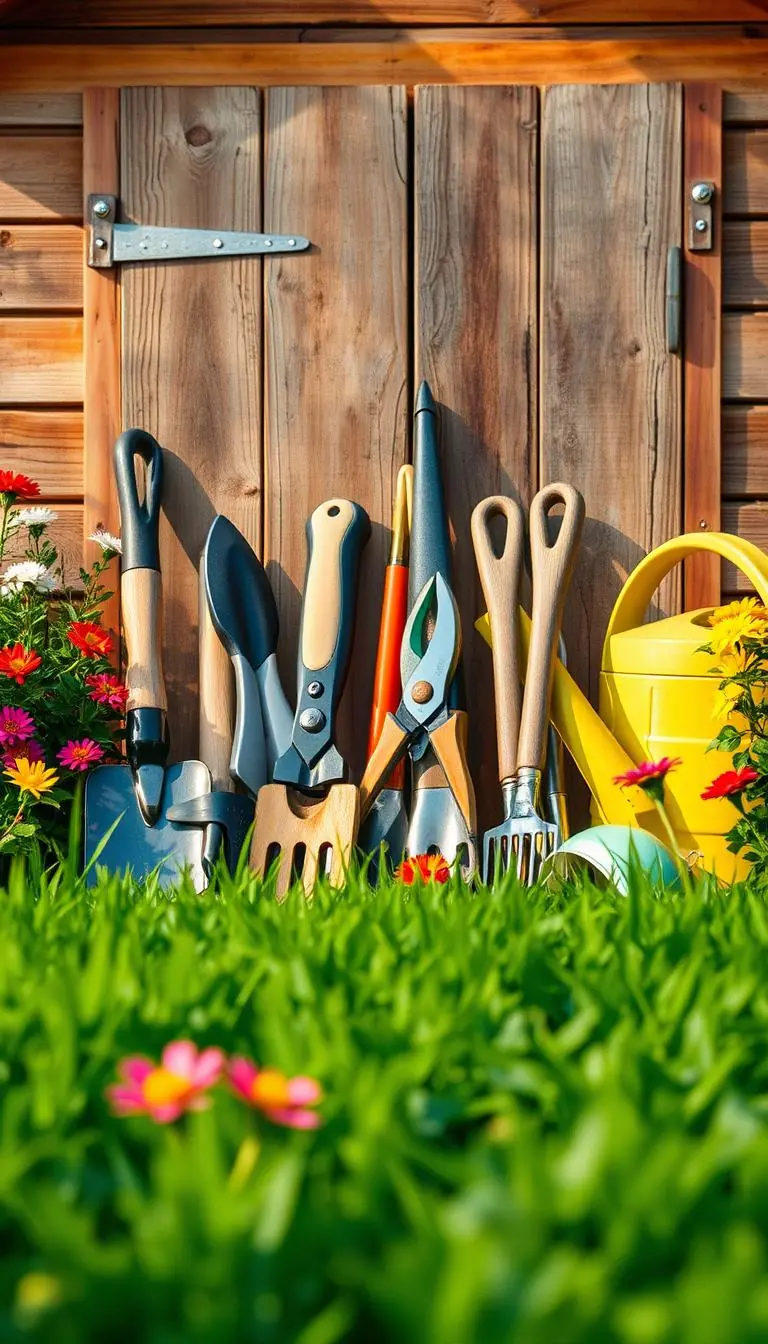
A few simple tools and the right mix set you up for lasting results. Start by laying out gear so each task flows. Picture a sturdy wheelbarrow, a smooth-gliding leveling rake, and a light, crumbly soil mix in your hands.
Essentials: a shovel for scooping, a wheelbarrow for hauling, a leveling rake or landscape rake for a flat finish, and a tamping tool to firm each layer. Keep a string level or carpenter’s level nearby and wear gloves for a steady grip.
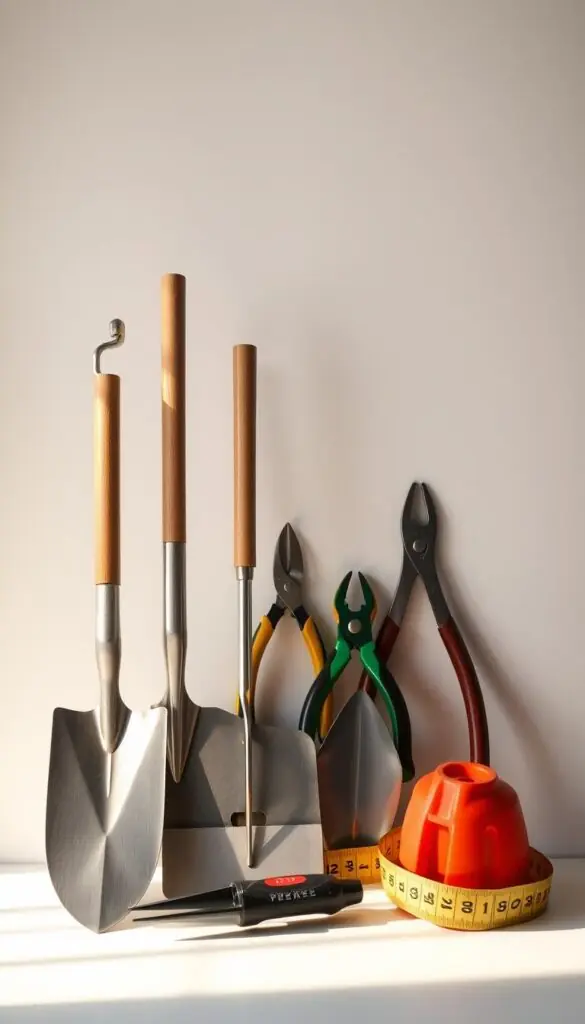
Materials that work: topsoil for rooting, compost to add nutrients, and sand for structure and drainage. An equal-parts sand-compost-topsoil mix gives good drainage and support. Mix in a wheelbarrow until the texture is even and crumbly; add a touch more sand if it clumps.
Helpful add-ons include a core aerator to reduce compaction, a broadcast spreader for even applications, and a lawn roller after major repairs. Prep by mowing shorter, marking low spots with flags, and clearing rocks and debris before you start.
- Work in thin layers so each layer firms up.
- One cubic yard of mix covers ~1,000 sq ft for broad smoothing.
- Water a couple of days before aeration to ease plug removal.
Step-by-step: How to level lawn like a pro while protecting grass health
Start by mapping your yard in small sections so each repair feels manageable and tidy. This keeps the work calm and helps you track progress.
Assess and mark the surface
Mow short and run a string line between stakes to check slope away from the house. Walk slowly and flag low spots so you know where to fill.
Reduce compaction first
Core aerate when grass is actively growing (spring or fall) after watering a couple of days. Removing plugs helps air and water reach roots.
Optional cleanup
If thatch is thick, dethatch lightly. That opens the canopy and improves nutrient and water flow to the root zone.
Mix your fill
Blend equal parts topsoil, sand, and compost until the texture is crumbly. This mix drains well and supports rooting without smothering grass tips.
Fill, compact, and finish
Fill low spots in thin lifts. Shovel in a layer, tamp gently with your feet or a tamper, then repeat. Use a leveling rake with long strokes to smooth the surface.
Check grade, water, and top up
Recheck with a string or carpenter’s level to keep drainage away from structures. Water lightly to settle the soil, watch for settling, and add more mix to any area that sinks. Overseed if desired so grass recovers quickly.
Aftercare, seasons, and simple mistakes to avoid for long-term lawn health
Short, steady aftercare helps newly filled spots knit into the rest of your yard.
Timing matters: Plan work by grass type. For warm-season grasses, aim for late spring so growth is vigorous. For cool-season grasses, choose late summer to early fall for best recovery.
After you fill low areas, overseed thin spots or lay sod where needed. Press seed or sod into firm soil contact and keep the surface evenly moist with light, frequent water until roots take hold.

Simple steps to help new growth
Raise your mower a notch during recovery. A taller blade helps roots rebuild without stressing shoots.
Feed only if a soil test calls for it. Targeted nutrients support steady growth and avoid weak, leggy blades.
Avoid these common mistakes
- Avoid working during drought or when the ground is saturated; both conditions worsen compaction and may undo your process.
- Vary mowing patterns each week to prevent ruts and new spots from forming.
- Manage thatch so water and air can reach roots; dethatch if buildup blocks moisture.
"Expect to reapply a thin layer where settling appears; light touch-ups keep your yard seamless."
Keep an eye on settled areas for a few weeks. Lightly fill low spots with a thin layer of topsoil or a sand-compost mix, rake smooth, and water in. This gentle follow-up protects young grass and preserves good drainage.
Conclusion
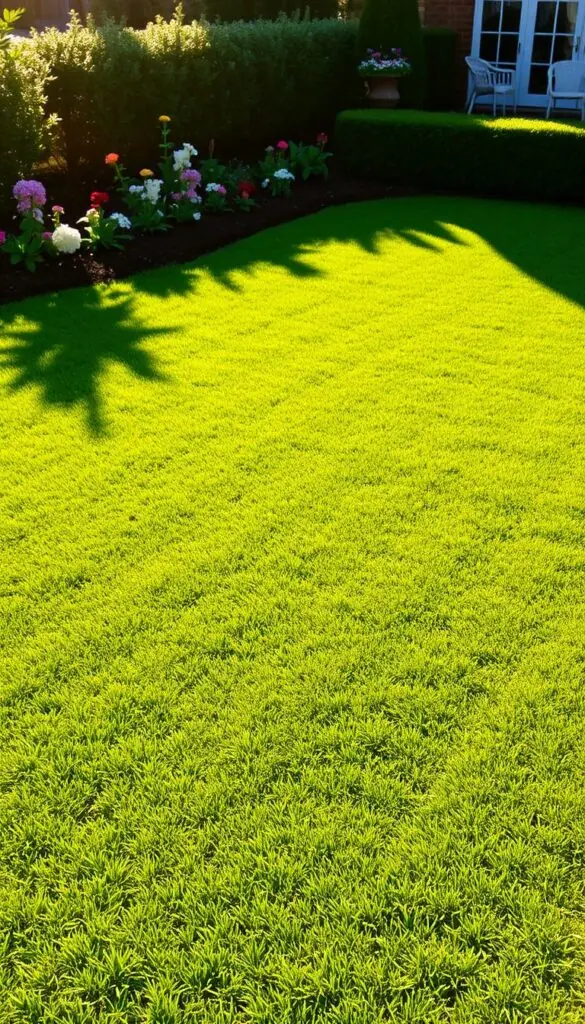
Finish with a few steady passes and you’ll notice the yard settling into an even, sunlit surface.
You’ve followed simple steps: measure slope, relieve compaction, blend an equal-parts topsoil, compost, and sand mix, then fill low spots in thin lifts. Tamp, rake, recheck grade, and water to settle.
Keep your shovel and favorite tools handy for quick touch-ups. Revisit any area that settles, add a little soil, and overseed thin patches so grass fills in fast.
Protect drainage with a soft slope away from the house and manage thatch with light care. Enjoy the calm, even surface you made — a small, steady process that rewards you every time you walk the yard.
FAQ
How do I know if my yard needs leveling or just a top dressing?
Check for shallow hollows where water ponds after rain, uneven mowing lines, or trip hazards. If the depressions are less than 1–2 inches, a top dressing mix of topsoil, compost, and a little sand will usually do. For deeper low spots you’ll need to dig out, fill in layers, and compact as you go to restore a uniform surface.
When is the best time to fix uneven areas for healthy grass recovery?
Aim for active growing times: late spring to early summer for warm-season grasses and late summer to early fall for cool-season varieties. That timing lets roots recover quickly. Avoid working soil when it’s waterlogged or during drought stress.
What mix should I use to fill low spots so they drain well and feed the turf?
Use a blend of topsoil, compost, and coarse sand — roughly equal parts by volume works for many yards. Compost adds nutrients, topsoil provides structure, and sand improves drainage. Adjust proportions slightly for heavy clay or very sandy sites.
How do I fill a deep dip without smothering the grass?
Fill deep spots in thin lifts of 1–2 inches. Tamp each layer gently with a tamper or your foot, then add more material until the surface is just slightly above the surrounding grade. Finally, smooth and water to settle, then top up as needed so the grass blades aren’t buried.
Can I spread seed over the fill, or should I use sod?
Both work. Seed is cost-effective and good for larger areas; overseed after filling and keep consistent moisture until seedlings establish. Sod gives instant coverage and is best for high-traffic or visible areas. Match seed or sod to your existing grass type for best blending.
How much should I water after filling low spots?
Water lightly right after you finish to help material settle, then keep the soil consistently moist but not soggy. For seeded areas, water several times daily for short periods until seedlings emerge, then reduce frequency and increase depth to encourage deeper roots.
Do I need to aerate before I level my yard?
Yes, aerating first helps relieve compaction and lets new material integrate with the root zone. Use a core aerator during active growth periods; it improves air, water, and nutrient movement so the grass recovers faster after you fill and seed.
Will adding sand help with drainage on clay soil?
Sand can help, but you must mix it with organic matter and topsoil. Adding sand alone to clay can create a concrete-like layer. A well-blended mix improves structure, so water drains while roots still get nutrients and moisture.
How do I avoid low spots returning after I fix them?
Compact each fill layer as you go, maintain a gentle slope away from structures for good drainage, and address the cause — reduce heavy vehicle traffic, fix irrigation leaks, or discourage burrowing animals. Regular overseeding and proper mowing height also keep turf dense and resilient.
What tools are worth buying versus renting for DIY repairs?
A good shovel, landscape rake, wheelbarrow, and tamper are worth owning. Rent larger items like a core aerator, lawn roller, or broadcast spreader if you need them for bigger jobs. Gloves, a string level, and a quality soil mix make the job easier and neater.