You step outside and feel the soft give of the yard under your feet — then notice thin, uneven places where green should be. Have you ever wondered how to move from those bare spots to a sunlit, even lawn without fuss?
You’ll get calm, step‑by‑step help in a neighborly voice. We’ll show a simple way to read your yard like a quilt and choose the best fix — reseed, plug, or lay sod — so the result fits your time and goals.
Picture prepping the soil, the gentle crumble under your hand, then the fresh green that follows a light watering. New seed and sod need frequent, light water so the top inch of soil stays moist, then gradually deeper so roots reach down.
We’ll also cover timing: when to mow at about 3.5–4 inches, when to feed after 6–8 weeks, and why many weed controls should wait until the new growth has been mowed a few times. For warm‑season types like St. Augustine, plugs or sod often work better than seed.
Key Takeaways
- Start by finding the cause in soil, traffic, or shade before you choose a fix.
- Keep new seed or sod lightly watered so the top inch stays moist.
- Mow new growth at 3.5–4" and feed after 6–8 weeks to thicken turf.
- Wait to apply weed controls until the new grass has been mowed 3–4 times.
- Use plugs or sod for St. Augustine instead of seed for best results.
Start Here: Why Your Lawn Has Bare Spots and Thin Patches
Take a quiet morning look at your lawn to spot patterns that tell the real story. Walk slowly and mark bare spots and worn areas where traffic, pets, or mower turns expose dirt. A few minutes of observation saves time later.
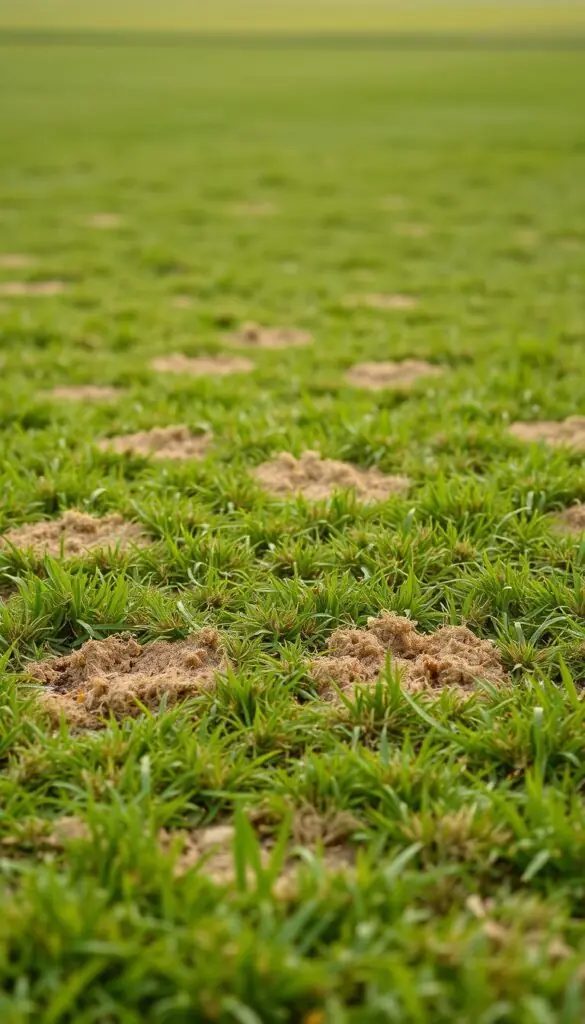
Quick checklist to spot the cause
- Look under trees and along fences; shade often makes thin patches that need a shade‑tolerant mix.
- Circle paths and corners where wheels or feet compact the soil — compacted soil repels water and weakens roots.
- Scan for arcs or yellow rings — pet urine, heat stress, or disease can leave distinct marks on lawns.
Simple field tests you can do in minutes
Do a tug test: grab a small clump. If the roots pull out easily, check for grubs or fungal problems after wet weather and warm days.
Slice a narrow wedge to measure thatch. More than about half an inch can smother plants and invite dead grass.
"Note patterns, not just spots — causes often overlap, so your fix should too."
Season and Grass Type: The Right Time to Repair in the United States
Start with the calendar — season and soil temp guide the best time to seed or sod.
Cool-season grasses like Kentucky bluegrass, fescues, and rye do best when you plant in late summer to early fall. An early spring window also works, giving seeds time to root before heat arrives.
Warm-season choices — bermuda, zoysia, centipede, and St. Augustine — prefer late spring into summer. The warm soil helps new turf knit fast and resist stress.

"Match your timing to the turf type and your weekly watering schedule for the best results."
- Choose fall for cool-season seeds when days cool but soil stays warm.
- Pick late spring or summer for warm-season plugs or sod so roots grow quickly.
- Plan sod installation at least six weeks before your first hard frost.
| Type | Best Months | Recommended Method | Why it works |
|---|---|---|---|
| Cool-season | Late summer–fall, early spring | Seed or sod | Warm soil, cooler air helps germination |
| Warm-season | Late spring–summer | Plugs or sod | Active growth in warm soil speeds establishment |
| St. Augustine | Late spring–summer | Plugs or sod (not seed) | Typically not sold as seed; plugs blend in well |
Quick tip: If your schedule is tight, choose sod for instant cover during the right season. Otherwise wait for the ideal time and your new plants will thank you.
Patchy Grass Repair by Reseeding: Step‑by‑Step for Lush New Grass
Start by clearing and leveling the small repair area so seed meets soil, not clutter.
Scalp mow the thin area very low and bag clippings and dead grass. Rake away weeds and debris so the surface is tidy.
Use a hand cultivator or rake to loosen the top 1–2 inches of soil. Break clods, smooth dips, and add a bit of topsoil where the ground is compacted.
Soil test and amend
Do a quick soil test to check pH and nutrients. Work in compost or a starter fertilizer so the soil feels crumbly and earthy in your hand.
Choose seed and rates
Match seeds to sun, shade, and your region. Follow the label coverage rate and use a spreader for even distribution.
Sow, protect, and water
Spread seed in two passes at right angles, then gently rake so seed has contact with soil. Cover up to about 50% with clean straw or light mulch.
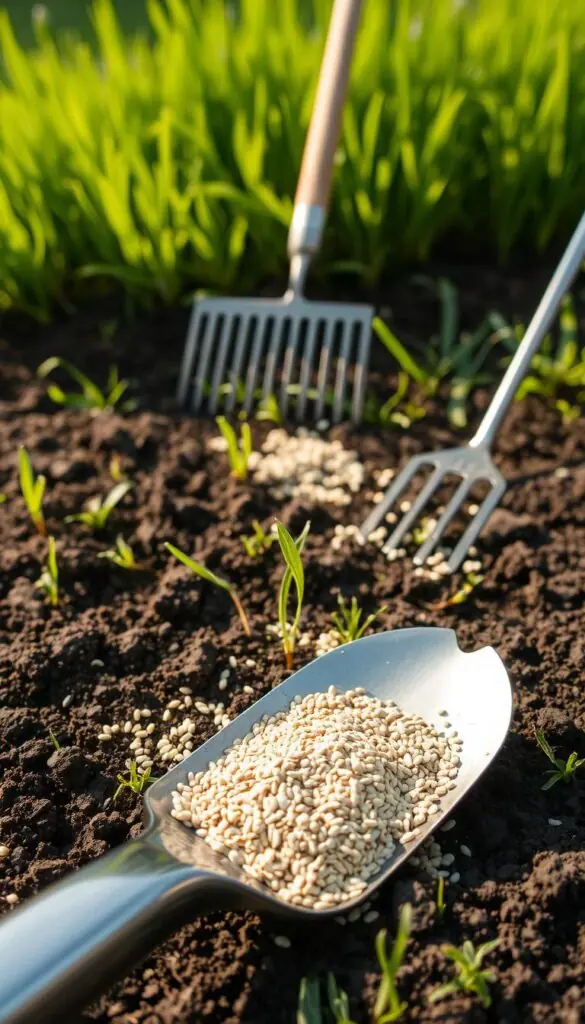
Water with a fine mist 10–15 minutes, two to three times a day at first. Keep the top 1–2 inches moist, then lengthen sessions and reduce frequency as roots settle.
"Keep feet and wheels off until seedlings can stand a few mows — patience pays."
Common mistakes to avoid
- Avoid pre‑emergent herbicides that stop germination.
- Don't overwater or create puddles; soggy soil drowns seed.
- Protect the area from heavy traffic and pet spots while roots form.
| Step | Tool | Timing | Why it helps |
|---|---|---|---|
| Scalp mow & clean | Mower, rake | Before seeding | Improves seed‑to‑soil contact |
| Soil test & amend | Soil kit, compost | Day of seeding | Balanced nutrients for germination |
| Sow & mulch | Spreader, rake, straw | Morning or evening | Even coverage and moisture retention |
| Watering | Hose with mist | 2–3 times/day initially | Keeps top 1–2 inches moist for germination |
Fix Patchy Areas with Sod or Plugs: Instant Results for Bare Spots
When you want green right away, sod or plugs give instant coverage and a tidy result. Sod costs more than seed, but it erases bare spots fast and looks finished the same day.
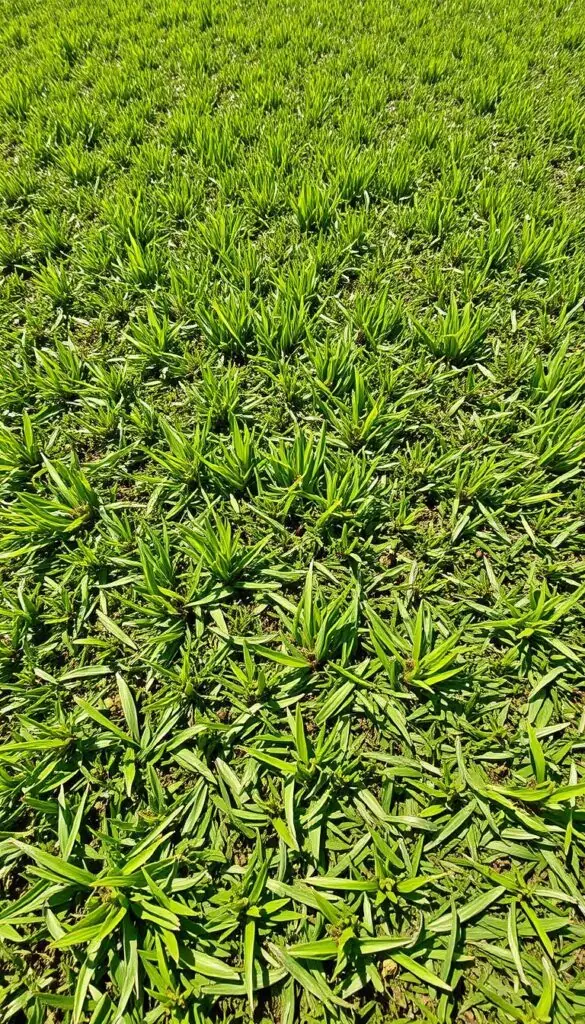
When sod beats seed: choose sod if your schedule or weather calls for quick cover. It’s ideal during the active growing season and is smart when you need a fast, clean fix.
Cut, fit, and level. Measure each area with a tape and cut pieces about 2 inches oversized. Use a square spade to edge the outline, remove old turf, and loosen the topsoil until it feels springy under your rake.
Set the sod flush with the surrounding lawn so there’s no lip or dip. Add a thin layer of compost if the ground needs filling. Trim edges to make tight seams that look like a puzzle laid smooth.
Press and water
Press each piece with a lawn roller or step heel‑to‑toe across it; you’ll feel the sod settle and meet the soil. This close contact helps new roots reach down quickly.
Water immediately so the underside is cool and moist. Keep the surface evenly damp—often once or twice daily for the first 7–10 days—then water deeper and less often as roots establish.
"Keep people, pets, and carts off until a gentle tug shows the sod resists—then your work is starting to root."
Special note for St. Augustine: use plugs or sod set into prepared soil rather than seed. Pieces blend in well during warm months and give a uniform match across your lawn.
Watering, Mowing, and Feeding: New Grass Care in the First Weeks
Start with gentle, timed care that lets new shoots find water and strength beneath the soil. This short schedule gives clear cues you can feel and see.

Weeks one to four
In weeks one and two, keep the top inch of soil evenly moist. Water for about 10–15 minutes, two to three times a day for seed. For sod, water once or twice daily for the first 7–10 days.
By weeks three and four, stretch each session a bit longer and cut back a time or two per day. This helps new roots reach deeper without washing seed away.
Weeks five to eight
Shift to deeper, less frequent watering so the lawn learns to drink from lower down. A deep session once or twice a week often builds stronger roots and reduces stress in hot weather.
Mow and feed timing
Wait to mow until blades reach about 3.5–4 inches. Use a sharp blade and remove only the top third of the height.
Feed after 6–8 weeks with a balanced fertilizer to thicken new grass and help it crowd out weeds.
"Hold off on most weed controls until you’ve mowed three or four times; spot‑pull if needed."
Watch for grubs in spring and keep feet and wheels off new areas while roots settle. Small notes on times and soil feel make steady care easy to repeat.
Prevent Future Patches: Simple Lawn Care Habits that Keep Turf Even
A few small habits keep your lawn looking even and save hours next season. These are low-effort steps you can do with a hose timer, a mulching mower, and a hand aerator.
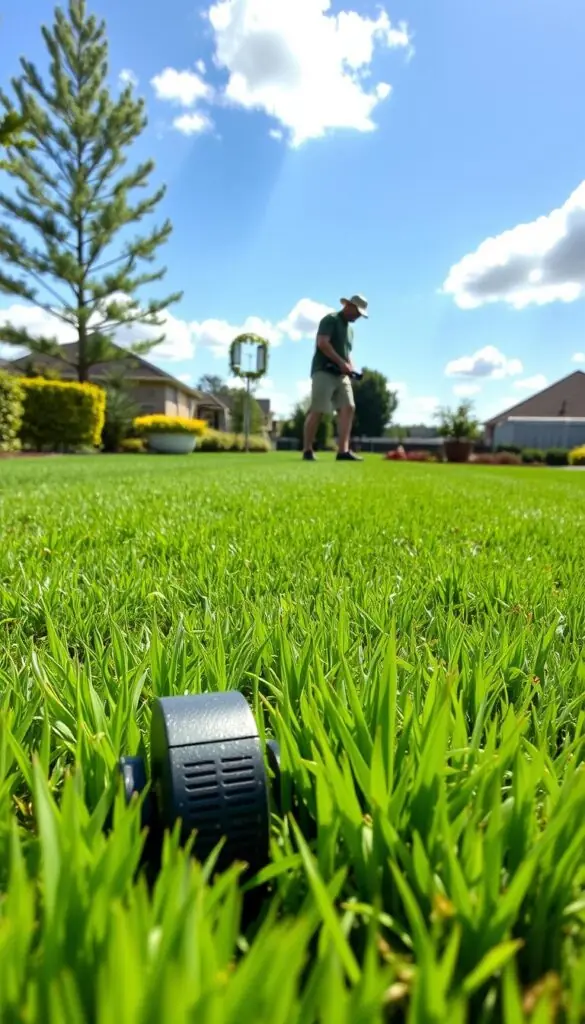
Set mower height, sharpen blades, and rotate foot traffic
Keep mower blades sharp and raise the deck so the lawn shades the soil. Taller blades hold moisture and hide tiny flaws that turn into larger spots.
Shift play and walking routes now and then. Rotate use areas so the turf gets a break and footprints bounce back instead of wearing thin.
Aerate compacted areas, manage thatch, and topdress with compost
Aerate compacted corners in spring or fall. After aerating, topdress with a thin layer of compost so soil breathes and roots grow deeper.
Check thatch by cutting a small plug; if it’s thick, dethatch and overseed lightly to boost density and stop new patches.
Water by need and weather: about 1 inch per week once established
Water deeply in the morning rather than frequent light sprays. Most established lawns do well with around one inch per week.
Feed on a simple schedule that fits your grass type so color stays even through the months, especially into summer. Spot-seed tiny thin areas early so they never become larger patches.
"A short checklist—mower tune, aerate problem spots, light compost topdress—makes lawn care feel easy, not endless."
- Use mulch mowing to recycle nutrients and slow water loss.
- Edge beds so mulch and leaves don’t shade the lawn.
- Pick plants and grasses that match your light and soil to reduce maintenance.
Conclusion
A little patience and the right routine turn small spots into a smooth, sunlit turf.
With a clear plan, you can fix patchy areas and leave behind bare spots and bare patches. You matched seed or sod to the season, worked soil so seeds and new grass settle, and kept watering gentle at first.
Remember to mow when blades reach about 3.5–4 inches and feed after 6–8 weeks. Hold off on most weed products until you’ve mowed three to four times, and watch for grubs in spring.
If you still see tiny patches, touch them up early with a bit of grass seed and a light rake. Enjoy the soft, even lawn you made — it’s a welcoming place each day.
FAQ
What causes bare spots and thin patches in my lawn?
Common causes include compacted soil, uneven watering, pet urine, heavy foot traffic, pests like grubs, fungal disease, shade, or poor soil nutrients. Run a quick tug test to check root strength, measure thatch depth, and note where wear repeats to find the likely culprit.
When is the best time to fix thin areas for my type of turf in the U.S.?
Match timing to your grass. Cool-season turfs (Kentucky bluegrass, fescues, perennial rye) respond best to late summer through fall or early spring. Warm-season turfs (bermudagrass, zoysia, centipede, St. Augustine) are best repaired in late spring into summer when growth is active.
How do I prepare a bare spot before seeding or sodding?
Mow low, remove debris and weeds, loosen and level the top 1–2 inches of soil, and remove dead roots or old turf. Lightly amend with compost or a starter fertilizer based on a soil test so seeds or sod sit on loose, nutrient-rich dirt for good root contact.
How do I choose the right seed or sod for sun and shade?
Pick varieties suited to your climate and light conditions. Use shade‑tolerant fescues or fine-blend mixes for shady areas; choose Kentucky bluegrass or rye for sun in cool regions. For warm-season, select zoysia or St. Augustine for sunny lawns. Match cultivar to region for best results.
What’s the correct way to sow seed for even coverage?
Broadcast seed evenly at the recommended rate, lightly rake to ensure seed-to-soil contact, and add a thin mulch layer like straw or a peat-free mulch to retain moisture. Keep pets and foot traffic off newly seeded spots until seedlings are established.
How often should I water new seed or sod in the first weeks?
For seed, mist the area 2–3 times daily at first to keep the top inch moist. Once roots form, water more deeply but less often. For sod or plugs, keep soil evenly moist (no puddles) for the first 2 weeks, then reduce frequency while increasing depth of soakings.
When can I mow newly established turf and how high?
Wait until seedlings reach about 3.5–4 inches before the first mow; mow no more than one-third of blade height. For warm-season grasses, follow similar rules but maintain recommended heights for each species to encourage thick, healthy growth.
Should I fertilize immediately after seeding or laying sod?
Use a starter fertilizer at seeding time or shortly after sodding if a soil test shows low nutrients. Avoid heavy feeds on very young seedlings; plan a follow-up fertilizer at 6–8 weeks to strengthen roots and help the new turf compete with weeds.
When should I worry about pests or disease during lawn recovery?
Watch for irregular browning, thinning, or turf that peels up easily (signs of grubs). Fungal spots often appear in wet, warm weather. Treat only after proper ID; cultural fixes like improved drainage, reduced thatch, and correct watering often prevent problems.
Is sod or plugs better than seed for small bare spots?
Sod gives instant cover and is best when you need quick results or erosion control. Plugs work well for warm-season turfs like St. Augustine when matched to timing and budget. Seed is more economical for larger areas but takes longer to fill in.
How do I install and care for sod or plugs to ensure rooting?
Cut and fit pieces tightly, loosen the underlying soil, set sod flush with surrounding turf, press or roll to ensure contact, and water daily to keep moist. For plugs, space correctly, firm soil around each plug, and maintain consistent moisture while roots establish.
What watering schedule should I follow after the first month?
After initial establishment, shift to deeper, less frequent watering. Aim for about 1 inch per week total (adjust for rainfall). Water early in the morning to reduce evaporation and disease risk; target soakings that wet the top 6–8 inches.
How can I prevent future bare spots and keep turf even?
Set mower height correctly, sharpen blades, rotate heavy-use areas, aerate compacted soil, manage thatch, and topdress with compost as needed. Water by need and weather, overseed thin zones in season, and keep pets or persistent traffic away from recovering patches.
What common mistakes should I avoid when fixing bare areas?
Avoid using pre-emergent herbicides before seeding, overwatering which invites disease, heavy foot traffic on new seedlings, and skipping soil tests. Also don’t lay seed on hard, compacted dirt without loosening and amending it first.
How long until I see a fully filled-in, lush surface?
Seeded areas often show good cover in 4–8 weeks for many species, with full strength taking several months as roots thicken. Sod gives immediate coverage but needs 3–6 weeks to root well. Exact timing depends on species, weather, and care.
Can compost or topdressing help thin spots recover faster?
Yes—light topdressing with compost improves soil structure, adds organic matter, and helps retain moisture. Spread a thin layer (about 1/4 inch) over thin areas after seeding or during overseeding to support germination and root growth.