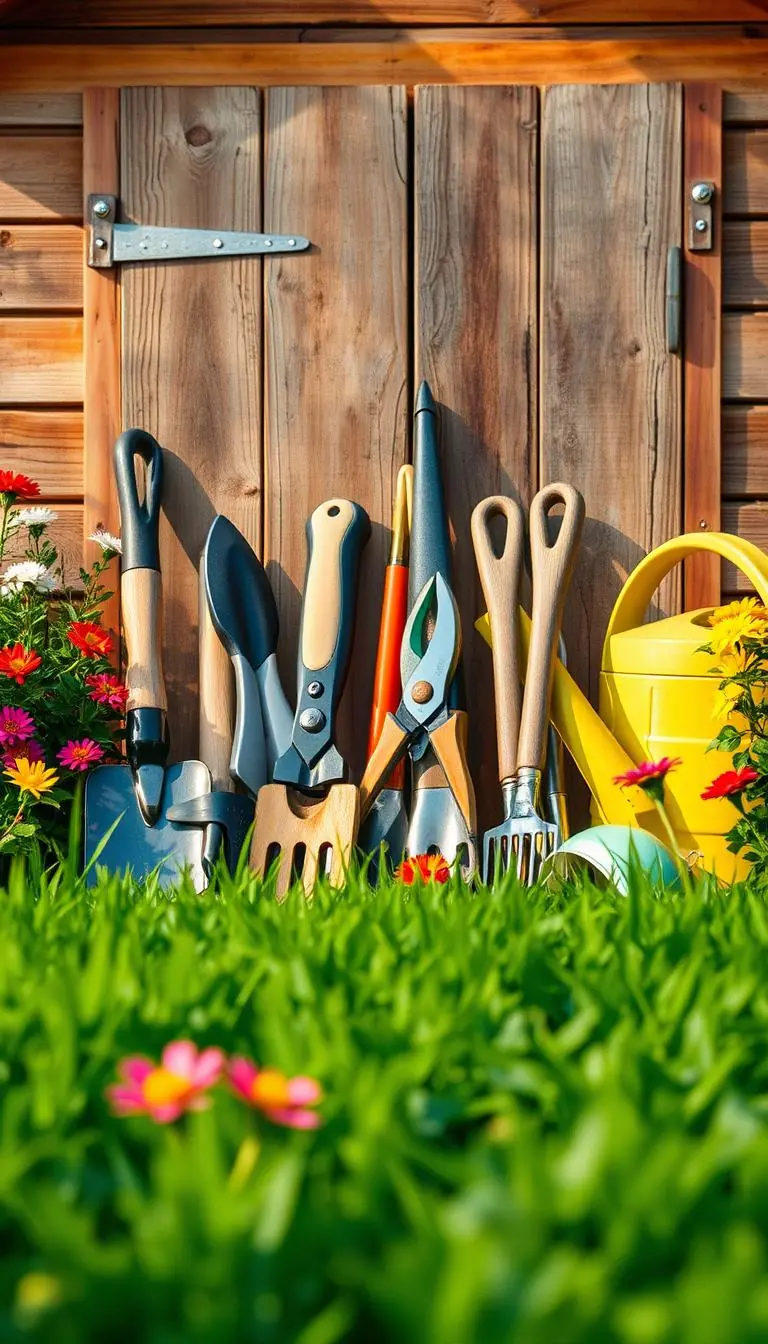
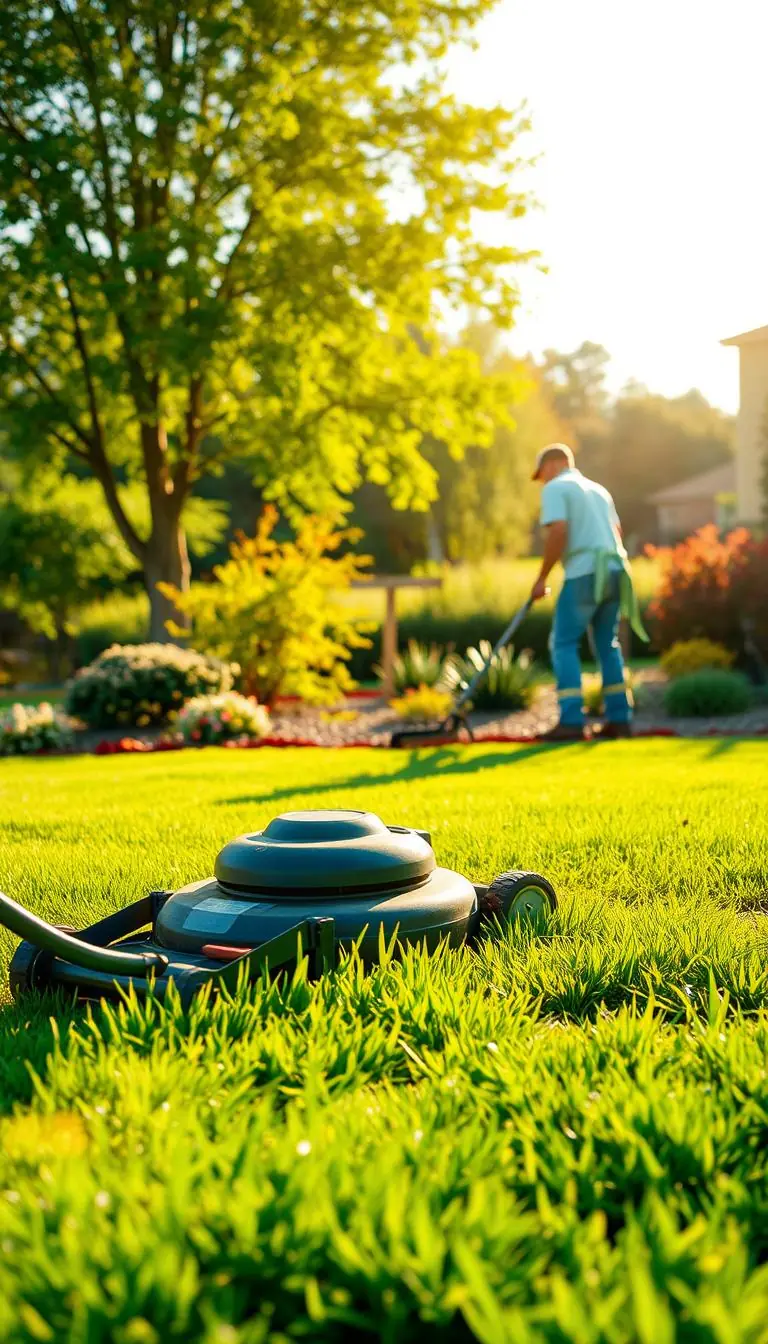
Imagine a crisp, dark line where emerald grass meets charcoal pavers — that first glance can make your whole yard feel tidy and cared for.
Do you ever stand at your porch and wish the boundary around your garden looked neat and deliberate? You’re not alone. In this friendly guide, we promise clear, doable steps that fit a single afternoon of work.
We’ll start simple: mow so you can read the true shape, then make a thin cut to form a clean edge about 2 inches deep so rhizomes don’t creep back. You’ll learn when to choose manual tools like a half‑moon spade or roller edgers, and when a motorized option speeds long, straight runs.
Along the way, we’ll share seasonal pointers, basic safety—gloves and eye protection—and small tips that save time later. By the end you’ll feel calm and capable, ready to frame your outdoor spaces so colors pop and curves stay smooth.
Key Takeaways
- Start by mowing to see the true shape before you cut.
- A 2‑inch trench helps keep grass from spreading back.
- Pick manual tools for precision or motorized for speed.
- Use simple safety gear and steady, controlled motions.
- Quick aftercare and weekly touch‑ups extend sharp edges.
Why Clean Edges Matter for a Beautiful, Low‑Stress Yard
When edges are tidy, paths, pavers, and flower beds look like parts of one calm, well-made picture. A sharp boundary acts like a frame. It makes green tones richer and blooms stand out.
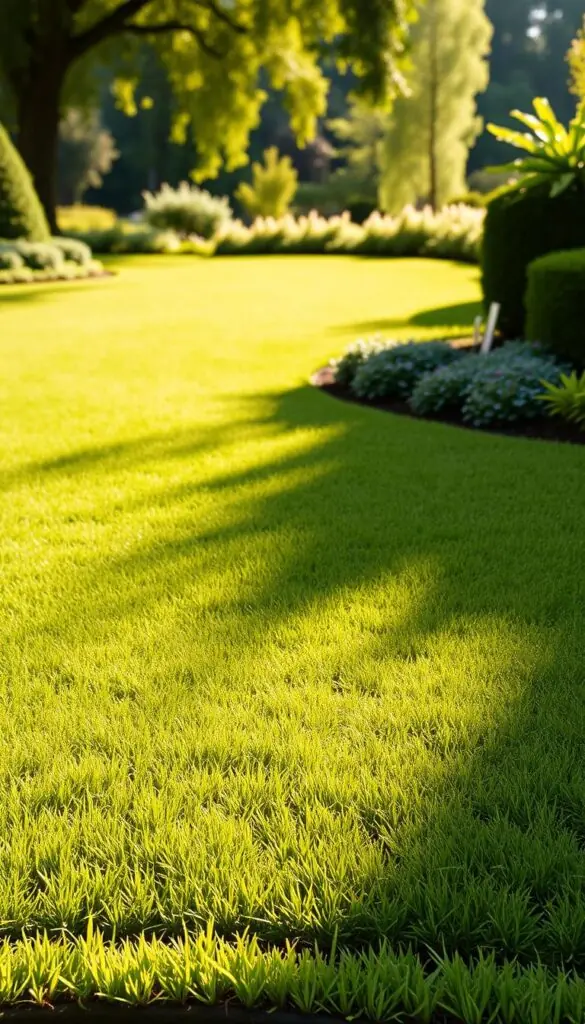
The visual frame that makes everything pop
Defined borders accentuate stone walkways, brick pavers, and garden beds by creating a narrow trench between turf and hard surface. That small cut keeps mulch corralled and stops windblown debris from settling into beds.
Simple curb appeal and less weekend work
- Think of a tidy border as a picture frame — your lawn greens look deeper and flowers like coral coneflower and purple salvia gain contrast.
- A clear edge slows the spread of grass and reduces pop-up grass weeds, which cuts down on weekend weeding.
- Neat borders make walkways safer and keep pavers and planters looking intentional when you host outdoors.
Quick tip: keep a two‑inch trench and touch it up every few weeks. With small, steady care your landscaping will read as finished, and you’ll spend more time enjoying the garden.
Prep First: Mow, Mark, and Make a Plan
Start your project by clearing the view—mow so the true shape of your yard is obvious. A tidy cut helps you trace the real contour and keeps the work calm.
Trim with care: set your mower so you remove no more than one‑third of the grass. That rule protects turf health while you plan the next moves.
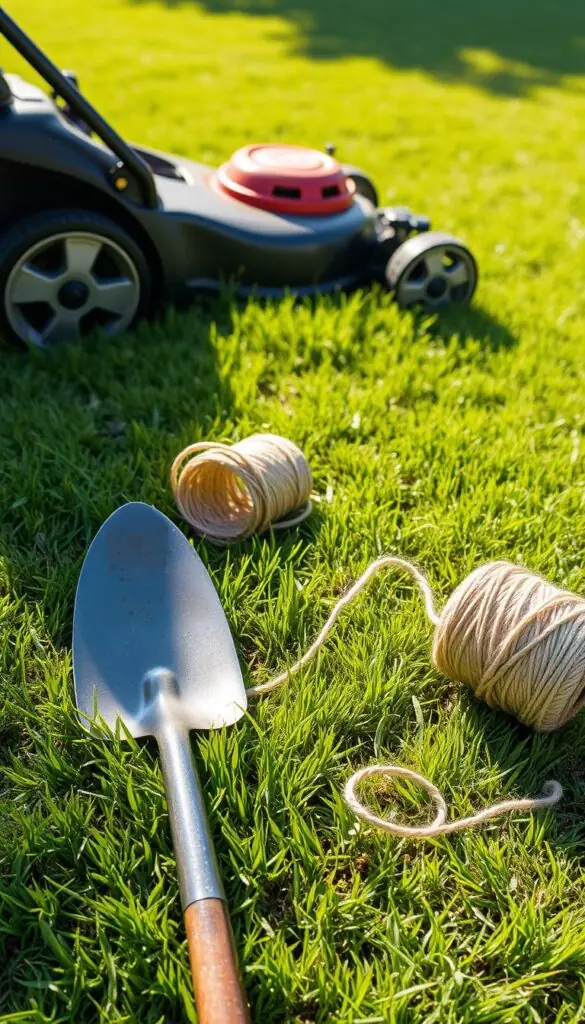
Mow before you edge to see true height and shape
Once mowed, walk the line and mark where paths meet beds. A clear view makes the rest simple.
Mark straight lines with string; shape curves with a hose or rope
For straight runs, stretch string between stakes to use as a visual guide. For soft curves, lay a hose or rope until the arc feels right. If you use markers, keep them on the non‑cut side and stay alert to avoid nicks.
Set your edge line with enough space for a defined trench
Plan space for roughly a 2‑inch trench so the boundary holds after rain. Scan for irrigation heads and shallow cables first.
- Work in 10–15 foot sections to stay relaxed.
- Spring or fall, when soil is soft, makes digging easier.
Lawn Edging Techniques
The tool you bring shapes how neat your border will look and how much effort it takes. Pick what matches your yard size and the look you want. Below are clear choices so you can decide with confidence.
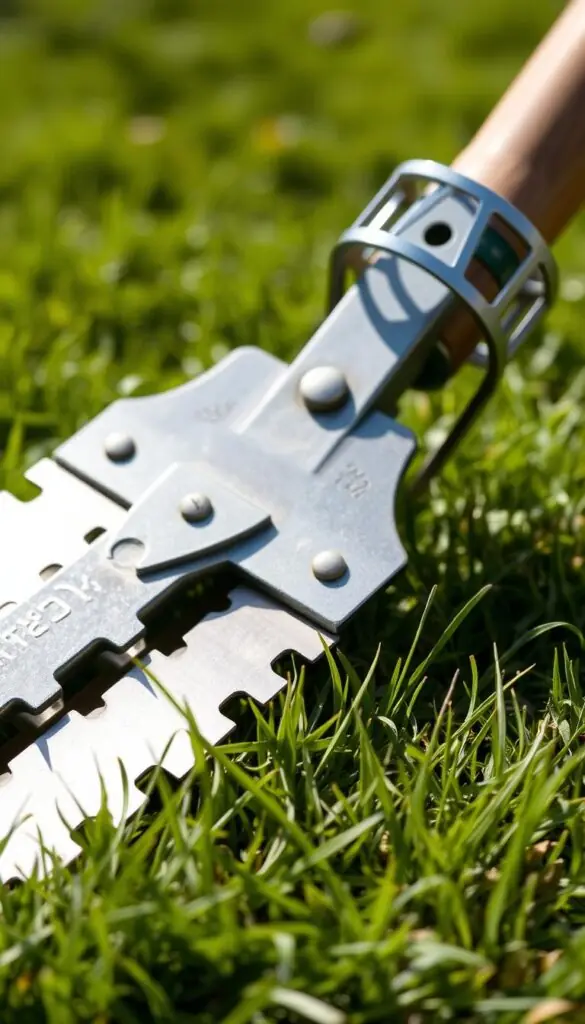
Manual options for control
Manual edgers are durable, low cost, and perfect for curves and detail. A half‑moon manual edger gives crisp cuts near beds and trees where you want artistry over speed.
Dual‑wheel rotary edgers roll smoothly along straight paths and nibble overgrowth. Keep edging shears handy for weekly touch‑ups to keep lines sharp.
Motorized choices for speed
Flip a string trimmer head vertical to trace long, straight edges fast. Use string trimmers carefully with the deflector facing you for safer control.
For tougher seams, a dedicated bladed edger rides on a small wheel so the blade follows concrete and turf cleanly.
Power source: match size to power
- Choose gas for big lots and thick, mature turf.
- Cordless electric is easy to start and great for small suburban yards.
- Corded electric works if outlets reach key runs; plan your cord route.
Match your choice of edger and tools to the job: precision for curves, power for long runs. Keep a small hand tool nearby for quick fixes so the line always reads tidy.
Safety, Setup, and Smart Tools to Have on Hand
Start by making the work area safe and simple — it’s the friendliest way to a clean result.
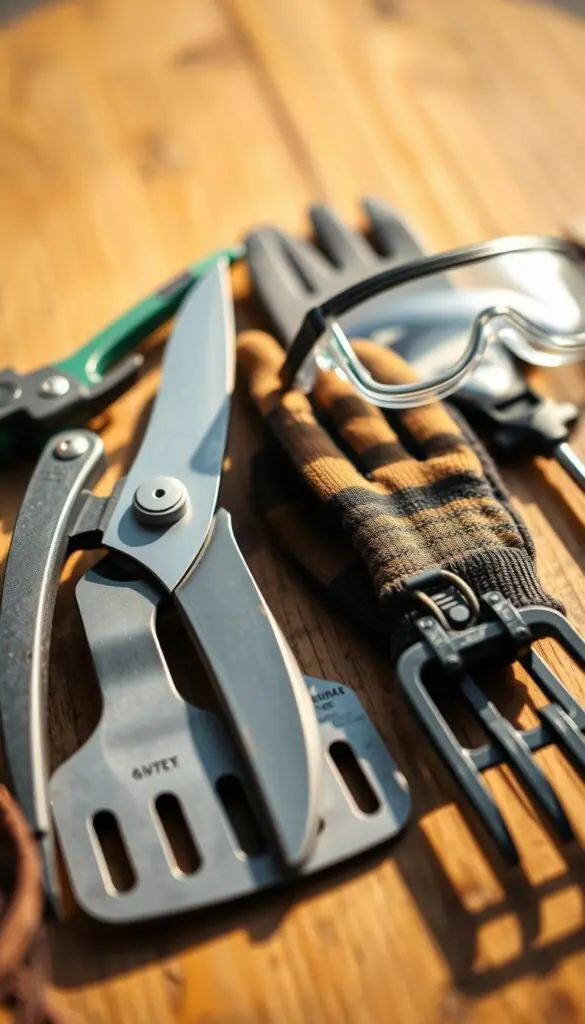
Wear sensible gear. Make sure you slip on sturdy gloves and clear safety glasses. A dust mask helps if pollen bothers you.
Check utilities and footing
Do a quick sweep for irrigation, cables, and shallow lines, especially in older areas where additions were made later.
If you edge next to a sidewalk, walk on the concrete so your footing stays steady and the edger blade tracks true.
Helpful extras to keep nearby
- Park a wheelbarrow close so lifted turf goes straight in — less back‑and‑forth.
- Use a short board as a straight guide; cut along it, then move it forward.
- Have a stiff broom or small blower to clear grit and assess your line as you go.
Move with purpose: keep arms straight, core engaged, and walk at an easy pace so the tool does the work. Pause if wind picks up. A little care now means neater edges later.
Step‑by‑Step: How to Edge Straight Lines and Gentle Curves
Begin each run at one steady end and move toward the other so your border tracks true. This simple start helps you keep a straight sightline and calm pace.
Body position and pace: Stand tall with arms straight and your core lightly engaged. Let the tool’s weight guide slow, even steps so you move with control.
- Start-to-finish pass: For straight runs, work from one end to the other in a single, calm pass. Fewer stops give cleaner results.
- String trimmer use: Flip the head vertical. Most heads spin clockwise—move left to right so clippings fall back onto the grass.
- Manual blade control: Drive the blade straight down like a shovel, rock gently, then lift the strip into your cart.
- Depth and rhythm: Aim about two inches deep for a lasting edge that resists quick regrowth after warm, rainy weeks.
- Curves and checks: Shorten steps on arcs and every 10–15 feet pause, step back, and scan the line in the light.
- Cleanup: Lift sod and soil as you go and finish with a quick pass of shears to snip any stragglers.
Special Areas: Flower Beds, Walkways, Pavers, and Tight Corners
Small areas reward careful hands: a neat seam beside pavers or a mulched bed makes the whole garden feel finished.

Creating a crisp edge along flower beds and mulched borders
Keep a vertical drop between turf and mulch so the bed reads intentional and the mulch stays put.
Work slowly near roses or peonies to avoid nicking roots or stems. Flag irrigation and hoses before you start.
Edging next to sidewalks and driveway concrete without chipping
Place a bladed edger or a vertical trimmer right in the seam and walk on the concrete so the cut runs true.
This prevents chipping and gives a clean line where pavement meets turf.
Curves and circles: smoother lines with manual tools
Manual edgers and manual edger blades shine on tight curves around a circular fire pit or small bed.
Shorten your steps, keep cuts shallow, and use a hand tool to preserve roots and shape.
Hardscape edging options when you want a permanent barrier
Steel strip, rubber edging, or a narrow paver soldier course makes a durable edge that cuts maintenance.
These permanent choices hold soil and make edges read crisp for seasons to come.
- Along flower beds: vertical drop keeps mulch in place.
- By pavers and concrete: walk on hard surface and follow the seam.
- Tight corners: small angled cuts to avoid gouges.
Aftercare: Clean, Store, and Maintain Your Edge
After you finish cutting, a few simple steps lock in that clean edge and protect your gear.
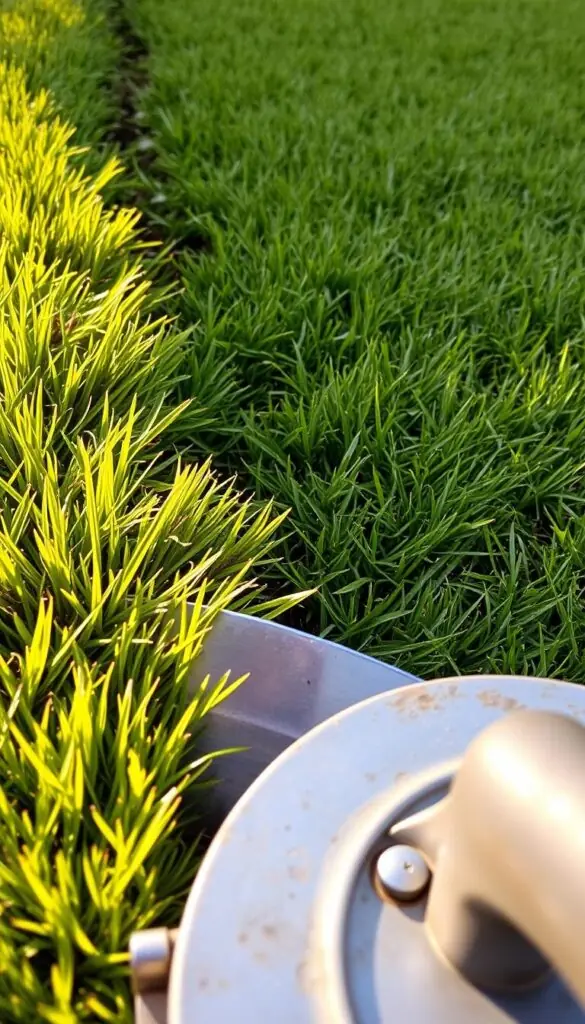
Post-job cleanup
Give paths and pavers a quick sweep or light blow so the crisp shadow line really shows. Removing clippings makes the contrast pop and keeps walkways safe.
Tool care and storage
Wipe dirt from handles and the shaft. Knock loose clumps from the edger, trimmer head, or blade and check the string or edge blade before you store it.
- Wipe metal parts dry and hang tools under cover to avoid rust.
- Keep a small oil bottle for blades and moving parts so the tool stays smooth.
Weekly touch-ups to stop runners
Plan a five-minute walk with long-handled shears to snip horizontal runners before they jump the border. This light work prevents major repairs later.
- Use clippings for compost or as mulch around non-seeding beds.
- If a section slumps after heavy rain, firm the soil with your boot and refresh that spot.
- A light monthly pass keeps the line fresh so you skip deep cuts most seasons.
Simple, fast maintenance keeps your lawn trim and the edge looking cared for with little effort. A few tidy habits now save time next weekend.
Seasonal Timing, Schedules, and Quick Tips to Avoid Mistakes
Timing your work well saves effort and keeps the border looking fresh longer. Pick quiet days so the job feels calm and you can go slow. Spring and fall are the best for major shaping—soil is softer and grass rebounds fast in cool springs and milder autumns.
How often: most yards need a touch every two to four weeks. If growth is fast, a tighter two‑ to three‑week cycle keeps things neat without heavy work.
Common mistakes to avoid
- Avoid rushing—fast, choppy cuts leave ragged lines and stress grass.
- Don’t make only shallow cuts; go a bit deeper so runners and rhizomes stay back.
- Skip spray markers on windy days; paint can drift and stain paths.
- If you use a rope or hose as a guide, keep it on the non‑cut side to prevent nicking.
- After heavy rain, wait a day so the soil firms and your trench holds shape.
| Season | Best Work | Quick Reminder |
|---|---|---|
| Spring | Major shaping and repairs | Soil is soft; shape while grass rebounds |
| Summer | Light refreshes every 2–4 weeks | Watch for heat stress; water wisely |
| Fall | Final shaping before dormancy | Use cooler days for clean cuts |
| After rain | Delay 24 hours | Prevent trench collapse and slipping |
Quick job tip: slow, steady passes beat fast work. Finish each session with a quick sweep so you can spot tiny fixes while tools are still handy. With a calm plan, your grass and borders stay tidy with little effort.
Conclusion
With modest tools and a steady step, you can shape clear lines that lift the whole landscape.
Mow first, mark the route, then make a single steady pass about two inches deep. This simple approach keeps grass from creeping back and gives you a lasting, neat lawn edge.
Choose a manual edger for curves or a lawn edger or string trimmer for long runs. Let the blade do the work and use weekly shears for small touch‑ups.
Edge lawn borders every two to four weeks in season. Small, steady steps protect turf, beds, and pavers and make your broader landscaping look intentional.
Takeaway: start small, go steady, and enjoy the calm reward — a refreshed yard ready for warm evenings and happy feet.
FAQ
Why keep edges clean and sharp?
Crisp edges act like a frame, making turf, paths, and flower beds look tidy. Clean lines reduce creeping grass and weeds, cut maintenance time, and give your yard instant curb appeal.
What should I do before I start edging?
Mow first so you see true height and shape. Mark straight runs with string and lay a hose or rope for curves. Plan the trench location so you leave enough room for a defined border.
Which hand tools work best for precision work?
For neat, controlled cuts use a half‑moon spade, roller edger, or long‑handled shears. These manual edgers give smooth curves and clean straight lines without disturbing plantings.
When should I use power tools instead?
Use a string trimmer held vertically or a bladed power edger for long runs or tough turf. Choose gas for large yards, electric for smaller areas, and cordless for flexibility around beds and pavers.
How deep should I cut for a lasting edge?
Aim for about two inches deep. That depth cuts roots and slows grass from creeping into beds while leaving a visible, durable trench that’s easy to maintain.
What safety gear and prep steps do I need?
Wear gloves and eye protection, and check for buried utilities before digging. Keep a broom or blower and wheelbarrow nearby to handle clippings and sod as you work.
How do I edge straight lines without a guide?
Use string stretched tight between stakes for straight runs. Keep your body aligned, arms straight, and work slowly so each pass follows the guide cleanly.
Any tips for smooth curves and tight corners?
Shape curves with a hose or rope before cutting. For corners, use a half‑moon spade and small, controlled steps; finish with hand shears for a crisp look near plantings and pavers.
How do I avoid damaging concrete or pavers while edging?
Work gently near hard surfaces, use a narrow blade or shears, and cut at a slight angle away from the concrete. Pause often to check for chips and remove soil build‑up without prying on edges.
What’s the best cleanup and tool care routine after edging?
Sweep or blow clippings off hard areas, lift sod into a wheelbarrow, and clean blades and strings. Wipe, oil, and store tools dry so blades stay sharp and strings last longer.
How often should I refresh edges during the growing season?
Edge every two to four weeks depending on growth. Frequent light touch‑ups with long‑handled shears prevent rhizomes from jumping beds and keep borders tidy.
When are the best seasons to do major shaping or repairs?
Spring and fall are ideal for shaping and repairs. Cooler weather helps grass recover, and fall edging prepares beds for winter while spring fixes after winter heaving.
What common mistakes should I avoid?
Don’t rush—shallow cuts and uneven pace cause ragged results. Avoid nicking hoses or underground lines, and be careful with spray paint or markers that can drift onto plants.
Is there a long‑term option for permanent borders?
Yes. Hardscape edging like steel, stone, or pavers creates a permanent barrier that reduces mowing and trimming. Pick materials that match your beds and allow proper drainage.