You notice a sticky patch on a glossy leaf and a tiny fly drifting in the sun by your window. That quiet moment can turn you from relaxed caretaker to curious detective. We’ll help you keep your plants serene and their growth steady.
Early detection and gentle care make a big difference. You’ll learn simple checks—using a 10x magnifying lens, yellow sticky traps, and quick leaf scans—that catch insect trouble before it spreads. Quarantine new arrivals and use planters with drainage and good potting soil to cut risk.
We promise clear, calm steps you can do in minutes. Expect real examples, like basil by a sunny sill with aphids or an Alocasia near a humidifier that needs better airflow. You’ll spot signs by feel and sight: unsticky, glossy leaves mean healthy conditions; fine webbing or tiny whiteflies suggest action is needed.
By the end you’ll have a short routine and a few trusted tools so your home stays lush, not stressed. We’ll guide you from gentle rinses and wipes to targets like sticky traps, and show when to step up care.
Key Takeaways
- Do quick, regular checks of leaves, stems, and soil to catch problems early.
- Use simple tools: a 10x lens, yellow sticky traps, cotton swabs, and drainable pots.
- Improve light, airflow, and watering habits to strengthen plant growth.
- Quarantine new plants and monitor potting soil to prevent spread.
- Start with gentle methods and escalate only if necessary.
Start Here: What “Pest-Free” Looks and Feels Like Indoors
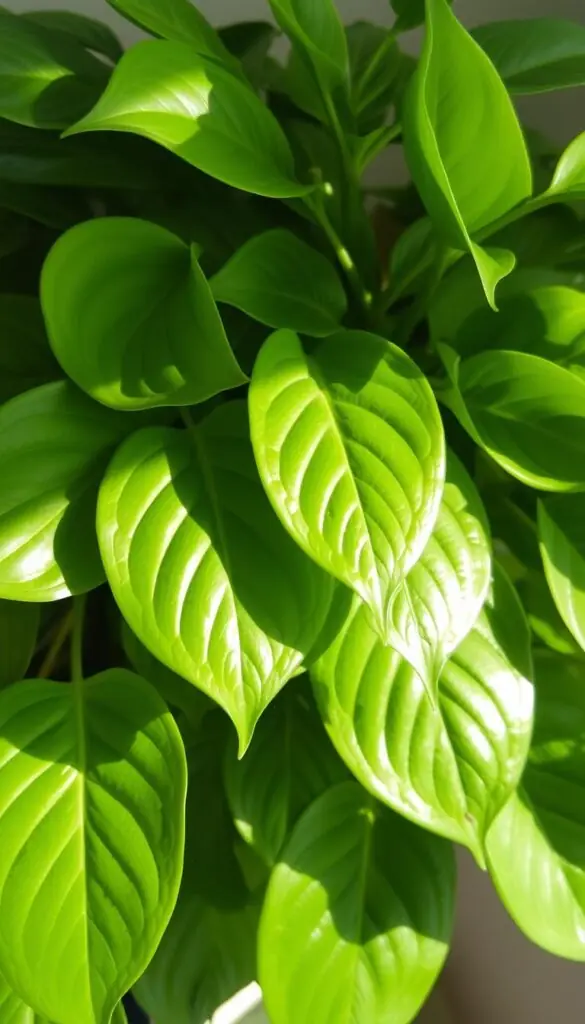
Start by picturing leaves that feel springy and clean to the touch. A truly pest-free plant shows firm, lush leaves that are matte or gently glossy — not tacky. When you touch a leaf, your fingers should stay dry; no sticky residue from honeydew should transfer.
Check the tabletop beneath each pot. Clean surfaces mean no sugary dots that lead to sooty mold. Look for fine webbing along leaf edges or petioles; those whisper-thin threads often signal tiny mites or a spider issue.
New growth should be even in color and supple. Puckering, curling, or silver scuffs usually point to feeding by insects rather than care alone. A 10x hand lens helps you spot moving specks, clustered bumps, or cottony tufts from mealybug and soft scale.
- Smooth, springy leaves: not tacky, no honeydew shine.
- Clean surfaces: tabletops and floors free of sticky dots and frass.
- No fine webbing: check leaf undersides for mites or spider threads.
- Even new growth: steady color and steady growth, not stretched stems.
- Quick lens check: no clustered insects, no eggs, no cottony scale.
| Sign | Likely cause | Quick action |
|---|---|---|
| Sticky leaf surface | Honeydew from aphids, mealybugs, soft scale | Wipe leaves, inspect underside, isolate plant |
| Fine webbing | Spider mites | Raise humidity, rinse foliage, lens inspection |
| Yellowing whole leaves | Care stress (overwater, root issues) | Adjust watering, check soil moisture and drainage |
Keep this clean-and-calm baseline in mind. Weekly quick checks take minutes and help you spot changes in appearance or growth long before problems spread.
Spot Problems Early: Visual, Tactile, and Scent Clues Before Infestations Spread
A three-minute check each week helps you tell insect feeding from simple care slips. Start by touching and peering closely. A sticky residue on a leaf usually signals honeydew from sap-feeders, not overwatering.
Where to look: lift leaves, scan undersides and midribs, and peek along stems. Check soil surfaces, pot rims, and saucers for damp congregations that hide trouble.
Quick diagnostic map
- Touch: if your fingers feel tacky after brushing a leaf, suspect honeydew from sap-feeding insects.
- Look: stippling, bronzing, or fine webbing points to mites; silvery streaks with dark specks suggest thrips.
- Tap: tiny white adults that flutter up often mean whiteflies clustered under leaves.
- Compare: whole-leaf yellowing and soft stems usually mean overwatering or light stress, not feeding.
Confirm: use a 10x hand lens to find eggs, moving specks, or mouthparts. Keep brief notes and photos—small changes over a few weeks show clear patterns that guide gentle action.
"Early, simple checks save time and keep your plant calm and thriving."
Quarantine, Inspect, and Isolate: Your First Line of Defense
When you bring a new plant home, a short quarantine routine protects the rest of your collection. Set the new arrival apart for 7–14 days in a bright, closed room — a sunny bathroom or a laundry room with a fan works well.
Step-by-step intake check
Day 1: use a 10x hand lens. Scan leaf undersides, along veins, leaf axils, and stems for bumps, cottony tufts, eggs, or moving specks.
Slide the pot out to inspect rims, drainage holes, and saucers. Tiny insects and eggs hide in creases.
Daily monitoring for days to weeks
- Place yellow sticky cards at foliage height to catch flying adults and whiteflies.
- Do a 60-second check each day: tap leaves for fluttering, feel for sticky residue, and look for fine webbing.
- If you see bumps that smear, consider scales; if you spot tiny mobile specks, suspect early crawlers.
- Wipe small finds with a cotton swab and alcohol. Prune isolated leaves to prevent spread.
"A brief, consistent check keeps most problems small and easy to fix."
| Action | Where to check | Why it matters |
|---|---|---|
| 10x lens scan (Day 1) | Leaf undersides, axils, stems | Find eggs, crawlers, and tiny insects before they spread |
| Sticky cards | At foliage height | Detect flying adults and early whiteflies overnight |
| Daily 60-sec checks | Leaves, stems, pot rim, saucer | Spot new activity within 7–14 days and decide if isolation must extend |
Before you move a plant: wash the outer pot, wipe leaves, and log the date you clear it. Extend isolation up to two weeks if traps or checks show activity.
Culture First: Growing Conditions That Discourage Pests
When light, air, and soil work together, most small problems never take hold. Set up a few steady conditions and your plant collection will stay healthier with less fuss.
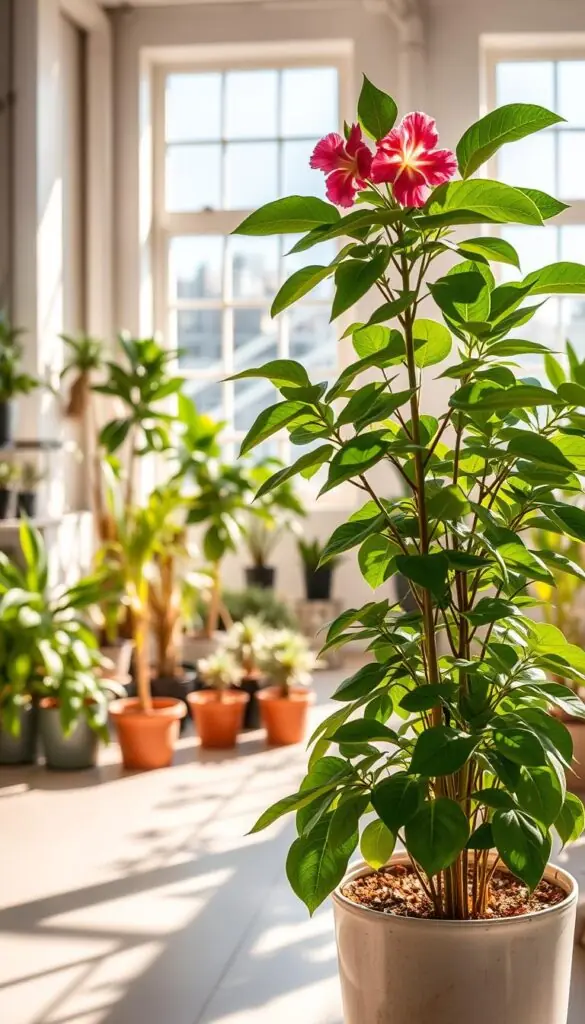
Light, humidity, and airflow
Match light to each plant: put sun-loving herbs in a bright east or south window and keep shade-tolerant plants a few feet back.
Raise humidity for tropicals with a tabletop humidifier (40–60%). Add a small fan for gentle airflow to discourage spider mites that like dry, stagnant air.
Watering and drainage
Water deeply but less often. Let the top inch of soil dry before you water most plants.
Use pots with drainage holes and a well-aerated potting soil mix. Soggy media invites fungus gnats and weak roots.
Cleanliness and regular care
Wipe leaves weekly with a soft, damp microfiber cloth so foliage photosynthesizes well and is less attractive to mites.
Prune spent flowers and remove dead material so energy goes to new growth, not damaged tissue that can draw a gnat or other small feeders.
- Room tips: bright east windows for herbs; humidifier near tropicals; small fan for circulation.
- Water rule: top inch dry before watering; empty saucers after 10–15 minutes.
- Tools to keep: moisture meter, saucers, microfiber cloth, sealed potting soil bags.
| Issue | Quick fix | Why it helps |
|---|---|---|
| Fungus gnats | Dry surface, fresh potting soil, drainable pots | Stops larvae in soggy soil and removes breeding sites |
| Spider mites | Raise humidity, wipe leaves, increase airflow | Creates an environment mites avoid and removes dust they cling to |
Integrated Management for Houseplant Pests
A firm, focused spray at the sink can be the easiest way to reset an affected plant. Start here for soft-bodied insects and early mite problems.
Sink or shower wash — step-by-step:
- Take the plant to a tub or sink. Use lukewarm water.
- Spray the top and underside of leaves with short, firm bursts to dislodge adults and mite eggs.
- Let excess water drain fully before returning the plant to its spot.
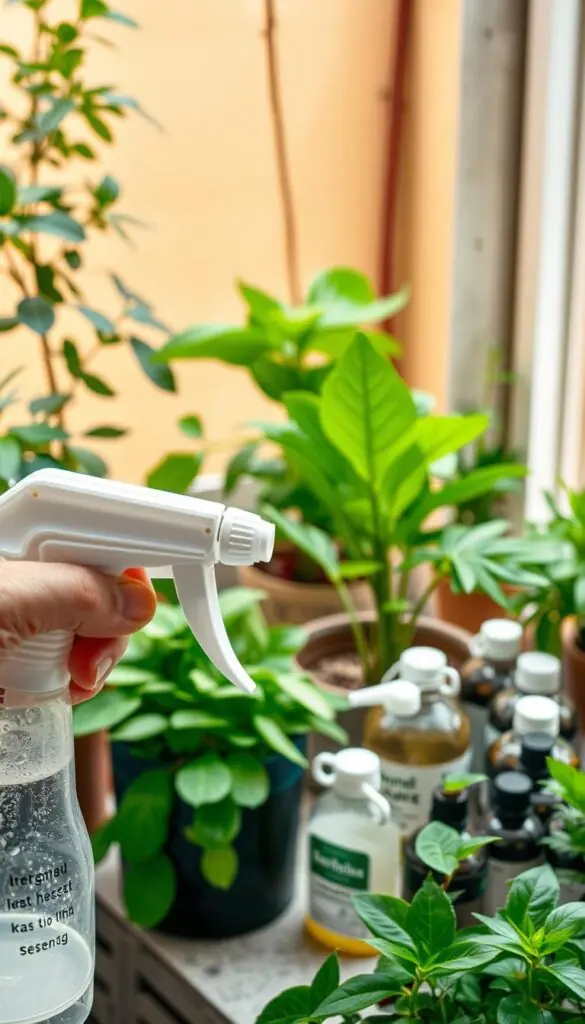
Physical removal and follow-up
Use tweezers for larger invaders and cotton swabs dipped in alcohol for mealybugs and scale insects. Prune badly infested leaves into a sealed bag.
When to escalate
If problems persist, move up to insecticidal soap or horticultural oil. Coat leaf undersides and creases and reapply per label. Neem can help exposed stages; pyrethrins give fast knockdown but need direct contact and repeats.
- Target scale during the crawler stage — follow-up in 7–10 days.
- Try bag-and-spray to limit drift; ensure good ventilation and check labels for plant safety.
- Log dates and results so you know when treatments have worked.
"Mechanical cleaning plus careful, labeled treatments keeps your plants healthy and your home safe."
Preventing the Usual Suspects Before They Boom
A few focused checks and fast responses stop most common invaders before they spread. Start by inspecting new growth, leaf folds, and stem creases every few days.
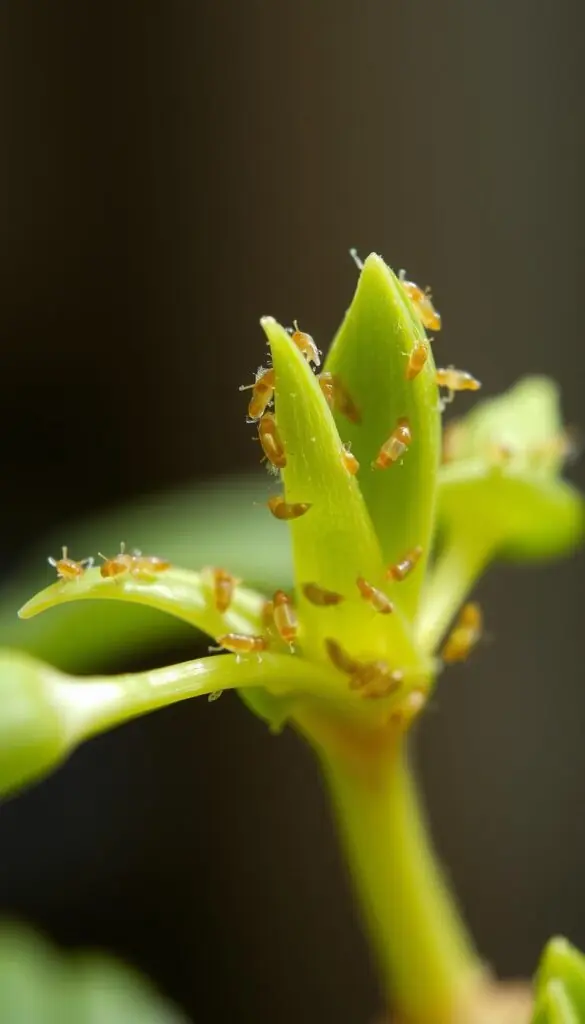
Aphids: look at soft new growth and buds for clusters. Blast leaves with short water bursts, crush stragglers, and repeat in a few days. Consider introducing green lacewing larvae to eat remaining larvae and adults.
Scale insects & mealybugs: scan stems and midribs for dome-like scales or cottony tufts and sticky honeydew. Spot-treat with alcohol swabs, gently scrape where safe, and plan follow-ups to catch mobile crawlers.
Spider mites, whiteflies & thrips: raise humidity and rinse foliage weekly. Use yellow or blue sticky traps at canopy level and consider predatory mites, Encarsia formosa for whiteflies, or minute pirate bugs for thrips.
Fungus gnats: let the top inch dry, repot with fresh sterile mix if needed, and use BTI soil drenches to target larvae in the soil.
For all: focus on underside coverage, repeat gentle actions over several weeks to break life cycles, and quarantine any plant showing active adults, eggs, or fresh distortion.
Soil, Repotting, and the Hidden World Beneath the Leaves
What happens below the surface matters as much as the leaves above. Check the soil often—moist, earthy smell is healthy; sour or swampy odors signal a reset is needed.
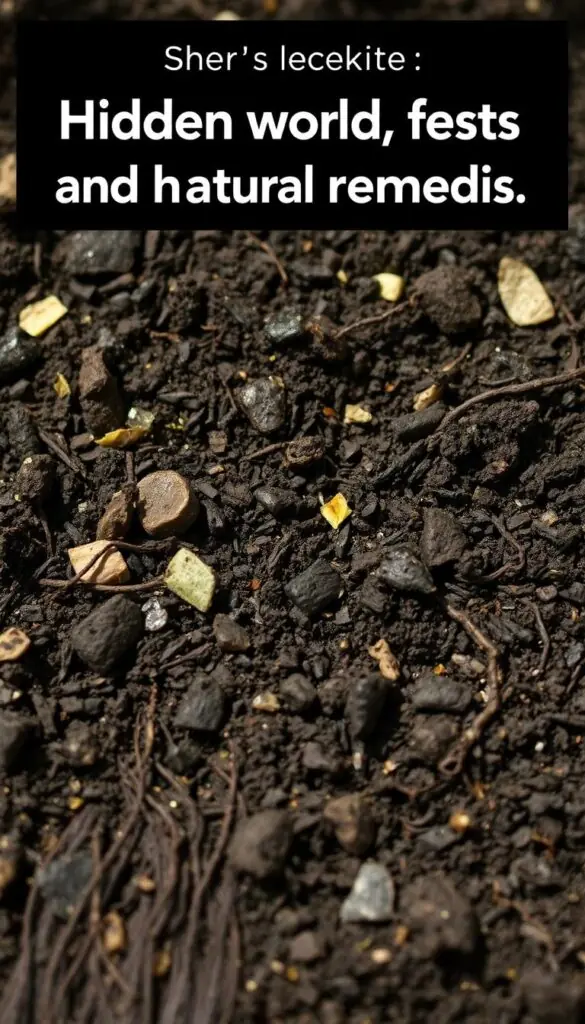
Quick ID guide: fungus gnat larvae are thin, translucent with a shiny black head. Springtails are tiny jumpers that pop when disturbed and usually feed on fungus and decaying matter.
Step-by-step repotting protocol
- Prepare sealed, fresh sterile potting soil—never use garden soil or open outdoor bags indoors.
- Gently remove the plant, brush away old soil, and rinse roots with lukewarm water.
- Scrub the container with mild soap or diluted bleach, rinse and dry before reuse.
- Repot in a well-draining mix, water to settle, then let the top half-inch dry before the next watering.
- Place a fresh yellow card to monitor adults; consider a BTI drench if larvae are present.
Practical tips: store mixes in sealed containers and label dates. Alternate top and bottom watering to discourage gnats and avoid pushing larvae deeper.
"Act early on sour soil or visible larvae—fresh media and clean pots reset balance fast."
| Issue | Sign | Fast action |
|---|---|---|
| Fungus gnat larvae | Small white/transparent larvae with black head in moist soil | Dry surface, BTI drench, repot if heavy |
| Springtails | Tiny jumping insects after watering, feed on fungus | Improve drainage, let surface dry, usually nuisance-only |
| Sour soil | Swampy odor, slow growth | Unpot, wash roots, fresh sterile potting soil, clean container |
Tools, Materials, and Products That Make Prevention Easier
A small kit of reliable tools makes prevention quick and calm. Keep a compact caddy near your plants so checks and spot treatments are simple and fast.
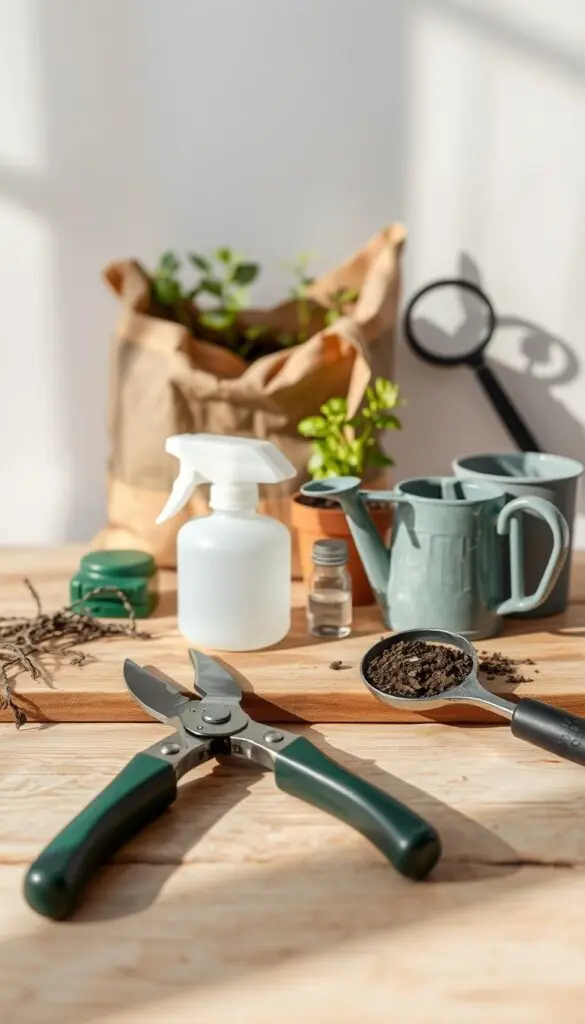
- 10x magnifying lens, tweezers, and cotton swabs for close inspection and spot removal.
- Microfiber cloth, gentle sprayer (short, firm bursts), and planters with drainage plus saucers.
- Yellow sticky cards for whiteflies and winged adults; blue cards for thrips—place at canopy height.
- Small clip-on fan and compact humidifier to tune airflow and humidity and reduce mite flare-ups.
Products to know and safety notes
Use insecticidal soap and horticultural oil as directed; coverage matters—coat undersides and creases and repeat per label.
Neem disrupts insect development; rotate products to avoid resistance. For soil-dwellers, use bacillus thuringiensis (subspecies israelensis) as a soil drench to target fungus gnat larvae.
Cautions: avoid systemic imidacloprid on plants you’ll place outdoors where bees visit. Store potting tools clean and grouped so prevention stays easy and routine.
Seasonal Routines in the United States: Adjustments That Keep Pests Down
A few calendar cues each year make it easy to stop tiny invaders before they spread. Follow a simple seasonal plan and you’ll reduce surprises and keep steady growth.
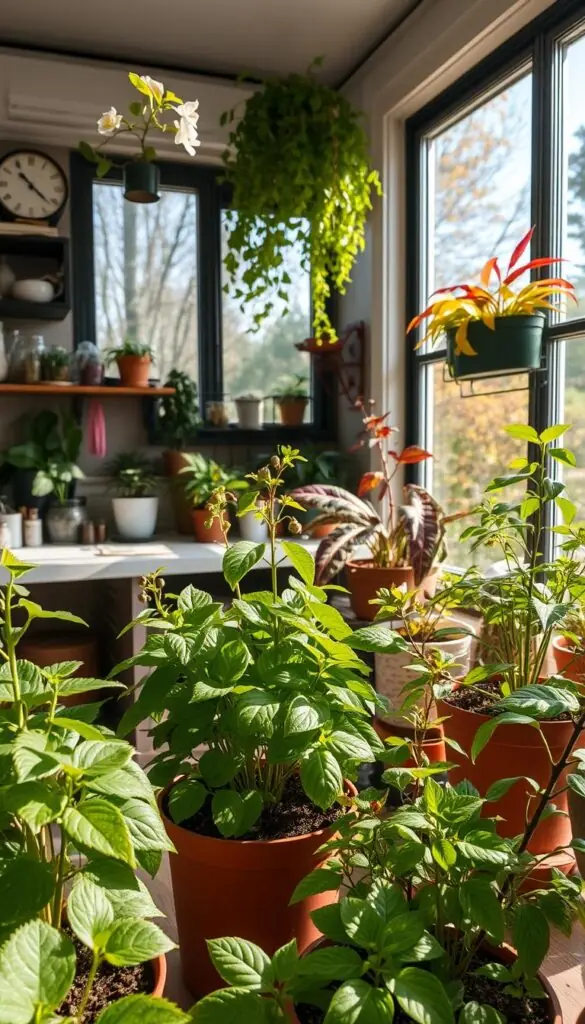
Spring — intake and early screening
Quarantine new plants for 10–14 days with sticky cards and daily lens checks. Inspect undersides, buds, and pot rims.
Look for whiteflies and thrips on young leaves. Treat small finds fast and only introduce cleared plants to your display after two weeks.
Summer — bright-light vigilance
In early and mid-summer, bright windows can attract whiteflies and thrips. Use traps, regular leaf rinses, and steady airflow to keep foliage cool.
Inspect weekly; warm conditions speed life cycles, so quick rinses and tidy pruning every few days or weeks help stop momentum.
Fall — pre-overwintering checklist
Before bringing plants inside, wash leaves, prune, and swap the top inch of potting mix. Isolate arrivals for a week to catch hitchhikers.
Clean pots and saucers and thin crowded displays so leaves don’t touch across plants.
Winter — humidity and careful watering
Boost humidity to 40–50% to deter spider mites and rinse dusty foliage to remove eggs and scale. Let the top layer dry longer between waterings to limit gnats.
Plan two focused pest sweeps per season and block out a weekend every 6–8 weeks to rinse, wipe, and reset your routine.
"Small, timely adjustments each season keep problems small and your plants thriving."
| Season | Quick actions | Timing |
|---|---|---|
| Spring | Quarantine, sticky cards, daily lens checks | 10–14 days |
| Summer | Traps, rinses, airflow, weekly inspections | Days to weeks |
| Winter | Raise humidity, dry top layer between waterings | Weeks |
Common Mistakes That Invite Pests—and Simple Fixes
Simple care missteps often invite the most stubborn scale and mite problems. A few practical changes stop most infestations before they spread.
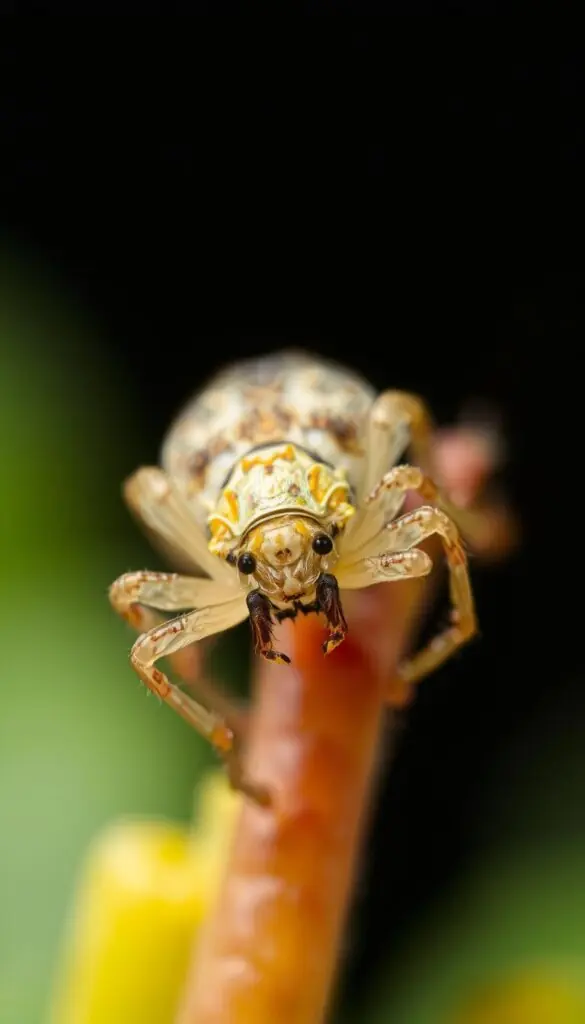
Why basic care matters
Overwatering keeps soil oxygen-poor and welcomes fungus and gnat activity. Fix it with a finger test and lighter watering in low light.
Spacing, light, and pots
Low light stretches stems and softens leaves, making insects more inviting. Move light-loving plants closer to windows or add a simple grow bulb.
Crowded foliage creates bridges for infestations. Give each pot a few extra inches so problems don't hop from plant to plant.
Quarantine, tools, and sprays
Skipping quarantine is a fast track to infestation. Isolate new arrivals and gifted cuttings for 7–14 days.
Reusing dirty pots or uncleaned pruners can re-seed scale or mite outbreaks. Wash containers and wipe tools between plants.
Misusing sprays — wrong product, poor coverage, or too few repeats — wastes effort. Read labels, coat undersides, and follow the treatment schedule.
- If stems or leaves show sticky honeydew: wipe surfaces, treat scale on stems, and repot with fresh soil if needed.
- If one plant is overrun: calmly discard it or bag treatments; protecting the group is kinder than losing many.
"Small routine checks and clean tools keep most problems small."
Conclusion
A short weekly routine prevents most trouble before it starts. Early detection, quarantine, good culture, and gentle controls form the backbone of healthy care.
A few simple habits—weekly scans, gentle rinses, and tidy soil—are your best defense against houseplant pests. Sticky traps help you monitor flying stages and catch adults early.
Trust your senses: if a leaf feels sticky or looks dusty, pause and check. Quarantine new arrivals, give each plant correct light and water, and keep a lens and cloth handy.
Start with the mildest fix and only escalate if needed. With steady, kind attention, your plants will stay lush and low-maintenance—so you can enjoy a calm, sunlit home.
FAQ
How can I prevent pests on my indoor plants before they arrive?
Start by inspecting new plants carefully with a 10x hand lens, check undersides of leaves, stems, and soil surface. Quarantine new arrivals for 7–14 days, keep them away from your other plants, and place sticky cards nearby to catch adults. Use fresh, sterile potting soil and clean pots rather than reuse old media. These simple steps cut risk of introducing aphids, mealybugs, scale, thrips, fungus gnat adults, and their eggs.
What does a “pest-free” plant look and feel like indoors?
A pest-free specimen has lush, untattered leaves, firm stems, and steady new growth with no sticky residue. Leaves should be clean, not dusted in sooty mold or covered in fine webbing. You won’t see fluttering adults, crawling scale or mealybugs, or tiny black gnats near the soil. The plant smells fresh, not musty or sour from excess moisture attracting soil-dwelling larvae.
What early signs show insects are feeding rather than simple care issues?
Look for honeydew (sticky, shiny residue), sooty mold growth on that honeydew, stippling or silvery patches from spider mite feeding, and fine webbing on leaf undersides. Chewed margins or distorted new growth often mean chewing or piercing-sucking insects like thrips or aphids, not nutrient problems. Sticky leaves plus black mold is a classic insect feeding signal.
Where should I inspect my plants to catch problems early?
Check under leaves, along midribs and leaf veins, at stem nodes, and around the soil surface and pot rim. Pay special attention to new growth, flowers, and the junction where stem meets soil. Soil edges often hide fungus gnat adults and larvae; pot rims collect fallen eggs and crawlers from scale or mealybugs.
What sensory cues help spot trouble before populations explode?
Sticky or shiny residue on leaves, a faint sweet or fermented smell from moist soil, fine silk webbing, silvery stippling, and the sight of tiny flying adults are key. You may also notice sudden leaf drop or curled young leaves. These cues tell you to act fast before eggs hatch and numbers rise.
How long should I quarantine a new plant and what should I monitor?
Isolate for 7–14 days. Daily, inspect leaves (top and bottom), stems, and soil surface with a lens and check sticky cards for adults. Look for crawling nymphs, tiny eggs, and early signs like honeydew or webbing. If you see anything suspicious, treat immediately and extend quarantine until clear.
What cultural changes reduce the risk of spider mites, scale, and gnats?
Improve light and airflow, boost humidity around sensitive species, and keep soil surface from staying soggy. Water properly so roots aren’t stressed—overwatering invites fungus gnats. Dust leaves regularly, prune crowded foliage, and remove spent flowers. Healthy, vigorous growth resists many infestations.
When should I use non-chemical controls and how effective are they?
Always start with non-chemical steps: wash leaves with a soft cloth or forceful water spray, dab mealybugs and scale with alcohol on a cotton swab, and physically remove egg masses or heavily infested material. These tactics often stop small outbreaks and reduce reliance on sprays.
When is it appropriate to use insecticidal soap, oils, or biologicals?
Escalate if washing and removal don’t reduce numbers. Insecticidal soaps and horticultural oils are safe when used per label and work well on soft-bodied insects and scale crawlers. Use Bacillus thuringiensis israelensis (BTI) soil drenches for fungus gnat larvae. Reserve pyrethrins for stubborn adult outbreaks, following precautions and rotating modes of action to avoid resistance.
How do I manage specific threats like aphids, scale, and spider mites?
Aphids respond to hose-off, insecticidal soap, or biological controls like lacewing larvae. Scale and mealybugs need targeted alcohol swabs, careful scraping of adult shells, and timing treatments for crawler stages. For spider mites, raise humidity, rinse foliage, prune heavy infestations, and consider predatory mites for persistent problems.
What are the best ways to prevent and treat fungus gnats?
Let soil dry between waterings, replace the top inch of media with fresh potting soil, use sticky traps for adults, and apply BTI (Bacillus thuringiensis israelensis) soil drenches to kill larvae. Avoid open bags of old potting mix and sanitize trays; gnats breed in damp organic matter.
How should I repot to reduce hidden soil-borne issues?
Use fresh, sterile potting mix and clean containers. Gently wash roots and remove decayed material. Replace all old media if you’ve had repeated gnat or root-rot problems. Sterilize non-porous pots with a dilute bleach solution and allow them to dry before reuse.
What tools and products should I keep on hand for prevention?
Keep a magnifying lens, tweezers, cotton swabs, sticky traps in yellow and blue, a spray bottle for water rinses, and quality potting soil. Stock insecticidal soap, horticultural oil, neem, and BTI for targeted use. Be cautious with systemic products like imidacloprid and follow label warnings.
How should my routine change with the seasons in the U.S.?
In spring and summer, screen new plants closely and manage whiteflies and thrips with traps and inspections. In fall, inspect plants before bringing them indoors for overwintering. In winter, increase humidity to deter spider mites and water carefully to avoid fungus gnat flare-ups as light drops.
What common mistakes invite infestations and how can I fix them?
Overwatering, low light, and crowded plants that create “bridges” let pests spread. Skipping quarantine, reusing dirty pots, and improper spray use also cause problems. Fix these by adjusting care, spacing plants for airflow, cleaning tools, and following product labels precisely.