Imagine a sunlit jar on your windowsill, glossy green leaves catching morning light. You can feel the calm of a small project that adds life to your home. This guide shows you how to take a healthy cutting and turn it into a thriving plant.
We’ll walk you through simple tools—clean shears, a clear vessel with fresh water, and compostable ties—and clear steps that fit a typical U.S. home routine. Cuttings need a node and an axillary bud to send out roots. Expect roots in about 2–4 weeks and new leaves in 2–3 months, paced by bright, indirect light near north or east windows.
Learn where to cut on the vine, how to read plant cues like crisp white roots and perky leaves, and when to move your new growth into soil. With small, steady care—fresh water, a calm spot, and gentle handling—you’ll feel confident to propagate monstera and enjoy more lush green around your home.
Key Takeaways
- Use clean shears and include a node on each cutting.
- Rooting usually takes 2–4 weeks; new leaves follow in a few months.
- Bright, indirect light and fresh water help steady growth.
- Look for white roots and lively leaves as success signs.
- Move to soil when roots are strong and growth is steady.
Why Propagate a Swiss Cheese Plant at Home
You can turn one healthy stem into several tidy plants that fill shelves and soften empty corners. Propagating your own swiss cheese plant gives calm, low-cost beauty and a hands-on way to learn plant care.
Broad, glossy leaves quickly brighten a room and make a peaceful, sunlit corner feel lived-in. You can shape an unruly vine by taking strategic cuttings, then replant pieces to balance the silhouette across a shelf or hanging pot.
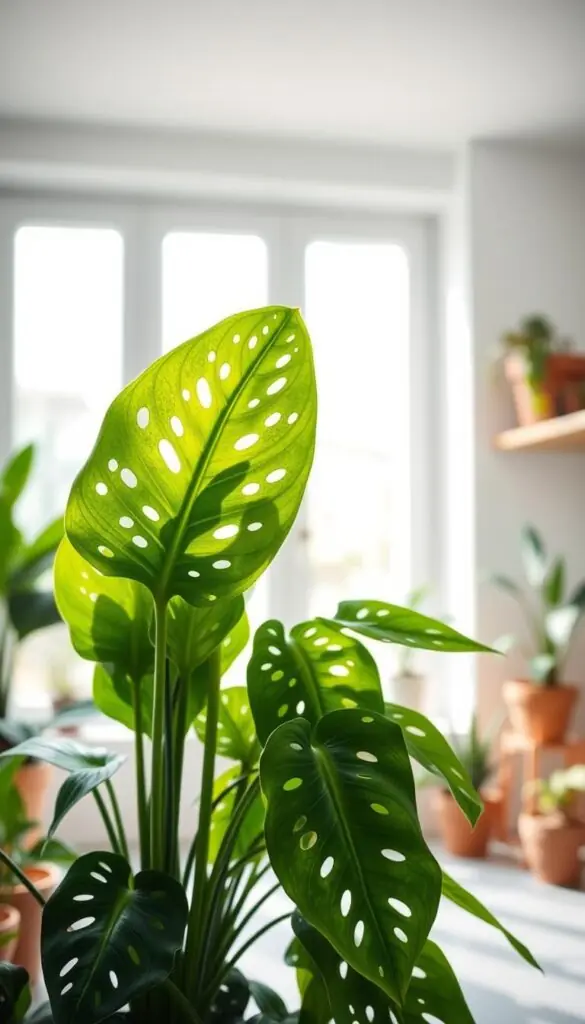
Fenestrations — the holes that develop as a monstera matures — add texture as new growth opens. With medium to bright indirect light and simple care, small rooted cuttings settle fast and add matching layers of green.
- Save money while growing more of those glossy leaves for quiet corners.
- Create thoughtful, easy gifts by sharing rooted babies with friends.
- Use pruning to encourage bushier growth, then root pruned pieces so nothing goes to waste.
Tip: fertilize every other week from April through September to support active growth and fuller, healthier plants.
How Monstera Deliciosa Grows: Nodes, Aerial Roots, and New Growth
Spotting the tiny bumps where new life begins turns a simple cut into a future plant. Learn to read the stem so you include the true growth point in each cutting. New growth comes from axillary buds at nodes; a leaf alone will not make roots.
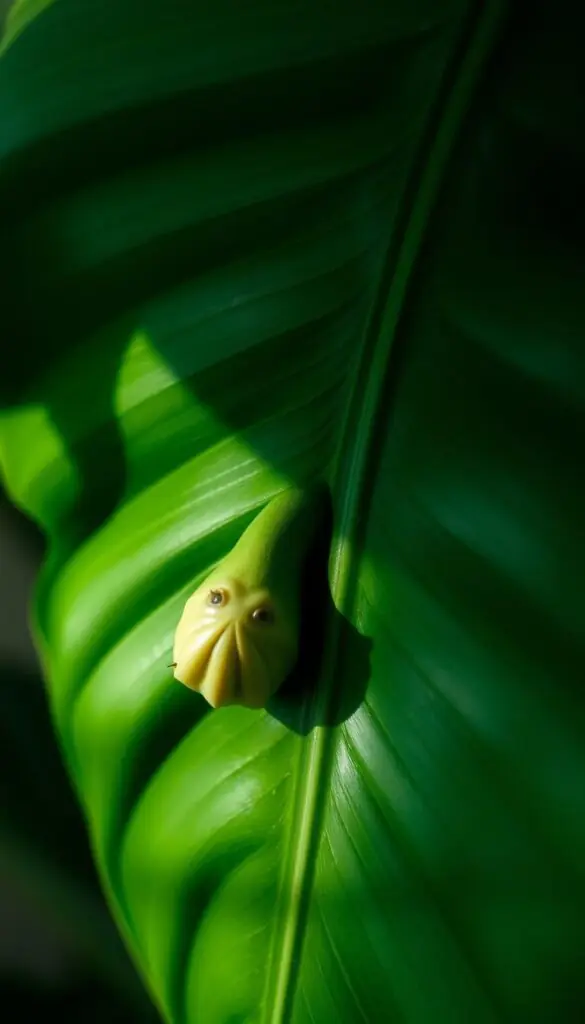
Spotting a viable node and axillary bud on the stem
Find a node by looking for a slight ring or knobby bump where the petiole met the stem. That is where an axillary bud sits and where shoots and roots will start.
Tip: Cut 1–2 inches below the node to keep the growth point intact. Thicker stem segments with a clear node hold more stored energy and root faster.
Aerial roots vs. soil roots: what each does for the plant
Aerial roots are often brown or tan and feel chunky; they help the vine climb and attach to supports. Soil roots are the creamy white, firm network that takes up water and nutrients.
If you see a small aerial root nub near a node, it can speed rooting in water or media. Expect the first pale root points to appear at the node line and lengthen into crisp roots.
- Always include at least one node — leaves without a node cannot form new stems.
- Avoid cutting between nodes; that piece will not produce new growth.
Best Time and Conditions for Propagation in the United States
Timing and a steady, bright spot make all the difference when starting cuttings indoors.
Aim for late spring through summer for the fastest rooting, when longer days boost photosynthesis and steady growth. Cuttings can be taken any time, but warmer seasons shorten the timeline. In warm, stable rooms roots often show in 2–4 weeks; cooler rooms may add days.
Choose a bright room with gentle, bright indirect light. North and east windows are ideal in most U.S. homes. If your apartment gets strong afternoon sun, move the cutting a few feet back or diffuse light with a sheer curtain.
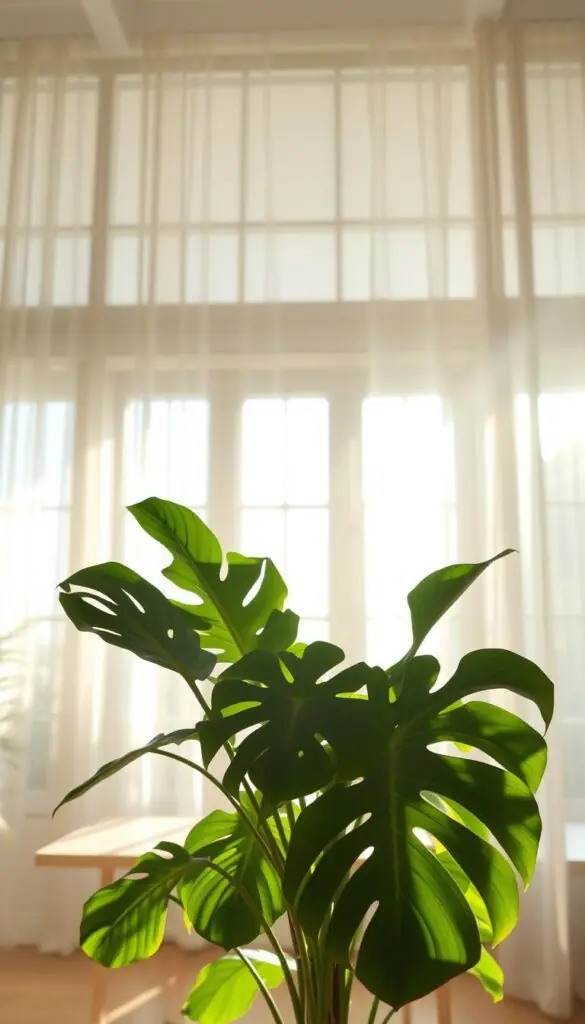
Target temperature, humidity, and simple setup
Keep indoor temps near 68–80°F and humidity around 50–70%. In dry homes, set a tray of pebbles and water beneath the pot or use a small humidifier nearby.
- Place cuttings away from AC vents and drafty doors to avoid sudden swings.
- Create a dedicated place so you remember to check water and light daily.
- Rotate the vessel weekly in low-light rooms so all sides get balanced light.
| Condition | Ideal Range | Practical Tip |
|---|---|---|
| Season | Late spring – summer | Longer days speed growth; winter needs supplemental light |
| Temperature | 68–80°F | Avoid cold windowsills and AC drafts |
| Humidity | 50–70% | Use pebble tray or small humidifier in dry apartments |
| Light | Bright, indirect light | North/east windows; diffuse strong west/south sun |
Quick setup steps for a sunny, stable place
- Pick a north or east window in a room that stays 68–80°F.
- Place a clear vessel or pot on a tray to catch spills and boost humidity.
- Shield strong afternoon sun with a sheer curtain if needed.
- Check daily and expect visible roots in a few weeks under warm, steady light.
Tools, Materials, and Setup for Success
A small set of tools and a clean setup set you up for steady, healthy root growth. This short checklist helps you collect items that really matter and keeps the work calm and tidy.
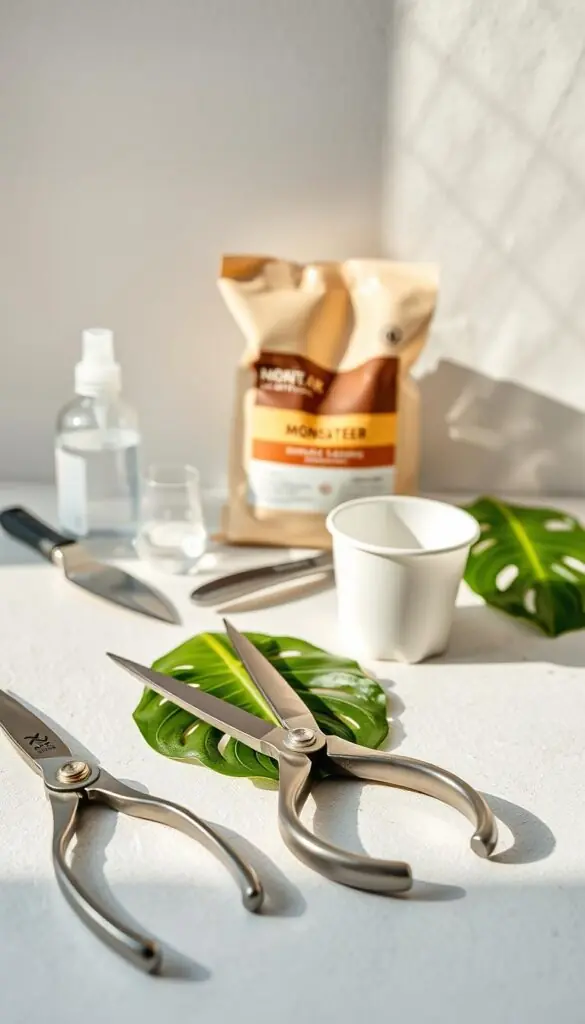
Core tools and how to use them
- Sharp pruning shears or a sterilized knife: cut cleanly to reduce tissue damage. Sanitize with soap and water, then 70% isopropyl alcohol between cuts.
- Clear glass containers: thrifted jars or mason jars work well for water starts and let you watch root progress.
- 4–6 inch nursery pot: choose a pot at least 4" wide and 5" deep with a drainage hole about pencil diameter. Use heavier ceramic pots for top-heavy cuttings.
- Perlite and potting mix: mix perlite to aerate the media. Use potting mix or soil sparingly when moving rooted cuttings.
- LECA and sphagnum moss: LECA is reusable and low mess; sphagnum should be clean and just damp to cradle a node.
Optional helpers and simple setup tips
- Auxin (rooting hormone) in powder, gel, or liquid can speed denser roots at the node.
- Bamboo stakes and soft ties (nylon stocking) support tall shoots without pinching stems.
- Make sure you have a small caddy to keep supplies ready and a tray to catch drips.
- If light is low, gentle grow lights for 2–3 hours daily bridge the dim months.
| Item | Why it matters | Size/Spec | Budget tip |
|---|---|---|---|
| Clear container | Watch root development | Jar or 4" wide vessel | Use thrifted mason jars |
| Nursery pot | Transition to soil or media | 4–6" pot, 5" deep, pencil-size drain | Choose ceramic for stability |
| LECA / Perlite | Aerates roots, reusable (LECA) | Small bag, rinse LECA before use | Buy perlite in bulk to save |
| Sphagnum moss | Holds moisture and breathes | Clean, lightly damp | Pre-moisten before placing node |
- Prep tools and media.
- Make the cut and place the node in water or moss.
- Monitor water and light; change water often and keep media damp, not soggy.
Selecting the Perfect Monstera Cutting
Pick a section of vine that gives you room to cut and a clear node to begin fresh growth. A thoughtful choice makes rooting easier and keeps your new plant calm in its first weeks.
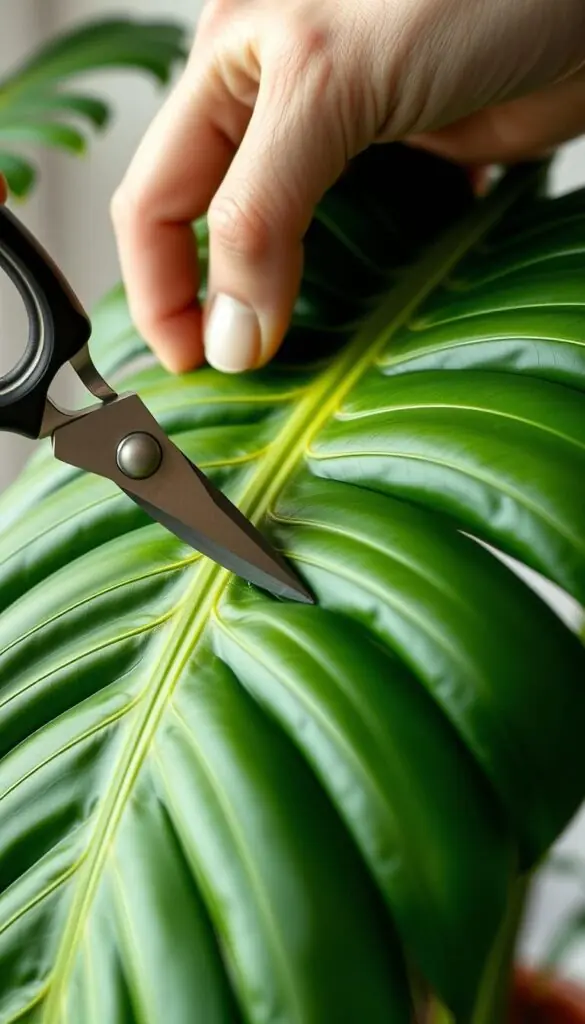
Two to three leaves with at least one node: why it matters
Choose a cutting with 2–3 smaller leaves so photosynthesis supports root formation without overwhelming the tiny root system.
A clear node is essential. Cut 1–2 inches below that node to keep the growth point intact and ready to make roots.
Choosing smaller leaves for faster rooting and fewer shocks
Smaller, younger leaves dry out less and let roots form faster. If your plant has big mature leaves, pick a younger section.
- Aim for a 6–10 inch stem so you can cut below the node and place it in water or moss.
- Inspect the node for a knobby ring; aerial root nubs help but aren’t required.
- Remove loose sheathing and avoid torn petioles to prevent early rot.
- Label each cutting with date and source plant to track progress.
Making the Cut Safely and Cleanly
A precise, angled cut protects the node and helps roots form faster in water or media. Work calmly and set out a clean towel, sharp shears, and a jar or tray for your cutting.
Where to cut: identify the node, then measure 1–2 inches below it along the stem. Make a single, angled slice so the growth point stays intact.
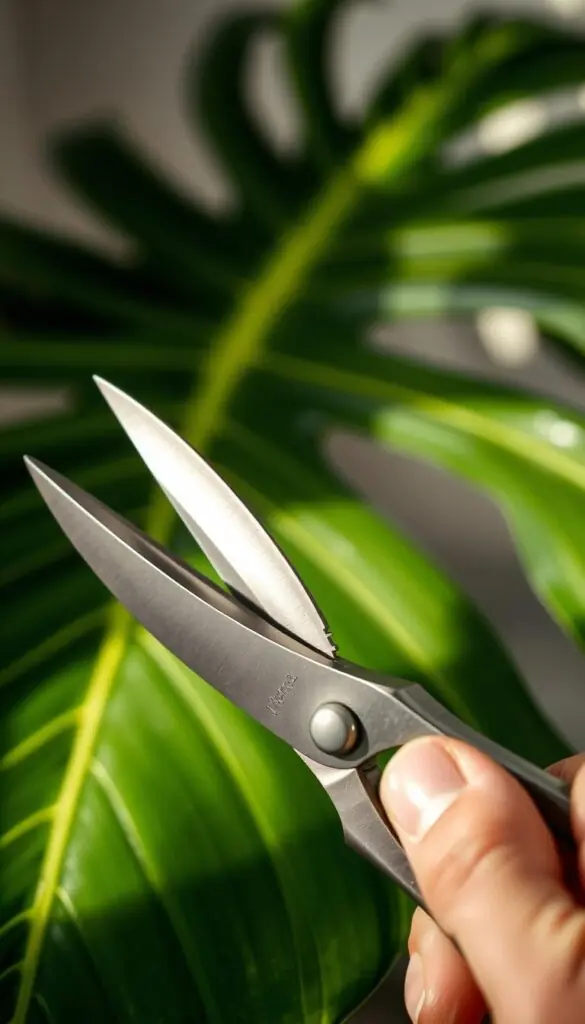
Sanitize, trim, and let the edge callus
Clean tools with soap and water, then wipe with 70% isopropyl alcohol between cuts. A sharp blade avoids crushing the stem and gives a crisp wound that heals well.
Trim away any mushy or torn tissue. Lay the cutting on a clean paper towel for several hours to overnight so the end can slightly callus.
- For moss or soil starts, allow a 12–24 hour callus to reduce rot risk in damp media.
- Label each cutting with the date and node count; check progress in a few days or a week.
- If sap appears, blot gently and let dry before placing the cutting into water or moss.
Water Propagation for Monstera Cuttings
Start with a clear jar and a calm spot so your cutting can focus on making fresh roots. A glass vessel lets you watch progress and adds a simple, living accent to a sunny shelf.
Quick setup: fill a clear glass with room-temperature water and make sure the node sits below the surface while leaves stay dry. Place the jar in bright, indirect light and keep it out of direct sun.

Step-by-step care and timing
- Change water when it clouds or refresh it every few days to keep oxygen levels high.
- Expect tiny new roots in about 2–4 weeks; they start as pale bumps and extend into slender threads.
- Healthy water roots look crisp and creamy white; they are thinner than soil roots but firm to the touch.
- Watch leaf posture — perky, bright leaves mean the cutting is well hydrated.
- When roots reach several inches, plan a gentle move to a small pot with fresh soil for long-term growth.
Tip: treat your jar like a mini display — thrifted bottles look charming as the cutting quietly turns into a thriving plant. With steady attention, you’ll often see new leaves unfurl within 2–3 months. This gentle method helps you confidently propagate monstera while enjoying a clear, living focal point.
Rooting in Sphagnum Moss and Perlite
A soft mix of sphagnum and chunky perlite gives fragile cuttings the airy, moisture-balanced bed they need. This method keeps the node cozy while allowing air to reach new roots.
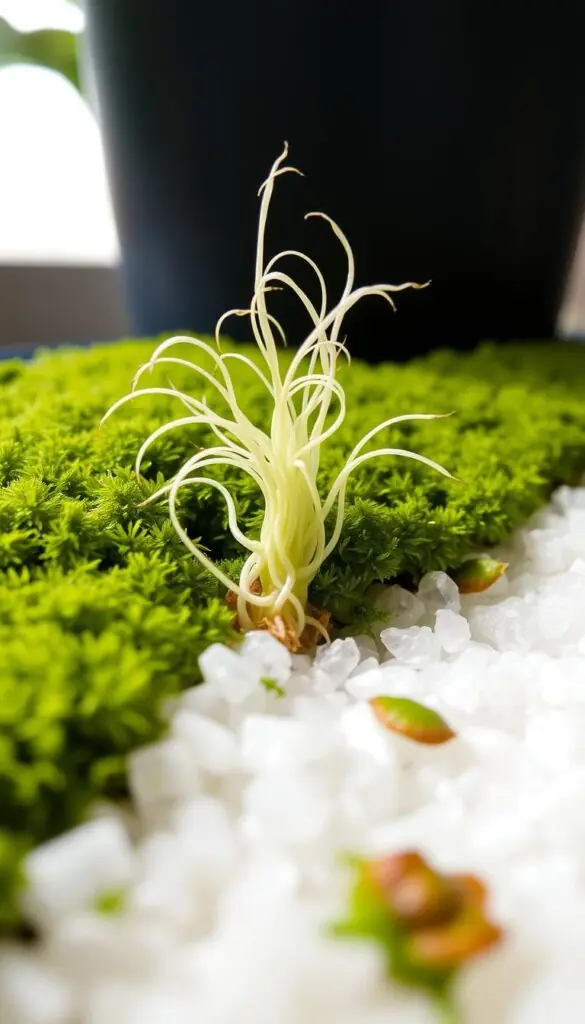
Mixing and tactile cues
Hydrate sphagnum moss, then squeeze it firmly until it feels lightly springy — moist but not dripping water. Blend in chunky perlite at about a 60/40 moss-to-perlite ratio for airflow that prevents soggy pockets.
Setting the cutting and tenting
Nestle the node into the mix and gently firm the media so the stem is stable but not buried too deep. Create a humidity tent with a clear bag or lidded box; you want a light film of moisture, not heavy condensation.
- Vent the tent every couple of days to refresh air and discourage rot at the stem.
- If the moss smells sour or feels soggy, fluff and air the top layer before resealing.
- Check for pale, firm root tips by parting the moss near the node; remove any yellow leaf to reduce excess moisture.
Tip: Keep the container warm in bright, indirect light. Once roots are several inches long, acclimate the plant by opening the tent longer each day before moving it to soil.
Using LECA for Strong, Visible Rooting
Wicking water through LECA keeps the node moist without drowning developing roots. This method gives oxygen to young root tips while keeping the area reliably humid.
How to set it up:
- Fill a clear container with 1–2 inches of LECA and nest the cutting on top, then backfill to steady the stem upright.
- Add water so it only reaches the bottom layer; the LECA will wick moisture up to the node while leaving an air gap for oxygen.
- Use a mason jar or clear jar so you can watch roots thread through the pebbles.
Refresh the water weekly and top off to the same level to keep wicking consistent. If algae appears on the glass, rinse everything and refill.
Cleaning and reuse
Boil LECA between uses to sanitize and reuse it for years. This makes the method tidy and sustainable.
| Step | Why it matters | Tip |
|---|---|---|
| 1–2" LECA layer | Allows wicking while keeping air gap | Start low, add more pebbles to steady stem |
| Water at bottom | Supplies moisture without submerging roots | Top off weekly; avoid full submersion |
| Sanitize LECA | Prevents pathogens and algae | Boil or bake between uses |
| Observe in glass | See when roots are ready for potting | Move to a small pot with well-draining mix once roots are several inches |
Keep the setup in bright, indirect light and away from heat registers. Use a heavier pot or sleeve around the jar for tall cuttings to prevent tipping.
Direct-Soil Propagation with Well-Draining Mix
Planting a cutting straight into a light, well-draining mix creates stable contact for new roots to form. This method feels tidy and gives the node firm support as the cutting starts to grow.
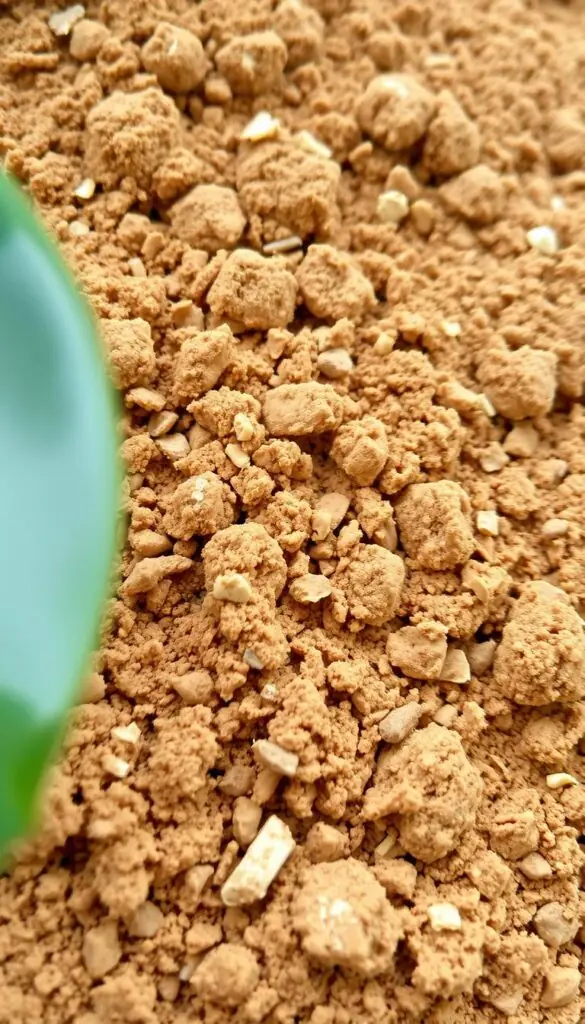
Potting media options and keeping the mix evenly moist
Use a light soil blend — a quality potting mix amended with perlite or orchid bark keeps air pockets and prevents soggy spots. Choose a small pot with a clean drainage hole so you can watch moisture and avoid overwatering.
- Firm the node into the mix and water thoroughly once.
- Keep the surface lightly damp for the first couple of weeks; don’t let it sit wet.
- After roots establish, allow the top inch of soil to dry between waterings.
Reading the plant: subtle signs it’s rooting below the surface
Resist tugging the cutting. Instead, feel for firmness and watch the leaves for steady color and posture.
- If the pot feels heavier or harder to lift, roots are likely anchoring the plant.
- New petiole growth or firmer leaves are good signals of a forming root system.
- If leaves yellow at the bottom, check drainage and moisture right away.
Air Layering on the Vine for Larger Plants
A cool, moss-wrapped pocket on a vine can birth a whole new rooted plant without you cutting the mother down.
Why choose air layering: it keeps a tall, top-heavy vine intact while a new root ball forms below a node on the living stem. This works well when a visible aerial root or nodal swell gives you a head start.
Simple air-layer steps
- Select a sturdy section of vine and find a plump node near an aerial root for best results.
- Make a small upward slice below the node on the stem; do not remove the piece.
- Pack moist, springy sphagnum around the wound and any nearby aerial roots, then wrap with plastic to hold humidity.
- Secure with soft ties and look for light condensation inside the wrap.
Check the moss weekly. Re-moisten when it feels dry, keeping it damp but not dripping. Over the next few months you’ll see pale roots pressing against the plastic.
Finish and potting
- When roots fill the moss, cut just below the wrapped area to free the new cutting.
- Pot the rooted section in a small, well-draining container and give bright, indirect light.
| Step | Timing | Tip |
|---|---|---|
| Select node | Immediate | Choose node with aerial root if present |
| Wrap moss | 1 hour | Use cool, moist sphagnum; feel for springiness |
| Check & re-moisten | Weekly | Keep evenly damp; avoid standing water |
| Cut and pot | 2–4 months | Wait until roots visibly fill moss pocket |
Division: Splitting a Full Pot into Multiple Plants
Dividing a full pot is a gentle way to turn one crowded container into multiple thriving houseplants. This method gives you new plants to style, share, or swap around the home.
Tools you’ll need: gloves, a small trowel, clean shears, and a workspace with a towel or tray. Water the pot the day before so the soil loosens and roots slide apart more easily.
Tip: many store-bought pots contain several crowns. Tip the pot out and gently shake off excess soil to reveal natural divisions at the crown.
Unpotting, teasing roots, and repotting babies
- Tease apart roots with your fingers. Leave each division with a healthy chunk of roots and at least one node and leaf.
- Don’t worry if some roots tear—plants often recover. Trim damaged roots cleanly and dust with cinnamon to discourage rot.
- Pot each division into a snug container with fresh, airy soil. Firm lightly to remove gaps and water thoroughly to settle the mix.
- Stake tall divisions so new roots aren’t strained by top weight. Place in bright, indirect light for the first few weeks while they re-establish.
Expect mild wilting for a few days. Steady leaves and a new petiole are signs the plant is bouncing back.
| Step | Why it helps | Practical tip |
|---|---|---|
| Water pot day before | Soil loosens; roots slide | Water thoroughly 12–24 hours prior |
| Tease roots by hand | Less damage than cutting | Work gently; separate at natural crowns |
| Repot into fresh soil | Clean media supports quick recovery | Use airy potting mix and drainable pot |
| Monitor for weeks | Watch recovery and new growth | Label with date to track rebound |
monstera propagation: Light, Water, and Container Choices
A calm spot with gentle brightness and steady moisture makes a huge difference for new cuttings. Place the cutting where it can get bright, indirect light and steady warmth. Avoid direct south or west sun that can scorch young leaves.
Light and supplemental schedule
Position your plant near a north or east window for soft, reliable light. If the room is dim, add 2–3 hours of supplemental light in the morning or evening.
Watering, drainage, and container tips
Water thoroughly, then let excess drain. Use a clear saucer to protect surfaces while you watch drainage.
- Choose a container with at least one drainage hole about pencil diameter so water exits freely.
- Heavier pots—terracotta, glazed ceramic, or sturdy resin—cut tipping risk as stems grow taller.
- Place pots a foot or two back from hot windows to reduce leaf stress.
- Tie the stem to a slim bamboo stake for support until roots and the plant gain strength.
- Match pot size to the root mass; avoid overly large pots that hold excess water.
- Balance beauty and function by using clear vessels to monitor roots and a decorative cachepot for display.
What to Expect by Weeks and Months
Follow a simple timeline and you’ll spot the small wins that show real progress. Use color, length, and firmness as your sensory checks to judge root health and timing.
Week-by-week checkpoints: root color, length, and firmness
- Week 1: The cutting settles. Keep it warm with bright, indirect light. Watch for tiny bumps at the node.
- Week 2: Pale root nubs often appear. If you inspect gently, they should feel firm, not slimy.
- Week 3–4: Roots lengthen to a few inches. Water or media should smell fresh and look clean.
- Weeks 4–6: Roots that are several inches long and resilient are usually ready for transplanting.
Transplant readiness and early new growth
Healthy roots are creamy white and springy. When you see several inches of sturdy roots, plan the move to soil.
After transplant, keep soil evenly moist for the first two weeks, then let the top inch dry between waterings. Expect mild wilting or a short pause in growth as the plant adjusts.
| Timeframe | Signs to look for | Action |
|---|---|---|
| Week 1 | Node settles; tiny bumps | Keep stable light and warmth |
| Week 2 | Pale, firm root nubs | Maintain clean water or damp media |
| Week 3–4 | Roots a few inches; fresh smell | Prepare potting mix; plan transplant |
| Weeks 4–6 and early months | Several-inch roots; first new leaf may appear in 2–3 months | Transplant, keep moist, then allow top inch to dry |
Transplanting Rooted Cuttings and Early Care
A calm transplant routine makes it easier for the cutting to trade water for soil and begin true growth. Take your time and work gently; this helps the young plant settle and keeps stress low.
Moving to soil and staking without shock
Choose a pot about 2 inches wider than the root mass so the soil drains well and the root zone does not stay soggy. Fill with fresh, well-draining soil and position the node just above the mix.
- Backfill gently and press to remove large air pockets.
- Water until it runs from the drainage hole to seat the soil.
- Stake lanky stems with a bamboo support so roots aren’t strained by top weight.
Watering cadence and sensory cues for early weeks
Keep the soil evenly moist for the first 1–2 weeks, then let the top inch dry between waterings. Use touch: damp but not waterlogged soil should feel cool and slightly firm.
If leaves droop, check drainage and reduce direct sun while roots reestablish. Resume light feeding once you see fresh growth and firm leaves.
| Step | Timing | Practical tip |
|---|---|---|
| Pot size | At transplant | 1 size up (~2" wider) to avoid excess damp soil |
| Watering | First 1–2 weeks | Keep soil moist, then allow top inch to dry |
| Support | Immediately after potting | Stake stems to protect forming root system |
| Repot | Late winter–early spring | Move up when root-bound to encourage growth |
Common Mistakes and How to Avoid Root Rot
A few simple fixes can reverse soggy beginnings and save your new plant. Act quickly when you see soft stems, brown roots, or a sour smell.
Too much moisture, poor airflow, and cold media
Overly wet soil or cool media invites damping off and rot. Cloudy water and mushy roots are early warnings.
"If you see browning, mushy roots or a sour smell, act fast."
Fast fixes to stop rot
- Callus first: let fresh cuts dry 1–2 days before placing in moss or soil.
- Change water: rinse jars and refresh water at the first sign of cloudiness.
- Improve airflow: vent humidity tents and move the cutting to a brighter, warmer spot out of direct sun.
- Right-size the container: avoid overly large pots; make sure there’s a pencil-sized drain hole.
- Warm the media: room temps in the 70s speed healthy root growth and help resist rot.
- Trim and rescue: remove soft tissue with sterile tools and re-cut to healthy stem; try LECA or perlite-heavy mixes if issues persist.
Keep troubleshooting simple and patient. Small corrections usually restore healthy propagation conditions in a few days.
Notes on Variegated Monstera and Slower Growth
Variegated types often need months more to show progress, so steady care matters most. These marbled forms like Thai Constellation or Albo have less chlorophyll. That means each new leaf and any visible growth will often come more slowly.
Expect patience: plan for extra months between milestones. Keep light bright but indirect so pale patches can photosynthesize without burning.
Watering and temperature must stay consistent. Avoid big moves or cold drafts. Tiny swings can stall new growth and stress the plant.
- Always start cuttings from a section with a healthy node—leaves alone won’t produce new growth.
- Buy from reputable sellers; seeds sold as “variegated” are rarely true and usually misrepresented.
- Variegation can be unstable; greener leaves may appear. Adjust light and pruning gently.
- Use a stake to support delicate leaves as the vine climbs and strengthens.
Celebrate each leaf. Slow, steady care keeps these special plants healthy and makes every marbled new leaf feel like a small victory.
Conclusion
Start small and check often. You can confidently propagate monstera at home by following clean cuts, steady light, and simple routines. These steps help a cutting grow roots and unfurl fresh leaves in good time.
Begin in spring when days lengthen for faster rooting. Choose the method that fits your routine—water, moss, LECA, or soil—and trust steady care to do the rest.
Keep the setup simple and bright. Enjoy the process: a sunlit jar, crisp white roots, and new green unfolding around your home. Take notes, share extras with friends, and give it time—you’re ready to propagate monstera again when the season turns.
FAQ
How do I start cuttings for a Swiss cheese plant?
Start with a healthy stem that has at least one visible node and an axillary bud. Use clean shears to cut one to two inches below the node, remove lower leaves, and place the node in a clear container of water or a moist mix of sphagnum and perlite. Keep the cutting in bright, indirect light and change water every few days if using a vessel. Roots typically appear in two to four weeks.
What exactly is a node and why does it matter?
A node is the thickened point on the stem where aerial roots and new leaves emerge. It contains the cells that form roots, so a cutting without a node won’t root reliably. Look for a small bump or ring and an axillary bud near the leaf base as your target spot for cutting.
Should I use water, sphagnum moss, LECA, or soil to root my cutting?
All four work. Water gives fast visible roots and lets you watch progress. Sphagnum mixed with perlite offers moisture retention and airflow, reducing rot. LECA provides oxygen-rich conditions when paired with a wicking water level. Direct potting mix is best for cuttings you plan to leave in soil. Choose based on your space and comfort—just keep media clean and avoid waterlogged conditions.
How do aerial roots differ from soil roots and what do they do?
Aerial roots grow from nodes above soil and help the vine cling, absorb moisture from humid air, and guide the plant’s growth. Soil roots anchor the plant and take up water and nutrients. When rooting cuttings, you want node-produced roots to transition from aerial-style to strong soil roots for potting.
When is the best time in the U.S. to take cuttings?
Spring and summer are ideal when daytime length and warmth support fast growth. Aim for temperatures around 65–80°F with higher humidity. Indoor growers can propagate year-round if they provide bright, indirect light and stable warmth.
How long until I see new leaves and true growth?
Expect roots in two to four weeks in water or a moist medium. New leaves usually appear in two to three months after roots form, depending on light, temperature, and care. Variegated or stressed plants may take longer.
How do I avoid root rot during rooting?
Prevent rot by using clean tools, letting cuts callus briefly, changing water regularly, and keeping media well-aerated. Avoid stagnant, cold water and overpacked sphagnum. In soil, choose a fast-draining potting mix and a container with a drainage hole to reduce soggy conditions.
Do I need rooting hormone or grow lights?
Rooting hormone (auxin) can speed root formation but isn’t required. Grow lights help in low-light homes or during short winter days. Use a gentle full-spectrum LED placed to give bright, indirect light and keep temperatures steady for best results.
How many leaves should a cutting have?
Aim for two to three leaves with at least one node. Smaller leaves reduce stress and encourage faster root development, while larger leaves can lose more moisture and slow rooting. Remove damaged foliage to focus the cutting’s energy on root growth.
When should I transplant a rooted cutting to soil?
Transplant when roots are a few inches long and look white and healthy. For water-rooted cuttings, ease shock by gradually introducing them to a moist, airy potting mix. Keep the new potted plant in bright, indirect light and maintain consistent moisture for the first few weeks.
What are signs a cutting is failing versus simply slow?
Healthy progress shows firm, white roots and perky leaves. Warning signs include slimy brown roots, persistent yellowing, limp leaves, or foul water—these point to rot. Slow but steady growth with small roots or slight leaf droop usually means it needs more light, warmth, or patience.
Can I air-layer a large vine instead of cutting it?
Yes. Air layering lets you root a node while the vine stays attached. Wrap a moist plug of sphagnum around a wounded node, cover with plastic, and secure until roots form. Once visible, cut below the new root mass and pot the new plant. This method reduces shock for big specimens.
How often should I check or change water for cuttings in a vessel?
Change water every three to five days to keep it clean and oxygenated. Rinse the container and trim any decaying bits. Clear vessels show root color and water clarity—crisp white roots and clear water are good signs.
Any special tips for variegated plants or slower-growing types?
Variegated plants need more light to fuel their lighter tissue. Take extra care with humidity and warmth, and be patient—they root and grow slower. Avoid overwatering and give gentle support with stakes or a moss pole as they establish.
What pot and drainage should I use once I pot a rooted cutting?
Choose a pot with at least one drainage hole and enough room for roots to spread. Use a chunky, fast-draining mix and consider a heavier pot for tall vines to prevent tipping. Good drainage and airflow around the root ball are key to long-term health.