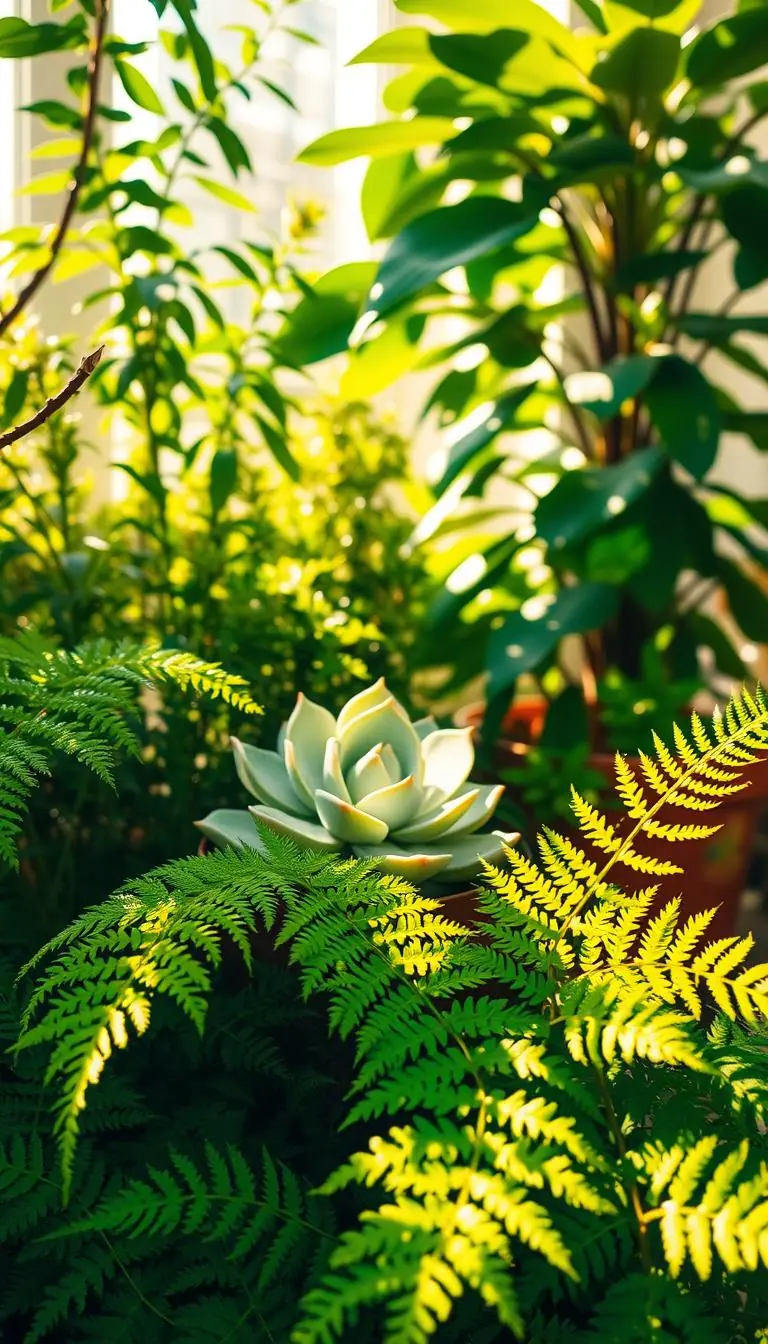
You notice a soft rosette catching the morning light on your windowsill — powdery blue, cool to the touch. Have you ever wanted to turn that single plant into a small family of green friends? This guide shows you how to do just that with calm, easy steps.
We’ll use simple tools and everyday routines so you can multiply plants without fuss. In clear, short steps you’ll learn leaf, stem, and stump techniques that fit a busy schedule.
Propagation works year-round, but it’s fastest in spring and summer when growth is active. A clean cut and a 3–5 day callous help prevent rot. Leaves set on gritty cactus soil in bright, indirect light often show tiny pink roots after a few weeks.
You’ll get practical checkpoints — when the cut looks dry, when roots appear, and when to move cuttings to soil. With gentle care and a simple routine, you’ll enjoy steady success and more new plants without extra stress.
Key Takeaways
- Simple, low-cost steps let you multiply plants from one mother plant.
- Spring and summer speed propagation, but you can try year-round.
- Use bright, indirect light and well-draining soil for best results.
- Allow a 3–5 day callous on cuttings to reduce rot risk.
- Watch for tiny roots and pups before potting into fresh soil.
Before You Begin: Timing, Light, and Tools for Succulent Propagation
Start your project in the warm months when growth is lively and recovery is quick. Spring and summer are the best seasons to work with young cuttings because active growth shortens the number of days you’ll wait to see roots.
Light matters. Aim for bright, indirect sun from an east or bright north window. Avoid hot afternoon rays that can scorch tender edges. If you’re indoors with limited natural light, a T5 fluorescent fixture on a 16-hour day timer keeps rosettes compact and prevents leggy growth.
Build a simple kit:
- Clean, sharp scissors or snips — they cut cleanly and lower disease risk.
- Well-draining soil — use a cactus mix or mix potting soil with perlite in humid homes.
- Small pots (2–3 inches) and a shallow tray to catch drips.
- A small spray bottle for gentle misting and a bottle of rooting hormone if you want extra help with slow-to-root types.
| Item | Why it matters | Quick tip |
|---|---|---|
| Scissors/snips | Clean cuts heal faster and resist infection | Wipe with rubbing alcohol before use |
| Soil / potting soil | Drains well to prevent rot | Add perlite in humid homes |
| Pots & tray | Right size prevents soggy, unused soil | Choose 2–3 inch pots for new roots |
| Spray bottle | Gentle hydration during rooting | Mist every few days, avoid soaking |
| Rooting hormone / hormone | Optional boost for slow starters | Use per label; not mandatory |
How to prepare your mother plant for success
Start by giving the mother plant a good drink so its tissues are plump and ready for cutting.
Step 1 — hydrate and wait. Water the pot well, then wait about three days. This small time pause makes stems and leaves less brittle and easier to cut.
Step 2 — sanitize and set up. Clean a surface and wipe scissors or snips with rubbing alcohol. Place a tray nearby to catch leaves and label it with the date.
Step 3 — pick healthy pieces. Study the rosette and choose firm, unblemished leaves or a tidy stem. Twist leaves gently side-to-side until they snap at the base; torn leaves rarely root.
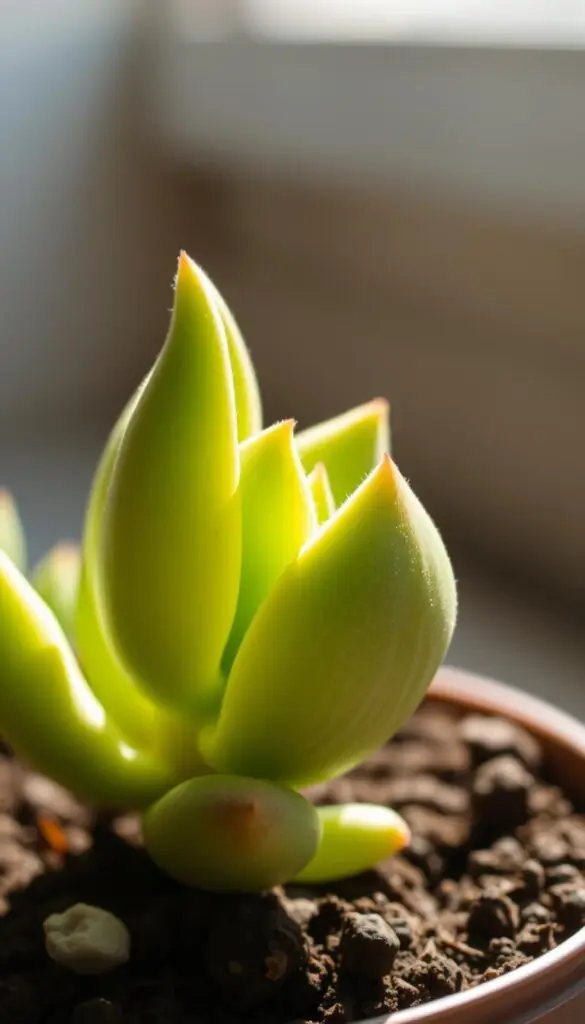
Step 4 — cut leggy tops cleanly. If you must behead a leggy stem, cut near the soil line. The remaining stump often sends up new growth with basic care.
Let all cut surfaces dry and callous for 3–5 days before you place cuttings on soil. This reduces rot and gives you better results over time.
| Prep step | Why it matters | Quick tip |
|---|---|---|
| Hydrate then wait | Plump tissues resist tearing | Water, then wait ~3 days |
| Sanitize scissors | Reduces infection risk | Wipe with alcohol before use |
| Select firm leaves/stem | Healthy material roots best | Choose unblemished pieces |
| Callous cuttings | Prevents rot at the base | Dry in bright, indirect light 3–5 days |
Step-by-Step Methods to Propagate Succulents
Whether you want to watch roots form or set and forget, there’s a reliable way to do it.
Leaf method: Select a plump leaf and twist until it releases cleanly. Let the leaf callous 3–5 days. Then lay it on gritty, well-draining soil or tuck the tip just slightly into the mix. Keep in bright, indirect light and mist lightly; pink roots often appear in 2+ weeks.
Stem method: Behead a leggy rosette with a clean cut. Plant the top in a small pot of cactus mix blended with perlite (2:1 potting to perlite). Keep the soil slightly moist until the top anchors and new roots form.
Stump / root method: Leave the base in its pot. Over weeks the old stump will send up pups from old leaf nodes. These quiet "zombie mommies" refill the pot with new plants.
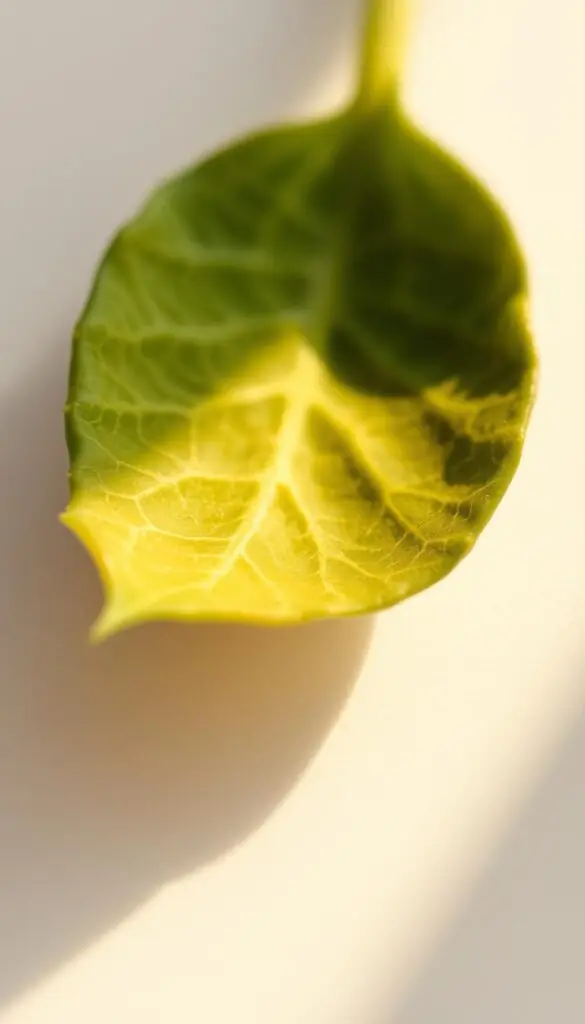
- Soil vs. water vs. dry air: Soil is easiest; water lets you watch root tips form; dry air (suspended leaves) saves space and looks neat in bright windows.
- Using rooting hormone: Optional for finicky rosettes — dip the cut end lightly and follow label directions.
- Practical tip: Start with one tray and two methods. Expect variety: some leaves become a new plant quickly, others only root, and some dry at the end.
"Small steps and gentle care give you the best chance to grow healthy new plants."
| Method | Time to callous | Best cue |
|---|---|---|
| Leaf | 3–5 days | Plump leaf; pink root tips in ~2 weeks |
| Stem | 3–5 days | Top anchors in small pot; new roots visible |
| Stump | No callous needed if left in pot | Pups at nodes over several weeks |
Caring for Cuttings and Babies: Water, Light, and Timing by Weeks
A week-by-week rhythm of drying, misting, and light sets up healthy root development for your new plants.
Callous stage (days 1–5)
Rest leaves and cuttings on a dry tray in a bright, shaded spot. No water during this time so the end seals and resists rot.
Tip: Feel the cut edge; when it is dry and slightly firm, the callous is ready for the next step.
Rooting stage (weeks 2–6)
Move the tray into bright, indirect light. Use a spray bottle to mist every 2–3 days, keeping the top of the soil barely damp but never soggy.
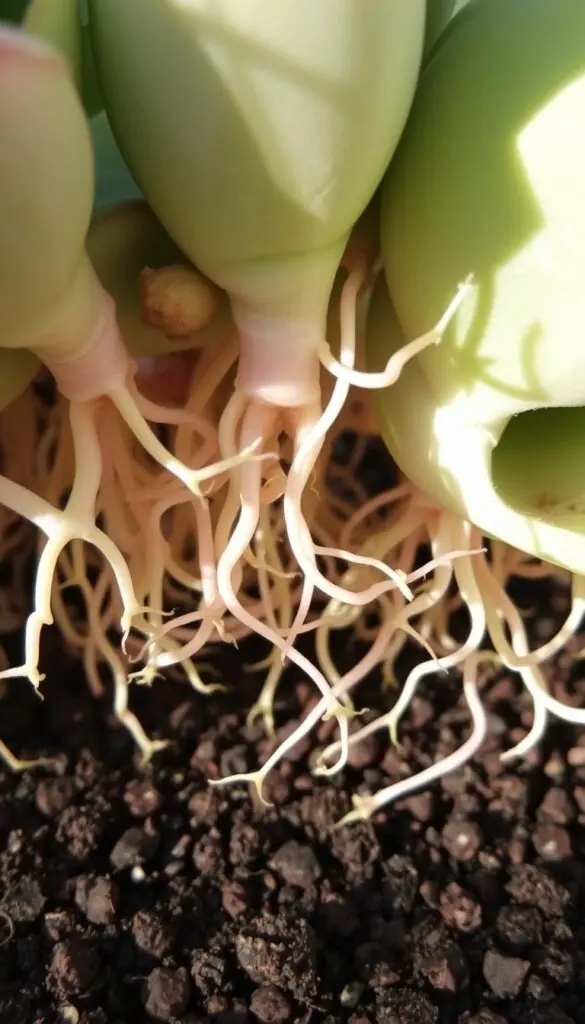
Watch for tiny roots and a small rosette forming at the leaf’s end. When you feel resistance to a gentle tug, root development is underway.
- Light: morning sun is gentler; avoid harsh afternoon heat that scorches tops and leaves.
- Water cues: if soil sticks to your finger or the pot feels heavy, wait a day before misting again.
- Soil and pot: fresh potting soil in a snug pot at 8–12 weeks helps baby plants establish without staying wet.
- Bottom watering: useful in hard-water areas to keep leaf faces clean and reduce mineral spots.
"Bright light, light moisture, and patience give you sturdy little rosette starts that are easy to love."
Real-World Tips, Varieties, and Troubleshooting for Home Growers
Small, steady routines turn cuttings into thriving little rosettes on your windowsill.
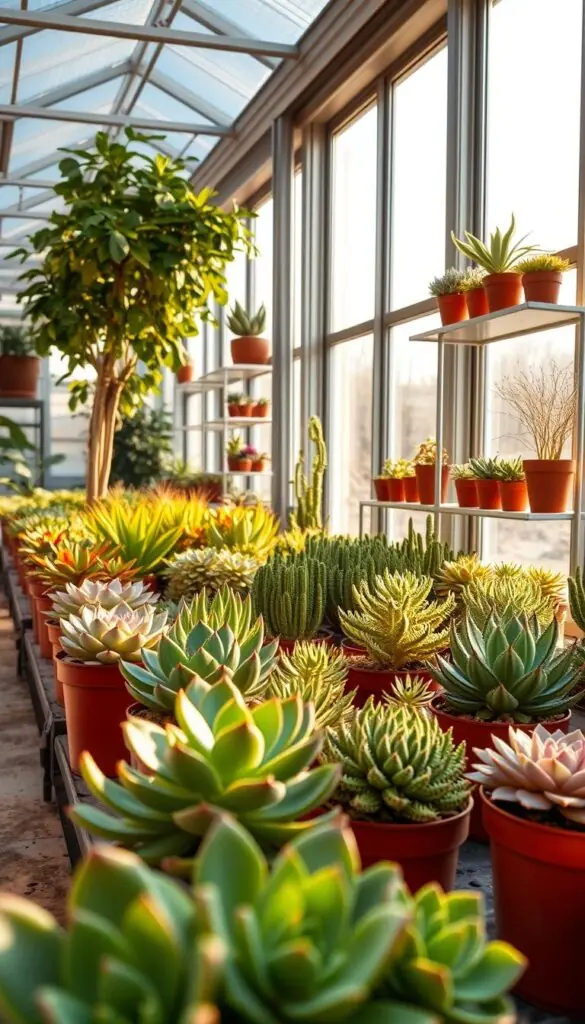
Great starters: Try Echeveria ‘Perle von Nurnberg’ for fast color, ‘Lilacina’ for soft silver leaves, and Sempervivum for rugged, clumping rosettes. Black Prince gives dramatic dark tones but needs extra drainage to avoid root rot.
Keep new plants in 2–3 inch pots or soil blocks so roots fill the space quickly. Use a gritty cactus mix in humid homes; in dry interiors a basic potting blend works fine. Under a simple T5 light, rosettes stay compact and even.
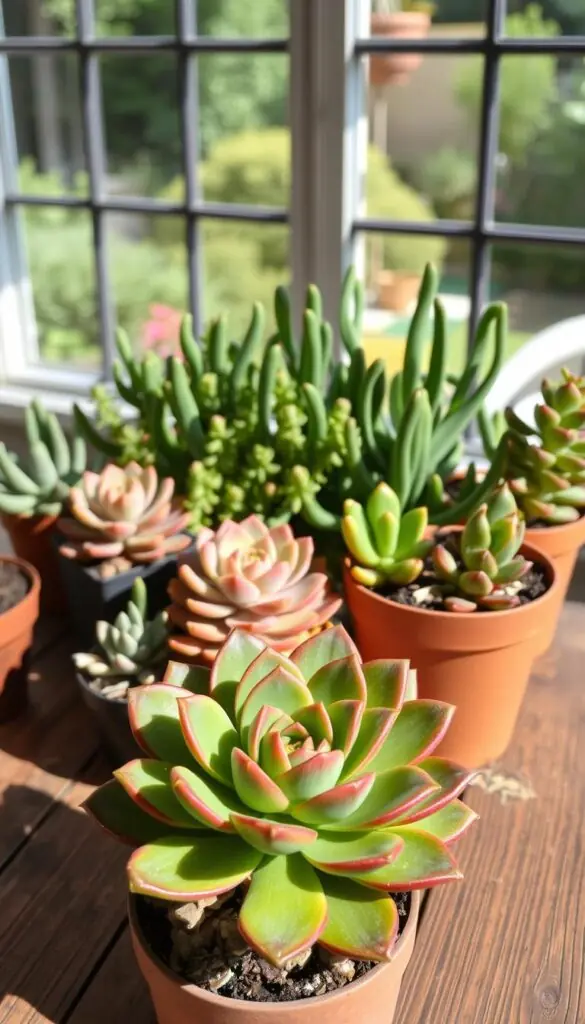
Behead leggy stems without worry — the top usually re-roots and the stump often sprouts babies at the base in a few weeks. Watch for aphids on tender tips; insecticidal soap or neem and a gentle wipe of honeydew protect new growth.
Common mistakes to avoid: ripping leaves, skipping the callous period, oversized pots that hold soggy soil, and overwatering. If cuttings stall, give a bit more light or a bit less water — small changes restart growth and lead to success.
"Celebrate the tiny rosettes — they’re proof your care is working."
Conclusion
With simple care and patient days, your cuttings will reward you with roots and tiny rosettes.
Keep a calm routine: let the cut end callous for 3–5 days, give bright, indirect light, and mist every 2–3 days during early rooting. Watch leaves and stem tips for tiny roots before potting.
Choose the method that fits your space. A beheaded top becomes a new plant, the stump often sends pups, and a tray of leaves can yield many baby plants. Use small pots and fresh potting soil so roots establish without staying wet.
If growth stalls, try a little more light or a little less water. Over time, steady care makes propagating succulents easy and joyful—soon your home will be filled with thriving, sunlit plants.
FAQ
How do I start step-by-step when making new plants from my rosettes and leaves?
Begin by choosing healthy leaves or a rosette. Use sharp scissors to make a clean cut. Let the cut end callous for 3–5 days in a dry, shaded-bright spot. After callousing, place leaves on gritty cactus soil or replant the rosette top into a small pot with a mix of potting soil and perlite. Keep the soil barely moist and give bright, indirect light until roots form and baby plants appear.
When is the best season and light for propagation?
Spring and summer are ideal because plants are actively growing. Give newly rooted pieces bright, indirect sun or a T5 grow light for 8–12 hours a day. Avoid hot afternoon sun that can scorch tender cuttings.
What tools and supplies should I gather before I begin?
Collect sharp scissors or snips, a tray, small pots, cactus or well-draining soil mixed with perlite, a spray bottle for misting, and optional rooting hormone for slow-to-root varieties. A clean workspace and labels help keep track of varieties.
How should I prepare the mother plant for taking cuttings?
Water the mother plant a few days before cutting so leaves are plump. Remove any damaged leaves and choose firm, healthy parts to cut. If the plant is leggy, beheading the rosette gives you a fresh top and lets the stump produce pups from the base.
What’s the correct way to remove a leaf for the leaf method?
Gently wiggle the leaf from the stem until it snaps free with a clean break at the base. Avoid ripping the leaf. Place it on top of dry soil to callous, then switch to light misting or shallow water setups once tiny roots or baby rosettes appear.
How do I handle the stem or beheading method?
Cut the rosette cleanly from a leggy stem using sharp scissors. Allow the cut end to callous for a few days. Plant the top into gritty soil and set the remaining stem in bright, indirect light; it may sprout pups from the stump over time.
When should I use soil, water, or dry air methods?
Use soil for most varieties — it lowers rot risk. Water propagation can work for some types to observe root development but raises fungal risk. Dry air (callous then pot) suits cuttings that need a dry phase first. Choose based on species and how fast you want roots.
Is rooting hormone necessary?
Rooting hormone is optional. It can boost success for slow-rooting or rare varieties but isn’t required for common rosette types like Echeveria. A little hormone on the cut end can speed rooting when you want more reliable results.
How do I care for cuttings during the callous and rooting stages?
Keep callousing cuttings in a dry, shaded-bright spot. Once you see tiny roots or pups, mist every 2–3 days and keep the top layer of soil lightly moist — never soggy. Ensure good airflow and bright, indirect light to encourage steady growth.
When is it safe to pot up baby plants?
Most babies are ready to pot gently at 8–12 weeks when they have a small root system and several leaves. Use snug nursery pots with well-draining soil so roots can establish without excess moisture.
What varieties are easiest for beginners to grow from leaves or stems?
Reliable starters include Echeveria ‘Perle von Nurnberg,’ Pachyveria ‘Lilacina,’ Echeveria ‘Black Prince,’ and hardy Sempervivum. These tend to root well and produce visible pups for new gardeners.
What common mistakes should I avoid when making new plants at home?
Don’t rip leaves, skip the callous period, plant in oversized pots, or overwater. These errors invite rot and slow growth. Use clean tools, allow cuts to dry, and choose appropriately sized pots with fast-draining soil for best results.
How long does it usually take to see roots and new growth?
You might see tiny roots in 1–3 weeks for fast-rooting types, while others take 4–8 weeks. Visible rosettes and sturdier roots often appear between 8–12 weeks, depending on light, temperature, and care.
How do I water young plants without causing rot?
Mist cuttings rather than saturating the soil during early rooting. Once roots are established, water deeply but infrequently — allow the soil to dry between waterings. Use pots with drainage holes and a gritty soil mix to prevent soggy conditions.